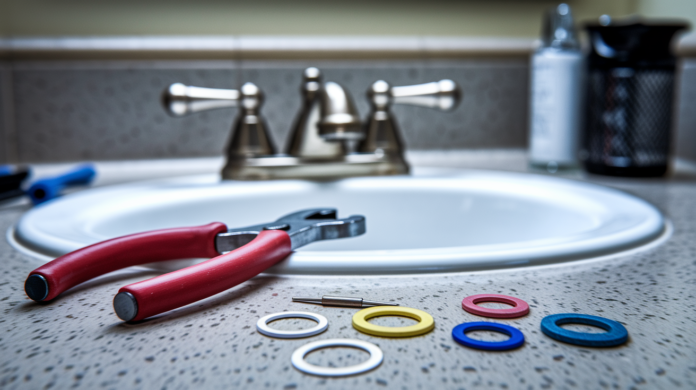

That drip keeping you up at night? It’s costing you around 3,000 gallons of water a year, which adds up fast on your bill. Most faucet leaks come down to a worn washer, seal, or cartridge, and you can replace those yourself in under an hour with basic tools. We’ll walk you through identifying your faucet type, gathering the right parts, and stopping that leak for good.
Identifying Your Faucet Type Before Starting Repairs
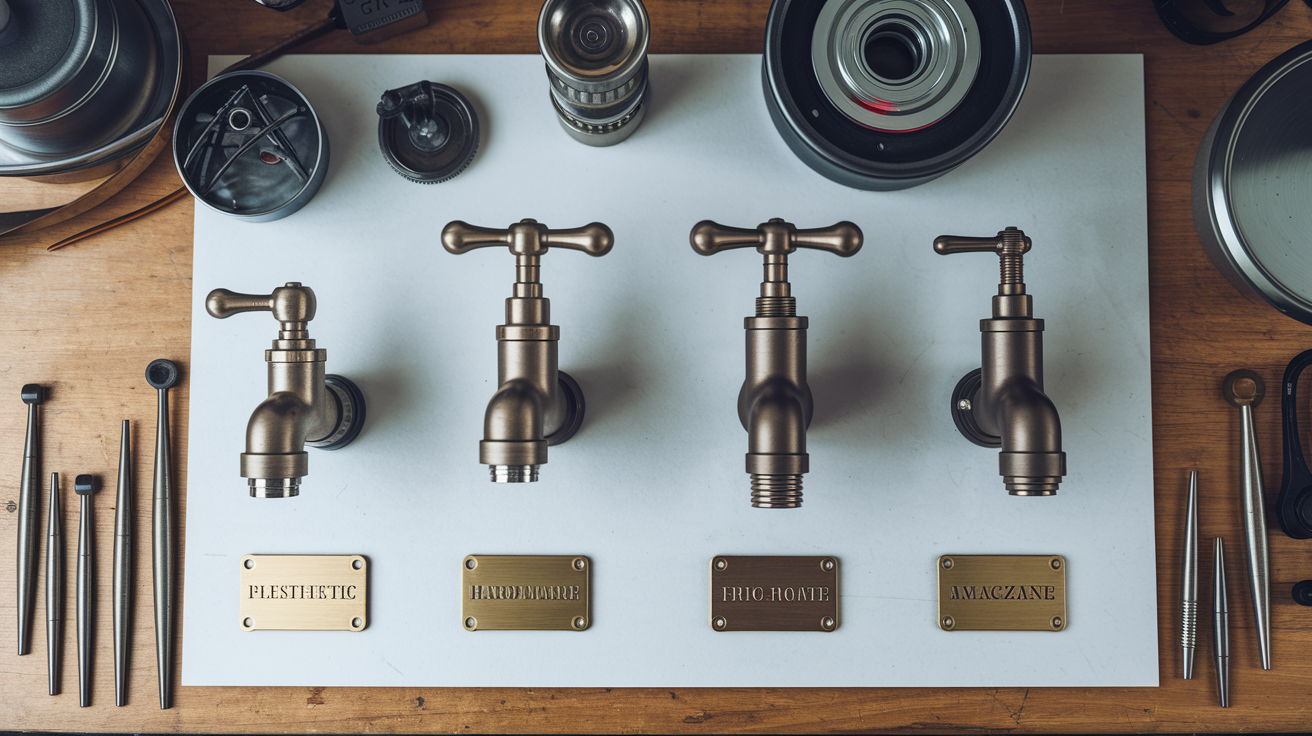
You can’t skip this step. Knowing your faucet type is what separates a 20 minute fix from an afternoon of frustration and stripped parts. The four main faucet designs use completely different internal mechanisms, and grabbing the wrong tools or parts means you’re either making the leak worse or starting over from scratch.
Compression Faucet
Separate hot and cold handles that you have to really crank down to stop the water? That’s a compression faucet. The design forces a rubber washer down onto a valve seat, creating a seal through pressure. When people say “turn it tighter to stop the drip,” they’re describing this exact mechanism.
This is the oldest type, still working in millions of homes. You’ll know it by that tightening resistance, handles that turn multiple rotations, and the need to really twist them shut. Most leaks come from worn rubber washers at the base of the stem. After thousands of compressions, they flatten out and lose their sealing ability.
Cartridge Faucet
Cartridge faucets move smoothly without compression resistance. Could be one handle or two. Lift or turn the handle and you’ll feel steady, even motion. Inside sits a hollow metal or plastic cartridge (shaped like a short cylinder) that moves up and down or rotates to control flow and temperature.
When these leak, it’s usually the cartridge itself that’s worn, or the O-rings around it have deteriorated. You won’t feel grinding. Just smooth operation that suddenly starts dripping from the spout after you shut it off.
Ceramic Disk Faucet
Look for a single, wide handle and a substantial cylindrical body underneath once you pop that handle off. Ceramic disk faucets use two polished ceramic disks that slide across each other to control water. One disk stays put, the other rotates and moves up and down. Where they overlap determines flow.
These leak less often than other types. But when they do, it’s usually cracked disks (often from sudden pressure changes), worn neoprene seals in the cylinder, or sediment between the disks preventing a clean seal. The ceramic disks themselves can last decades. Those rubber seals eventually dry out though.
Ball-Type Faucet
You’ll spot a ball-type faucet by the rounded cap at the base of a single handle, usually in a kitchen. The handle moves freely in all directions, rotating on a slotted metal ball inside the faucet body. Tilt one way for temperature, another way for volume.
Ball faucets have more individual parts than any other type. Springs, inlet seals, cam washers, O-rings, and that rotating ball. Leaks develop when one or several of these small components wear out. Complete repair kits with all these parts run $15 to $25, which is good news.
Once you’ve identified your faucet type, snap a quick photo of the whole unit and another close-up of any manufacturer names or model numbers stamped on the faucet body (usually visible under the sink or on the back of the spout). These photos become your reference when you’re three steps into disassembly and can’t remember which way something came off.
Tools and Replacement Parts You’ll Need for Faucet Repair
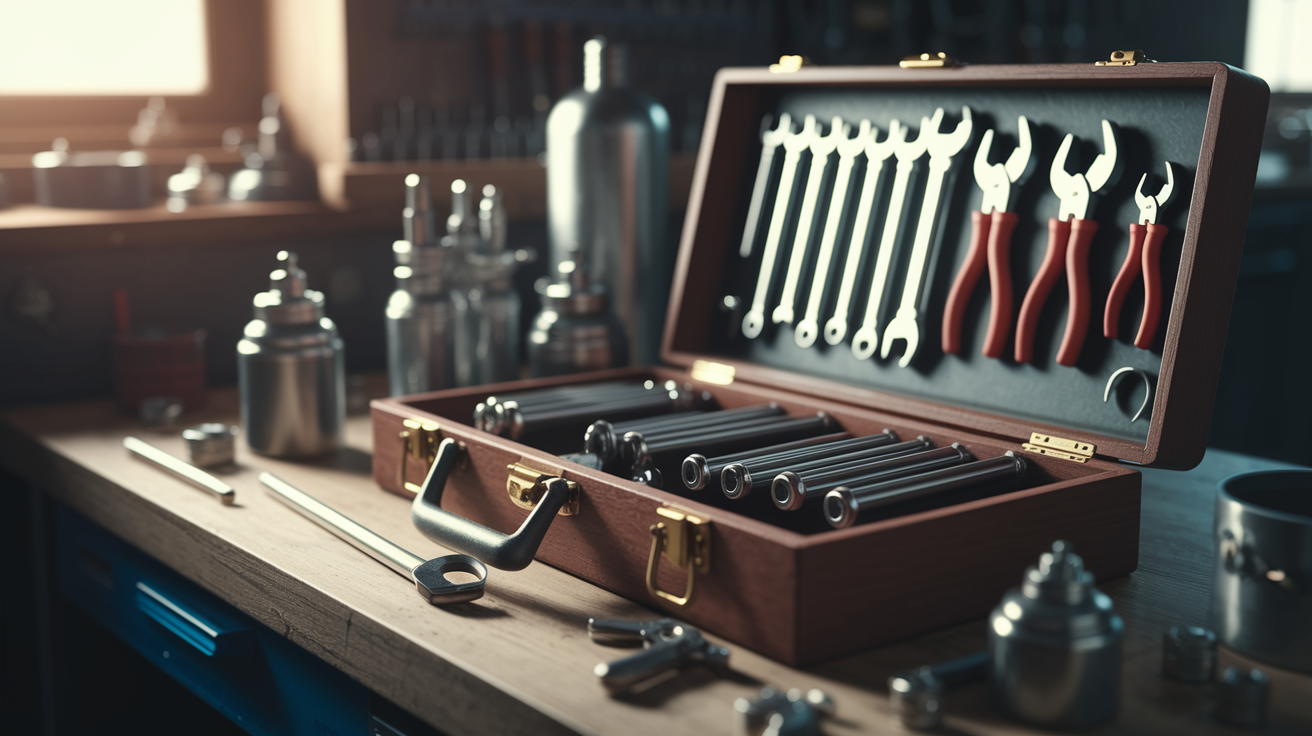
Get everything ready before you start. Nothing kills momentum like standing in your kitchen with the faucet in pieces and no way to finish. You don’t want a parts store run with water shut off to half the house.
Essential tools:
- Adjustable wrench (for packing nuts and large hex components)
- Basin wrench (the bent tool that reaches shutoff valves in tight under-sink spaces)
- Slip-joint pliers (for general gripping without marring chrome)
- Needle-nose pliers (for small springs, clips, and O-rings)
- Screwdriver set with both flathead and Phillips heads
- Allen key set (also called hex keys, for hidden setscrews)
- Penetrating oil like WD-40 (for stuck screws and corroded threads)
- Towels or old rags (to catch water and cover the drain)
- Flashlight or headlamp (under-sink visibility is always terrible)
Common replacement parts:
- O-rings in various sizes (bring your old ones to match)
- Rubber washers, both flat and beveled
- Valve seat (the brass piece the washer seals against)
- Faucet cartridge (specific to your faucet model)
- Inlet springs and seals (for ball-type faucets)
- Retaining clips (small metal clips that hold cartridges in place)
- Plumber’s grease (clear, waterproof lubricant for seals)
- Teflon tape (for threaded connections)
Most hardware stores organize faucet repair sections by type. If you know your faucet brand (Moen, Delta, Kohler, whatever), look for manufacturer specific kits. When possible, remove the worn part first and bring it to the store. A visual match beats guessing on sizes every time. O-rings especially need exact diameter and thickness. An O-ring that’s close will leak just as badly as the worn one you’re replacing.
Budget $5 to $25 for a typical compression or cartridge repair. Ball faucet kits run $15 to $25 but include everything that commonly wears out. Ceramic disk repairs often just need new seals ($8 to $15) unless the disks themselves are cracked, which requires a full cartridge replacement ($30 to $60).
Repairing Compression Faucet Leaks Step by Step

Compression faucets are the workhorses in older homes. Two handles, simple mechanics, and a rubber washer that eventually gives out. Most of the time, that drip you hear is a worn washer that can’t compress tightly anymore.
-
Shut off the water supply at the shutoff valves under the sink. You’ll see two valves, one for hot and one for cold. Turn them clockwise until snug. If you don’t have individual shutoff valves, or they’re stuck and won’t turn, head to your home’s main water shutoff and close that instead.
-
Turn the faucet handle on to drain any remaining water in the lines. This releases pressure and empties the faucet, so you’re not wrestling with trapped water when you pull things apart. Leave the handle in the “on” position.
-
Place a towel over the sink drain. Small screws, washers, and clips love to disappear down drains. A towel stops that. Set a second towel nearby to lay out parts in the order you remove them.
-
Remove the decorative cap or button on top of the handle. Use a flathead screwdriver to gently pry it off. Underneath you’ll find a small screw. If the screw won’t budge, spray penetrating oil and wait five minutes before trying again.
-
Unscrew the handle screw and pull the handle straight off. Sometimes handles stick from mineral buildup. Wiggle gently while pulling upward. Don’t force it. More penetrating oil and patience usually win.
-
Use an adjustable wrench to remove the packing nut (the large hexagonal nut now visible). Turn counterclockwise. Wrap the nut with a cloth or use pliers with taped jaws to avoid scratching chrome or brass finishes.
-
Twist the stem out by turning it in the same direction as you would to turn the faucet on (counterclockwise for most faucets). The stem will unscrew and lift out. At the bottom of the stem sits a rubber washer held by a small brass screw.
-
Remove the washer screw and replace the old washer with an exact match. Pay close attention. Washers come in flat and beveled (angled edge) styles. Beveled washers seal against a beveled valve seat, flat washers seal against flat seats. Using the wrong type means the drip continues. If the washer is stuck to the stem, carefully pry it off. Examine the valve seat inside the faucet body while the stem is out. If it feels rough or looks corroded, it needs replacing too.
-
Apply a thin layer of plumber’s grease to the new washer, threads, and any O-rings on the stem. Reinstall the stem by turning it clockwise, thread the packing nut back on snugly (don’t overtighten), slide the handle back on, replace the screw and decorative cap, then slowly turn the water supply back on and test.
If you’ve replaced the washer with the exact right type and the faucet still drips, the problem is likely a damaged valve seat. The valve seat is the part the washer presses against, and if it’s pitted or corroded, even a new washer won’t seal. Valve seats can be replaced, but some are built into the faucet body and require a special seat wrench to remove.
| Component | Signs of Wear | Replacement Needed |
|---|---|---|
| Washer | Flattened, cracked, hardened | Yes, every 1-2 years |
| O-ring | Dried out, stretched, visible cracks | Yes, if handle leaks at base |
| Valve seat | Rough texture, pitting, corrosion | Yes, if washer replacement doesn’t stop leak |
| Packing nut | Water leaking around stem | Tighten first, replace if threads stripped |
Fixing Cartridge and Ceramic Disk Faucet Problems
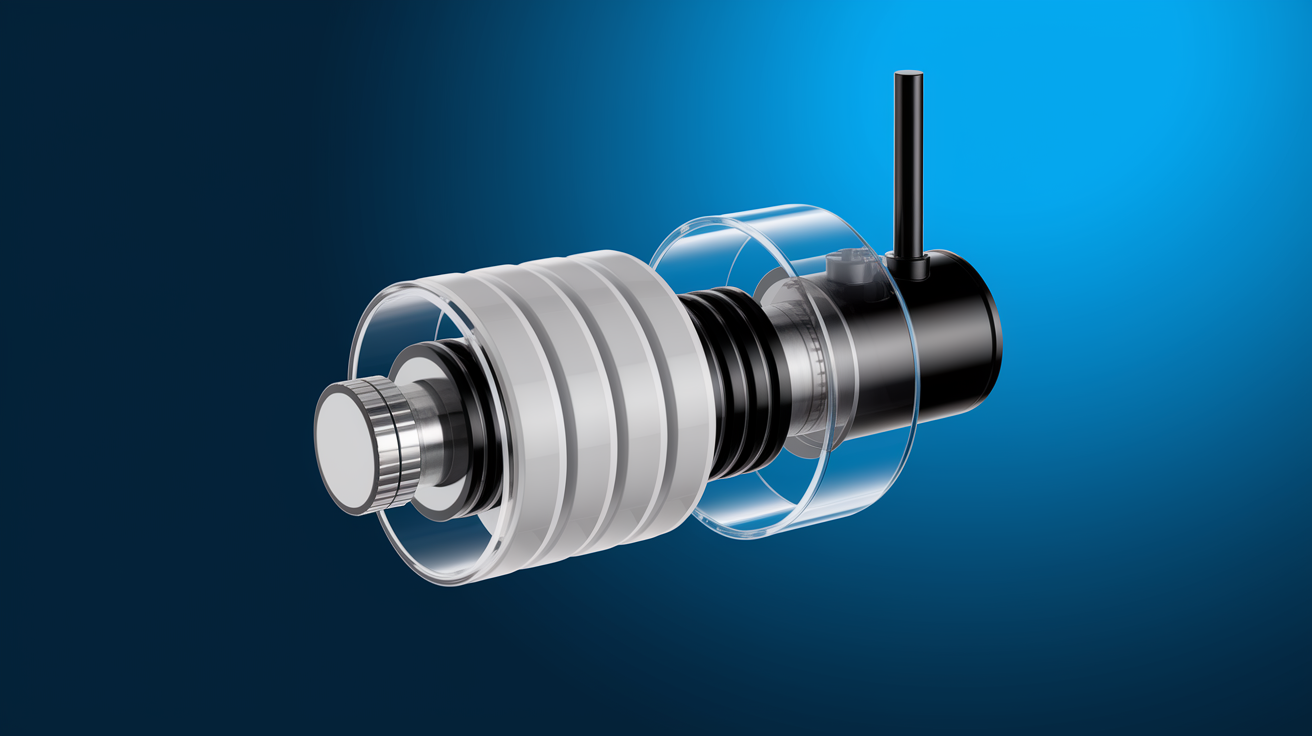
Modern faucets skip the compression mechanism entirely, using cartridges or ceramic disks instead. These designs last longer and operate more smoothly, but when they do leak, you’re usually replacing a cartridge or cleaning sediment rather than swapping a simple washer.
Cartridge Faucet Repair Process
Start the same way. Shut off water supply under the sink, turn the faucet on to drain remaining water, and cover the drain with a towel. Remove the handle by loosening the screw under the decorative cap or behind the handle base. Some cartridge faucets use a setscrew on the side or back of the handle, so check there if you don’t see a top screw.
With the handle off, you’ll see either a retaining nut or a metal clip holding the cartridge in place. If it’s a nut, unscrew it with your adjustable wrench. If it’s a clip, use needle-nose pliers to pull it straight up and out. Before you remove the cartridge, look closely at how it’s oriented. Cartridges have specific hot and cold sides, and if you install a new one backward, you’ll get hot when you want cold or the faucet won’t shut off properly. Some cartridges have a flat side or tab that aligns with a slot in the faucet body.
Grip the cartridge stem with pliers and pull straight up. It may take some force if mineral deposits have built up. Once it’s out, inspect the O-rings around the cartridge body. If they look worn, cracked, or flattened, replace them. If the cartridge itself shows wear (rough surfaces, cracks, or if the faucet was dripping constantly), replace the whole cartridge. Cartridges are model specific, so you need the exact replacement. Take the old one to the hardware store or look up your faucet model online.
Install the new cartridge in the same orientation as the old one. Press it down firmly, replace the retaining clip or nut, coat any O-rings with plumber’s grease, and reassemble the handle. Turn the water supply back on slowly and test hot, cold, and shutoff.
Ceramic Disk Faucet Repair Steps
Ceramic disk faucets also start with shutting off water and draining the lines. Remove the handle by loosening the setscrew (usually under a small cap on top of the handle or on the back). With the handle off, you’ll see a large cylinder, the disk cartridge. Remove the screws holding this cylinder in place and lift it straight out.
The cylinder contains two ceramic disks and several inlet seals. Turn the cylinder upside down and inspect the rubber seals in the openings at the bottom. If they’re worn, dried out, or damaged, pry them out carefully and press in new ones. Look at the inlet holes as well. Mineral deposits and sediment collect here and prevent proper sealing even with good seals. Use white vinegar or a lime dissolving cleaner to clear these deposits. An old toothbrush works well for scrubbing.
Check the ceramic disks inside the cylinder for cracks or chips. If you see any damage to the ceramic, you need a complete cylinder replacement. Cracked disks leak no matter how good the seals are. Ceramic disks can crack from sudden pressure changes, which is why you should always turn the water supply back on slowly after any ceramic disk faucet repair.
Clean everything, install new seals if needed, apply a light coat of plumber’s grease, and reinstall the cylinder and handle. When you turn the water back on, open the shutoff valves gradually. A sudden pressure surge can crack those ceramic disks.
Cartridge and ceramic disk faucets often last 15 to 20 years before the core components need replacement. They don’t have as many small wear parts as compression faucets, so repairs are less frequent but sometimes involve replacing a larger, more expensive component. That said, even a $40 cartridge replacement beats a $300 new faucet installation if the rest of your fixture is in good shape.
Troubleshooting Ball-Type Faucet Leaks in Kitchen Sinks
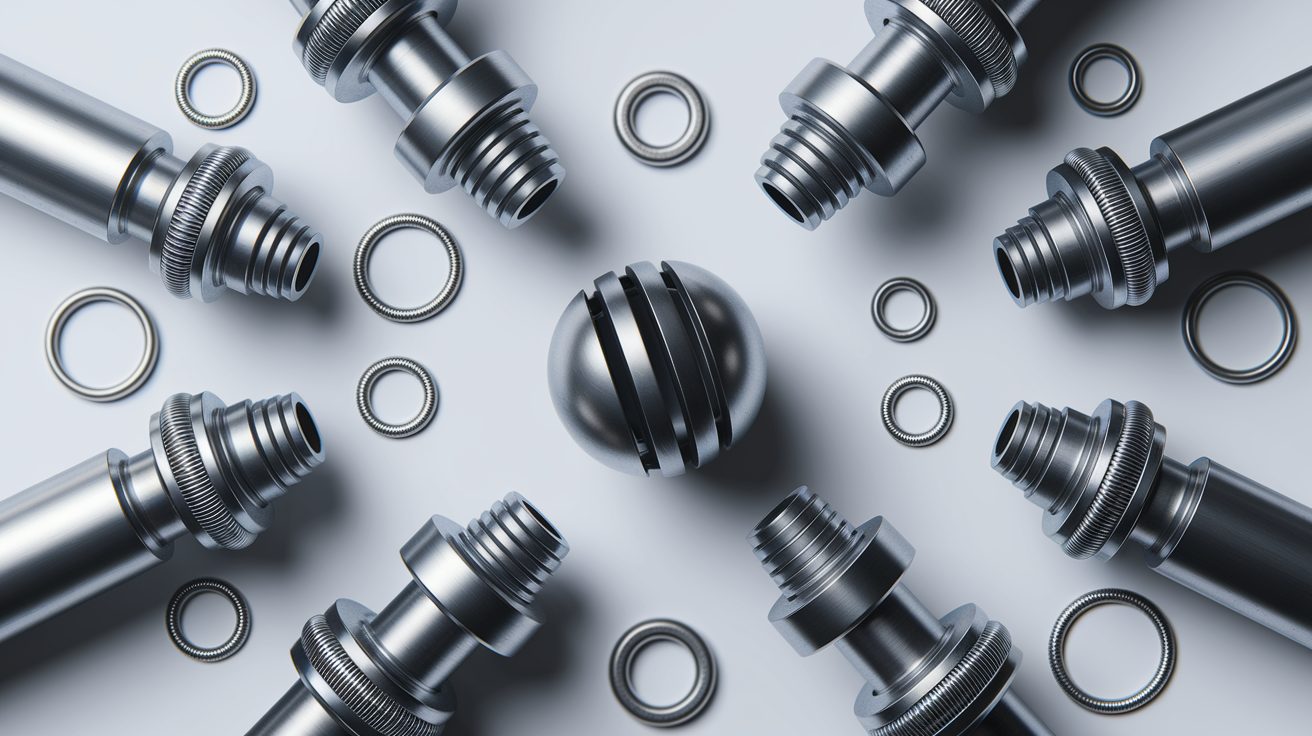
Ball faucets have more parts than any other type. Springs, seals, cam washers, O-rings, and that rotating ball all work together. When one piece wears out, others usually aren’t far behind, which is why ball faucet repairs almost always mean replacing multiple components at once.
You’ll recognize a ball faucet by the single handle mounted on a rounded cap. The handle moves smoothly in any direction, controlling both temperature and flow by rotating a slotted ball inside the faucet body.
After shutting off water and draining the lines, find the small hex setscrew on the side of the handle, usually hidden just under the base. Loosen this with an allen wrench and lift the handle off. Now you’re looking at the cap, a rounded dome with flat sides. Wrap it with a cloth (to protect the finish) and use adjustable pliers to unscrew it counterclockwise.
Underneath the cap sits a plastic or metal cam and a rubber cam washer. Lift these off and you’ll see the rotating ball with its slot. The handle fits into this slot, which is how you control water flow. Lift the ball straight up and out.
Look inside the faucet body and you’ll see two small openings. These are the inlet holes where hot and cold water enter. Inside each hole sits a small rubber seal (looks like a tiny cup) and a spring underneath it. Use needle-nose pliers to reach in and pull out the old seals and springs. They’re usually the main cause of leaks in ball faucets.
Remove the spout next by gripping it firmly and pulling up while twisting slightly. This exposes the O-rings that sit on grooves around the faucet body. These O-rings prevent water from leaking out around the base of the spout. Cut the old O-rings off with a utility knife and roll new ones into the grooves.
Components typically needing replacement:
- Inlet seals (two small rubber cups that seal against the ball)
- Springs (two small springs that sit under the inlet seals)
- Cam washer (rubber washer under the cap that provides resistance and sealing)
- O-rings (two to three rubber rings around the faucet body under the spout)
- Ball assembly (the rotating ball itself if it’s pitted, corroded, or rough)
- Spout (if cracked or damaged beyond the O-ring seal)
Buy the complete ball faucet repair kit. These run $15 to $25 and include every part listed above. If you’re already in there replacing the inlet seals because they wore out, the springs and O-rings are right behind them in lifespan. Replace everything now and you won’t be taking the faucet apart again in six months when the next component fails. The kits also include instructions specific to ball faucets, often with a small tool to help with reassembly.
Coat everything with plumber’s grease before reassembly. Install the new springs and seals (spring first, then seal), drop the ball in (slot facing front), place the cam washer and cam on top (the tab on the cam fits into a notch on the faucet body), screw the cap back on snugly, and reinstall the handle. Turn the water on, check for leaks, and adjust the handle position if needed.
What to Do When Your Faucet Leaks from the Base or Spout

Not all leaks drip from the spout. Sometimes water seeps out around the base of the faucet where it meets the sink, or at the connection between the spout and the faucet body. These leaks point to O-ring failure rather than internal valve problems.
Base leaks happen during use. Turn on the water and watch the area where the faucet meets the sink or countertop. If water pools there, you’ve got worn O-rings on the faucet body under the spout. These O-rings create a watertight seal between the spout (the part that moves or lifts off) and the body (the part bolted to the sink). Over time, the rubber dries out, cracks, or gets worn down from the spout rotating.
To fix it, shut off the water and remove the handle and any internal components needed to access the spout (process varies by faucet type, follow the earlier sections for your specific type). Once you can grip the spout, twist and pull it straight up. It should lift off the faucet body. You’ll now see one to three O-rings sitting in grooves around the body.
Cut the old O-rings off with a utility knife. Trying to roll them off often leads to lost pieces down the drain or damaged grooves. Slide new O-rings of the exact same size down over the top of the faucet body and into their grooves. Coat them generously with plumber’s grease (this isn’t optional, dry O-rings will bind and tear during reassembly). Press the spout back down over the faucet body, twisting slightly to help it slide over the O-rings. Reassemble the handle components and test.
Spout leaks at the connection point between the swivel joint and the faucet body have the same cause. Failed O-rings at that junction. The fix is identical. Remove the spout, replace the O-rings, grease, and reassemble.
Check the aerator while you’re troubleshooting spout leaks. Unscrew the aerator from the end of the spout (turn counterclockwise by hand or with pliers if it’s stuck). If mineral deposits or debris are clogging the screen, water pressure builds up inside the spout and can force leaks past seals that would otherwise hold. Soak a clogged aerator in white vinegar for an hour, scrub with an old toothbrush, rinse, and reinstall. If the aerator is damaged or the screen is torn, replace it. They cost about $3.
If water is dripping from under the sink, that’s a different problem. That’s usually a supply line connection that’s come loose or a worn washer where the supply line connects to the faucet tailpiece. Tighten the connection with an adjustable wrench. If it’s still dripping, shut off water, disconnect the supply line, replace the rubber washer in the coupling, and reconnect.
Common Causes Behind Faucet Leaks and Drips
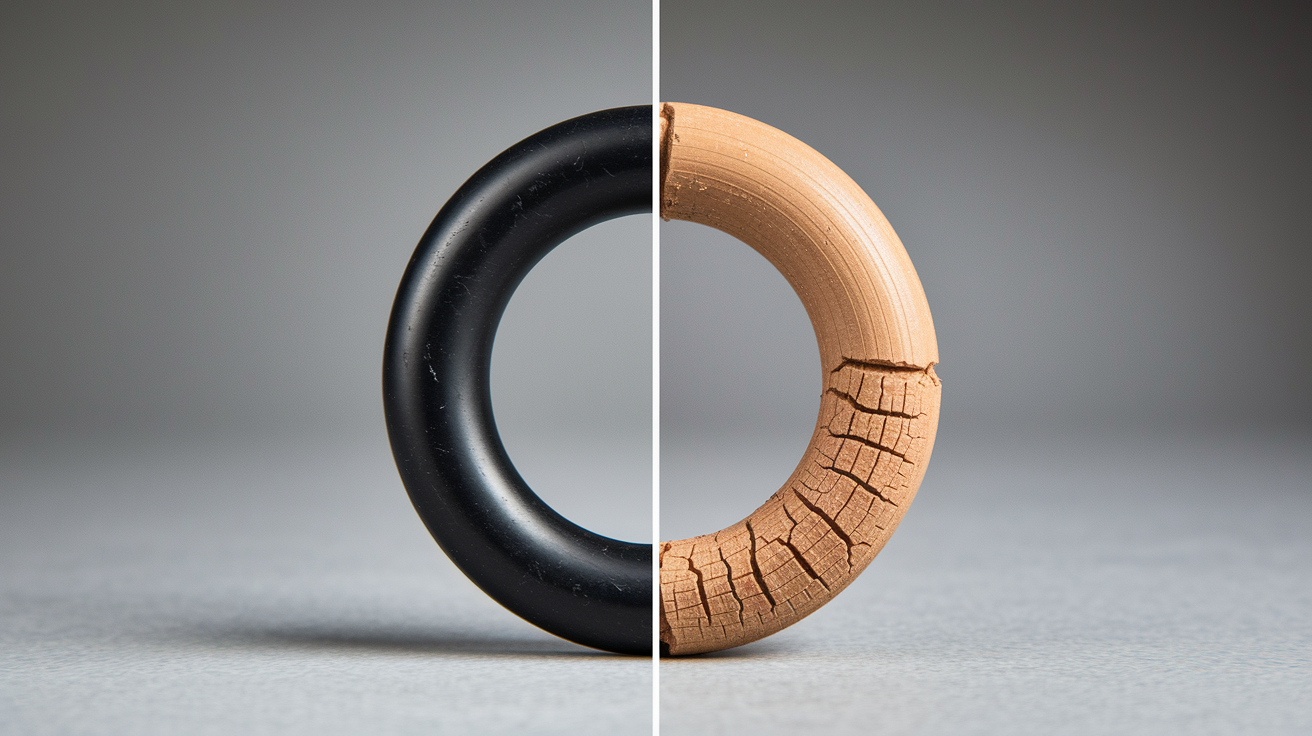
Most leaks come down to worn parts, specifically the rubber and plastic components that create seals and control flow. These parts sit in constant contact with water, pressure, and friction. Eventually, they break down.
O-rings and washers take the most abuse. Every time you turn a faucet on and off, the rubber compresses, releases, and gets dragged across metal surfaces. Hot water accelerates this breakdown, as heat makes rubber expand and then contract when cold water runs, eventually causing small cracks. Even quality O-rings dry out after a few years of this cycle. Once they lose flexibility, they can’t maintain a tight seal, and you get drips.
Mineral heavy water, what people call hard water, speeds up component failure across the board. The minerals (mostly calcium and magnesium) create deposits on sealing surfaces. A valve seat that should be smooth gets coated with rough mineral scale, and even a brand new washer can’t seal against it. The minerals also act like fine sandpaper, grinding away at rubber components faster than they’d wear out in soft water areas. Homes with hard water often see faucet components fail twice as fast.
Specific causes of faucet leaks:
- Worn O-rings that have lost their round shape and can’t seal gaps
- Deteriorated washers compressed flat or cracked from repeated use
- Corroded valve seats with rough, pitted surfaces that prevent washer contact
- Damaged cartridges with internal seals that have worn through
- Loose packing nuts that allow water to seep up around the faucet stem
- Mineral deposits and sediment buildup on any sealing surface (valve seat, disk, ball)
- Broken seals or gaskets in ball-type and ceramic disk faucets, often multiple wearing out simultaneously
When you take a leaking faucet apart, you’ll usually find the problem immediately. A washer that should be thick and pliable feels hard and thin. An O-ring that should be round is flattened or cracked. A valve seat that should be smooth to the touch feels like sandpaper. These visual and tactile clues tell you exactly what needs replacing.
Finding the cause also tells you what to expect going forward. If you live in an area with hard water and you find heavy scale buildup on internal parts, the replacement components will face the same issue. Consider a water softener for the whole house, or at minimum, clean aerators and internal faucet parts annually to prevent buildup from reaching failure levels.
Preventing Future Faucet Leaks and Water Damage
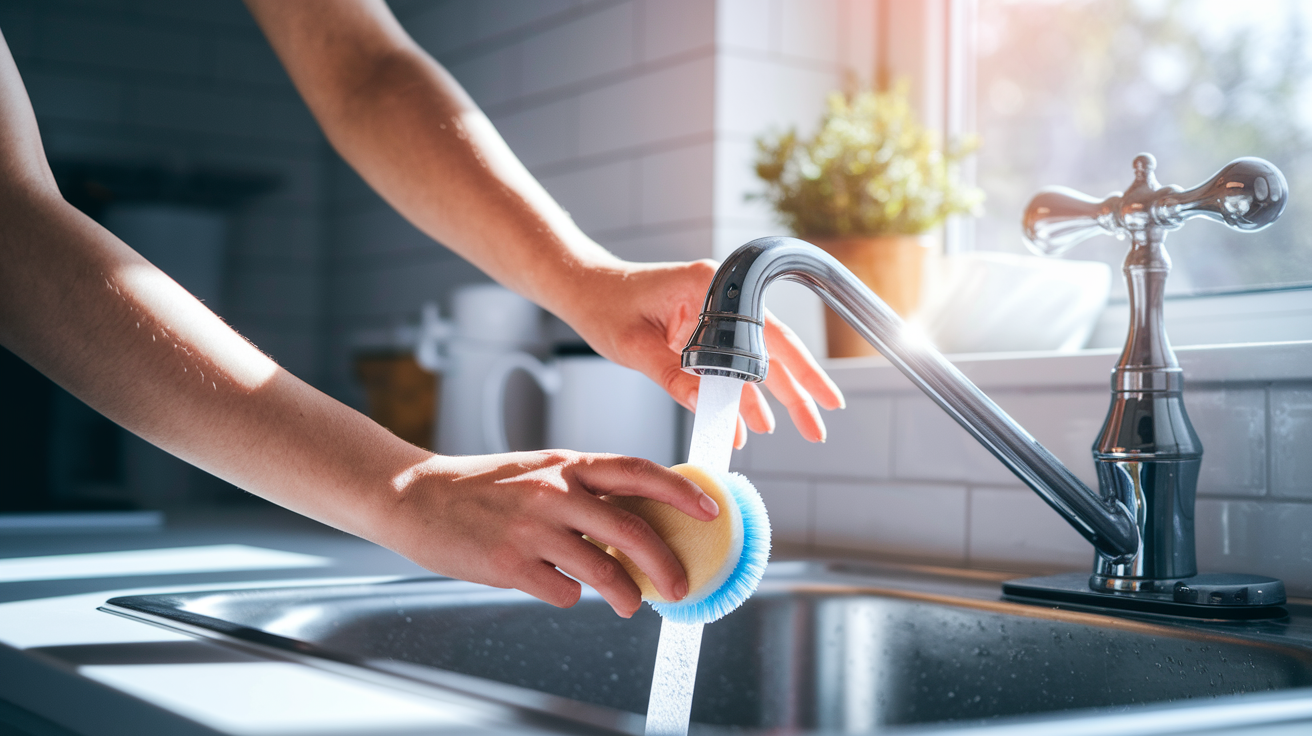
Simple maintenance extends faucet life and catches small problems before they become drips, then streams, then floods. You don’t need a schedule, just develop a habit of paying attention.
Mineral deposits are the silent killers of faucet components. Sediment builds up slowly on sealing surfaces, inside cartridges, and around valve seats. It happens so gradually you don’t notice until the faucet starts dripping. By then, the damage is done. Cleaning prevents this.
Preventive maintenance steps:
- Clean the aerator every three months by unscrewing, soaking in vinegar, brushing debris off the screen, and reinstalling
- Check for tiny drips monthly, especially after the faucet is off (catch them when they’re just starting)
- Address minor leaks within a week, not “when you get around to it” (small leaks become big leaks quickly)
- Apply plumber’s grease to any seals and O-rings whenever you have a faucet apart for any reason
- Install a water softener if you live in a hard water area (it’ll save faucets, pipes, and appliances)
- Avoid cranking faucet handles with excessive force (over-tightening wears washers and valve seats faster)
- Replace rubber washers and O-rings every one to two years as preventive maintenance, even without visible leaks
Following our Home Maintenance Checklist helps you catch these small items before they interrupt your day with a puddle under the sink.
High water pressure wears out faucet components faster than anything else. If your home’s water pressure exceeds 60 PSI (pounds per square inch), every component in every faucet is under constant stress. Seals compress harder, O-rings stretch more, and valve seats wear faster. You can check pressure with a simple gauge (attaches to an outdoor spigot, $10 at hardware stores). If pressure is over 60 PSI, install a pressure reducing valve on your main water line. Your faucets (and washing machine, dishwasher, and water heater) will last noticeably longer.
Understanding the Cost of Faucet Repairs Versus Replacement
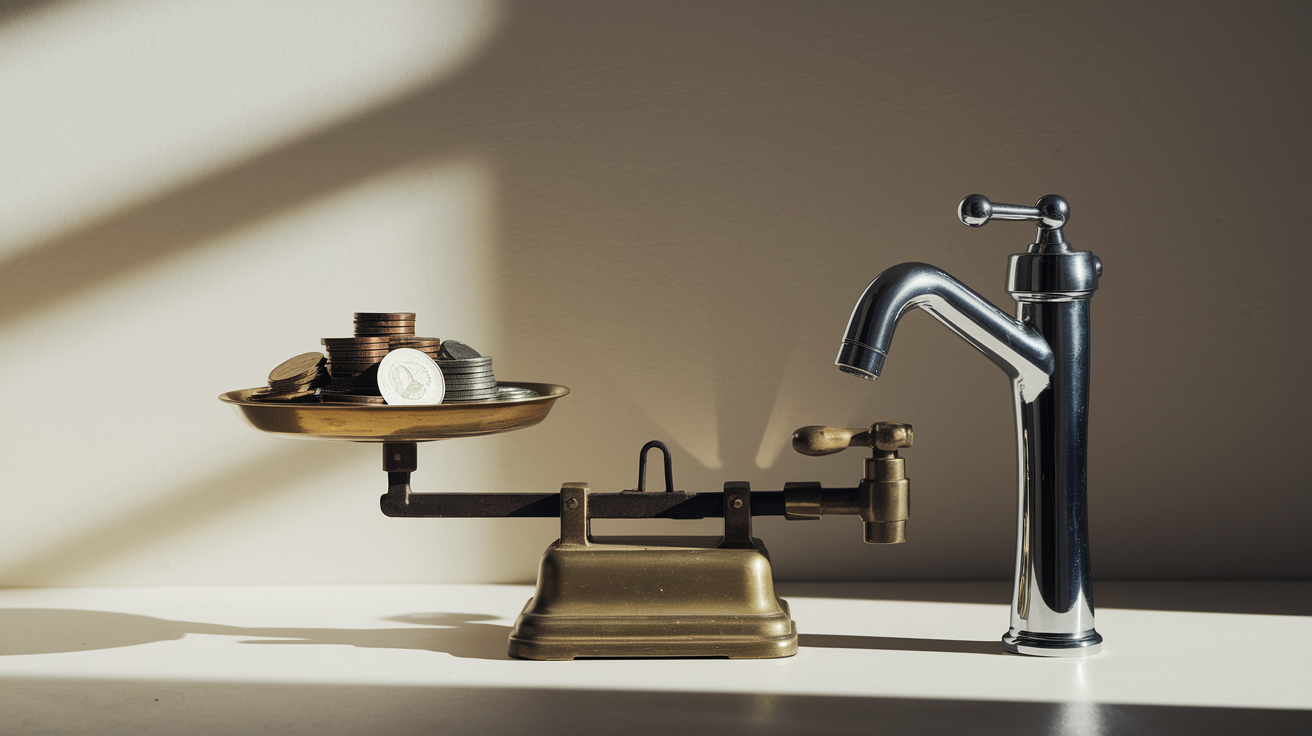
Most faucet repairs cost $5 to $25 in parts and take 30 to 60 minutes. A set of washers runs $3. A complete ball faucet repair kit with every component costs $25. A replacement cartridge, the most expensive common part, ranges from $15 to $60 depending on the brand.
Compare that to hiring a plumber, who’ll charge a service call ($75 to $150) plus labor ($100 to $200 total for a standard repair). It’s not that professionals are overcharging. They’re covering their expertise, tools, insurance, and travel time. But for straightforward washer or O-ring replacements, you’re paying $150 to $200 for something you can do in under an hour for under $25.
Full faucet replacement runs $150 to $500 installed, depending on the faucet quality and how complicated the installation is. A basic chrome bathroom faucet with simple under-sink connections sits at the low end. A pulldown kitchen faucet with separate sprayer and deck plate pushes toward the high end. Add another $50 to $100 if you need the old faucet removed and disposed of, supply lines replaced, or holes redrilled.
So when does replacement make more sense than repair? If your faucet is over 15 years old and you’re facing a second or third repair, replacement often wins. Older faucets are more likely to have hard to find parts, corroded internal threads, and worn finishes. Putting $40 into a cartridge for a 20 year old faucet that might need another repair in six months starts to feel wasteful.
Modern faucets also offer real water savings. A WaterSense labeled faucet uses about 1.5 gallons per minute compared to 2.2 gallons for older models. That’s a 30% reduction, which adds up over time, especially in homes with multiple people washing hands, brushing teeth, and doing dishes. The savings aren’t dramatic on a monthly bill, maybe $5 to $10, but they accumulate over the 15 to 20 year lifespan of a quality faucet.
| Scenario | Recommended Action | Typical Cost |
|---|---|---|
| Simple washer or O-ring leak, faucet under 10 years old | DIY repair | $5 to $25 in parts |
| Multiple component failures, cartridge needed, faucet 10 to 15 years old | Repair if parts available, consider replacement if second repair | $25 to $60 for repair, $150 to $300 for replacement |
| Faucet over 15 years old, repeated repairs, corroded finish | Replace | $150 to $500 installed |
When to Call a Professional Plumber for Faucet Issues
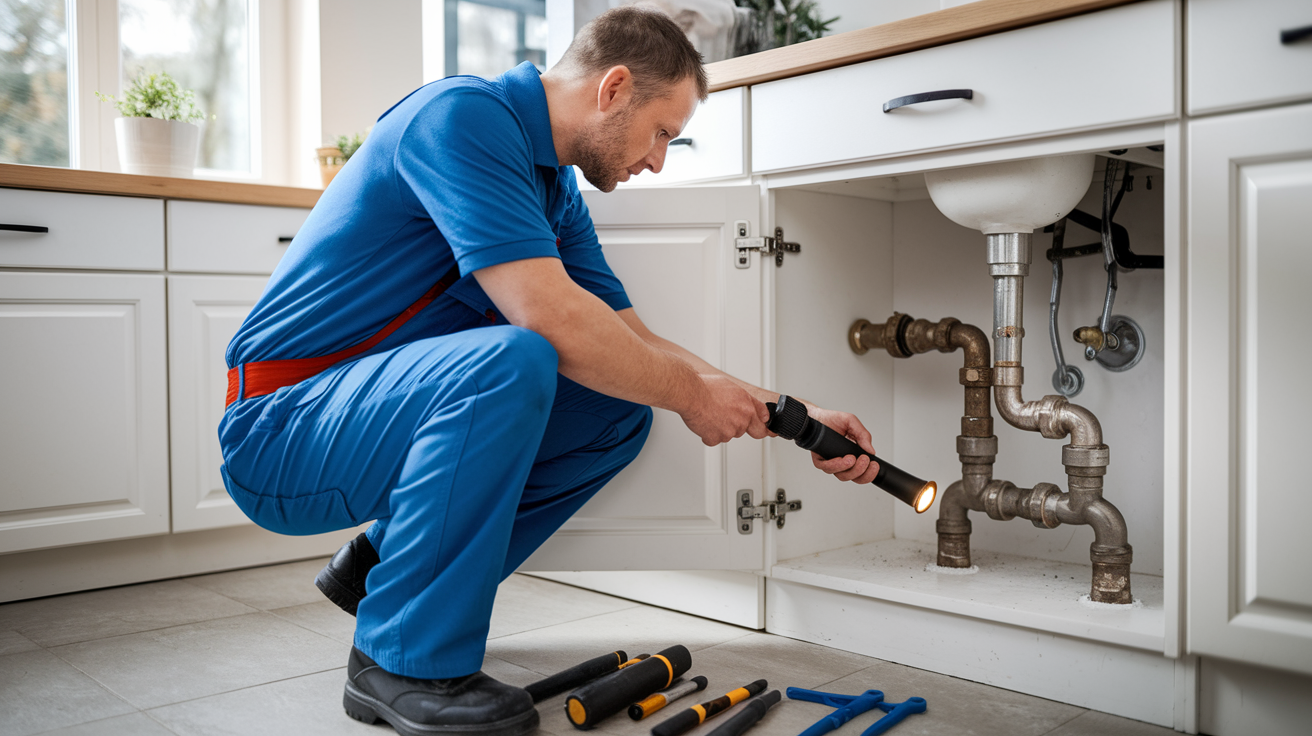
Most faucet repairs sit comfortably in DIY territory, but some situations call for professional help. Knowing when to step back prevents creating bigger problems than you started with.
Sometimes the issue isn’t the repair itself, it’s the environment around it. If you can’t locate the shutoff valves under the sink, or you find them but they’re seized and won’t turn, stop. Forcing a corroded shutoff valve can snap the valve stem or crack the pipe, turning a simple faucet drip into a water emergency. A plumber has the tools to safely free stuck valves or, if necessary, replace them.
Situations that warrant calling a professional:
- Can’t locate shutoff valves, or shutoffs are stuck and won’t close
- Stripped or damaged threads on the faucet body that prevent reassembly
- Cracked or heavily corroded valve seat that requires specialized grinding tools to repair or replace
- Leak persists after you’ve replaced all internal components and followed instructions correctly
- Need to access plumbing behind finished walls to address the leak source
- Corrosion throughout the faucet assembly (body, stem, spout) indicating imminent failure
- Don’t feel confident with the repair or lack the physical ability to safely work under a sink
- Water damage is already visible on cabinets, walls, or floors below the faucet
Water damage visible on cabinet bottoms or walls tells you the leak has been active longer than you realized. At that point, fixing the faucet is just one part of the problem. You need to assess how far the water spread, whether mold is growing, and what structural repairs are needed. That’s the kind of situation where a professional plumbing inspection catches issues that aren’t obvious.
Age and condition of surrounding plumbing matter too. If your supply lines are original to a 30 year old house, flexible braided lines have dried out and cracked, or connections under the sink show heavy corrosion, addressing the faucet leak might be the opportunity to replace vulnerable components before they fail. A plumber can handle all of it in one visit. The faucet repair, supply line replacement, and shutoff valve service.
There’s no shame in calling for help when a repair is beyond your comfort level or tool availability. HomeRecoveryPro provides clear, no pressure assessments. We’ll walk you through what’s needed, show you the problem, explain your options, and let you decide how to proceed.
Common Mistakes to Avoid During Faucet Repair
Most failed repairs come down to rushing, using wrong parts, or skipping steps that seemed optional but weren’t.
Common mistakes that cause repair failures:
- Forgetting to shut off the water supply before starting (leads to a kitchen flood the second you loosen the first connection)
- Not plugging or covering the drain (every repair involves tiny screws, clips, and washers that vanish into drains instantly)
- Using replacement parts that are close but not exact matches (an O-ring that’s 1mm too small will leak immediately)
- Over-tightening connections and stripping threads (hand tight plus a quarter turn with a wrench is usually enough)
- Forcing stuck components instead of applying penetrating oil and waiting (you’ll break something expensive trying to force corroded parts)
- Skipping plumber’s grease on O-rings and seals (dry rubber tears during installation and wears out twice as fast)
- Reassembling in the wrong order because you didn’t take photos or lay parts out sequentially (you’ll get halfway done and realize something’s missing)
- Not taking photos before and during disassembly (your memory isn’t as good as you think when you’re staring at six similar looking pieces)
- Turning the water back on quickly after ceramic disk faucet repair (sudden pressure cracks ceramic disks, turn supply valves slowly)
The “almost fits” trap catches everyone eventually. You’re at the hardware store, can’t find the exact washer size, and figure “close enough.” That almost right washer will almost stop the drip, which means it won’t stop the drip at all. Same with O-rings, cartridges, and any other replacement part. If it’s not an exact match, it won’t seal.
Take your time. Every step in faucet repair involves small parts and specific sequences. Laying parts out in order as you remove them gives you a roadmap for reassembly. Take a photo at each major step. When you’re standing there 20 minutes later holding a packing nut and can’t remember which way it threads on, that photo becomes worth everything.
Penetrating oil is your friend for stuck screws and corroded threads, but it needs time to work. Spray it on, wait five to ten minutes, then try again. Forcing a stuck screw strips the head, then you’re drilling out screws and dealing with a much bigger repair.
Emergency Temporary Fixes for Faucet Leaks
It’s 11 PM, the faucet is dripping, you’re out of parts, and hardware stores are closed. Temporary fixes stop water waste and damage until you can complete a proper repair.
The simplest solution is also the most complete. Shut off the water supply valves under the sink completely. Turn both hot and cold shutoff valves clockwise until they stop. No water reaches the faucet, so it can’t leak. You won’t have water at that sink until you turn the supply back on, but that beats listening to drips all night or waking up to a puddle.
Temporary solutions for faucet leaks:
- Shut off supply valves under the sink completely until permanent repair
- Wrap faucet stem threads with several layers of teflon tape to slow handle drip temporarily
- Tighten the packing nut (the large hex nut under the handle) slightly to reduce leaking around the stem
- Place a bucket or towel under the leak to contain water and prevent damage to cabinets or floors
- Remove aerator to reduce pressure buildup if leak is at spout connection
These fixes buy you time, but they’re genuinely temporary. A faucet leaking at one drip per second wastes more than 3,000 gallons of water annually. That single drip probably seemed harmless before you knew better, right? But at 3,000+ gallons wasted per year, plus the mold risk from constant moisture under the sink, it’s worth fixing properly within a few days.
Tightening a packing nut might stop a handle leak temporarily, but over-tightening wears out the packing faster and could crack the nut if it’s already weakened by corrosion.
Final Words
Most leaks come down to a worn washer, an old O-ring, or a cartridge that’s done its job. Once you know your faucet type and gather the right parts, the fix is usually straightforward.
If you work carefully, match your replacement parts exactly, and take your time during reassembly, you’ll stop that drip and avoid wasting thousands of gallons a year.
And if the repair feels like more than you want to tackle, that’s fine. Getting it fixed right, whether you do it yourself or call someone in, is what matters. Your faucet should work without a second thought, and now you know how to fix a leaky faucet when it doesn’t.
FAQ
How can I stop my faucet from dripping?
To stop a faucet from dripping, first identify your faucet type (compression, cartridge, ceramic disk, or ball-type), then shut off the water supply and replace the worn internal components causing the leak. Most drips are fixed by replacing washers, O-rings, or cartridges depending on your specific faucet design.
What is the most common cause of a leaky faucet?
The most common cause of a leaky faucet is a worn-out washer or O-ring that no longer creates a tight seal against water pressure. These rubber or plastic components break down over time from constant water exposure, friction, and pressure cycles, allowing water to seep past the sealing surfaces.
Can I fix a leaky faucet without replacing it?
You can fix a leaky faucet without replacing the entire unit by replacing worn internal components like washers, O-rings, cartridges, or seals. Most faucet repairs cost only $5 to $25 in parts and take 30 to 60 minutes, making repair far more cost-effective than full replacement in most situations.
How do I disassemble a single-handle faucet?
To disassemble a single-handle faucet, shut off the water supply, remove the decorative cap covering the handle screw, unscrew and lift off the handle, then remove the retaining clip or nut to access the internal cartridge or disk cylinder. Always place a towel over the drain first to prevent losing small parts during disassembly.
What tools do I need to repair a faucet?
To repair a faucet, you need an adjustable wrench, screwdriver set, needle-nose pliers, and replacement parts like O-rings and washers. A basin wrench helps in tight spaces under sinks, and penetrating oil loosens stuck components. Having all tools ready before starting prevents frustrating mid-project interruptions.
How long do faucet repairs typically last?
Faucet repairs typically last several years when done correctly with quality replacement parts and proper reassembly. Cartridge and ceramic disk faucets often run 15 to 20 years before needing cartridge replacement, while compression faucet washers may need replacement every one to two years depending on water quality and usage.
Should I use plumber’s grease when repairing a faucet?
You should use plumber’s grease when repairing a faucet because it reduces friction on seals and moving parts, extends component life, and ensures smoother operation. Apply grease generously to all O-rings, washers, and seals during reassembly to prevent premature wear and make future repairs easier.
How do I know if my faucet needs repair or replacement?
Your faucet needs repair if it’s less than 15 years old and has a single issue like a drip or base leak. Consider replacement if your faucet requires repeated repairs, shows widespread corrosion, or is over 15 years old, especially when upgrading for water efficiency or modernizing your fixtures.
What causes a faucet to leak from the base?
A faucet leaking from the base is caused by worn O-rings on the faucet body that no longer seal properly where the spout connects. Water seeps past these deteriorated O-rings during use and pools around the faucet base on your counter or sink, requiring O-ring replacement to fix.
Can hard water cause faucet leaks?
Hard water can cause faucet leaks by accelerating component deterioration through mineral deposits that create abrasive particles, build up on sealing surfaces, and corrode metal parts. Homes with hard water experience more frequent faucet component failure and benefit from installing a water softener to extend faucet life.
How much does it cost to fix a leaky faucet yourself?
Fixing a leaky faucet yourself typically costs $5 to $25 in replacement parts and takes 30 to 60 minutes of your time. This is significantly less expensive than hiring a professional plumber, which runs $100 to $200, making DIY faucet repair one of the most cost-effective home maintenance tasks.
When should I call a plumber for a faucet leak?
You should call a plumber for a faucet leak when you cannot locate the shut-off valve, the leak persists after replacing components, or you discover stripped threads or cracked valve seats requiring specialized tools. Professional help is also wise if water damage is already visible or you lack confidence in DIY repairs.