

Ever patch a crack only to watch it reappear a few months later? That’s what happens when you skip the tape and just fill the gap with compound. Most homeowners don’t realize that a proper crack repair needs reinforcement, not just filler. In this guide, we’ll walk you through the right way to fix drywall cracks so they actually stay fixed, using the same mesh tape and layering technique that keeps repairs stable even when your house settles or temperatures shift.
Identifying Different Types of Drywall Cracks and Their Causes
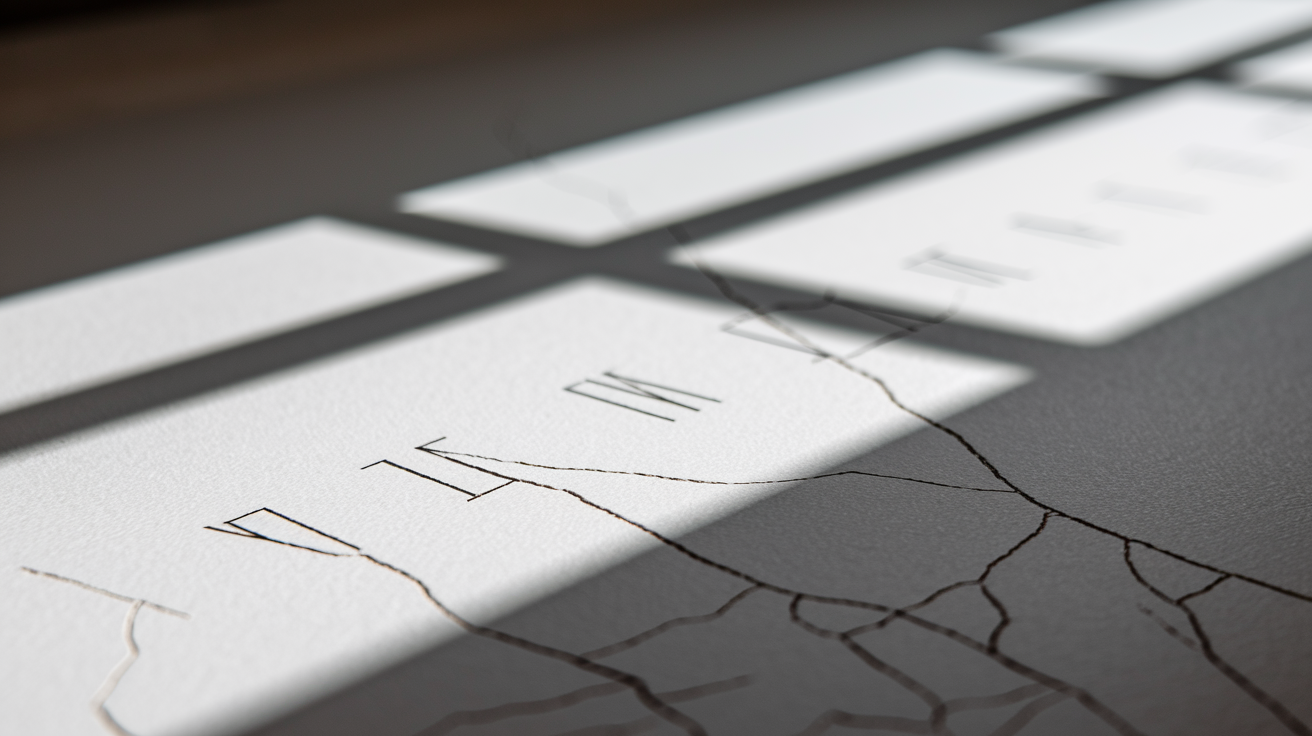
Understanding what type of crack you’re dealing with helps you pick the right repair method and tells you whether it’s a quick cosmetic fix or something that needs a closer look. Not all cracks mean trouble, but some point to foundation or structural issues that won’t go away with spackling.
| Crack Type | Appearance | Common Causes | Severity Level |
|---|---|---|---|
| Hairline Cracks | Thin, barely visible lines less than 1/16 inch wide | Paint buildup, minor settling, temperature changes | Low (cosmetic) |
| Settling Cracks | Vertical or slightly diagonal cracks, typically near doors and windows | Normal house settling, new construction adjustment | Low to Moderate |
| Stress Cracks | Longer cracks radiating from corners of openings | Structural movement, improper framing, foundation shifts | Moderate to High |
| Spider Web Cracks | Multiple short cracks spreading from a central point | Impact damage, improper mud application, fast drying | Low (usually surface only) |
| Ceiling Cracks | Straight or irregular lines across ceiling surface | Truss uplift, temperature fluctuations, moisture, sagging joists | Moderate to High |
| Corner Cracks | Separation where ceiling meets wall or at inside corners | Expansion and contraction, seasonal movement, settling | Low to Moderate |
Cosmetic cracks show up from normal wear and temperature swings, especially in newer homes still adjusting to their foundations. These typically stay narrow and don’t widen over time. You’ll see them around door frames and windows where the framing creates natural stress points. If you’ve lived in your house through a few seasons and the crack hasn’t changed much, it’s probably cosmetic.
Structural cracks tell a different story. If a crack keeps coming back after you repair it, widens noticeably over months, or runs diagonally across a wall in a stair step pattern, something’s moving underneath. Foundation problems, poor drainage letting water pool near your foundation, or moisture damage in crawl spaces can all cause the kind of movement that cracks drywall. Seasonal cracks that open wider in winter and close a bit in summer point to expansion and contraction from temperature changes. Common, but worth monitoring. When you see multiple cracks appearing in the same area, horizontal cracks, or cracks wider than a quarter inch, that’s when you want a foundation or structural professional to take a look before you spend time on repairs that won’t hold.
Choosing the Right Compound: Joint Compound vs Spackle vs Setting Type
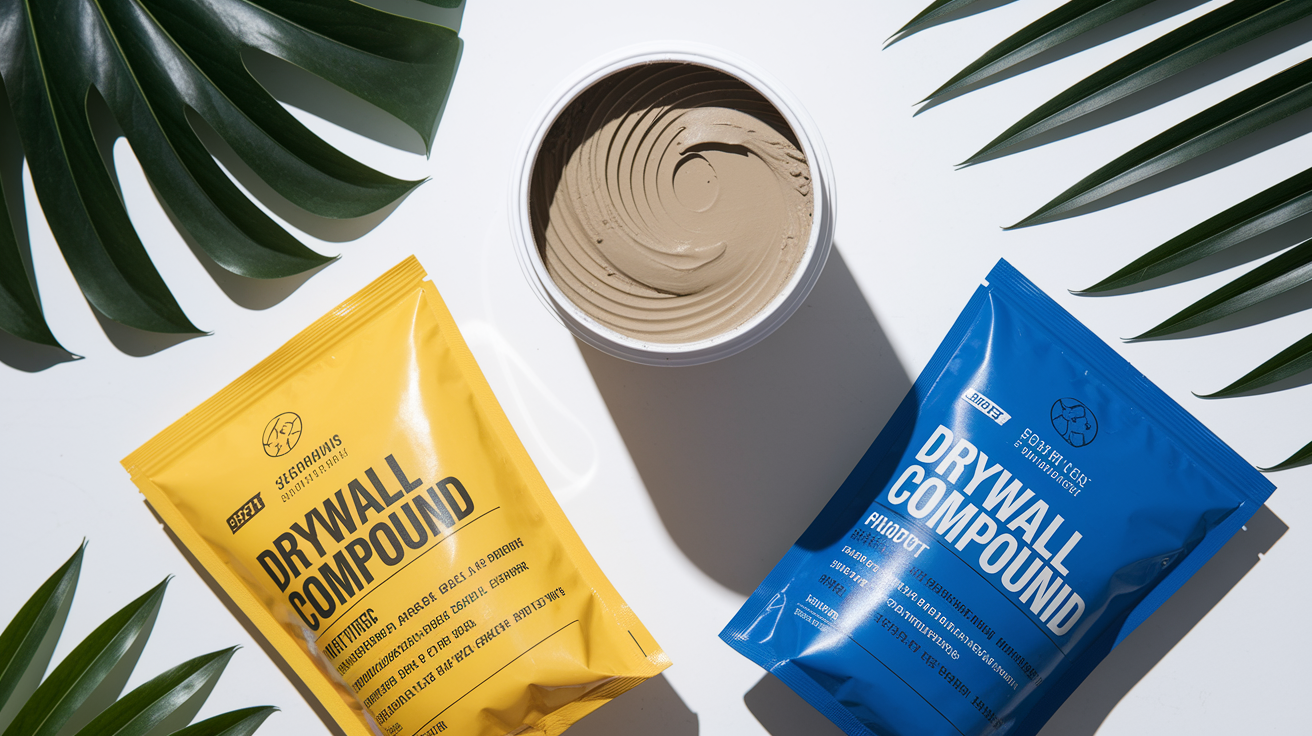
Using the wrong patching material is one of the main reasons repairs crack again within months. Different compounds handle movement, shrinkage, and strength in different ways. Matching the product to your specific crack type saves you from doing the job twice.
Pre Mixed Joint Compound and Spackle
Pre mixed products come ready to use right out of the container, which makes them convenient for quick touch ups and small cosmetic repairs. Spackle works fine for tiny nail holes and hairline surface cracks that don’t involve any structural movement. The downside is shrinkage. As the water evaporates, pre mixed compound pulls back into itself, which means you’ll likely need multiple applications even on small repairs. For cracks caused by settling or movement, pre mixed compound alone won’t hold because it lacks the strength to bridge gaps that keep trying to open. If you’re fixing spider web cracks from a doorknob impact or patching a small ding, pre mixed is plenty. For anything that involves actual crack repair, you’ll want something stronger.
Setting Type Compound for Permanent Repairs
Setting type joint compound (also called hot mud) chemically hardens instead of just drying out, which makes it much stronger than pre mixed. You’ll see it sold in 45 minute and 90 minute varieties, which tells you how long you have to work before it starts to set. The 45 minute version dries hard in about 45 to 50 minutes, which is great when you want to knock out a repair in one afternoon. The 90 minute type gives you more working time, especially helpful if you’re doing a larger repair or learning the technique. Once setting type compound hardens, it doesn’t shrink the way pre mixed does, so you get a stable repair that can handle normal house movement. For severe cracks or anything that’s cracked before, setting type compound is the right choice. The lightweight versions sand easier and still give you that 90 minute window to feather your edges before it starts to harden.
Patch Plus Primer Products
Products like 3M Patch Plus Primer combine patching compound with primer in one step, which cuts your repair time and material costs. You can paint over it after just 30 minutes without adding a separate primer coat, which means you can finish a crack repair and have it painted the same day. The compound spreads smooth, bonds well, and doesn’t require the mixing step that setting type needs. When you’re buying Patch Plus Primer at the store, check that the container hasn’t been opened before. If the seal is broken or the lid feels loose, grab a different one. An opened container might’ve started drying out or could have contamination that’ll affect how it bonds and dries.
Essential Tools and Materials Required for Drywall Crack Repair

Getting everything together before you start means you won’t be halfway through a repair and realize you’re missing sandpaper or a wide enough knife. A little prep saves trips to the store with half dried compound on your hands.
Required Materials:
- Fiberglass mesh drywall tape (self adhesive for easy application and structural reinforcement)
- Joint compound, setting type compound, or Patch Plus Primer (depending on crack severity)
- Primer (unless using primer in one product)
- Interior paint matching your wall color
- 100 grit sandpaper (for removing loose debris and initial smoothing)
- 220 grit sandpaper or fine grit sanding sponge (for final blending)
- Patching material for any damaged drywall sections
- Clean rags or tack cloth for dust removal
Required Tools:
- Putty knife (4 inch for small repairs) or 6 inch drywall knife (for longer cracks over 2 to 5 feet)
- Utility knife or 5 in 1 painter’s tool (for widening narrow cracks and removing old material)
- Taping knife (for applying mesh tape smoothly)
- Sanding block or sanding sponge (for even pressure during finishing)
- Mud pan (if working with larger repairs and 6 inch knife)
- Vinyl gloves (compound dries out your hands)
- Drop cloth and protective clothing
Investing in decent tools makes the work easier and the results cleaner. A quality putty knife won’t flex too much when you’re feathering edges, and a good sanding sponge gives you better control than paper alone. If you’re buying a brush for touch up painting, something like a Purdy 2 inch brush will last you a couple years if you clean it properly and wrap it in plastic wrap between uses. You don’t need professional grade everything, but avoid the cheapest options that’ll frustrate you halfway through the job.
Complete Step by Step Process for Repairing Drywall Cracks

Proper crack repair means adding reinforcement, not just filling the gap with compound. House settling and normal building movement will crack compound only repairs every time, usually within a few months. Here’s how to do it so it actually holds.
-
Remove loose debris and old material. Use 100 grit sandpaper to clean out any loose bits of old compound, paint, or drywall crumbs from the crack. You want a clean surface for the tape to stick to.
-
Widen narrow cracks if needed. If your crack is less than a quarter inch wide, run a 5 in 1 painter’s tool along it to remove old caulking, paint layers, and debris. This seems backwards, but it gives the patching material a better surface to grab onto and prevents future failure.
-
Check drywall attachment. Press on the wall around the crack. If it feels loose or flexes, the drywall isn’t properly attached to the studs behind it. Add drywall screws every 4 inches on either side of the crack to secure it before taping. Loose drywall will just crack again.
-
Choose your tape type. For most standard repairs, self adhesive fiberglass mesh tape works great and goes on fast. For cracks caused by expansion and contraction (like seasonal movement or temperature changes), paper tape combined with elastomeric compound creates a flexible membrane that moves with the wall instead of fighting it.
-
Apply tape centered over the crack. Press the mesh tape down firmly so it’s smooth with no bubbles or wrinkles. The tape provides the structural reinforcement that compound alone can’t give you. This step is what makes the repair permanent.
-
Apply the first thin coat. Spread compound over the tape with your putty knife, pressing it into the mesh. This coat embeds the tape and fills the crack underneath. Don’t worry about perfection here, just get even coverage.
-
Wait 30 minutes between coats. Let each layer dry before adding the next one. Rushing this step causes cracking and soft spots that’ll show through your paint later.
-
Apply the second coat with feathering. Spread compound about 2 inches past the tape center on each side. Here’s where technique matters. Apply more pressure on the side of your knife touching bare drywall, less pressure over the tape. This feathers the edge so the repair blends into the wall instead of creating a visible ridge.
-
Add a third coat if needed. For deeper cracks or a smoother finish, apply at least 2 to 3 coats total. Make each successive coat a little wider than the last to keep feathering those edges outward. The wider you feather, the less you’ll see the repair.
-
Sand lightly between coats if adding multiple layers. If you’re doing more than two coats, a quick light sanding with 220 grit paper knocks down any high spots before the next layer.
-
Final sanding to blend. Once your last coat is fully dry, use a fine grit sanding sponge in circular motions to blend the patched area flush with the surrounding wall. You’re aiming for a smooth transition you can’t feel when you run your hand over it.
-
Remove all dust. Wipe the area with a damp rag to get rid of sanding dust. Any dust left behind will show through your primer and paint as rough texture.
The entire repair takes one afternoon if you’re doing 2 coats, or you can spread it over a weekend if you want 3 coats for a perfect finish. The key is that fiberglass mesh tape providing structural reinforcement that compound alone just can’t achieve. Skip the tape and you’re setting yourself up to redo this same crack in six months.
Repairing Hairline Cracks and Wide Cracks in Drywall

The width of your crack determines your approach. Hairline cracks (under a quarter inch) and wide gaps (over a quarter inch) need different techniques to get a repair that holds.
Hairline Crack Repair Method
Hairline cracks look like they’d be the easiest to fix, but they’re actually tricky because there’s not much surface area for the compound to grab. That’s why you widen them first with a 5 in 1 tool. Drag the pointed end along the crack to remove old paint, bits of caulk, and any loose material that’ll prevent good adhesion. You’re essentially creating a small V shaped groove that gives your patching material something to bond to. Once you’ve cleaned it out and removed the loose debris, the standard mesh tape and compound process works fine. A regular 4 inch putty knife is plenty for hairline repairs since you’re not covering much area.
Wide Crack and Gap Filling Approach
Cracks wider than a quarter inch or longer than 2 to 5 feet need more coverage and a bigger tool. Switch to a 6 inch drywall knife and use a mud pan to load your compound. Wide cracks usually mean more movement happened, so you’ll definitely want setting type compound for the strength. Apply your mesh tape the same way, but plan on at least 3 coats to properly fill and feather the repair. Each coat should extend farther out to blend that wider repair zone into the rest of the wall. The feathering area needs to be larger too, sometimes 4 to 6 inches on each side of the tape center, so the transition isn’t visible. Wide cracks also take longer to dry between coats since you’re putting on more material.
When you’re at the store picking up Patch Plus Primer or joint compound, check those containers. If the lid’s been opened or the seal is broken, the compound inside might’ve started drying or could have debris mixed in. Grab a sealed container instead.
Addressing Ceiling Cracks and Corner Bead Repairs

Ceiling and corner cracks have their own challenges. Gravity works against you on ceilings, and corners are where the most movement happens in a house, which is why they crack more than flat walls.
For corner cracks where the ceiling meets the wall, you’ve got a choice to make. Standard mesh tape and compound will work, but a thin line of white paintable caulk is often the better solution. Caulk stays flexible, so when the house expands and contracts with temperature changes, the repair flexes instead of cracking again. Apply a smooth bead of caulk, wipe it flush with a damp finger, let it dry, and paint over it. That flexibility means you’re not fighting natural building movement.
Corner bead damage is different from corner cracks. If the metal corner bead is dented or separated from the wall, you’ll need to reattach it with drywall screws or replace the damaged section entirely before you can patch over it. Once the bead is solid, apply setting type compound in thin layers, building it up until it’s flush with the corner profile. The metal edge gives you a guide to follow, but you’ll need patience because thick coats on corners tend to slump before they dry.
For textured ceilings that need crack repair, you’ve got the extra step of matching the texture after the patch dries. Textured ceiling and wall patch kits come in aerosol cans for quick touch ups or powder form for larger areas. If you’re doing the powder route, lightweight setting type compound (90 minute) gives you enough working time to apply the texture and adjust it before it hardens. Practice your texture technique on a scrap piece of drywall first. A 4×8 foot sheet costs less than $10 and lets you get the pattern right before you’re working overhead with wet compound.
Texture Matching and Painting Over Repaired Drywall Cracks

A perfect structural repair still stands out if the texture and paint don’t match. Blending your patch into the existing surface is what makes the crack disappear completely.
-
Remove final dust. Wipe down the repaired area with a damp rag to pick up every bit of sanding dust. Even tiny particles will show as bumps or rough spots under paint.
-
Apply primer. If you’re using standard joint compound, prime the patched area before painting. Primer seals the compound so the finish paint doesn’t soak in unevenly. If you used Patch Plus Primer, you can skip to painting after 30 minutes since the primer is already in the product.
-
Practice texture matching on scrap. If your wall has texture (not flat), grab a small piece of drywall and practice recreating that pattern. A scrap 4×8 sheet costs under $10 at most home centers, and it’s worth it to dial in the technique where mistakes don’t matter.
-
Apply texture to the repair. Use aerosol texture for small areas or mix up powder texture for larger repairs. Spray or trowel it on to match the surrounding pattern. Orange peel, knockdown, and popcorn textures each need slightly different application methods, but the aerosol kits include instructions for common patterns.
-
Match your paint color. Take a paint chip from an inconspicuous spot to the store for color matching. Interior paint shifts slightly over time from sunlight and aging, so a fresh can of the “same” color might not quite match. Mixing from your chip gets you closer.
-
Touch up with a quality brush. Use a 2 inch brush to feather the paint beyond just the patched area. This blends the new paint into the old so there’s no visible edge. Multiple thin coats look better than one heavy coat.
Blending texture takes a light hand. If you’re working with knockdown texture, apply the texture material, wait about a minute, then lightly drag a drywall knife across the high points to flatten them. For orange peel or splatter textures, the aerosol kits make matching easier since the spray pattern is already set. Hold the can the same distance from the wall as shown in the instructions and use the same motion (usually circular) as the existing texture.
If you’re patching an area where wallpaper used to be, you might find the old wallpaper sizing created an uneven surface. Sand down any ridges from the sizing, patch those spots with Patch Plus Primer or compound, let it dry, then prime and paint the whole wall for even coverage. Trying to touch up over old sizing usually shows a texture difference.
DIY Repair vs Hiring a Professional Contractor for Drywall Cracks

Most drywall cracks are straightforward DIY repairs that’ll cost you $20 to $50 in materials and a few hours of your time. Knowing when to handle it yourself and when to call someone saves money and prevents repairs that won’t last.
| Repair Scenario | DIY Appropriate | Hire Professional |
|---|---|---|
| Simple hairline cracks | Yes, with mesh tape and compound | Not needed unless part of larger wall damage |
| Recurring cracks after proper repair | No, indicates underlying structural issue | Yes, for foundation or structural assessment |
| Multiple/widespread cracking | Individual cracks yes, pattern evaluation no | Yes, to identify and address root cause |
| Cracks with moisture stains or mold | No, moisture source must be found first | Yes, to identify leak and prevent mold spread |
| Cracks in load bearing walls or near structural elements | No, may indicate serious structural problem | Yes, requires structural engineer evaluation |
For basic crack repair with materials and a few hours of your weekend, you’re looking at $20 to $50 for mesh tape, compound, sandpaper, and primer. Add another $15 if you need to buy a decent putty knife and sanding sponge. Professional drywall repair typically runs $150 to $400 depending on the crack severity, number of cracks, and whether texture matching is involved. If you’re fixing two or three small cracks, DIY makes sense. If you’ve got cracks throughout a room or cracks that keep coming back, the cost difference shrinks since you’ll need professional diagnosis anyway.
Warning signs that you need professional assessment include cracks that reappear even after proper mesh tape repair, which points to ongoing foundation movement or structural settling. Poor drainage around your home’s foundation shows up as recurring cracks in the same walls, often with moisture stains or musty smells in nearby areas. If you see cracks and your drywall isn’t properly attached to the studs or joists (you can push on it and feel movement), that’s an installation or framing issue that needs proper securing before any surface repair will hold. Load bearing walls with new cracks, especially diagonal or stair step patterns in basement walls, need a structural professional to evaluate whether the foundation is failing or settling unevenly.
When you’re dealing with multiple cracks in the same area, moisture damage, or structural attachment problems, the right move is to get professional help for diagnosis before spending time on repairs that won’t last. Sometimes the crack is just the visible symptom, and fixing the underlying problem is what actually solves it.
Common Mistakes and Troubleshooting in Drywall Crack Repair
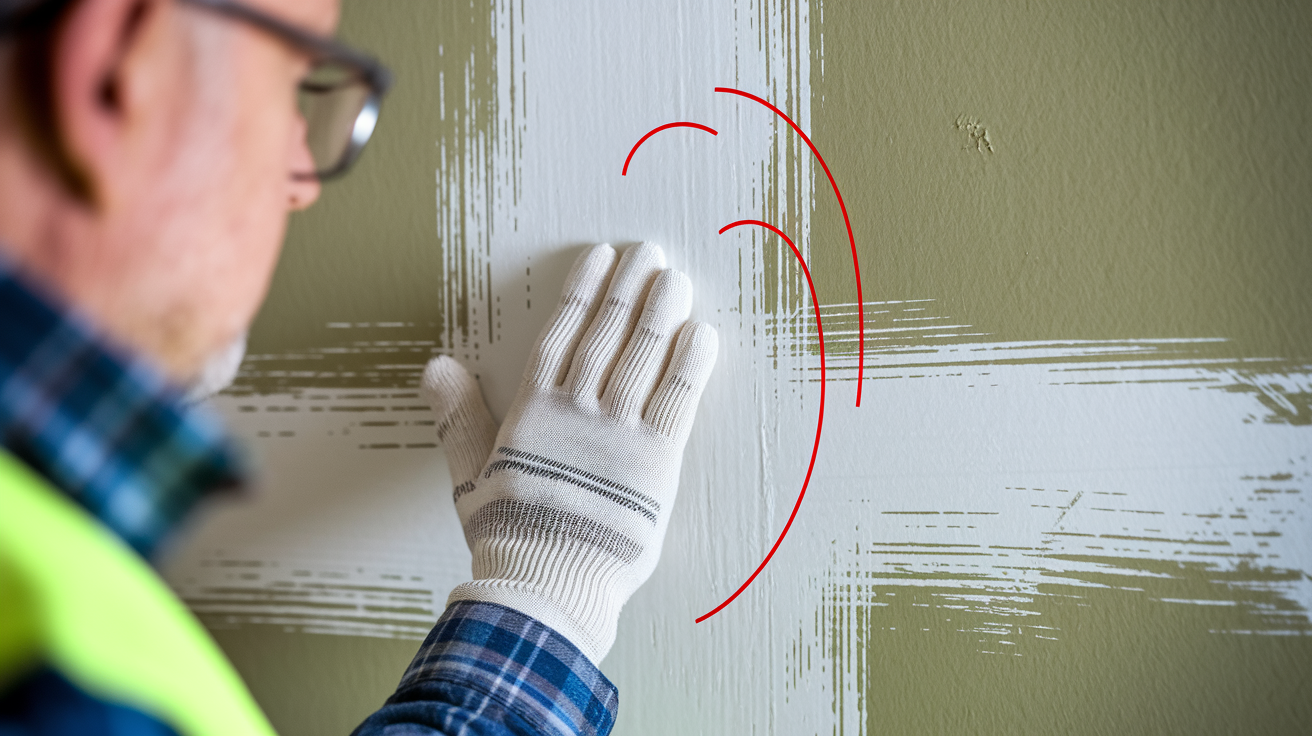
Even experienced DIYers run into issues with crack repairs. Knowing what typically goes wrong helps you avoid frustration and wasted materials.
Common mistakes that cause repair failure:
- Skipping fiberglass mesh tape and using only compound or spackling. The crack will reopen within months because settling and normal house movement needs reinforcement that compound alone can’t provide.
- Not waiting 30 minutes between coats. Wet compound over wet compound causes soft spots, cracking, and uneven drying that shows through paint.
- Insufficient feathering that leaves visible edges where the repair meets the wall. You’ll see the patch as a raised area or texture change.
- Using pre mixed compound on structural cracks when setting type is needed. Pre mixed lacks the strength for cracks caused by movement.
- Applying just one coat when the crack needs 2 to 3 for proper coverage and strength. Single coats often shrink and crack as they dry.
- Rough sanding technique that damages the surrounding drywall paper. Use light pressure and circular motions instead of aggressive back and forth scrubbing.
- Painting before the compound is completely dry. Trapped moisture causes the paint to bubble and the repair to fail.
- Ignoring foundation issues, poor drainage, or moisture problems that keep causing the crack. You’re just patching the symptom, not fixing the cause.
If your repair shrinks and creates a slight depression, that’s normal with some compounds. Just apply another thin layer, let it dry, sand it smooth, and move forward. The repair isn’t failing, you just need one more coat to bring it flush with the wall. For visible seams where the feathered edge meets the existing wall, extend your next coat farther out (maybe another 2 inches on each side) and use even lighter pressure on the outer edge of your knife to create a more gradual transition. For rough texture after sanding, switch to finer sandpaper (220 grit or higher) and use gentler pressure with more overlap in your sanding pattern.
When the repair technique is correct but the crack keeps coming back, you’re dealing with a different problem. Foundation movement, moisture intrusion, or structural settling will crack any surface repair no matter how well you apply it. At that point, the crack is telling you something underneath needs attention before the cosmetic fix will hold.
Preventing Future Drywall Cracks and Maintenance Tips

Preventing cracks is easier and cheaper than fixing them. A few proactive steps reduce the chances you’ll be spackling the same spots year after year.
Prevention strategies that reduce cracking:
- Maintain consistent indoor humidity between 45% and 55%. Extreme dryness or humidity causes wood framing to expand and contract, which stresses drywall.
- Ensure proper ventilation in moisture prone areas like bathrooms, kitchens, and laundry rooms. Exhaust fans that actually vent outside (not into the attic) prevent moisture buildup that weakens drywall.
- Address foundation drainage and grading issues around your home. Water pooling near the foundation causes settling and movement that cracks walls.
- Use elastomeric sealant in high moisture bathrooms and shower surrounds. These waterproof, paintable sealants flex with movement instead of cracking.
- Inspect seasonally, especially in winter when temperature fluctuations make cracks most visible. Catching small cracks early means easier repairs.
- Control temperature fluctuations when possible. Rapid heating or cooling cycles cause expansion and contraction that stresses drywall seams.
- Ensure proper initial installation with drywall fasteners every 4 inches along studs and joists. Loose drywall moves and cracks more easily.
Seasonal inspection timing matters because cracks widen in winter and narrow in summer as the house responds to temperature changes. Address cracks during winter when they’re most visible and widest, so your repair covers the full range of movement. Check corners where walls meet ceilings, around door and window frames, and in areas above foundation walls. Look for new hairline cracks, widening of existing cracks, or patterns like multiple cracks radiating from one area.
When cracks keep recurring despite proper repair technique with mesh tape and setting compound, you’re seeing symptoms of systemic issues rather than simple cosmetic problems. Foundation settlement from poor soil compaction, structural movement from undersized framing members, or poor original construction where drywall seams don’t land on studs all cause chronic cracking that surface repairs can’t solve. At that point, you need foundation or structural assessment to address the root cause. Adding a regular seasonal home maintenance routine helps you catch foundation drainage problems, moisture intrusion, or other issues before they turn into patterns of repeated cracking.
Final Words
Crack repair in drywall comes down to reinforcement and patience. The mesh tape isn’t optional, and neither are those thin coats with real drying time between passes.
When you widen hairline cracks and feather the edges properly, the repair stays put. If the crack keeps coming back anyway, that’s when you check drainage, moisture, or movement underneath.
Most cracks respond to a careful fix. And once they’re done right, you can stop thinking about them.
FAQ
Can cracks in drywall be repaired?
Cracks in drywall can be repaired using fiberglass mesh tape and joint compound. The key is reinforcing the crack with tape, not just filling it with compound alone, because house settling causes unreinforced repairs to crack again.
What is the best filler for drywall cracks?
The best filler for drywall cracks depends on severity. Setting-type compound (45 or 90 minute) works best for structural repairs because it dries hard and resists shrinkage, while pre-mixed joint compound or Patch Plus Primer suits small cosmetic cracks.
How to fix cracked walls permanently?
To fix cracked walls permanently, apply fiberglass mesh tape over the crack, then coat with setting-type compound in multiple thin layers. Never use compound alone because settling and movement will cause cracks to return without reinforcement providing structural support.
Do painters fix cracks in walls?
Painters typically fix minor cosmetic cracks as part of surface preparation before painting. For structural cracks, recurring damage, or cracks indicating foundation or moisture issues, a handyman or contractor with drywall repair experience provides more reliable permanent solutions.
When should I widen a hairline crack before repair?
You should widen hairline cracks less than ¼ inch using a 5-in-1 tool to remove old caulking, paint, and debris. This counterintuitive step improves patching material bonding and prevents future failure by creating a clean surface for adhesion.
How many coats of joint compound do I need?
You need at least 2 to 3 coats of joint compound for best results. Apply thin layers with 30 minutes drying time between coats, making each successive coat wider to feather edges and blend the repair into surrounding wall surfaces.
Can I paint immediately after patching drywall cracks?
You can paint 30 minutes after using Patch Plus Primer products without separate priming. Standard joint compound requires complete drying, light sanding with 220-grit sandpaper, dust removal with a damp rag, and primer application before painting for proper adhesion.
Why do my repaired cracks keep coming back?
Repaired cracks keep coming back when you skip mesh tape reinforcement or underlying issues like foundation movement, poor drainage, moisture damage, or structural settling persist. Compound alone cannot withstand house movement and expansion/contraction cycles causing stress.
What’s the difference between joint compound and spackle?
Joint compound and spackle differ in strength and shrinkage. Pre-mixed spackle offers convenience for small cosmetic repairs but shrinks more, while setting-type joint compound dries harder in 45 to 50 minutes and provides superior strength for severe cracks.
Should I use paper tape or mesh tape for drywall cracks?
You should use self-adhesive fiberglass mesh tape for standard crack repairs because it provides structural reinforcement. For cracks caused by expansion and contraction movement, paper tape with elastomeric compound creates a flexible membrane that accommodates seasonal building shifts.
How do I repair corner cracks where ceiling meets wall?
Corner cracks where ceiling meets wall repair better with a thin line of flexible white caulk instead of rigid compound. Caulk accommodates building movement and expansion/contraction cycles that would crack brittle compound in these high-stress transition areas.
When should I hire a professional instead of DIY repair?
You should hire a professional for recurring cracks after proper repair, multiple widespread cracking, cracks with moisture stains or mold, and cracks in load-bearing walls. These indicate foundation issues, structural movement, or moisture problems requiring expert assessment.
How do I match texture after repairing a crack?
To match texture after repair, practice the technique on scrap drywall costing under $10 before working on your wall. Use aerosol or powder textured ceiling and wall patch kits, or apply 90-minute lightweight setting compound for manual texturing work.