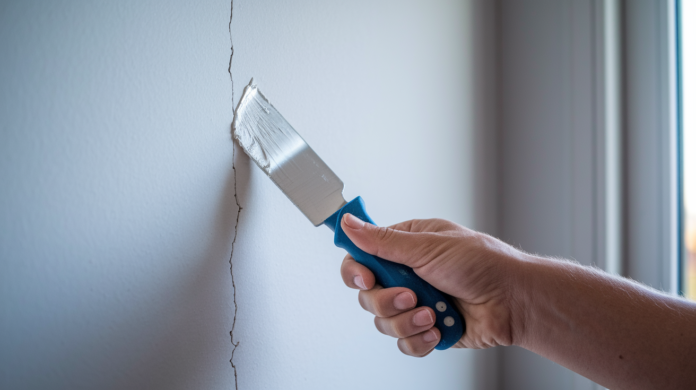

You’ve probably walked past that thin crack above your doorway a hundred times, told yourself you’d fix it someday, and then just kept walking. Here’s the thing: hairline drywall cracks are one of the easiest home repairs you can tackle, and ignoring them just gives them time to spread. With about $20 in materials and a free afternoon, you can make those cracks disappear completely. This guide walks you through the entire process, from widening the crack properly to getting a smooth, invisible finish that actually lasts.
Complete Repair Process for Hairline Cracks in Drywall

Repairing hairline cracks in drywall is pretty straightforward. Most homeowners can handle this with basic tools and a free afternoon. The process uses simple materials and doesn’t require specialized skills, just patience and attention to detail.
Here’s the complete repair sequence:
- Clean the crack with a damp cloth to remove dust and loose debris
- Widen the crack into a shallow V-shape using a utility knife to improve compound adhesion
- Apply a thin layer of joint compound with a putty knife, pressing it firmly into the prepared groove
- Allow 12 to 24 hours for the compound to dry completely per manufacturer instructions
- Sand the surface smooth with 220 grit fine sandpaper until it’s flush with the surrounding wall
- Prime the repair to prevent flashing and uneven sheen
- Paint to match your existing wall color, applying two coats for best results
The sections that follow break down each step in detail, along with tips for professional looking results.
Common Causes of Hairline Cracks in Drywall
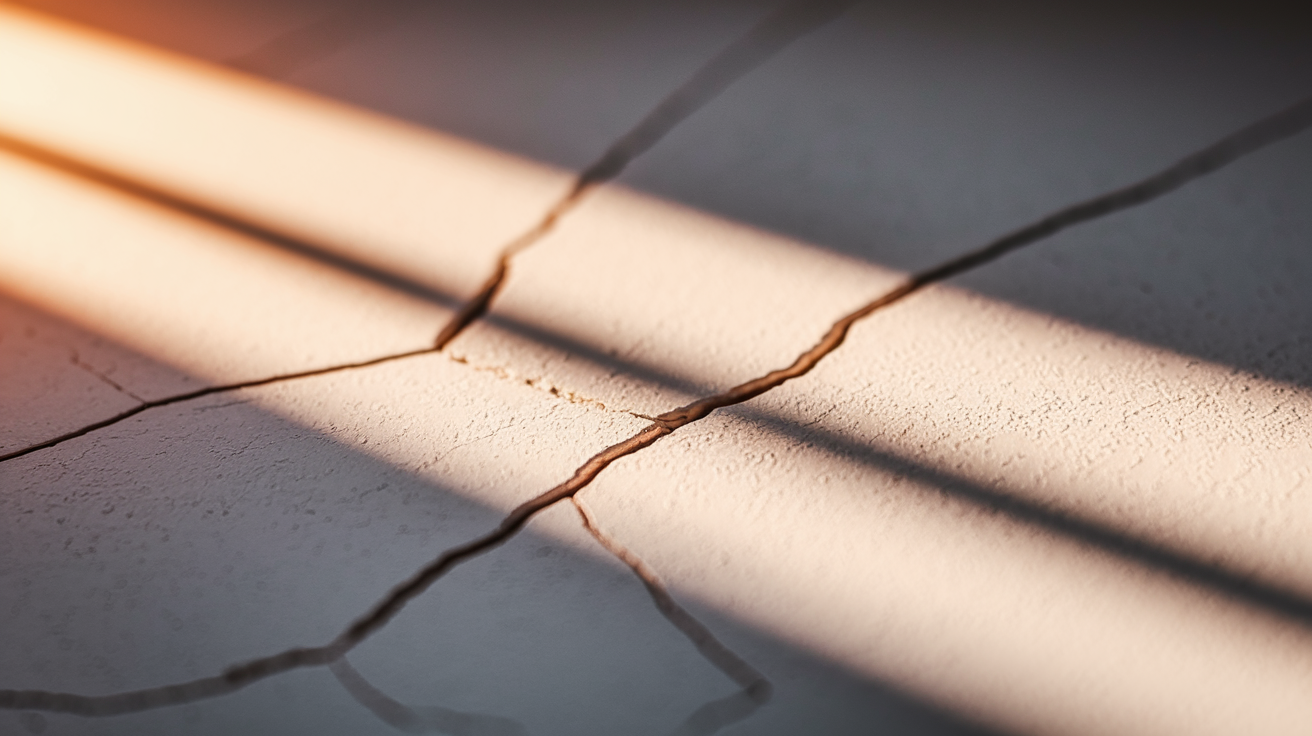
Hairline cracks show up in nearly every home at some point. They’re normal, they’re common, and they usually don’t mean anything serious is wrong.
Most hairline cracks develop from everyday factors:
Temperature and humidity fluctuations. As your home heats up and cools down through seasons, drywall expands and contracts slightly. This creates thin stress cracks, especially in vacation homes without full time climate control.
Natural house settling. All homes settle on their foundations over time, particularly in the first few years after construction. This creates vertical cracks along corners, windows, or door frames.
Poor original installation. Improperly taped seams or insufficient drywall mud coverage during initial installation often leads to thin, straight cracks appearing months or years later.
Aging materials. Drywall compound dries and hardens over decades, losing some flexibility and becoming more prone to minor cracking.
Normal wear and stress. Door slams, vibrations from foot traffic, and general use create small stress points that eventually show up as hairline cracks.
The spots most likely to crack are the seams where two drywall panels meet. These are the weakest points in your wall system. Think of them like the perforations on a paper towel. Even with proper taping and mudding during installation, these seams bear the most stress from movement and temperature changes.
Here’s the good news. The vast majority of hairline cracks are cosmetic issues, not structural problems. They’re more about appearance than safety. If you can slip a dime into the crack, it’s probably just a cosmetic fix. That doesn’t mean you should ignore them. Repairing these cracks prevents them from spreading and keeps your walls looking clean. But you can breathe easy knowing your home isn’t falling apart.
Essential Materials and Tools for Drywall Crack Repair
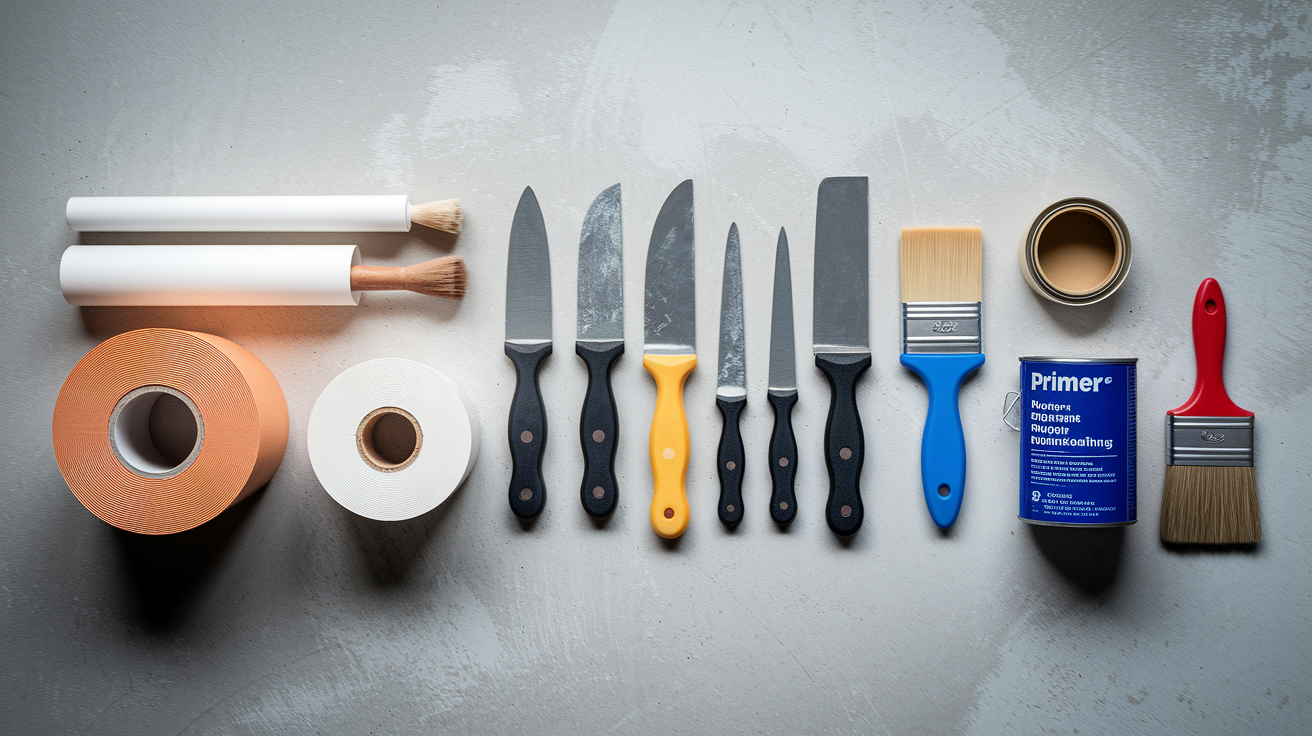
Get everything together before you start. It makes the project move faster and you won’t be scrambling mid repair with wet compound on your putty knife.
| Material/Tool | Purpose | Notes |
|---|---|---|
| Utility knife | Widen and prepare crack | Create V-shaped groove for better adhesion |
| Joint compound or spackle | Fill and smooth crack | Pre-mixed is easiest; setting compound for no-shrink option |
| 4 to 6 inch putty knife | Apply compound to crack | Smaller knife for precision application |
| 12 inch taping knife | Apply finishing coats | Wider knife for feathering edges |
| Mesh or paper tape | Reinforce recurring cracks | Self-adhesive mesh is easiest for beginners |
| 220 grit sandpaper | Smooth dried compound | Fine grit prevents scratches; sanding sponge works well too |
| Primer | Seal compound before painting | Prevents flashing and uneven sheen |
| Matching paint | Final finish | Use same formula and sheen as existing wall |
| Painter’s tape | Protect trim and edges | Makes cleanup easier |
| Damp cloth | Clean surface and remove dust | Microfiber works well |
You can find all of these at any hardware store, and the total cost typically runs $15 to $30 for a basic repair kit. If you already have paint and primer on hand, you’re looking at even less. The materials will be enough to handle multiple repairs around your house, so you’re set for the next few cracks that show up.
Surface Preparation Steps Before Applying Compound
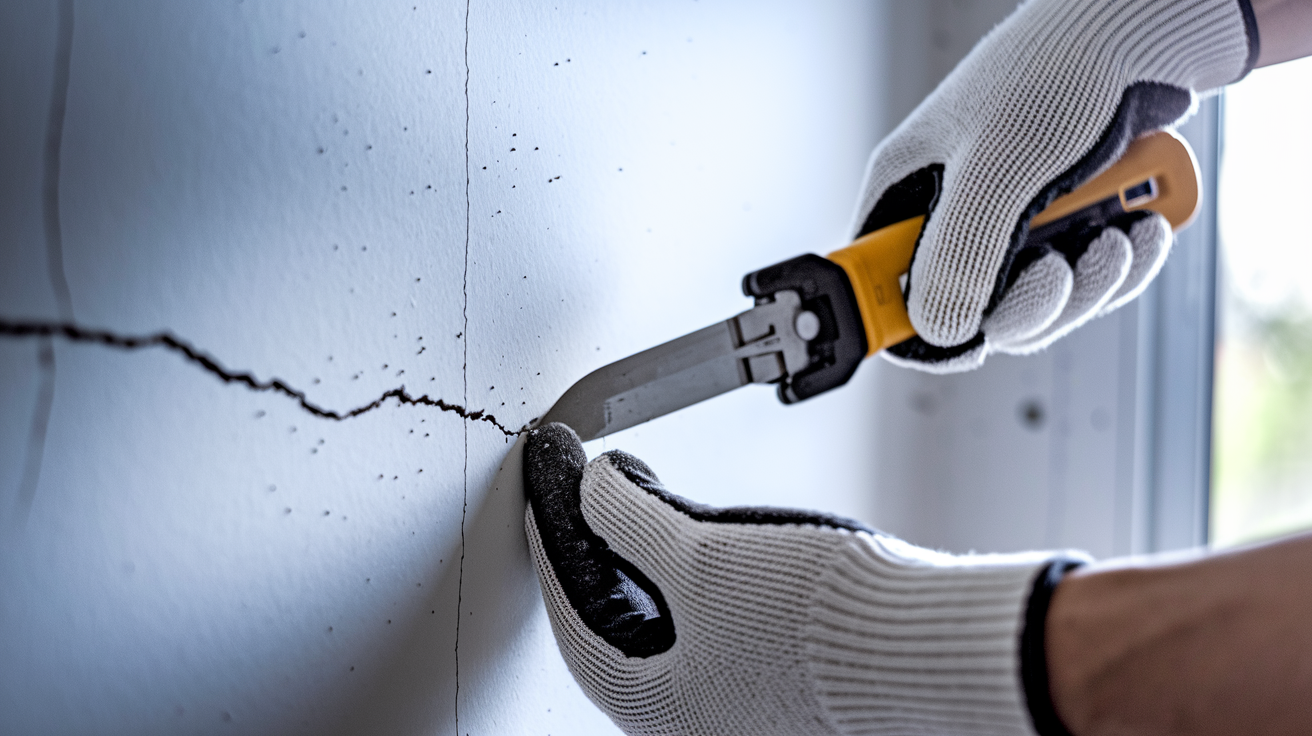
This is where the repair either works or fails. Skip preparation, and you’ll be back here in six months wondering why the crack came back.
Proper surface prep creates a mechanical bond between the compound and the existing drywall. When you take the time to do it right, the compound grabs on and stays put. Rush through it, and you’re basically painting over a problem.
Follow these steps for solid preparation:
- Protect the surrounding area by applying painter’s tape along trim, baseboards, and any nearby surfaces you want to keep clean
- Widen the crack by dragging a utility knife along its entire length, creating a shallow V-shaped groove that’s maybe 1/8 inch deep. This isn’t about making the crack bigger for fun. It’s about giving the compound something to grab onto instead of just sitting on the surface.
- Scrape away loose debris using your putty knife, removing any loose paper, crumbled drywall, or old paint chips that won’t bond properly
- Push protruding debris below the drywall surface by using the rounded end of your putty knife handle to gently tap down any bumps or raised edges
- Clean thoroughly with a damp cloth, wiping away all dust, grit, and particles from the crack and surrounding area
- Allow to dry completely before moving to the compound application. Wet surfaces prevent proper adhesion.
- Inspect your work by running your finger along the crack to feel for any remaining loose material that could compromise the repair
When cutting that V-shape, hold the knife at a consistent angle and make shallow, controlled cuts. You’re not trying to dig into the wall, just creating a slightly wider channel than the hairline crack itself. Think of it like preparing a garden bed. You’re creating the right conditions for something to take root and hold.
Make sure that notch runs the full length of the crack, even if the crack seems to fade out at the ends. Those invisible stress points are still there. If you don’t treat them, the crack will creep back from the edges.
After you’ve cleaned everything, take one more look at the prepared crack. If you see any loose bits of paper or feel any movement when you press on the edges, scrape those areas again. Any instability now becomes a failure point later.
Applying Joint Compound to Hairline Cracks
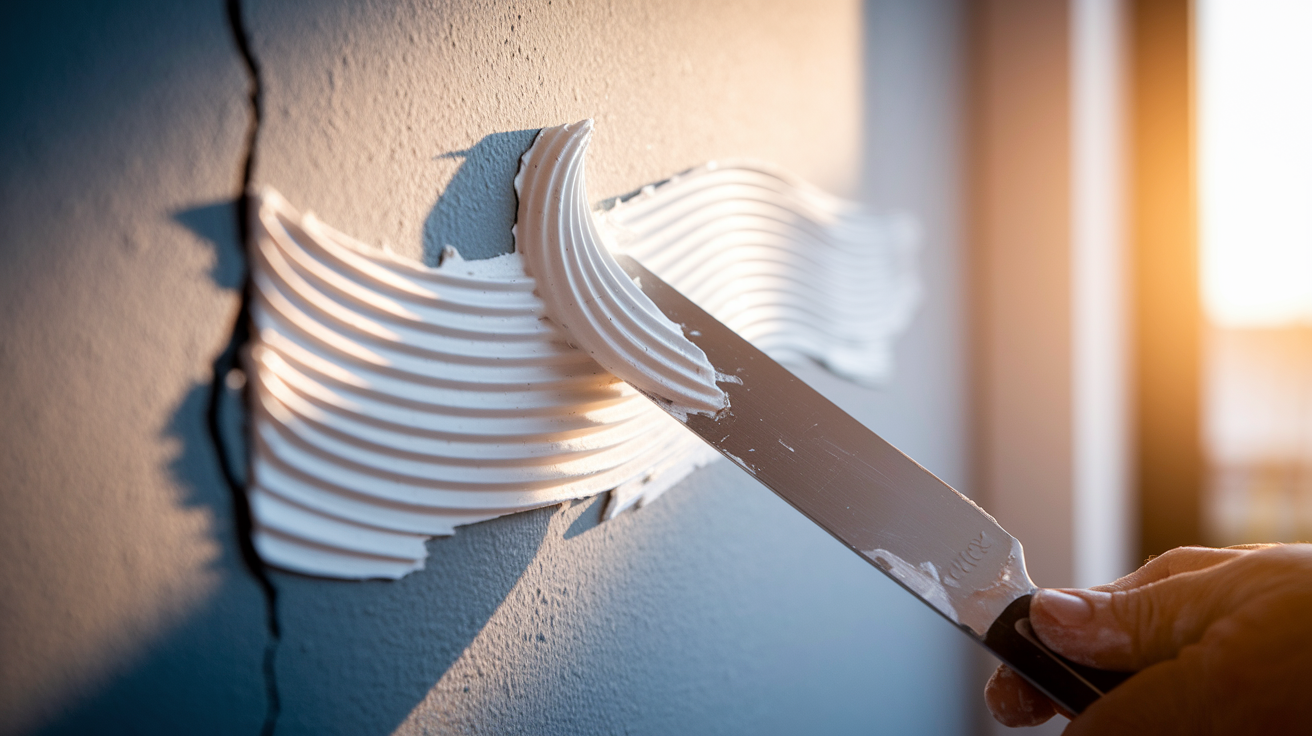
The secret to invisible repairs is thin layers. Beginners always try to fill everything in one pass. That’s when things crack during drying or end up with visible bumps.
Professional looking results come from patience and building up the repair gradually. You’re better off applying three thin coats over a couple of days than trying to get it done in one thick application that fails within a month. Each thin layer dries harder, shrinks less, and bonds better than a single glob of compound.
First coat technique. Load your 4 to 6 inch putty knife with a small amount of compound, about what you’d spread on a cracker. Hold the knife at roughly a 30 degree angle to the wall. Draw the knife along the crack while pressing firmly to force compound into the V-shaped groove you prepared. The pressure matters here. You’re not just spreading compound on the surface, you’re filling the groove completely and ensuring good contact with the raw drywall inside. Extend your application 2 to 3 inches beyond the crack on both sides. Make one more pass with consistent pressure to smooth the surface and remove excess compound, leaving just enough to fill the crack flush with the surrounding wall.
Second and third coat applications. After that first coat dries completely, and we’ll talk about drying in the next section, switch to your 12 inch taping knife for wider, smoother coverage. Apply a thin second coat that extends 5 to 6 inches beyond the edges of your first coat. Use long, smooth strokes from one end of the repair to the other. This is where you start creating that invisible transition. The wider knife naturally spreads compound more evenly and helps you avoid creating new ridges or lines. Check for air bubbles or inconsistencies by looking at the repair from a low angle. Light raking across the surface will show you any imperfections. If you spot ridges or excess material, scrape it away immediately while the compound is still wet.
Feathering the edges is what makes the repair disappear. As you draw your knife from the center of the repair outward, gradually decrease the pressure. The compound layer should go from full thickness at the crack to paper thin at the outer edges, creating a seamless ramp from repair to existing wall. This imperceptible transition is what eliminates visible repair edges. If you can see where the compound stops and the wall begins after painting, the feathering wasn’t gradual enough.
Don’t overwork the compound. Once you’ve applied it and smoothed it, leave it alone. Repeatedly going over wet compound creates texture problems and can actually prevent proper adhesion as you’re constantly breaking the surface tension and introducing air. If something doesn’t look right, let it dry, sand it down, and add another coat. That’s always better than repeatedly working wet material.
When and How to Use Drywall Tape for Crack Reinforcement
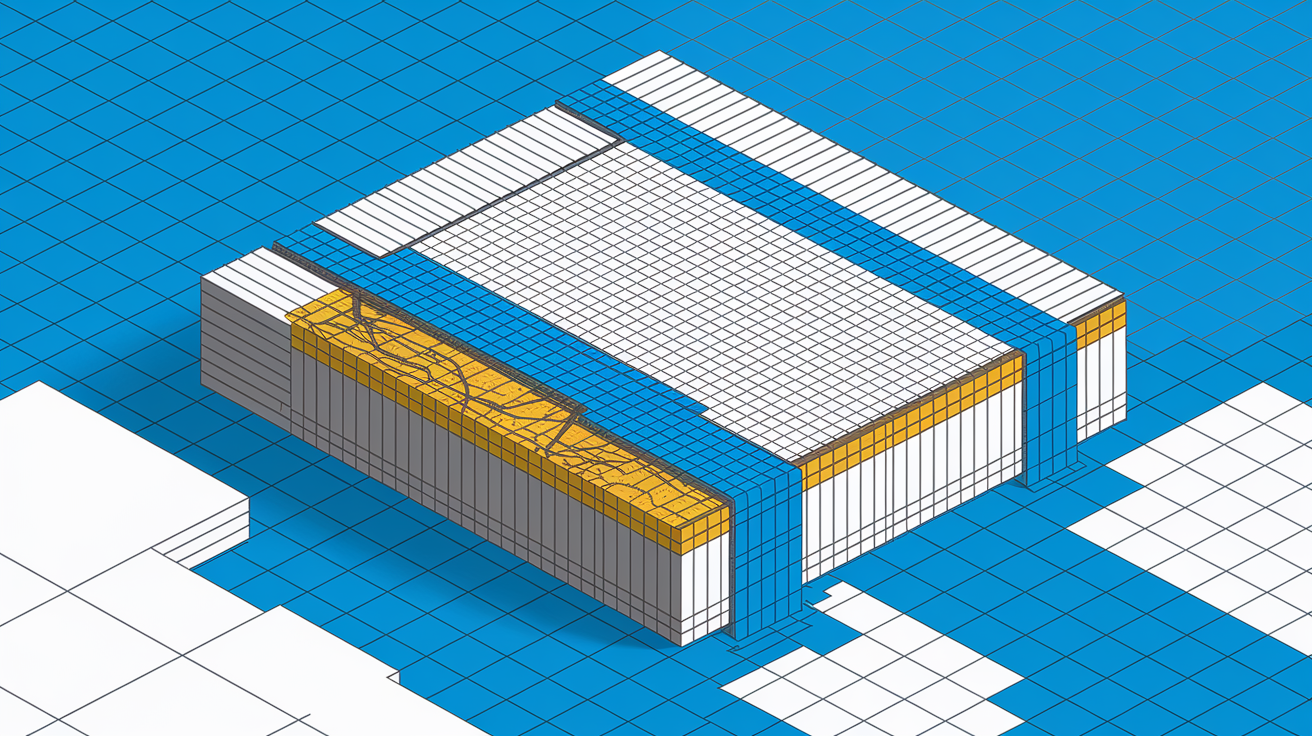
Not every hairline crack needs tape. For a one time cosmetic crack that appeared from minor settling and hasn’t moved in months, compound alone works fine.
But if you’re dealing with a crack that’s come back before, or if the crack is closer to 1/8 inch wide, tape reinforcement prevents future problems. It’s like adding rebar to concrete. The tape bridges the crack and distributes stress across a wider area instead of letting it concentrate at one weak point.
Mesh tape versus paper tape. Self adhesive fiberglass mesh tape is easier for beginners. You press it over the crack, and it stays in place while you apply compound. It’s more forgiving and doesn’t require embedding in a base coat. Paper tape is technically stronger and creates a flatter finish, but it requires more skill. You need to apply a base coat of compound first, press the tape into it, then smooth out bubbles and wrinkles before applying the top coat. For most DIY hairline crack repairs, mesh tape is your best bet.
Application technique. After you’ve applied your first thin coat of compound and while it’s still wet, center your tape directly over the crack. Press it down gently with your fingers or putty knife, working from the center outward to push out any air bubbles trapped underneath. The tape should lie flat against the surface with no wrinkles or lifted edges. Then apply your cover coat, using your putty knife to embed the tape fully and create a smooth surface. Draw the knife firmly across the tape to remove excess compound and eliminate any air pockets. Bubbles under tape will show up as lumps in your finished repair.
For cracks that keep coming back despite repairs, consider elastomeric patching compound instead of standard joint compound. It stays slightly flexible even after drying, which allows it to handle minor movement without cracking. These compounds are especially useful along stress points like door frames or in areas where temperature swings cause repeated expansion and contraction.
Drying Times and Shrinkage Management

This is where patience becomes part of the process. You can’t rush drying, and trying to do so guarantees you’ll be redoing the repair.
Standard drying times run 12 to 24 hours between coats, but that depends on several factors working together. Humidity levels affect drying significantly. High humidity slows evaporation and can push drying times past 24 hours. Temperature conditions matter too, with warmer temperatures accelerating drying and cooler rooms requiring more time. Compound thickness is a major factor. Thin layers dry faster than thick applications. And ventilation helps, with air circulation from a fan speeding the process by moving moisture away from the drying compound.
Why compound shrinks. As water evaporates from the compound, it contracts slightly. This is normal and expected. The thicker you’ve applied the compound, the more noticeable the shrinkage becomes. That’s why deep cracks often require multiple coats. Each layer fills a bit more as the previous layer shrinks, bringing the repair gradually up to the surrounding wall level. After the compound dries, run your hand over the repaired area. If you feel a slight depression, that’s shrinkage creating a low spot. A raking light technique helps identify these depressions. Shine a bright light across the wall at a low angle, and shadows will reveal any irregularities that aren’t obvious in normal lighting.
Testing for complete dryness. Joint compound changes color as it dries, going from darker when wet to lighter when fully cured. If you see any dark spots in the repair, those areas are still holding moisture. The touch test works too. Press gently on the compound. Fully dried material feels hard and cool to the touch. If it feels slightly soft or cooler than the surrounding wall, moisture remains and you need to wait longer.
Environmental factors change your timeline. If you’re working in a basement with 60% humidity, count on 24 plus hours between coats. Warmer temperatures in the 70 to 75 degree range are ideal for normal drying times. Running a fan nearby helps move air across the repair and speeds drying, but don’t point it directly at the wet compound or you risk surface cracking. Avoid working during extreme temperature changes. If your heat kicks on and rapidly warms a cold room, the compound can crack as it dries too quickly on the outside while the interior is still wet.
The most common DIY mistake is impatience. Applying a second coat over insufficiently dried compound traps moisture between layers, prevents proper hardening, and often causes the entire repair to fail weeks later. If you’re not sure whether it’s dry, wait another few hours. The extra time won’t hurt anything, but premature application definitely will.
Sanding Techniques for a Seamless Drywall Finish

Sanding creates the invisible transition that makes or breaks your repair. This is where attention to detail matters more than anywhere else in the process.
The difference between a repair you can see from across the room and one that disappears completely comes down to how well you feather and smooth during sanding. Proper technique requires a light touch and patience rather than aggressive pressure. You’re refining the surface, not reshaping it.
Pre-sanding inspection. Before you start sanding, examine the dried compound in good light. Look for obvious high spots, ridges along putty knife edges, or small bumps from debris. Use your putty knife to gently scrape away these obvious imperfections. It’s faster and cleaner to scrape off a ridge than to sand it down, and you’ll create less dust. Feel the repair with your hand to identify areas that need focused attention during sanding.
Follow these comprehensive sanding guidelines:
Always use 220 grit fine sandpaper for your final finishing. Coarser grits like 120 or 150 create scratches that show through paint as tiny lines, especially under raking light.
Sand in circular or figure eight motions rather than straight back and forth lines. Circular motion prevents creating directional scratches and helps blend the repair more naturally.
Apply light, consistent pressure and let the sandpaper do the work. Heavy pressure creates uneven spots and can damage the surrounding wall paint.
Focus your attention on feathering the outer edges where your repair meets the existing wall. This transition zone is where repairs become visible if there’s any ridge or step.
Check smoothness frequently by running your hand over the surface with your eyes closed. Your fingers detect inconsistencies your eyes miss, especially subtle ridges or depressions.
Avoid oversanding the center area, which can expose the underlying tape or create a depression below the wall surface. Once you sand through the compound, you’ll need to apply another coat.
Use a sanding block or sanding sponge for even pressure distribution. Sanding with just paper wrapped around your fingers creates grooves from finger pressure.
Work under good lighting or use a raking light technique by shining a bright flashlight across the wall at a low angle to reveal imperfections invisible under normal overhead lighting.
Dust control strategies. Drywall compound creates fine white dust that spreads everywhere. Open windows for ventilation and to let dust escape. Position a fan to blow dust toward an open window and away from the rest of your house. Wear a dust mask or respirator. Drywall dust irritates lungs and isn’t something you want to breathe for extended periods. Lay drop cloths to protect floors and furniture from the dust that settles. Close doors to contain dust in the work area and prevent it from spreading throughout your home. Consider using a wet sanding sponge as a nearly dust free alternative. The sponge stays damp and traps dust particles instead of launching them into the air. The tradeoff is that wet sanding takes slightly longer and requires more frequent sponge rinsing.
Post-sanding inspection. View your repair from multiple angles and under different lighting conditions. Stand to the side and look across the wall surface. This angle reveals bumps and depressions that disappear when viewing straight on. Run your hand over the entire repair area again, feeling for texture differences or edges. Be willing to apply another thin coat of compound and re-sand if imperfections remain. An extra coat now is easier than repainting later when you notice the repair through your finished paint.
Cleanup. Wipe down the repaired area with a slightly damp cloth to remove all sanding dust before you prime. Any dust left on the surface prevents primer from bonding properly. Allow the wiped area to dry completely. It only takes a few minutes. Vacuum the surrounding area thoroughly, including the tops of baseboards and windowsills where dust settles invisibly.
Priming and Painting Over Repaired Cracks

You’ve done all this work to make the repair smooth. Don’t skip primer and watch it all show up under your paint anyway.
Primer is essential because joint compound is porous and absorbs paint differently than sealed drywall or existing paint. Without primer, your repair will “flash.” Those shiny, uneven spots where new paint sits on raw compound look different than paint on the surrounding wall, even when you’ve used the exact same paint color. The absorption difference changes how light reflects off the surface, making the repair obvious.
Apply a coat of primer directly over your sanded repair, extending an inch or two beyond the repair edges onto the surrounding wall. Use a small brush for precision or a small roller for slightly larger repairs. Let the primer dry according to the product instructions, usually 1 to 2 hours.
Paint application. Now you’re ready for paint. Use the same paint formula, brand if possible, and definitely the same sheen as your existing wall. Paint sheen matters more than most people realize. If your wall has an eggshell finish and you use satin, the repair will show up as a different texture even if the color matches perfectly. Apply two thin coats of paint rather than one thick coat. Thin coats dry more evenly and reduce the chance of creating texture differences. Feather the edges of your paint application just like you feathered the compound, blending from the repair center outward into the existing paint. Allow proper drying time between coats, usually 2 to 4 hours depending on your paint type and humidity levels.
Textured wall considerations. If your wall has texture, stippling, knockdown, orange peel, or another pattern, you’ll need to recreate that texture over the repair. Light texture can sometimes be matched by dabbing a damp sponge over the wet paint. Heavier texture might require a spray texture product or special stippling technique with a texture brush. Practice on cardboard first to match the pattern.
Color matching gets tricky if your existing wall paint is more than a year or two old. Paint fades slightly over time, especially in rooms with lots of natural light. Even if you saved the original paint, it might not match anymore. If your repair is in a high visibility area and the color match isn’t quite right, consider repainting the entire wall for perfect uniformity. It sounds like extra work, but it’s faster than repeatedly trying to feather and blend a mismatched spot.
Identifying Structural Concerns Versus Cosmetic Cracks
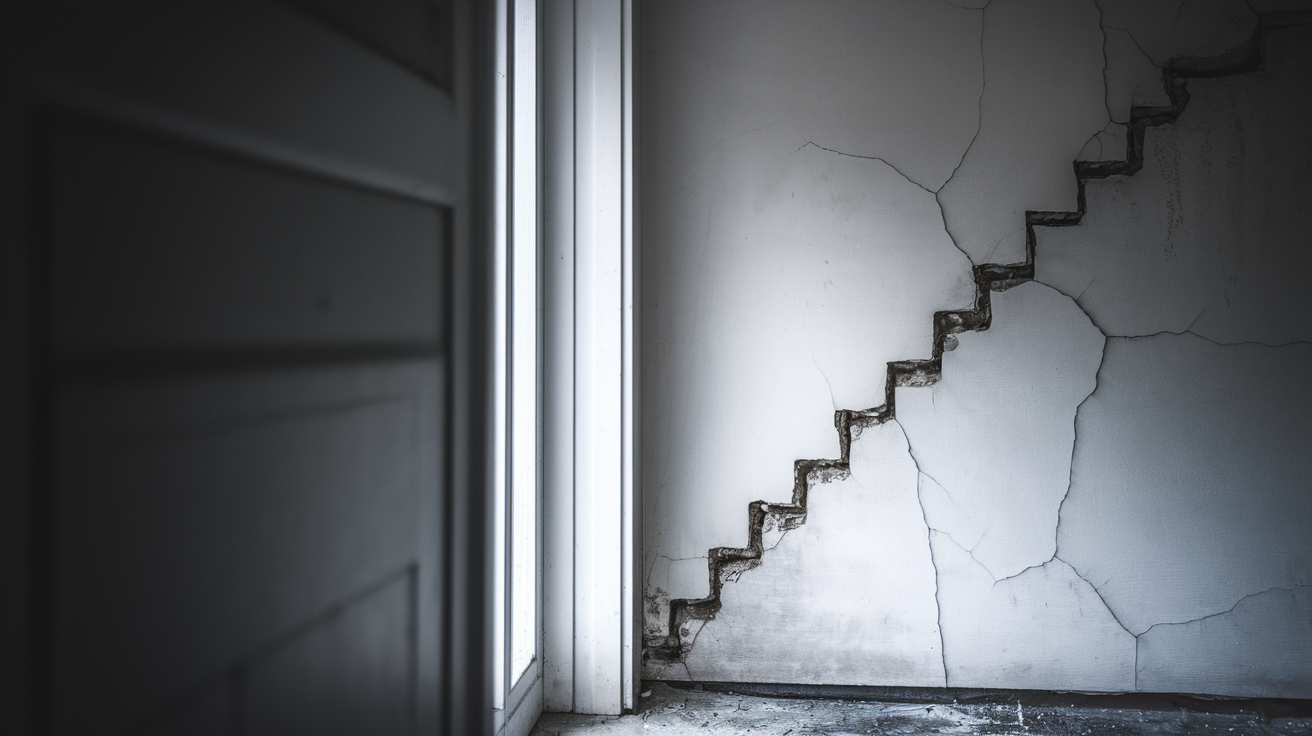
Most hairline cracks are just cosmetic, but you should know what to watch for.
Cosmetic cracks typically share these characteristics. They’re thin, under 1/8 inch wide, and you can barely slip a business card into them. They run vertically along seams or joints where drywall panels meet. They’ve been stable for months without growing or widening. They appear isolated rather than in clusters or patterns across multiple walls.
Concerning cracks look different and behave differently. They’re wider than 1/4 inch, which might indicate the drywall has pulled apart or the framing behind it has shifted. They run diagonally across a wall, especially in a stair step pattern following the path of least resistance through stressed material. They appear horizontally near the foundation level, which can signal foundation settling or water damage weakening the structure. They’ve grown noticeably over weeks or months when you measure and compare them. They’re accompanied by doors that suddenly stick or windows that won’t open smoothly, suggesting framing movement.
Watch for these red flags that require professional structural evaluation:
Multiple wide cracks appearing suddenly across several rooms, indicating significant structural shift.
Cracks accompanied by visible foundation settling, uneven floors, or gaps between floors and walls.
Gaps between walls and ceilings or where walls meet floors, showing separation in the structural assembly.
Visible bowing or bulging in walls when you look down the wall surface from the side.
Water damage signs like staining, soft spots, or moisture around the crack, which can indicate rot or mold in the framing.
If you’re not sure whether your crack is cosmetic or structural, photograph it and measure it. Mark the endpoints with small pencil marks on the wall. Check again in two or three months. If the crack hasn’t changed, it’s likely just a cosmetic settling crack. If it’s grown, time to call someone who can assess what’s happening behind the wall.
Special Considerations for Ceiling Crack Repairs
Ceiling cracks follow the same repair steps as walls, but gravity isn’t your friend anymore.
The challenge with overhead work is managing dripping compound and maintaining consistent control while working above your head. The repair technique stays the same, but your approach needs to account for the uncomfortable position and the tendency of wet materials to drip into your face.
Set up safe access first. Use a stable ladder or scaffold that lets you work comfortably at ceiling height without overreaching or straining. An extension ladder propped against the wall won’t work. You need both hands free and stable footing. If you’re working on an area larger than a foot or two, rent a small scaffold or movable platform. Trying to save time by overreaching from a ladder is how people fall.
Work with slightly thicker compound consistency to prevent dripping. If you’re using pre mixed compound, it’s usually ready to go. If you’re mixing powder compound, add a bit less water than the wall repair mixture. Apply smaller amounts per pass than you would on a wall. Load less compound on your knife and make more passes to build up coverage. This reduces the weight pulling down before the compound starts to set. Wear safety glasses. Wet compound in your eyes is miserable, and dried compound dust during sanding is worse. Have a helper nearby to hand you tools, hold materials, or steady the ladder. It makes the work go faster and safer.
Ceiling crack patterns tell you something about what’s happening above the drywall. Cracks running parallel to ceiling joists often indicate the drywall wasn’t properly attached to blocking between joists, causing the unsupported drywall to sag slightly and crack. Cracks running perpendicular to joists sometimes appear where drywall edges meet and the seam wasn’t properly reinforced. Long cracks crossing multiple joist spaces might indicate upstairs load issues or roof truss movement and warrant a closer look.
For textured ceilings, popcorn, knockdown, or stipple, you’ll need ceiling texture matching products after your repair. These come in spray cans for small repairs. Practice on cardboard to match the existing pattern before spraying your repaired spot. Getting ceiling texture to match is genuinely harder than wall texture, so don’t feel bad if it takes a few tries.
Troubleshooting Common Drywall Crack Repair Problems
First time repairs don’t always work out perfectly. That’s normal.
Crack Reappears After Repair
If your repair looked good for a few weeks or months and then the crack came back in the same spot, something is causing ongoing movement or stress.
Insufficient preparation is often the culprit. If you didn’t widen the crack into a V-shape or didn’t remove all loose material, the compound didn’t have enough surface area to grab onto. Structural movement from ongoing settling, especially in newer homes, can reopen repaired cracks until the house finishes settling. Wrong compound type matters too. Standard joint compound in a high movement area can’t flex enough and cracks under repeated stress.
Solutions. For recurring cracks, apply self adhesive mesh drywall tape over the crack before applying compound. The tape reinforces the repair and distributes stress across a wider area. Switch to elastomeric patching compound for areas prone to movement. It stays slightly flexible after drying and handles stress better than rigid joint compound. If the crack keeps coming back despite tape and flexible compound, investigate the root cause. Check for moisture problems, foundation movement, or framing issues creating ongoing stress. Sometimes you need to fix what’s causing the crack, not just the crack itself.
Repair Area Visible After Painting
You’ve repaired, sanded, and painted, but the repair still shows up as a slightly different texture or sheen on the wall.
This frustrating situation usually comes from flashing. The repaired area absorbs paint differently than the surrounding wall. Skipping primer is the most common cause. Raw joint compound is porous and soaks up paint, changing how light reflects off the surface. Insufficient feathering leaves visible edges where your repair stops and the existing wall begins. Wrong paint sheen makes the repair obvious even if the color matches. Satin paint over an eggshell wall creates a visible texture difference.
Remedies. If the repair is already painted and showing, you’ll need to start over. Sand the visible area lightly, apply proper primer over the entire repair, then repaint using the exact same paint sheen as the surrounding wall. For stubborn flashing, prime the repair, lightly sand the primer, then prime again before painting. The double prime coat equalizes absorption across the entire repair. Consider repainting the entire wall if the repair is in a high visibility area and keeps showing through. Sometimes that’s faster than repeatedly trying to blend a stubborn spot.
Compound Cracking During Drying
You’ve applied compound and come back to find it’s cracked as it dried, leaving new fissures across your repair.
Applying layers too thick is the usual cause. Thick compound dries unevenly, with the surface hardening while the interior stays wet, creating stress cracks. Insufficient drying time between coats traps moisture and prevents proper curing. Extreme temperature changes during drying cause rapid expansion or contraction that cracks the compound before it fully cures.
Solutions. Always apply thin coats, no more than 1/8 inch thick per application. Let each coat dry completely for the full recommended time, even if the surface feels dry sooner. Avoid drying compound in extreme conditions. Don’t run a space heater directly on the repair or let it freeze in an unheated room. If you’ve got cracks in your compound, scrape out the cracked areas, clean thoroughly, and reapply with thinner layers. It’s annoying, but it’s faster than trying to repair over failed compound.
When repeated repairs fail despite following proper technique, the problem isn’t your repair method. Something else is going on. Persistent cracking despite proper repairs indicates structural movement, moisture problems, or framing issues that need professional assessment.
Preventing Future Hairline Cracks in Drywall
Prevention focuses on controlling the environmental factors that stress drywall and cause cracking.
You can’t stop a house from settling completely, but you can minimize the temperature and humidity swings that cause expansion and contraction stress.
Maintain indoor humidity between 30 to 50% using a dehumidifier in damp basements or humid climates, or a humidifier in dry winter conditions. Consistent moisture levels prevent drywall from expanding when wet and shrinking when dry.
Avoid dramatic temperature swings by keeping your home at relatively consistent temperatures year round, even when you’re away. Letting a house go from 70 degrees to 85 degrees and back repeatedly creates expansion and contraction cycles.
Properly seal windows and doors to minimize outdoor humidity infiltration and prevent moisture related drywall expansion.
Address roof and plumbing leaks promptly before they cause water damage that weakens drywall and framing, creating conditions for cracking and more serious problems.
Use flexible caulk at wall to ceiling joints in new construction or additions, allowing slight movement without transferring stress to rigid drywall joints.
Apply quality paint and primer systems that seal and protect the drywall surface from moisture absorption and minor impacts.
Conduct annual visual inspections of walls and ceilings in all rooms, catching small cracks when they’re easy to fix before they spread into larger problems.
New home settling. If your house is less than two years old, expect some hairline cracks to appear as the lumber dries, the foundation completes its initial settling, and everything finds its permanent position. This is completely normal. Wait until the house is 12 to 18 months old before worrying about repairing cosmetic cracks. Many will appear during that first year and then stabilize. After the house has settled, repair any remaining cracks and they’re less likely to return.
Document crack locations and patterns by taking photos and noting dates when you first spot them. If you notice cracks appearing in similar locations across multiple rooms, say, cracks along all your door frames or consistent ceiling cracks running the same direction, that pattern might indicate a systemic issue with framing, foundation, or moisture that’s worth investigating professionally.
Cost and Time Investment for DIY Crack Repair
The actual working time for hairline crack repair is pretty minimal, but the drying periods stretch the project across several days.
Time breakdown. Expect 30 to 45 minutes for surface preparation and first compound application, including protecting trim, widening the crack, cleaning, and applying the initial coat. Then wait 12 to 24 hours for drying. The second coat takes 15 to 20 minutes to apply and feather properly, followed by another 12 to 24 hour drying period. Sanding runs 20 to 30 minutes depending on how smooth your compound application was and how much area you need to blend. Priming adds 10 to 15 minutes plus 1 to 2 hours drying. Final painting takes maybe 20 minutes for two coats with 2 to 4 hours between coats.
Total active work time is maybe 2 hours. Total elapsed time from start to painted finish is 2 to 3 days when you account for proper drying between steps. If you’re doing this over a weekend, start Friday evening with prep and first coat, apply second coat Saturday morning, sand Saturday evening, then prime and paint Sunday.
Material costs run $15 to $30 for basic supplies that will handle multiple repairs around your house. A container of pre mixed joint compound costs $8 to $12 and covers dozens of hairline cracks. A putty knife set with 6 inch and 12 inch knives runs $8 to $15. You probably have sandpaper, primer, and paint on hand already, but if not, add $15 to $20. The materials investment is minimal and reusable for future repairs.
Skill level. This project is genuinely suitable for beginners with basic home improvement experience. If you’ve ever painted a room or done minor repairs, you have enough skill for crack repair. No specialized training is required. The trickiest part is learning the feel of proper feathering during compound application, but even that comes naturally after your first few passes with the putty knife. You might not get professional level invisible results on your first attempt, but you’ll definitely get good results that look far better than ignoring the crack.
DIY versus professional comparison. Professional drywall repair typically costs $100 to $200 per crack, with higher pricing for ceiling repairs or difficult access areas. For a single hairline crack, the cost difference between DIY ($15 to $30) and professional ($100 to $200) is significant. Your primary DIY investment is patience for proper drying rather than money for materials. If you’ve got several cracks or an entire room that needs attention, professional service makes more sense for speed and guaranteed results.
When to Call a Professional for Crack Repair
Knowing your limits prevents wasted time and money on repairs that need professional assessment.
Consider calling a professional in these situations:
Cracks wider than 1/4 inch that might indicate drywall panel damage requiring replacement rather than simple filling.
Cracks that reopen after multiple repair attempts despite proper technique, mesh tape reinforcement, and adequate drying times.
Numerous cracks appearing simultaneously across several rooms or throughout your home, suggesting underlying structural movement or systemic issues.
Cracks accompanied by door and window operation issues like sticking doors, gaps around frames, or windows that won’t open smoothly. These indicate framing movement that needs investigation.
Suspected foundation or structural movement based on crack patterns, diagonal cracks, or visible settling in floors or walls.
Water damage related cracking where you see staining, soft spots, or moisture around cracks, indicating potential rot or mold in wall cavities.
Lack of time or confidence for quality DIY work, especially if the repair is in a highly
Final Words
Hairline drywall crack repair comes down to patience and thin layers.
Clean the crack, widen it slightly, apply compound in stages, let each coat dry completely, and sand smooth. Rush the drying and you’ll be back at it in a few months.
Most of these cracks are just the house doing what houses do—settling, shifting with the seasons, adjusting to humidity. They’re cosmetic, not emergencies.
If you’ve got the weekend and fifteen bucks in supplies, you can handle this. And once you know the process, you’ll spot small cracks early and fix them before they spread.
Your walls will look clean again.
FAQ
Do hairline drywall cracks need repair?
Hairline drywall cracks typically need repair if you want to maintain a clean finished look in your home. Most hairline cracks are cosmetic issues from normal settling and won’t affect your wall’s structural integrity, but they can spread over time or become more noticeable. Repairing them prevents water or dust from getting into the wall and stops the crack from widening.
Can a hairline crack be repaired?
A hairline crack can be repaired using basic materials like joint compound, a putty knife, and sandpaper in a straightforward afternoon project. The repair involves widening the crack slightly, applying thin layers of compound, letting each layer dry completely, then sanding smooth and repainting. Most homeowners can complete this repair without professional help.
How do you repair hairline cracks in drywall seams?
Hairline cracks in drywall seams are repaired by widening the crack into a V-shape, applying thin layers of joint compound with a putty knife, and feathering the edges. For recurring seam cracks, reinforce the repair with mesh or paper drywall tape between compound layers. Sand smooth once dry and finish with primer and paint.
How do you fix a hairline wall crack?
A hairline wall crack is fixed by cleaning and widening the crack, pressing joint compound into the groove with a putty knife, letting it dry 12-24 hours, then sanding flush with the wall. Apply additional thin coats if the compound shrinks during drying. Prime and paint the repaired area to match your existing wall.
What causes hairline cracks to keep coming back?
Hairline cracks keep coming back when the underlying cause hasn’t been addressed, such as ongoing foundation movement, temperature fluctuations, or humidity changes. Use elastomeric compound and mesh tape reinforcement for movement-prone areas. If cracks repeatedly reappear despite proper repair, consult a professional to check for structural issues.
What type of compound works best for hairline cracks?
All-purpose joint compound or lightweight spackle works best for most hairline cracks because they sand easily and blend well with existing drywall. For cracks in areas with movement or recurring issues, elastomeric patching compound offers more flexibility. Setting-type compound provides the most permanent repair but requires faster work due to quick hardening.
How long does drywall compound take to dry?
Drywall compound takes 12-24 hours to dry completely between coats, depending on humidity levels, temperature, and layer thickness. Higher humidity slows drying and may require 24 hours or more. Check for color change from dark to light and perform a touch test for hardness before sanding or applying additional coats.
Do you need to use tape for hairline cracks?
You need to use tape for hairline cracks only when they’re recurring, wider than 1/8 inch, or in stress-prone areas like corners. Self-adhesive mesh tape or paper tape provides reinforcement that prevents the crack from reopening. Simple hairline cracks in stable areas can be repaired with compound alone.
Why does my repaired crack show through paint?
A repaired crack shows through paint when you skip primer, which causes flashing where the porous compound absorbs paint differently than the surrounding wall. Insufficient feathering of compound edges or using the wrong paint sheen also makes repairs visible. Always prime repaired areas and match the existing paint formula and sheen.
When should you call a professional for crack repair?
You should call a professional for crack repair when cracks are wider than ¼ inch, repeatedly reappear after repair attempts, appear suddenly across multiple walls, or show diagonal or stair-step patterns. Professional assessment is also needed when cracks accompany sticking doors, foundation concerns, or water damage signs.