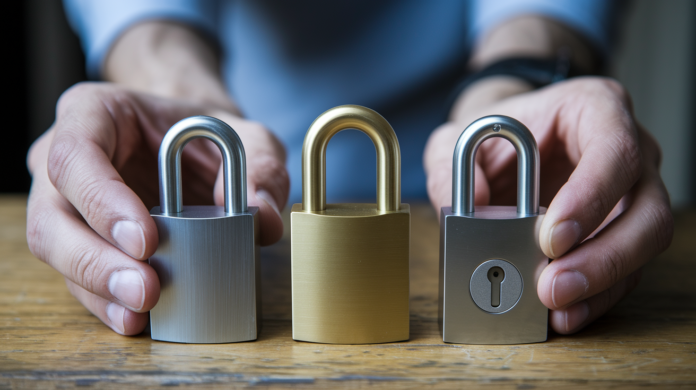

Ever bought a lock at the hardware store, only to get home and realize the backset’s wrong? You’re not alone. Replacing a door lock sounds simple until you’re staring at three different bore sizes and wondering why nothing lines up. The good news? Once you know your lock type and have three measurements written down, swapping out that sticky old lock takes less time than your average sitcom episode. We’ll walk you through identification, measurements, and the actual swap so you can skip the second trip to the store and get it done right the first time.
Identifying Your Door Lock Type Before Replacement
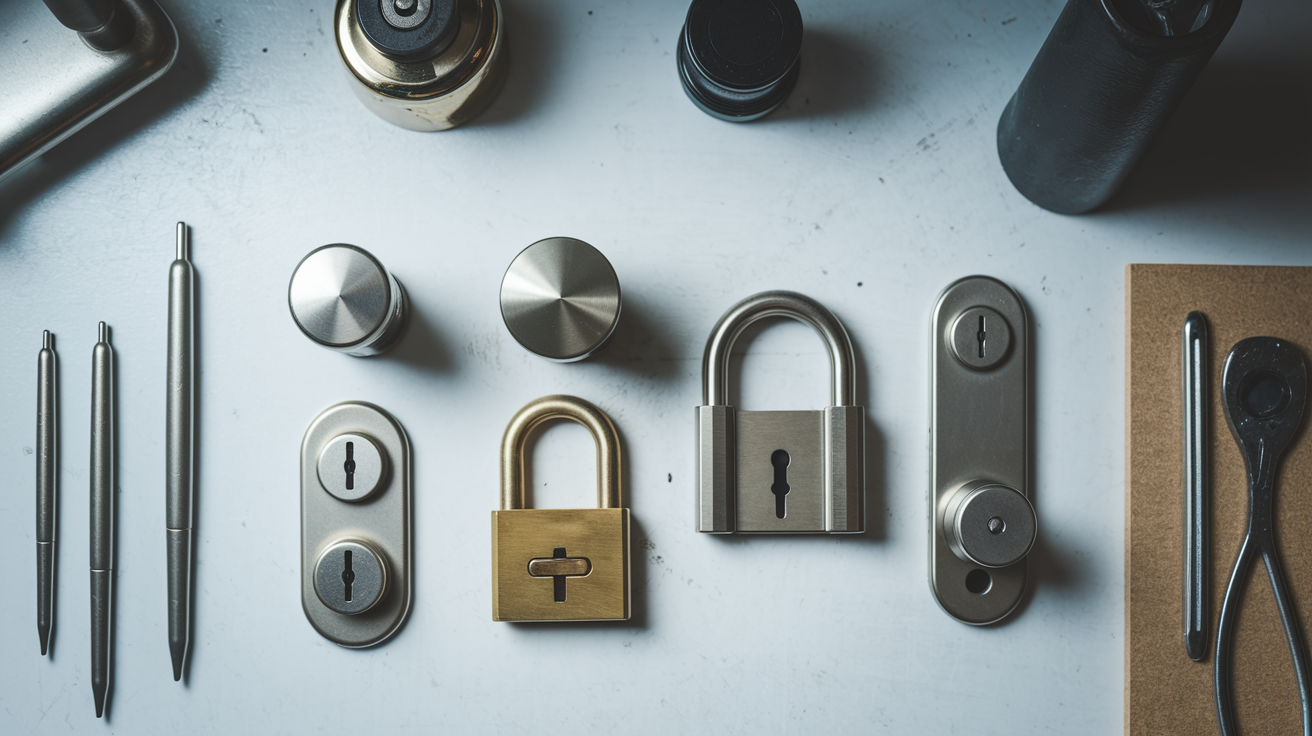
Different lock types need different replacement approaches and specific hardware. What works for a bedroom door won’t fit your front entrance or a commercial building.
Pick up the wrong lock type at the hardware store and you’re making a second trip. Let’s figure out what you actually have.
Cylindrical Door Knobs and Deadbolts
These are the locks on most residential doors. The hardware fits into two round holes drilled through the door (a crossbore and an edge bore), making installation pretty straightforward. You’ll see cylindrical knobs on bedroom doors, bathrooms, pantries. Deadbolts use the same installation style.
Standard bore holes mean standard replacement parts. If you’ve got a cylindrical lock now, your replacement options are wide open. Most hardware stores stock dozens of styles that’ll drop right into your existing holes. It’s like replacing a light bulb. Match the size and you’re good.
Mortise Locks
Mortise locks need a rectangular pocket carved into the door’s edge. The entire lock mechanism slides into this pocket as one complete unit. You’ll find them in older homes built before the 1950s and in commercial buildings that need heavy duty hardware.
The lock body looks like a small metal box, usually 6 to 8 inches tall, controlling both the latch and deadbolt from one mechanism. Replacing a mortise lock takes more time and caution since you’re working with a larger, more complex assembly. The good news? Once it’s in, mortise locks last forever.
Handlesets and Specialty Locks
Handlesets combine a decorative handle with a separate deadbolt or keyed entry, usually installed on front doors for curb appeal. Privacy locks have a push button lock on the interior and an emergency release hole on the exterior. Standard for bathrooms and bedrooms. Passage locks turn freely without locking, think hallway closets or rooms where you never need privacy.
Keyed entry variations let you lock and unlock from outside with a key while the interior has a simple turn button. Each variation serves a specific purpose. Mixing them up creates frustration. A privacy lock on your front door would be useless. A keyed entry on your linen closet would be overkill.
Purchase the same type you’re replacing and measure your existing hardware carefully. Backset, bore diameter, and door thickness all need to match. Trying to force a different lock type into the wrong hole means drilling new holes or filling old ones. Neither of which you want to deal with on a quick replacement project.
Critical Measurements Before Purchasing a Replacement Lock
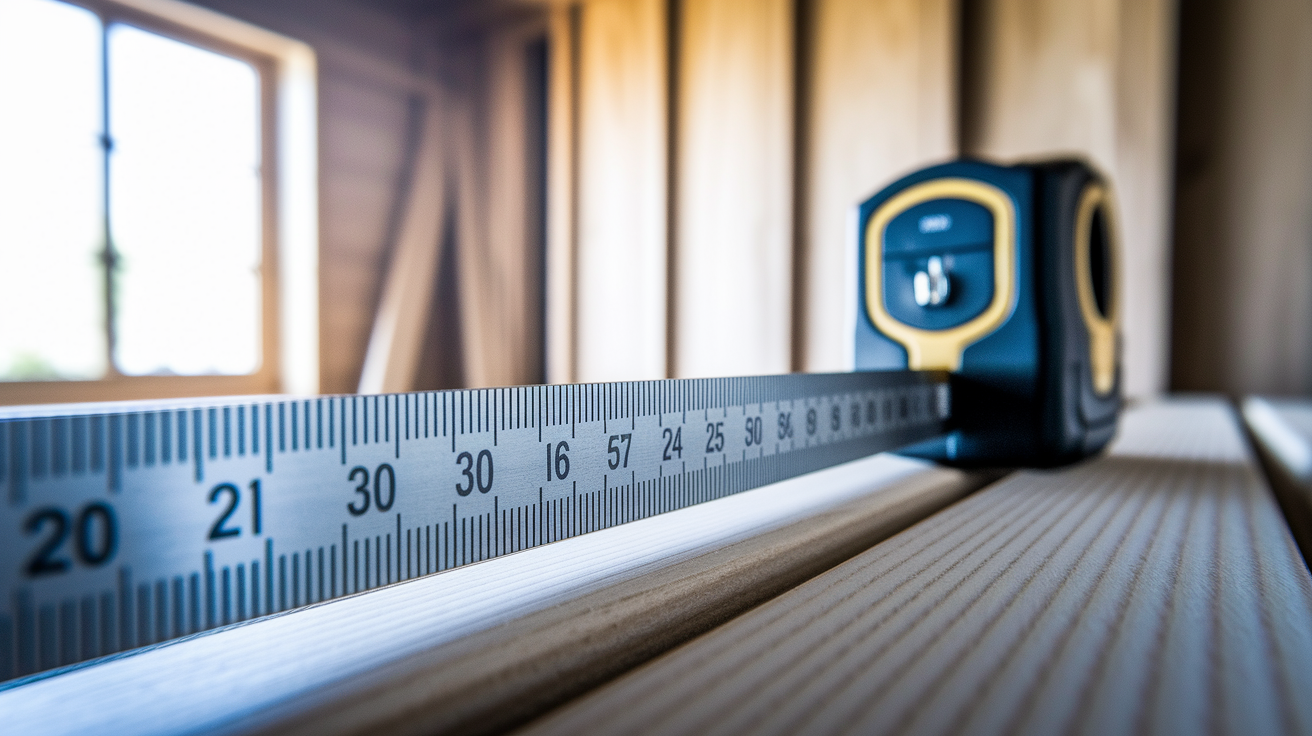
Accurate measurements prevent buying incompatible locks and wasting time on returns. You might find a lock that looks perfect, matches your style, fits your budget, but if the backset is wrong by half an inch it won’t work. Period.
Measure twice, buy once. Pull out your tape measure and write down three numbers: backset distance, crossbore diameter, door thickness.
Modern locks follow universal standards, but you still need to verify measurements. A standard 2 1/8 inch crossbore fits most residential locks made after 1950, but some older homes use 1 1/2 inch bores. Some European style locks use metric measurements that don’t convert neatly. And custom doors might have non standard dimensions requiring special order hardware. Five minutes with a tape measure saves you from discovering compatibility issues after you’ve already removed your old lock.
| Measurement Type | Standard Size | How to Measure |
|---|---|---|
| Backset | 2 3/8″ or 2 3/4″ | Measure from door edge to center of bore hole |
| Crossbore Diameter | 2 1/8″ | Measure diameter of hole drilled through door face |
| Door Thickness | 1 3/8″ to 1 3/4″ | Measure thickness of door at edge |
| Faceplate Width | 1″ | Measure width of latch plate on door edge |
Essential Tools and Materials for Door Lock Replacement
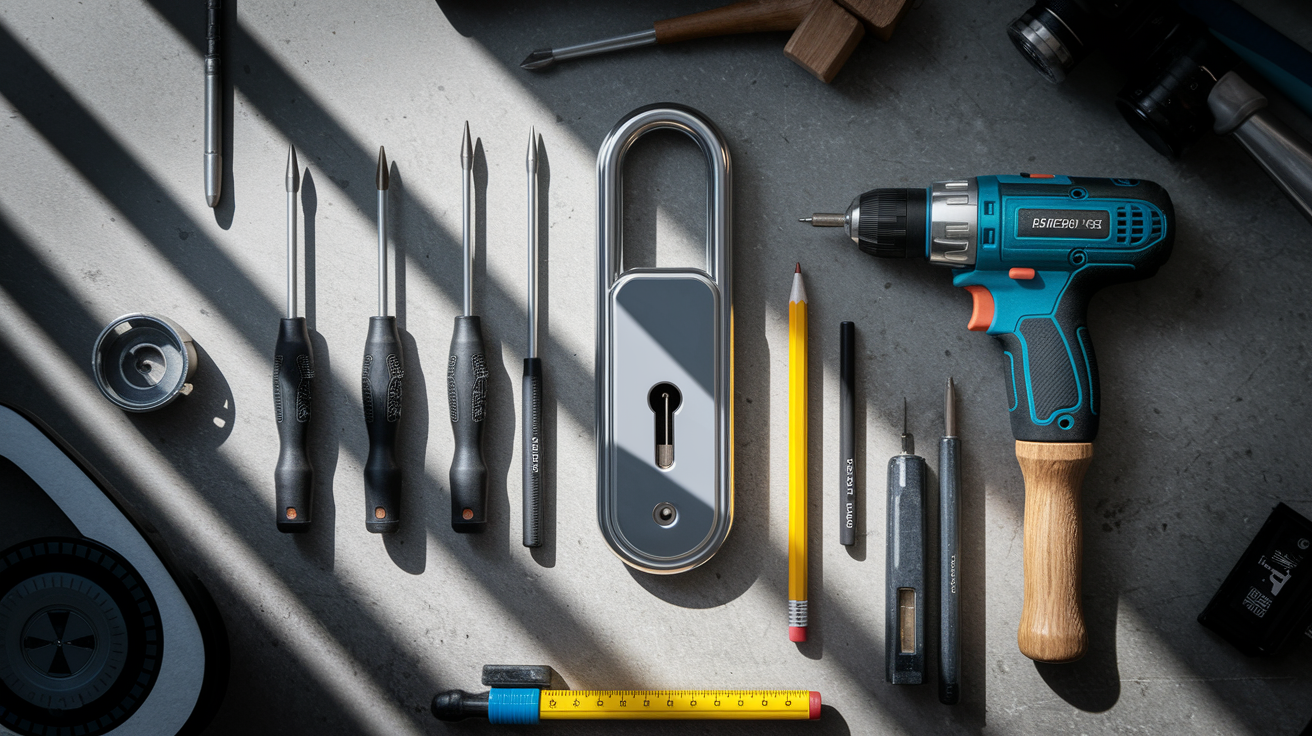
Gather all tools before starting to avoid project delays. Nothing’s more frustrating than removing your old lock, only to realize you need a Phillips head screwdriver and all you have is a flat head. Or discovering your drill bits are dull when you need to enlarge a pilot hole.
Set everything on a table or workbench near the door. Check that your new lockset includes all components: interior assembly, exterior assembly, latch mechanism, strike plate, screws, installation template.
- Phillips head screwdriver
- Flat head screwdriver
- Tape measure
- Drill with standard bit set
- Hammer
- Chisel (1/2 inch to 1 inch)
- Pencil for marking
- New lock set with all components
- Wood screws (2 1/2 inch to 3 inch for strike plate)
- Level
- Replacement strike plate hardware
- New lockset packaging with installation instructions
Optional items make the job smoother even though they’re not strictly necessary. Graphite based lubricant keeps your new lock operating smoothly for years. Spray on versions are easier to apply than powder. A utility knife helps trim splintered wood around bore holes. A level ensures your lock sits perfectly straight, which matters more for decorative handlesets than basic knobs. Have a few extra wood screws on hand since old screws may be weakened from rust or repeated tightening. Don’t reuse screws that look corroded or have stripped heads. Fresh screws grip better and prevent your new lock from loosening over time.
Complete Door Lock Replacement Process
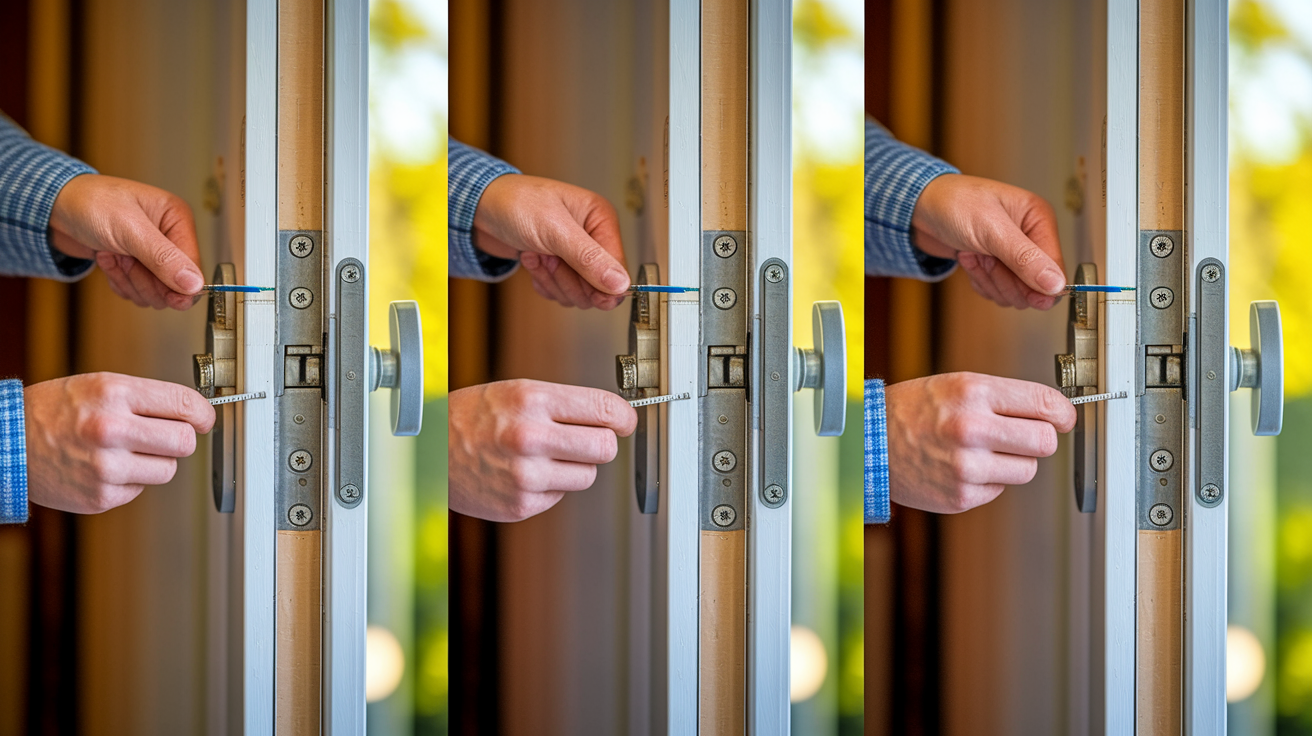
Replacing a door lock is a straightforward DIY project taking 15 to 30 minutes with basic tools. You’re just removing a few screws, swapping out the latch mechanism, reversing the process to install new hardware. If you can assemble furniture from a box, you can replace a door lock.
The key is working systematically and not forcing anything. Locks are precision mechanisms, but the installation is forgiving.
-
Remove decorative plugs or covers from interior plate (if present) by gently prying with a flat head screwdriver. Some manufacturers hide mounting screws behind snap on caps for a cleaner look.
-
Unscrew interior mounting screws completely using a Phillips head screwdriver, setting them aside since you probably won’t reuse them anyway.
-
Pull interior and exterior assemblies apart while supporting exterior side with your other hand to prevent it from falling and potentially scratching your door or landing on your foot.
-
Remove faceplate screws from door edge where the latch mechanism sits flush against the wood. There are usually two screws, sometimes recessed.
-
Extract old latch mechanism from edge bore hole by pulling it straight out. If it’s stuck from paint or debris, wiggle it gently while pulling.
-
Insert new latch into edge bore with angled side facing strike plate direction (the angled side helps the door latch closed when you push it). This orientation matters or your door won’t close properly.
-
Align new latch faceplate flush with door edge and secure with supplied screws, making sure it sits perfectly level with the wood surface.
-
Insert exterior assembly through crossbore from outside, threading it through the door until the interior facing components poke through.
-
Thread spindle or key cylinder through latch mechanism, making sure everything lines up before you try to force it. If it doesn’t slide together easily, something’s misaligned.
-
Align interior assembly with exterior components and hand tighten mounting screws initially, just enough to hold everything in place.
-
Verify smooth operation before final tightening by testing the key and handle several times, then secure firmly without over tightening which can cause the mechanism to bind or crack the interior plate.
-
Position strike plate so latch bolt aligns perfectly with the hole in the jamb, mark pilot holes with a pencil, then secure with 3 inch screws that anchor deep into door frame to prevent kick ins.
Use new supplied screws instead of old worn screws for secure connections. Old screws have weakened threads from years of use and repeated tightening. The screw heads might be corroded or stripped, making them difficult to work with. New screws also have sharper threads that bite into fresh wood better.
Avoid over tightening mounting screws, which causes the lock mechanism to bind and makes keys difficult to turn. Snug is good. Gorilla tight is bad. The lock should operate smoothly before you crank everything down. The security benefit of using 3 inch screws in the strike plate can’t be overstated. Standard 3/4 inch screws only grip the door jamb, but 3 inch screws penetrate into the wall framing, dramatically increasing kick in resistance.
Testing Lock Function and Making Final Adjustments
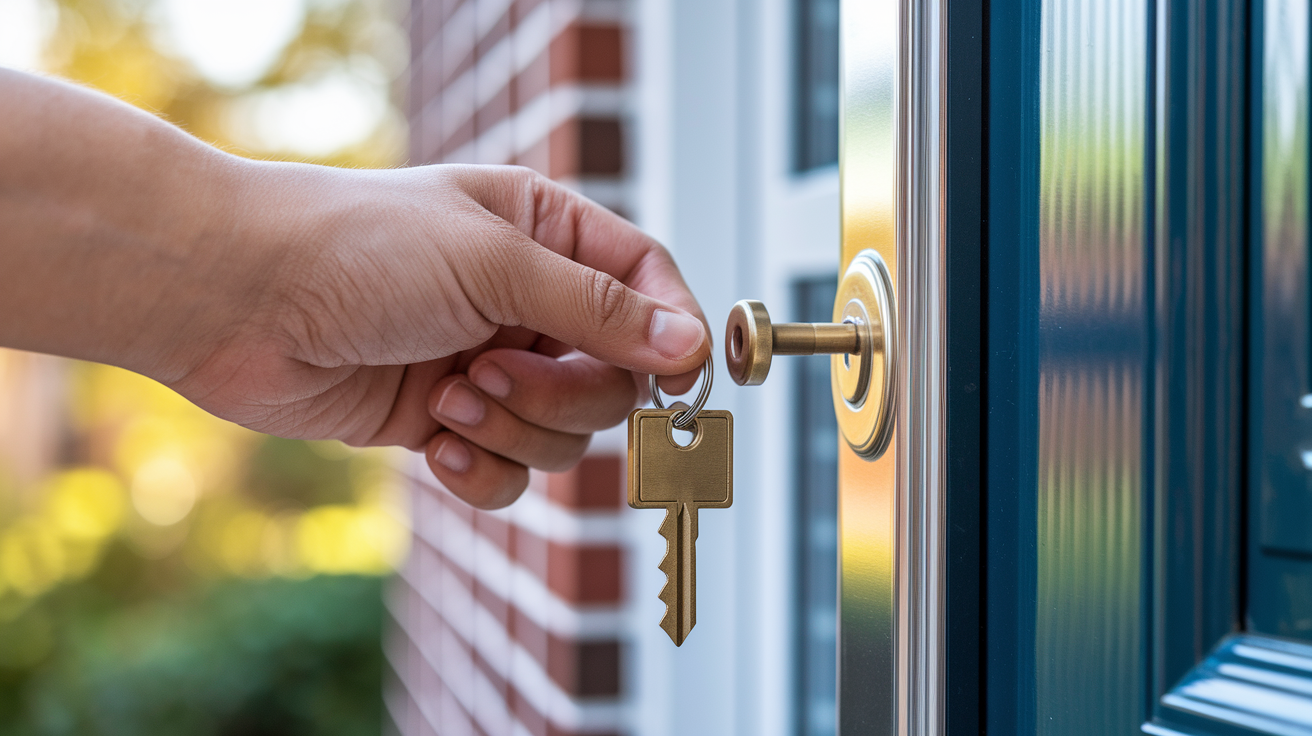
Testing prevents discovering problems after tools are put away. You want to catch issues while the screwdriver’s still in your hand, not when you’re trying to leave for work tomorrow morning and your key won’t turn.
Test everything before calling the project done.
- Rotate key in both directions multiple times, listening for smooth clicking as the pins engage
- Test latch retraction and extension by turning the interior handle repeatedly
- Verify deadbolt throws completely into the strike plate without resistance
- Check door closes without excessive force or rubbing against the latch
- Confirm lock engages with strike plate properly when you turn the key
- Test from both sides of door, using all keys that came with the lock
- Verify all keys work smoothly in the cylinder without sticking
Lubricate moving components with graphite based lubricant to prevent wear and ensure long term smooth operation. A small amount of graphite powder or spray goes a long way. Never use oil based lubricants like WD 40 on locks. Oil attracts dust and grime, which gums up the mechanism over time. Graphite stays dry and keeps things sliding smoothly for months.
Apply lubricant into the keyway, then insert and remove the key several times to distribute it throughout the cylinder. If you have a deadbolt, apply a tiny amount to the bolt itself where it slides into the door edge. Work the lock several times after lubricating to make sure everything moves freely. Your new lock should feel effortless to operate. If you’re fighting it, something’s not quite right yet.
Common Lock Replacement Problems and Solutions

Even careful installations can run into issues that are usually easy to fix. Most problems trace back to alignment, orientation, or tension. Nothing you can’t solve in a couple minutes.
| Problem | Cause | Solution |
|---|---|---|
| Key won’t turn | Latch installed upside down or internal components misaligned | Remove lock, verify latch angled side faces strike plate, reassemble carefully |
| Latch doesn’t catch | Strike plate misaligned with latch bolt | Loosen strike plate screws, adjust position up/down until latch engages, retighten |
| Lock binds or feels stiff | Mounting screws over tightened | Loosen interior mounting screws 1/4 turn, test operation, adjust until smooth |
| Door won’t close properly | Incorrect backset dimension or latch protrudes too far | Verify backset measurement, may need different lock or adjust latch projection |
| Sticky operation after installation | Needs lubrication or slight misalignment | Apply graphite based lubricant, check for door sag causing frame misalignment |
| Handle feels loose | Set screws not fully tightened | Locate small set screws on interior assembly, tighten with Allen wrench or screwdriver |
Choosing Between Rekeying and Full Lock Replacement
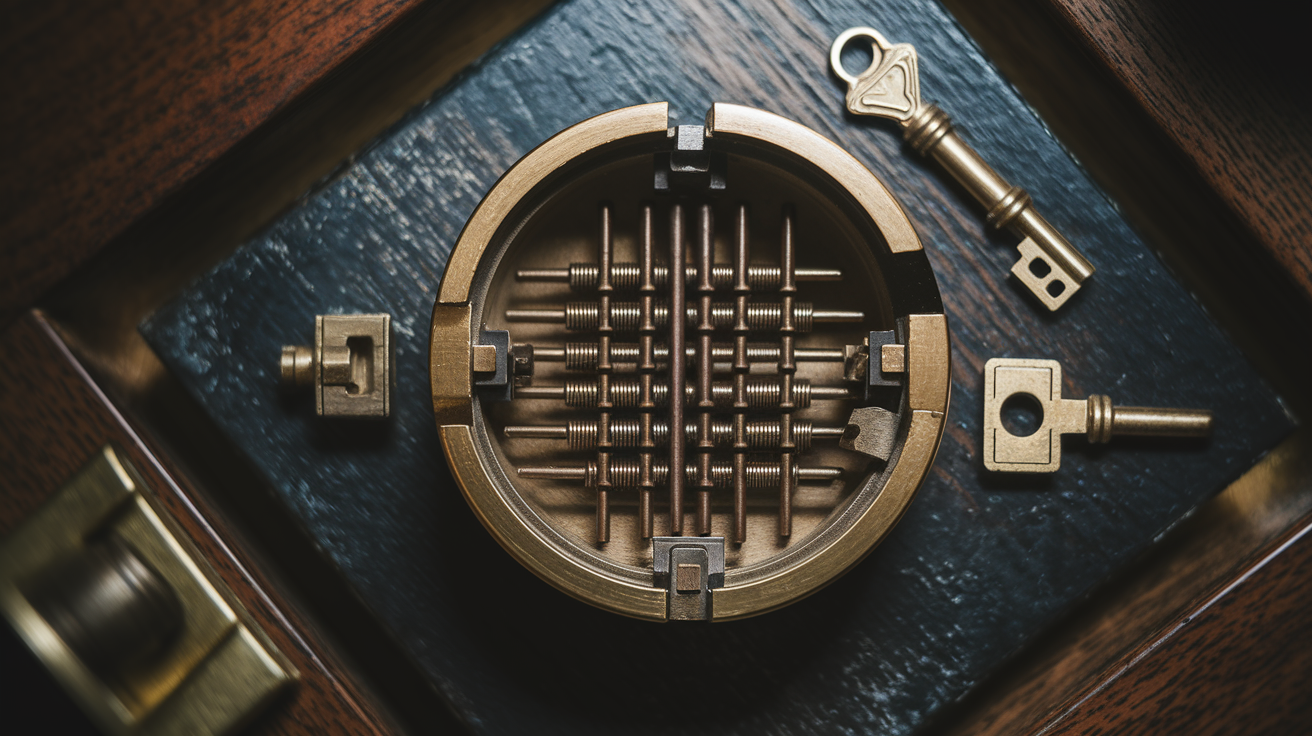
Rekeying changes internal pin configuration to work with new keys while keeping existing hardware. A locksmith removes the cylinder plug, swaps out the pin and spring stack with different sizes, hands you new keys that match the new pin configuration. Your lock looks identical from the outside, but old keys no longer work.
This makes sense for custom door locks or non standard doors where finding replacement hardware would be difficult or expensive. It’s also ideal when your hardware’s in good condition but you need key control. After moving into a new home, for example, when you don’t know how many copies of the old key exist. Rekeying costs less than full replacement, typically $75 to $150 for a professional locksmith to rekey your entire house. But rekeying existing locks is generally more difficult than replacing the entire lock assembly if you’re doing it yourself. Locks without side poke holes typically require professional locksmith service for rekeying.
Replacement is better when you see visible rust or wear inside the lock mechanism, making rekeying a temporary fix at best. Security upgrades provide another strong reason to replace rather than rekey. If your door has a basic builder grade lock with minimal kick in resistance, rekeying those same weak internals doesn’t improve your security. Outdated hardware that doesn’t match your home’s current style also calls for replacement. And if you’ve lost control of who has keys in a rental property or small business, replacing all locks with a new keyed alike system gives you a fresh start.
Cost considerations usually favor rekeying when hardware’s in good condition. You’re paying for labor and pins rather than entire new locksets. But replacement offers an opportunity for security and style upgrades that rekeying can’t provide. A $150 locksmith bill to rekey five locks might seem cheaper than $500 for five new locksets, but if those old locks are builder grade and you’re replacing them with Grade 1 deadbolts, you’ve just dramatically improved your home’s security for a reasonable incremental cost.
Smart Lock and Electronic Lock Installation Considerations
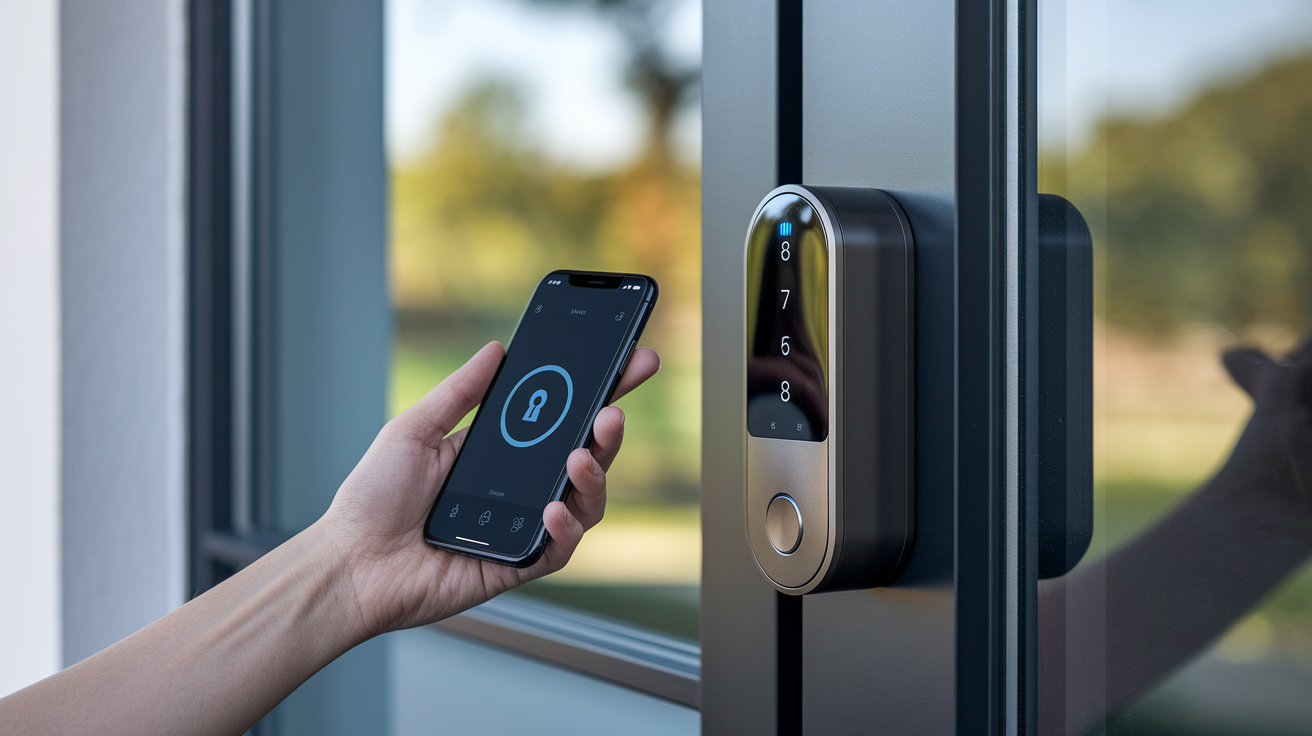
Smart locks often fit standard bore holes but require additional considerations beyond mechanical locks. The basic installation follows the same steps. Remove old lock, install latch, mount new assemblies. But smart locks have electronic components, battery compartments, wireless connectivity that change the equation.
Check three things before buying a smart lock: door thickness compatibility, battery compartment clearance, interior space for the electronics housing. Most smart locks accommodate doors from 1 3/8 to 1 3/4 inches thick, but some models need thicker or thinner doors. The interior assembly is significantly larger than traditional locks because it houses batteries, circuit boards, motors. Make sure you have enough clearance between the door and the wall trim. Some smart locks won’t work on doors with narrow stiles or decorative glass panels close to the lock area.
- Verify door thickness compatibility falls within the lock’s specified range
- Check WiFi signal strength at door location using your smartphone. Weak signal causes connectivity problems.
- Ensure adequate clearance for battery compartment, which can add 2 to 3 inches of depth on interior side
- Confirm app compatibility with your smartphone’s operating system and version
- Consider backup mechanical key option in case batteries die or electronics fail
- Verify power source requirements. Most use AA batteries, some need hardwired power.
Follow manufacturer instructions carefully since smart locks have electronic components and specific alignment requirements. The latch mechanism needs precise alignment with the motor drive or the lock will drain batteries trying to force a misaligned bolt. Cable connections between interior and exterior assemblies must route properly without pinching. Calibration procedures vary by manufacturer. Some require you to manually cycle the lock several times during setup so the motor learns its range of motion. Skip these steps and your expensive smart lock might work intermittently or not at all.
Security Upgrades When Replacing Your Front Door Lock

Lock replacement is an opportunity to upgrade home security, especially important after moving into a new home. You have no idea how many copies of the old key exist or who has them. Previous owners, their relatives, contractors, housekeepers, dog walkers. The list grows long over years of ownership. For more ways to protect your home, check out our guide on Home Security Basics.
Changing the lock gives you a fresh start with keys you control. But why stop at just swapping old for new when you can meaningfully improve your security for minimal additional cost?
- Grade 1 deadbolts meeting ANSI standards for maximum strength and tamper resistance
- Reinforced strike plates with 3 inch screws that anchor into wall framing, not just the door jamb
- Anti drill plates protecting lock cylinder from drill attacks on the vulnerable pin chamber
- Hardened steel bolts resisting sawing attempts by intruders with power tools
- Smart locks with tamper alerts sending phone notifications when someone manipulates the lock
The ANSI grading system ranks locks by durability and tamper resistance. Grade 3 handles light residential use. Grade 2 suits standard residential applications. Grade 1 offers maximum durability and tamper resistance for front doors, especially in high traffic households or multifamily properties where the lock cycles dozens of times daily.
The difference shows up in real world testing. Grade 1 deadbolts withstand 10 strikes with a 75 pound battering ram. Grade 3 locks fail after 2 to 3 strikes. Grade 1 locks resist 800,000 cycles of operation. Grade 3 locks are rated for 200,000 cycles. If someone’s determined to break in, they might succeed eventually. But Grade 1 hardware makes forced entry so difficult and time consuming that most intruders move on to easier targets. Couple that with 3 inch strike plate screws anchoring deep into wall studs, and you’ve created a front door that would require extraordinary effort to kick in.
Cost Breakdown for DIY Lock Replacement Projects
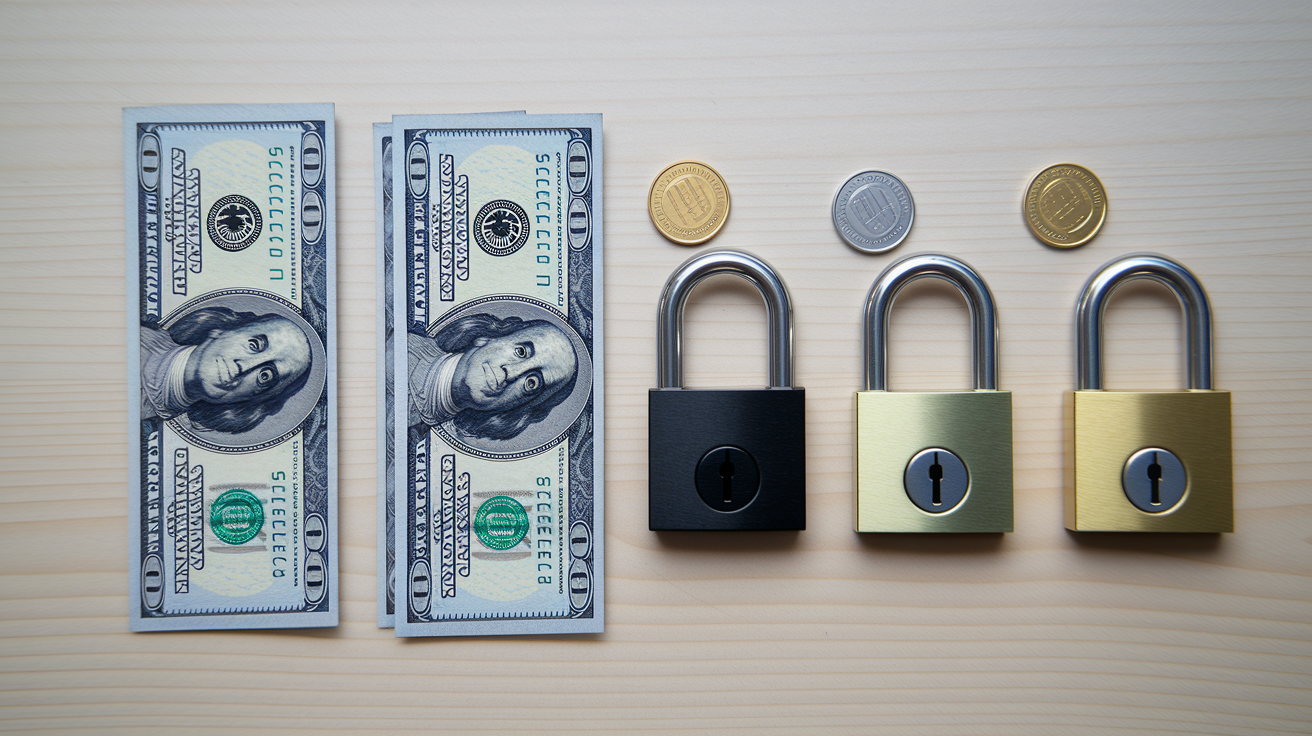
DIY lock replacement offers significant cost savings with typical project time of 15 to 30 minutes for standard locks. You’re looking at hardware cost plus maybe an hour of your time, versus hardware plus $75 to $150 in labor charges if you hire a locksmith.
The math favors doing it yourself unless you’re dealing with mortise locks or commercial grade hardware requiring specialized knowledge.
| Item/Service | DIY Cost | Professional Cost |
|---|---|---|
| Basic door knob | $15 to $40 | $15 to $40 (hardware only) |
| Mid range lockset | $40 to $100 | $40 to $100 (hardware only) |
| Deadbolt | $25 to $150 | $25 to $150 (hardware only) |
| Smart lock | $100 to $300 | $100 to $300 (hardware only) |
| Tools if needed | $20 to $50 | Not applicable |
| Labor (per lock) | $0 | $75 to $150 |
| Total project cost (single lock) | $40 to $150 | $115 to $300 |
When to Call a Professional Locksmith Instead
While most residential locks are DIY friendly, certain situations warrant professional help. There’s no shame in recognizing when a project exceeds your skill level or available tools. Messing up a lock installation can mean a damaged door, a lock that doesn’t secure properly, or hours of frustration.
Know when to make the call.
- Mortise lock installations requiring door pocket modification or repair
- Setting up systems where one key opens multiple locks for rental properties or small businesses
- Commercial grade hardware with specific code requirements
- Damaged door jambs requiring structural repair before lock installation
- Non standard door preparations needing custom boring or routing
- ADA compliant lever installations with specific force requirements (5 pounds or less) and mounting height (34 to 48 inches above finished floor)
- High security lock systems with restricted keyways or special ordering requirements
Professional installation may save money compared to damaged doors or incorrect installations requiring correction. A locksmith brings specialized tools like door jigs for perfect hole alignment, plug followers for rekeying without losing springs, code cutting machines for precise key duplication. They also carry insurance covering any installation damage.
If your door needs new holes drilled, a professional ensures proper placement and clean cuts without splintering. If you’re converting from cylindrical to mortise locks, they have the chisels and routers to carve a clean pocket. And if you need everything keyed alike across multiple doors with different brands of locks, they can rekey cylinders to match a single key system. The labor cost stings less than buying a replacement door because you drilled the crossbore in the wrong location.
Matching Lock Finishes and Hardware Throughout Your Home
Popular finish options include brass for traditional warmth, nickel for contemporary spaces, bronze for rustic charm, chrome for modern minimalism. Match existing hardware throughout your home rather than mixing finishes room by room. Walking through a house where the living room has brass knobs, the kitchen has chrome pulls, the bathroom has nickel faucets feels chaotic.
Consistency creates a polished look that buyers notice if you ever sell. It also makes future replacements easier since you already know which finish to purchase.
Buy the same brand for compatibility and consistent appearance across multiple doors. Kwikset, Schlage, Yale maintain tight manufacturing tolerances, meaning a Kwikset satin nickel finish from one product line closely matches their satin nickel finish on another line. Mix brands and you’ll notice slight variations in tone and texture even within the same nominal finish.
Purchase doorknob and deadbolt sets that use the same key for convenience. Fumbling through multiple keys to unlock your front door deadbolt, then switching to a different key for the knob, wastes time and creates unnecessary hassle. Keyed alike sets from the same manufacturer save you from carrying extra keys and simplify access for family members. Some brands also offer “keyed alike” or “same key” options across their entire product range, letting you open every exterior door in your house with one key.
Final Words
Learning how to replace a door lock saves time and money while giving you control over your home’s security.
Most standard locks take 15 to 30 minutes with basic tools. Measure carefully, follow the steps, and test everything before you finish.
If you run into issues with mortise locks, damaged frames, or non-standard setups, that’s when a pro makes sense.
Otherwise, you’ve got this. Your new lock will work smoothly, look clean, and give you peace of mind every time you turn the key.
FAQ
Can I change a door lock myself?
Yes, you can change a door lock yourself. Most standard residential locks can be replaced in 15 to 30 minutes using basic tools like a screwdriver, tape measure, and drill. The process involves removing screws from the interior door plate, extracting the old latch, and installing the new lock components in reverse order. As long as you purchase a lock that matches your door’s existing measurements (backset, crossbore diameter, and door thickness), the replacement follows straightforward steps that don’t require specialized skills.
Can you replace just the lock on a door?
You can replace just the lock on a door without changing the entire door knob or handleset. Most modern locks are designed as modular components, so you can swap out just the key cylinder, the deadbolt mechanism, or the entire lockset depending on your needs. If the existing hardware is in good condition and you simply need new keys or an upgraded lock mechanism, replacing only the lock component saves money compared to a full hardware replacement.
Do you need a locksmith to change a door lock?
You don’t need a locksmith to change most standard residential door locks. Cylindrical door knobs and deadbolts with standard bore holes are designed for DIY installation and take about 15 to 30 minutes with a screwdriver. However, mortise locks, master key systems, commercial-grade hardware, ADA-compliant installations, or situations involving damaged door jambs typically require professional locksmith expertise to ensure proper function and security.
How much should it cost to replace a door lock?
A DIY door lock replacement typically costs between $15 and $150 for the lock itself, depending on the type and quality you choose. Basic door knobs run $15 to $40, mid-range locksets cost $40 to $100, and deadbolts range from $25 to $150. If you hire a professional locksmith, expect to add $75 to $150 in labor costs. Smart locks run higher at $100 to $300, but installation remains straightforward for most DIY homeowners.
What measurements do I need before buying a replacement lock?
Before buying a replacement lock, you need three critical measurements to ensure compatibility. Measure the backset (distance from door edge to center of bore hole, typically 2-3/8 inches or 2-3/4 inches), the crossbore diameter (usually 2-1/8 inches), and your door thickness (standard residential is 1-3/8 inches to 1-3/4 inches). Also check the faceplate width on the door edge, which is typically 1 inch. Taking accurate measurements prevents purchasing incompatible locks.
Should I rekey or replace my door lock?
You should rekey your door lock when the existing hardware is in good condition and you simply need new keys, such as after moving into a home. Replace the entire lock when you see visible rust or wear, want to upgrade security with Grade 1 deadbolts, need to change outdated hardware styles, or have lost master key control. Rekeying is generally cheaper, but replacement offers an opportunity for security and style upgrades.
How do I test if my new lock is installed correctly?
To test if your new lock is installed correctly, rotate the key in both directions multiple times to confirm smooth operation without jamming. Test the latch retraction and extension, verify the deadbolt throws completely, and check that the door closes without excessive force. Confirm the lock engages properly with the strike plate from both sides of the door, and verify all keys work smoothly before putting your tools away.
What’s the difference between cylindrical and mortise locks?
Cylindrical locks are the most common residential type with standard bore holes drilled through the door face, making them the easiest to replace on interior and exterior doors. Mortise locks feature a heavy-duty lock body that fits into a rectangular pocket cut into the door edge, commonly found in older homes and commercial buildings. Mortise locks require more installation time and caution but offer superior strength for high-traffic applications.
Can I install a smart lock on my existing door?
You can install a smart lock on your existing door if it meets compatibility requirements. Most smart locks fit standard bore holes (2-1/8 inches diameter), but you need to verify door thickness compatibility, ensure adequate clearance for the battery compartment, and check WiFi signal strength at the door location. Confirm your smartphone works with the lock’s app and consider whether you want a backup mechanical key option.
What security upgrades should I consider when replacing a front door lock?
When replacing a front door lock, consider upgrading to a Grade 1 deadbolt for maximum durability and tamper resistance. Install a reinforced strike plate secured with 3-inch screws that anchor deep into the door frame to prevent kick-ins. Other security enhancements include anti-drill plates protecting the lock cylinder, hardened steel bolts that resist sawing, and smart locks with tamper alerts for real-time security monitoring.