
You’ve probably plugged something in, hit the switch, and gotten nothing. Not a flicker, not a hum, just dead air where your lamp or phone charger should be working. Before you call an electrician or assume the worst, most dead outlets follow a simple pattern: tripped GFCI, flipped breaker, loose wire, or worn out receptacle. We’ll walk you through the reset, test, and restore process so you can figure out what’s actually wrong and get power back fast.
Restoring Power to Your Non-Working Outlet: A Step-by-Step Diagnostic Process
Most dead outlets follow a pattern. Simple stuff first: tripped GFCI outlets, breakers that kicked off, loose connections, worn out receptacles. But before you assume anything, test the outlet with something else. Phone charger works. Small lamp too. This confirms the outlet’s actually dead and not just whatever you were trying to use. Saves you from wasting time on the wrong problem. Mark any dead outlets with masking tape so you can find them later after you’ve killed the power.
You’re going to work from simple to complex, checking easy fixes before you start opening boxes and messing with wires. And here’s the thing about safety: it’s not optional. Shut off the circuit breaker feeding that outlet before you touch any wires or pull the outlet from the wall. Even if the breaker doesn’t look tripped. Working with live electricity can kill you, and there’s no repair worth that.
Essential Safety Precautions and Tools Before Starting Outlet Repair

Electricity doesn’t warn you before it hurts you.
Find your electrical panel and flip the breaker feeding that outlet to off. Don’t assume the outlet’s dead just because nothing’s working. Use a voltage tester to confirm. If you’ve got computers or sensitive electronics running, shut them down properly before you start flipping breakers on and off during troubleshooting.
You’ll need some basic tools. A 4-in-1 screwdriver handles outlet cover plates and receptacle screws. Needle-nose pliers for bending and positioning wires. Voltage tester to confirm power’s off. Wire strippers if connections need repair. And an outlet tester (some people call it a socket tester or receptacle tester) for checking if wiring’s correct. These tools cover most outlet work.
Wear safety glasses when you’re working inside outlet boxes. Debris happens. Work gloves protect your hands from sharp wire ends and rough edges.
Checking Circuit Breakers: The First Line of Outlet Troubleshooting
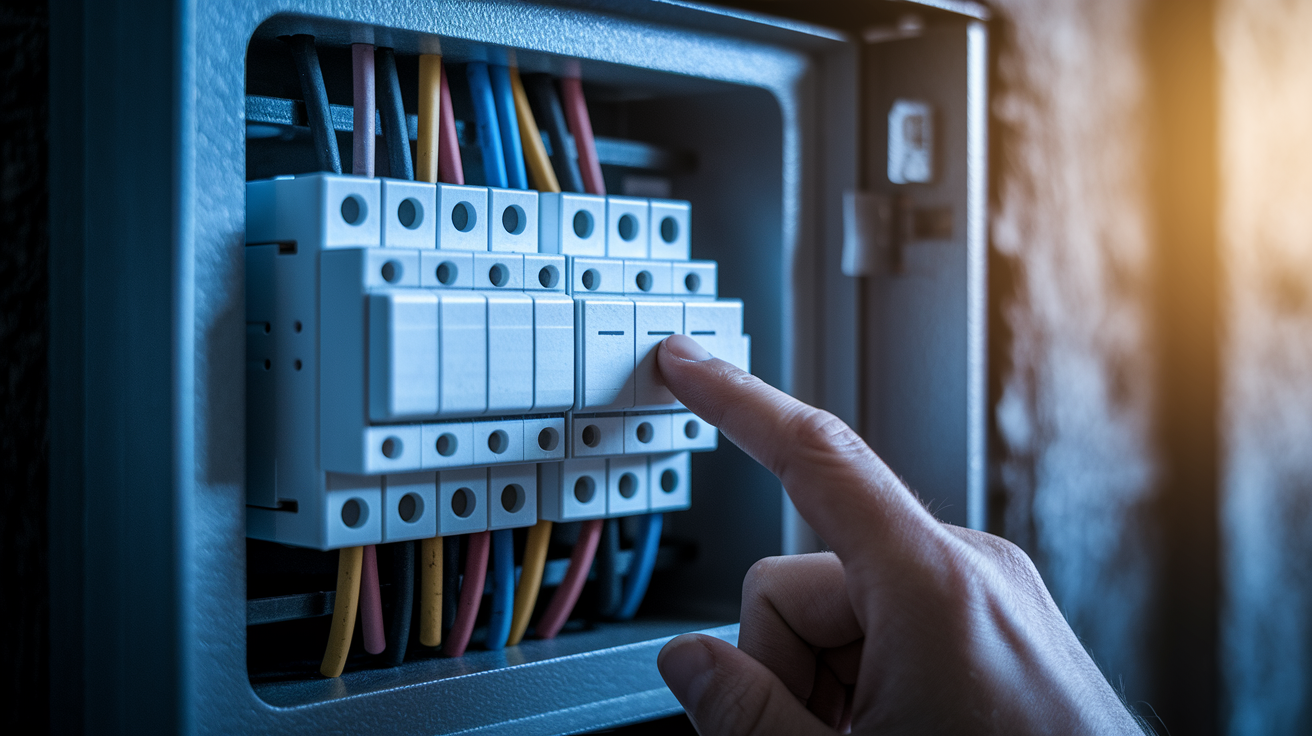
Your main electrical panel’s usually in the basement, garage, or laundry room where power enters the house. Open the panel door carefully. Look for a breaker handle that doesn’t line up with the others or sits somewhere between on and off.
Tripped breakers feel different. Press gently on a tripped one and it’ll give a little instead of feeling solid. A working breaker feels firm and stays put when you push it. Look for handles that don’t align with their neighbors. That’s your tripped breaker.
To reset it properly, push the handle all the way to off first until you hear and feel a click. Then push it back to on until it lines up and clicks into place. This complete sequence matters. Just shoving a middle position handle toward “on” often won’t reset the internal mechanism.
AFCI breakers (Arc Fault Circuit Interrupter) look different. They’ve got small test and reset buttons right on the breaker face. If one of these feeds your dead outlet, press the reset button after you’ve moved the handle through the full off then on sequence.
If the breaker flips right back to tripped as soon as you reset it, stop. Don’t keep trying. This signals something dangerous. Either a short circuit where hot and neutral wires are touching, or a ground fault where electricity’s finding a path it shouldn’t. Both need professional help immediately. A breaker that refuses to stay on is protecting your home from fire or electrocution.
Locating and Resetting GFCI Outlets to Restore Power
GFCI outlets have two small buttons on their face. One says “Test” and one says “Reset”. Building code requires them anywhere water and electricity might meet. They monitor electricity flow and shut off power instantly if they detect a ground fault.
Check for GFCI outlets in these spots:
Bathroom outlets, especially near sinks and vanities. Kitchen countertop outlets within six feet of the sink. Garage wall outlets where you might use power tools. Basement outlets in unfinished areas or near utility sinks. Exterior outlets on patios, decks, or building walls.
Here’s what trips people up. One GFCI outlet can protect several standard outlets connected to it on the same circuit. When that GFCI trips, every outlet “downstream” from it loses power too, even though those outlets don’t have test and reset buttons. GFCI outlets are supposed to have labels listing which other receptacles they protect, but those labels fall off or were never there to begin with. Especially in older homes or after remodels. You might need to check every GFCI in your house, not just the ones near the dead outlet.
To reset a GFCI, press the reset button firmly until you hear and feel it click. The button should stay in. If it pops right back out or won’t stay reset, either the GFCI itself failed, or there’s still a ground fault on the circuit. A GFCI that won’t reset needs replacement or professional diagnosis.
Testing Outlet Voltage and Using an Outlet Tester
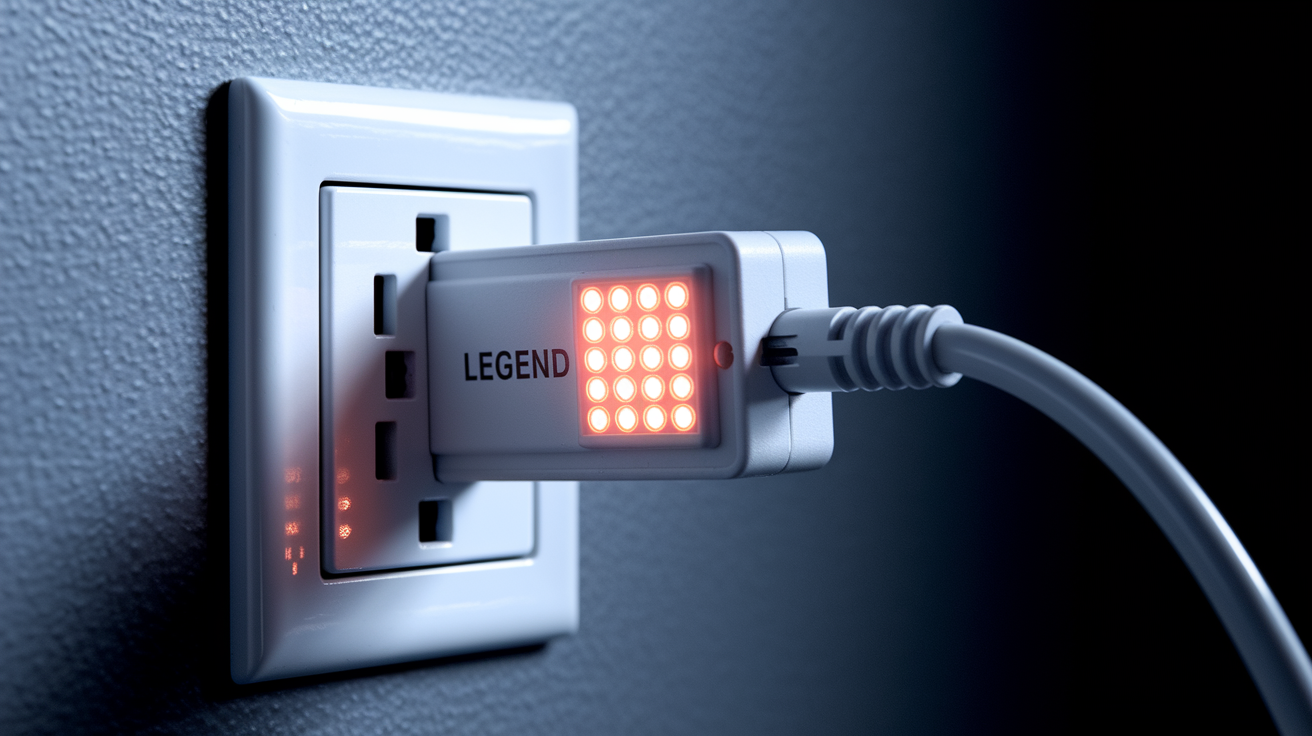
Diagnostic tools take the guesswork out. A non-contact voltage tester is a pen shaped tool that beeps or lights up when you hold it near live wiring without touching anything. An outlet tester is a small plug in device with lights that show wiring problems.
Use a non-contact voltage tester to confirm power’s off before you touch any wires. Hold the tester tip near the outlet box, near wire connections, near the terminal screws on the back and sides of the outlet. No beep or light means no voltage and it’s safe to work. If it beeps, the circuit’s still live. Go back and find the right breaker.
An outlet tester plugs into a standard three prong outlet and shows a pattern of lights that tells you if wiring’s correct. The tester has a legend printed on it showing what each light pattern means. Two yellow lights in a specific pattern means wiring’s correct. Other patterns reveal problems like reversed hot and neutral wires, missing ground connection, or open neutral wire. These testers cost under fifteen bucks and instantly identify wiring errors that would otherwise take forever to diagnose.
If your outlet tester shows voltage present and correct wiring, but the outlet still won’t power your device, the receptacle itself has failed internally. The contact points that grip your plug wore out or internal connections broke. Time to replace it.
Inspecting and Repairing Loose Wire Connections in Outlets
Loose connections are one of the most common causes of outlet failure. And they create a dangerous cycle. A loose wire creates resistance, resistance generates heat, and heat damages both the wire and the outlet, leading to more resistance and eventual failure. You might see discolored or melted insulation, darkened or pitted terminal screws, or smell burnt plastic.
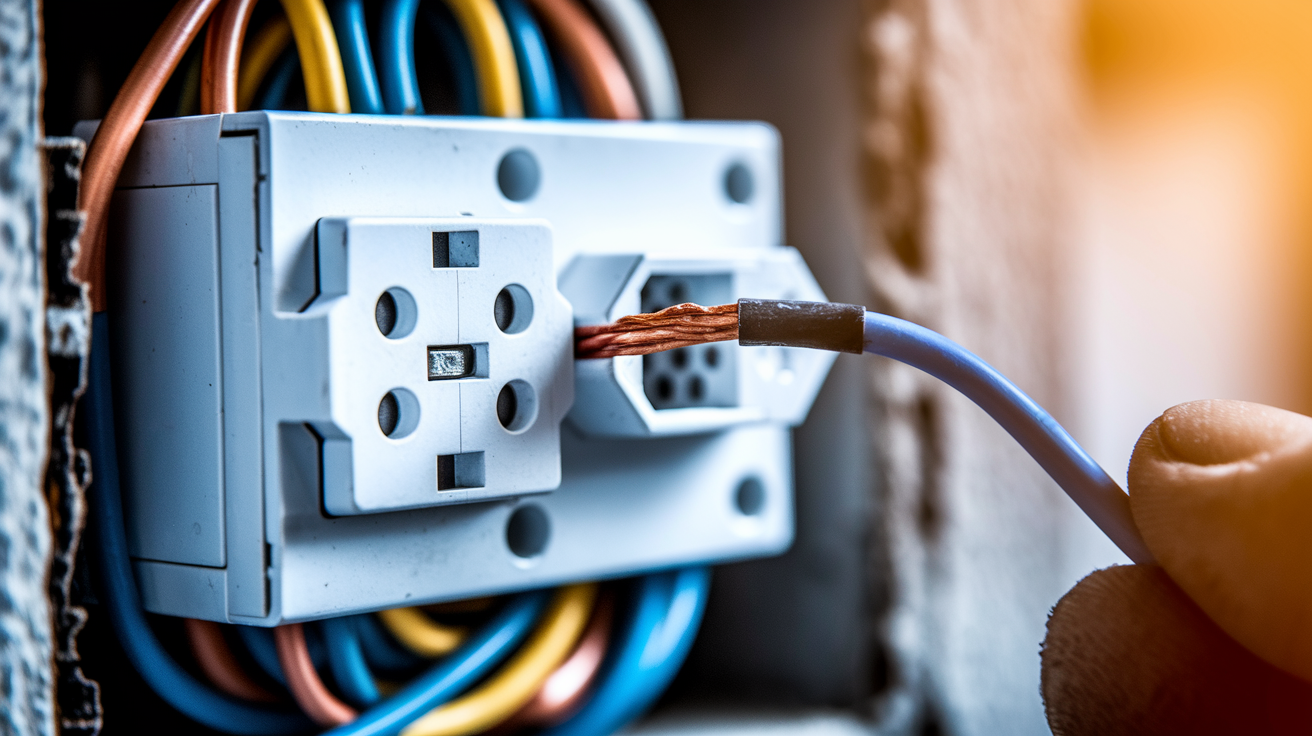
After you’ve confirmed power’s off with your voltage tester, remove the outlet cover plate by unscrewing the single screw in the center. Then unscrew the two long screws at the top and bottom that hold the outlet to the electrical box. Gently pull the outlet straight out to expose the wiring. Look for melted insulation, scorch marks, loose wires hanging away from terminal screws, or wire nuts that turn easily when you touch them.
Identifying and Fixing the Three Types of Loose Connections
Terminal screw connections are most reliable when done right. The wire should wrap clockwise around the screw with no insulation under the screw head, and the screw should be tight. Test each connection by gently bending the wire at the screw. If the wire rotates under the screw or the screw itself moves, it’s loose. Tighten it clockwise until snug. Black (hot) wires connect to brass colored screws, white (neutral) wires connect to silver colored screws, and green or bare (ground) wires connect to the green ground screw.
Backstab or push in connections happen when you press a stripped wire into a small hole on the back of the outlet. Electricians use these to save time, but they’re less reliable than screw connections. If you find a loose backstab connection, don’t push the wire back in. Release it completely by pressing the release slot next to the hole with a small screwdriver. Cut off the damaged end, strip 1/2 to 3/4 inch of fresh copper, and connect it to the screw terminal on the side instead, wrapping the wire clockwise around the screw.
Wire nut connections happen when multiple wires need to join together. If you find a loose wire nut (the plastic twist on connector), unscrew it counterclockwise and remove it completely. Check that all wire ends are stripped to the same length, about 1/2 to 3/4 inch of bare copper exposed. Straighten the wires so they’re parallel, twist them together clockwise with pliers, then screw the wire nut back on clockwise until tight. The nut should twist firmly onto the wires without spinning loosely.
For outlets with two hot wires and two neutral wires (power coming in and continuing to another outlet), you’ll need to create a “pigtail” connection. Cut a 6 inch piece of wire the same gauge and color as the circuit wires. Strip both ends. Connect one end to the appropriate outlet terminal screw. Bundle the other end with the two circuit wires and connect all three together under a wire nut sized for three wires.
Any wire showing heat damage (darkened, brittle, or melted insulation) means the outlet needs replacement. The damage has compromised the connection and will cause problems again.
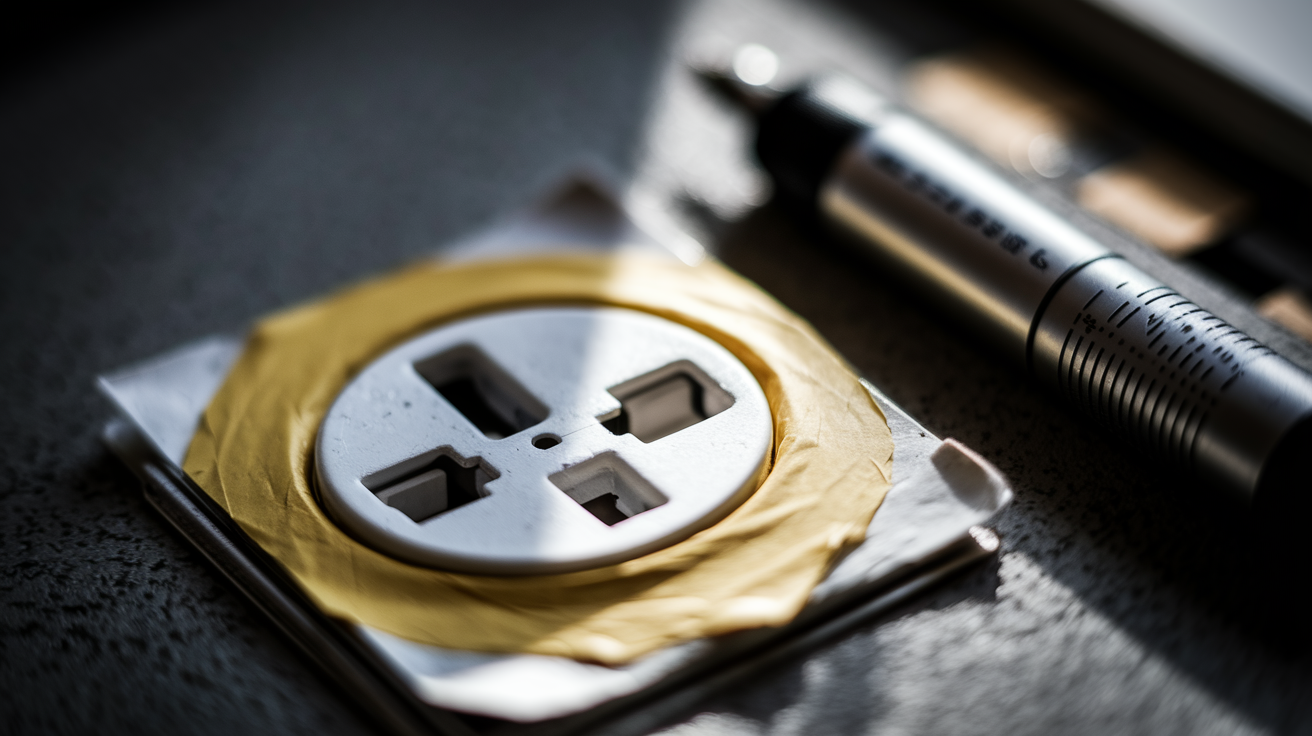
Replacing a Faulty Outlet or Damaged Receptacle

Physical damage, internal wear, and age eventually kill outlets. Cracks in the plastic housing, scorch marks around the slots, plugs that fit loosely or fall out, and discoloration all mean the outlet’s reached end of life. Outlets in high use locations (like kitchen counters where you plug and unplug appliances daily) wear out faster than outlets that rarely get used.
| Wire Color | Wire Type | Terminal Connection |
|---|---|---|
| Black | Hot wire (carries power) | Brass-colored screw terminal |
| White | Neutral wire (return path) | Silver-colored screw terminal |
| Green or Bare Copper | Ground wire (safety) | Green ground screw terminal |
Match the new outlet’s amp rating to your circuit breaker rating. A 15 amp circuit uses 15 amp outlets. A 20 amp circuit can use either 15 amp or 20 amp outlets, though 20 amp outlets have a T shaped neutral slot. Using the wrong rating violates electrical code and creates safety issues. After confirming power’s off, unscrew and remove the old outlet. If wire ends look damaged or corroded, cut them back and strip 1/2 to 3/4 inch of fresh copper. Form each wire into a hook shape that wraps clockwise around its terminal screw. Clockwise matters because tightening the screw pulls the wire tighter instead of pushing it out. Attach ground first, then neutral, then hot. Tighten screws firmly but don’t overtighten and crack the outlet body.
Before you push the outlet back into the box and screw it down, plug in your outlet tester or a known working device to confirm the repair worked and wiring’s correct. This catches mistakes before you button everything up.
Understanding Overloaded Circuits and Related Outlet Problems
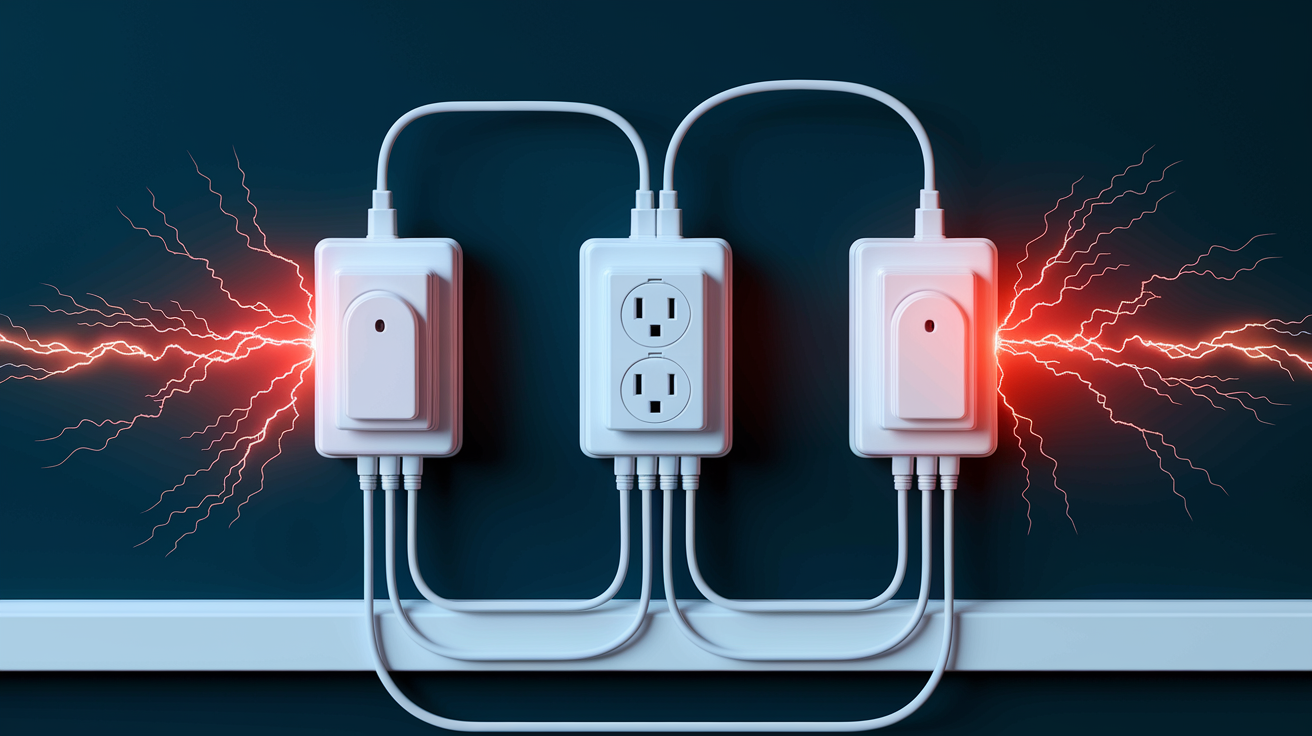
Circuits have limits. A standard residential circuit is rated for either 15 or 20 amps total. When the combined draw of everything plugged into that circuit exceeds the rating, the breaker trips to prevent overheating and fire. That’s not a malfunction. That’s the safety system working exactly as designed.
Calculate circuit load by adding up the amperage or wattage of everything plugged in. Many device labels list wattage. Divide watts by 120 volts to get amps. Space heaters (1,500 watts or 12.5 amps), hair dryers (1,800 watts or 15 amps), and portable air conditioners are common circuit killers. One high draw appliance can eat most of a 15 amp circuit’s capacity by itself.
An overloaded circuit behaves differently than a short circuit. With overload, the breaker trips but resets successfully when you unplug some devices. The outlet might feel warm but shows no damage. A short circuit or ground fault makes the breaker trip immediately when you reset it, even with nothing plugged in. That’s the difference between “too much load” and “dangerous wiring problem.” Only the first one’s safe to handle yourself by redistributing load.
Split high draw appliances across different circuits. Don’t plug a space heater and microwave into outlets on the same kitchen circuit. Don’t run a vacuum and hair dryer at the same time in the bathroom. Think about which outlets share circuits. Often, outlets in the same room or adjacent rooms connect to the same breaker.
Special Outlet Configurations That Affect Troubleshooting
Not every outlet provides power all the time. Some are controlled by wall switches for lamps and lighting. Others are split so the top half is switched while the bottom half stays hot constantly. These configurations can make a working outlet look dead if you don’t know what you’re looking at.
Special outlet configurations include:
Switched outlets controlled by wall switches. Common in living rooms and bedrooms where you want to control a lamp from the door. Flip the switch and the outlet powers on or off. If your outlet seems dead, check every wall switch in the room.
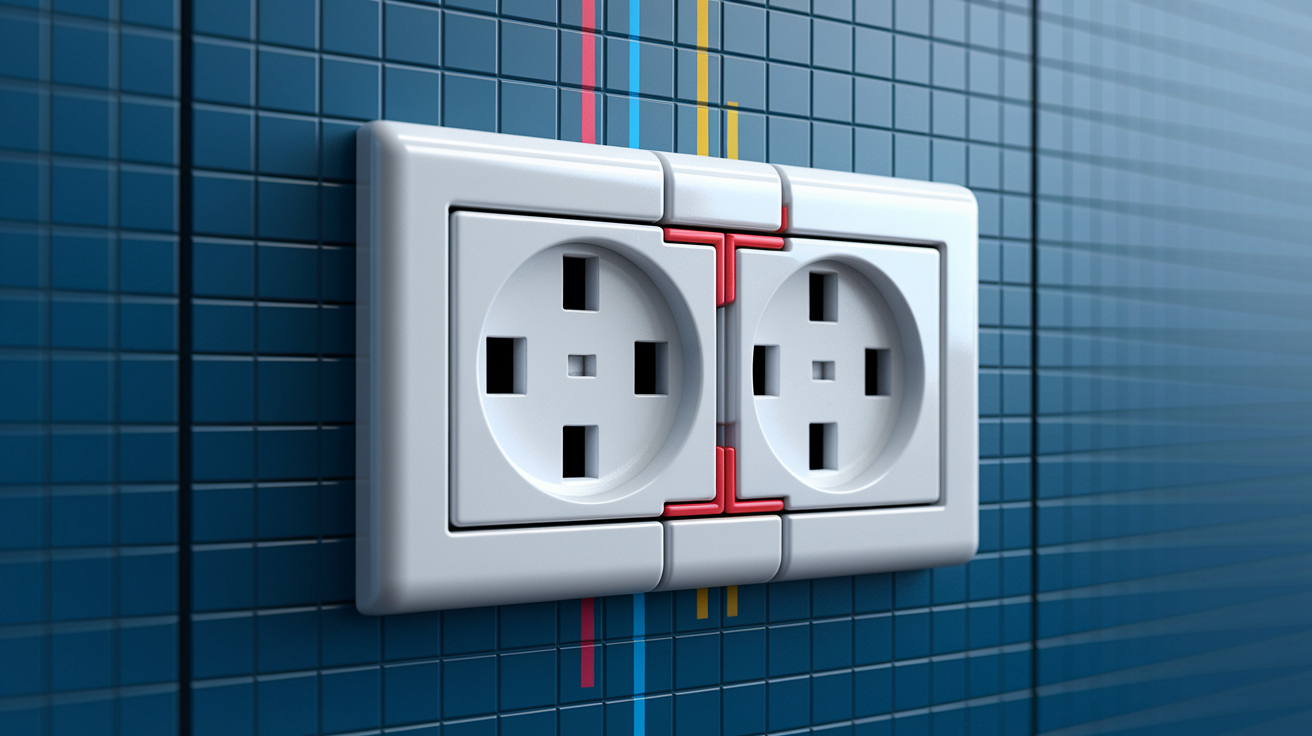
Half hot outlets (split receptacles). The metal tab connecting the top and bottom halves has been removed, creating two independent outlets in one housing. Typically the top half is switched for lamps while the bottom stays on for constant power devices like phone chargers or clocks. Only half working isn’t a failure. It’s intentional.
GFCI protected downstream outlets. Standard outlets can be wired downstream from a GFCI, losing power when the GFCI trips even though they look like regular outlets. Finding the controlling GFCI sometimes means checking every room.
Electricians wire outlets in series, meaning power flows through one outlet to reach the next. If the first outlet in a series develops a loose connection or fails, every outlet downstream loses power too. That’s why one bad outlet in a bedroom might kill outlets in the closet or an adjacent room. Testing all outlets on the affected circuit helps identify where power stops flowing.
Look for clues. Switched outlets sometimes have “switch” or “lamp” labels near them, though labels wear off. Half hot outlets have their connecting tab removed. You can see this if you remove the outlet and look at the hot wire side. GFCI protected outlets should have “GFCI Protected” labels, but again, these fall off or were never installed.
When to Call a Licensed Electrician for Outlet Problems

Electrical work has consequences beyond inconvenience. Mistakes cause fires, damage expensive equipment, violate building codes, void insurance, and create electrocution risk. There’s no shame in recognizing the boundary between safe DIY troubleshooting and work that requires professional training, licensing, and insurance.
If you’re uncomfortable working with electricity at any point (whether that’s opening the panel, removing outlets, or touching wires), stop and call someone qualified. Personal safety and peace of mind matter more than saving service call fees.
Situations requiring a licensed electrician:
Circuit breakers that immediately re-trip after reset. This signals a short circuit or ground fault that could cause fire if forced back on. It’s a serious electrical fault requiring professional diagnosis and repair.
Outlets showing burn marks, melting, or smoke damage. Heat damage this severe indicates dangerous conditions that have likely affected wiring inside the wall. The damage extends beyond what’s visible.
Aluminum wiring present in home. Aluminum wire looks dull gray instead of the dull orange of copper. It requires special handling and terminations. Only electricians with specific aluminum wiring certification should work on these circuits due to fire risk.
Multiple outlets dead with no identifiable cause. When systematic troubleshooting doesn’t locate the problem, the fault may be hidden inside walls, in junction boxes, or at the panel. Professional diagnostic tools and experience become necessary.
Tingling sensation when touching outlet or connected appliance. This means voltage is present where it shouldn’t be, either on the metal outlet cover, the outlet housing, or the appliance case. Dangerous ground fault condition.
Water exposure or moisture damage in outlet box. Water and electricity together create serious electrocution and fire risk. The extent of damage isn’t visible without proper testing equipment.
Uncertainty about wire identification or proper connections. If you can’t confidently identify which wire is which, or how they should connect, don’t guess. Wrong connections can energize parts that should be grounded or create hidden hazards.
Licensed electricians carry proper diagnostic equipment, understand local building codes, carry insurance for their work, and pull permits when required for significant electrical work. A typical outlet repair call involves testing the circuit, identifying the failure point, making repairs, and confirming proper function throughout the circuit. Most outlet repairs take one to two hours once the electrician arrives. Many electrical services offer 24/7 emergency response for situations that pose immediate safety risks.
Preventive Maintenance to Keep Outlets Working Properly
Most outlet failures develop slowly. Connections loosen gradually from heating and cooling cycles. Contacts wear from repeated plug insertion. Moisture and corrosion accumulate over years. Catching these problems early prevents the outlet from failing at an inconvenient moment.
Regular outlet maintenance tasks:
Test GFCI outlets monthly by pressing the test button (outlet should stop working), then the reset button (power should restore). Avoid overloading outlets with multiple adapters, power strips daisy chained together, or too many high draw devices. Replace damaged outlet cover plates immediately. Cracks expose wiring and create shock hazards. Keep outlets dry and away from moisture sources like humidifiers, planters, or leaking pipes. Make sure outdoor outlets have proper weatherproof covers that seal completely when not in use. Replace outlets over 15 to 20 years old proactively during renovations since internal contacts wear out.
GFCI outlet testing is the most important maintenance task. Press the test button once a month. The outlet should click and cut power immediately. Press reset and power should restore. If the test button doesn’t trip the GFCI, or if the reset button won’t stay in, the GFCI has failed internally and needs replacement. A failed GFCI can’t provide ground fault protection, defeating its entire purpose.
Watch for early warning signs that an outlet needs attention before it fails completely. Outlet face feels warm during use. Plugs fit loosely and fall out easily. Devices flicker when you wiggle the plug. Buzzing or crackling sounds from the outlet. The outlet face looks discolored or darkened. Any of these symptoms means the outlet’s degrading and should be inspected or replaced soon. Address the small problem now before it becomes a dead outlet or safety hazard.
Final Words
A dead outlet usually traces back to a tripped breaker, a GFCI reset, or a loose wire connection.
Test the outlet with another device first. Check your electrical panel and hunt down any GFCI outlets that might be protecting the circuit.
If you’ve confirmed power is off and you’re comfortable working safely, inspect connections inside the outlet box.
When you understand how to fix an outlet that is not working, most problems solve themselves without much fuss. But if breakers keep tripping or you see burn marks, call a licensed electrician.
Your home’s electrical system works hard. A little attention keeps it running safely.
FAQ
Why would an outlet stop working all of a sudden?
An outlet stops working all of a sudden typically because of a tripped circuit breaker, a tripped GFCI outlet upstream on the same circuit, loose wire connections that have failed, or internal receptacle damage from age or overload.
How do I reset an outlet that stopped working?
You reset an outlet that stopped working by first locating any GFCI outlets in bathrooms, kitchens, garages, or outdoor areas and pressing their reset buttons firmly until you hear a click, then checking your circuit breaker panel and resetting any tripped breakers.
How do I know if my outlet is blown?
You know your outlet is blown if you see visible scorch marks, discoloration, cracks in the outlet face, smell burning plastic, feel warmth on the outlet cover, or notice that plugs no longer fit snugly in the receptacle.
Why are my outlets not working but the breaker isn’t tripped?
Your outlets are not working but the breaker isn’t tripped because a GFCI outlet elsewhere in your home has tripped and is cutting power to downstream outlets, or because loose wire connections inside an outlet box have failed.
Can a dead outlet be fixed without replacing it?
A dead outlet can be fixed without replacing it if the problem is a loose wire connection at the terminal screws, a tripped GFCI upstream, or a tripped circuit breaker rather than internal damage to the receptacle itself.
What tools do I need to troubleshoot a dead outlet?
You need to troubleshoot a dead outlet with a voltage tester to confirm power is off, a screwdriver to remove the outlet, needle-nose pliers for wire work, and optionally a plug-in outlet tester to check for wiring errors.
How long do electrical outlets typically last?
Electrical outlets typically last 15 to 25 years under normal use, but can fail sooner in high-traffic locations, moisture-prone areas, or when subjected to frequent heavy loads that create excess heat and wear down internal contacts.
Is it safe to replace an outlet myself?
It is safe to replace an outlet yourself if you shut off power at the breaker first, verify no voltage with a tester, follow proper wire-to-terminal connections, and feel confident working with basic wiring, but call an electrician if uncertain.
What does it mean when only half an outlet works?
When only half an outlet works, it usually means the outlet is a split receptacle with one half controlled by a wall switch or that internal damage has affected only one of the two receptacles in the duplex outlet.
Can a tripped GFCI affect outlets in other rooms?
A tripped GFCI can affect outlets in other rooms because one GFCI outlet often protects multiple standard outlets downstream on the same circuit, even if those outlets are located far from the original GFCI’s location.