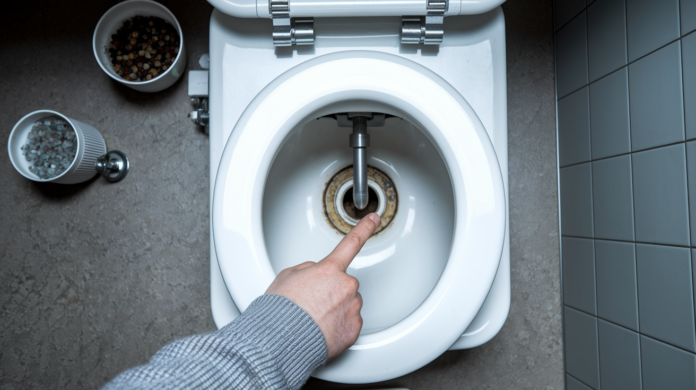

That toilet running every few minutes is literally flushing money down the drain. A constantly cycling toilet wastes up to 200 gallons of water daily, and most homeowners live with the problem for months before fixing it. The good news is that 70% of running toilets are caused by a worn flapper valve, a five dollar part you can replace in under 20 minutes. This guide walks you through diagnosing exactly which component is failing and fixing it yourself, whether it’s the flapper, fill valve, float adjustment, or chain length.
Common Causes of Intermittent Toilet Running
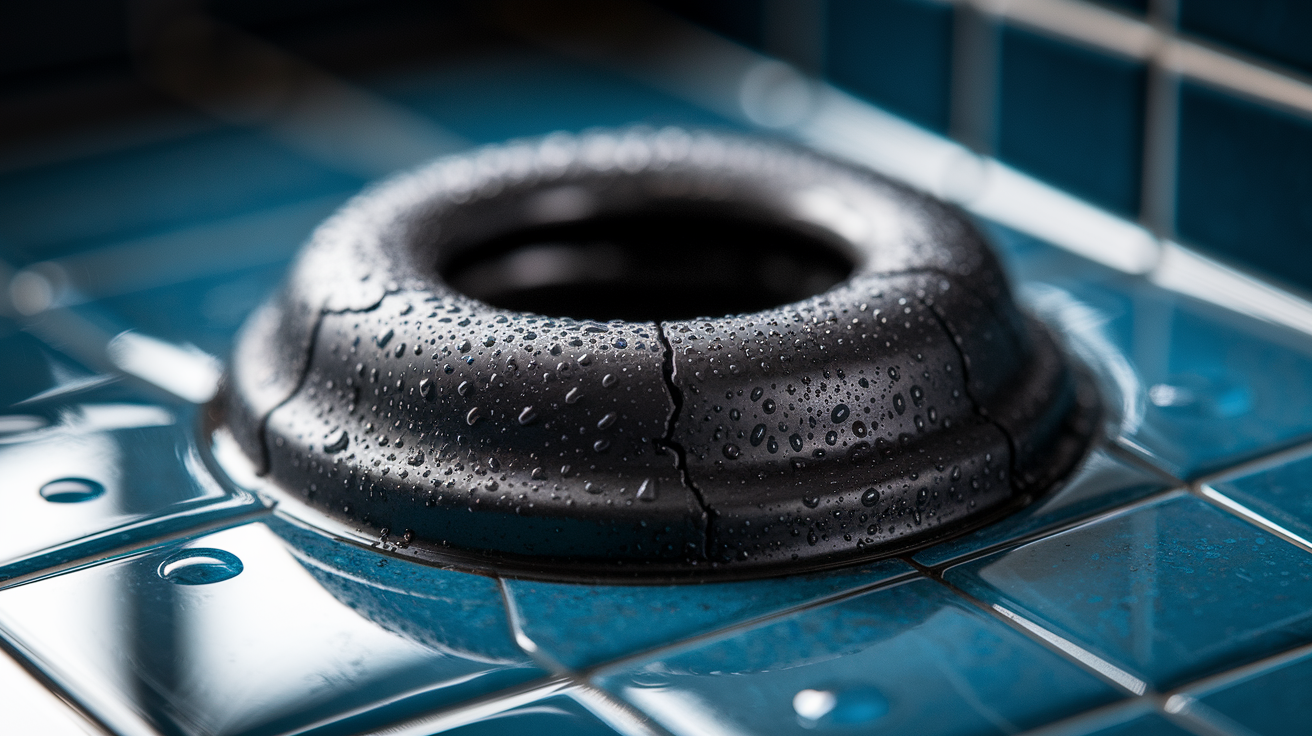
Quick Fix to Try First: Lift the toilet tank lid and watch the flapper valve at the bottom. If water’s trickling past it into the bowl, the flapper needs replacement. It’s the most common culprit. This simple $5 fix stops 70% of running toilets.
When your toilet runs every few minutes, it’s called “ghost flushing.” The toilet tank fills on its own without anyone pressing the handle. This happens because water slowly leaks out of the tank into the bowl, which drops the water level just enough to trigger the fill valve. The system senses the low level and automatically refills, then the cycle repeats.
The refill cycle kicks in whenever the float drops below its set position. If something’s causing continuous water loss from the tank, even a slow trickle, the float keeps dropping and the fill valve keeps activating to top it off. That’s why you hear that running water sound every few minutes or sometimes more frequently.
This isn’t just annoying. A running toilet can waste up to 200 gallons of water per day. That’s real money draining away, and it puts unnecessary strain on your toilet’s internal parts.
Here are the five most common causes, ranked by how often we see them:
Worn or broken flapper valve. The rubber seal at the bottom of the tank deteriorates and lets water leak into the bowl constantly.
Faulty fill valve. Gets clogged with debris or wears out, causing it to open and close randomly.
Incorrect float height. Set too high, water spills into the overflow tube and the system tries endlessly to balance itself.
Chain length problems. Too long or too short prevents the flapper from sealing properly after each flush.
Overflow tube issues. Cracks or improper positioning allow water to drain when it shouldn’t.
Most of these problems have straightforward DIY fixes that take 15 to 30 minutes. You don’t need special skills or expensive tools. The following sections walk you through exactly how to troubleshoot which part is failing and how to fix it.
Diagnosing Which Part Is Causing Your Toilet to Run

Proper diagnosis keeps you from buying parts you don’t need. If you replace the flapper when the real problem is the fill valve, you’ve wasted time and the toilet keeps running. Spend five minutes identifying the actual problem and you’ll fix it right the first time.
Observation before action saves money. Watch how your toilet behaves, listen to the sounds it makes, and run a couple simple tests with materials you already have at home.
Here’s how to pinpoint the failing component.
Listen for hissing or trickling sounds. Remove the tank lid and listen carefully. A hissing sound near the fill valve means it’s not closing completely. A trickling sound with water moving in the bowl means the flapper is leaking. Note where the sound comes from.
Food coloring test for flapper leaks. Add 5 to 6 drops of food coloring into the tank water without flushing. Wait 30 minutes to 1 hour without using the toilet. If the bowl water changes color, your flapper is leaking. This test shows leaks you can’t see or hear.
Water level pencil line test. Draw a pencil line on the inside of the tank at the current water level. Turn off the water supply valve at the wall. Check back in 1 hour. If the water level dropped below your line, something’s leaking.
Visual inspection during a running cycle. Leave the tank lid off and watch what happens when the toilet runs. Does the flapper stay open? Does the float bob up and down? Is water flowing into the overflow tube? Direct observation shows you exactly what’s malfunctioning.
If the food coloring appears in the bowl, your flapper is the problem. If the water level drops with the supply valve off, you have a leak somewhere in the tank. If you see water continuously flowing into the overflow tube, check your float adjustment first. If the fill valve keeps activating even when the tank is full, the fill valve itself is faulty.
Sometimes multiple parts fail at once, especially in older toilets. You might need to replace both the flapper and adjust the float. That’s normal, particularly if the toilet hasn’t had maintenance in several years.
Fixing a Worn or Leaking Flapper Valve
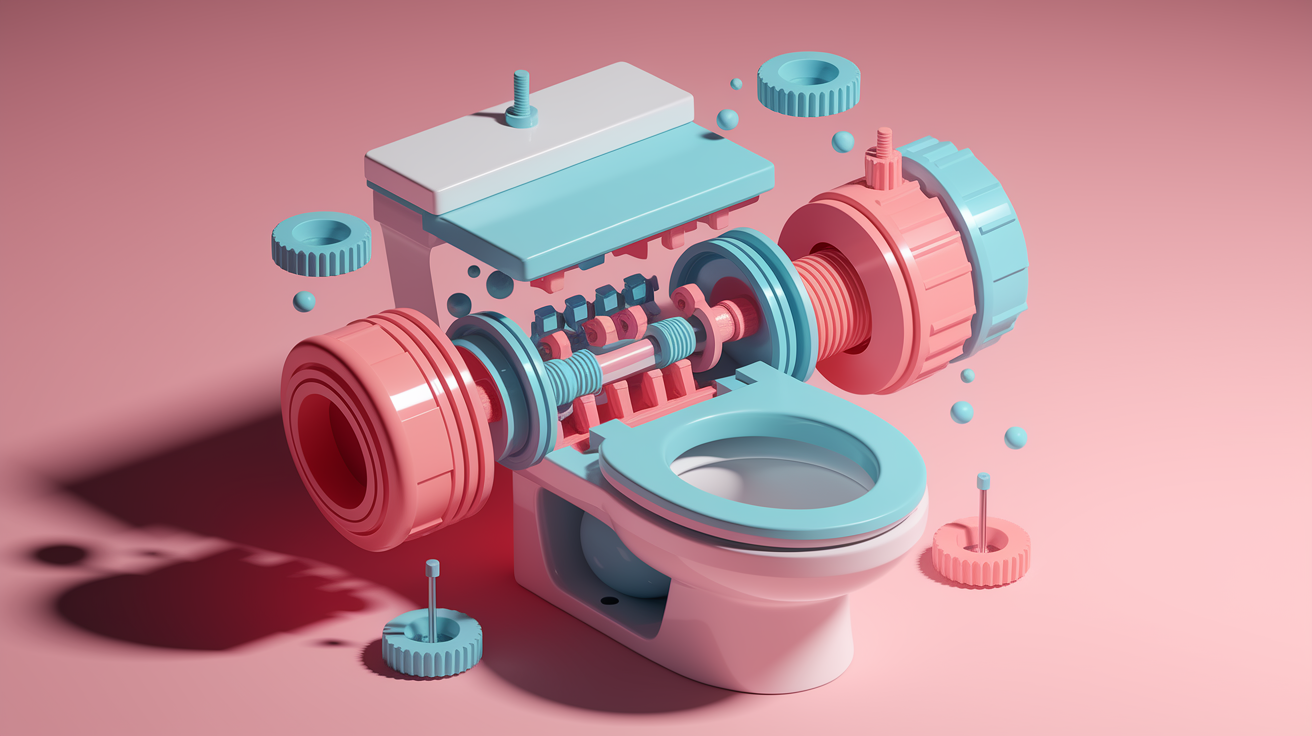
Flappers fail because of constant exposure to water and chemicals. Chlorine from cleaning tablets breaks down the rubber. Mineral deposits from hard water prevent a tight seal. And rubber simply deteriorates over time, becoming stiff and cracked instead of soft and flexible.
Here’s how to replace a failing flapper.
Turn off the water supply at the shutoff valve. Find the valve on the wall or floor behind the toilet. Turn it clockwise until it stops. This prevents new water from entering while you work.
Flush the toilet to drain the tank. Hold the handle down to let as much water as possible drain out. Use a towel or sponge to soak up remaining water in the bottom of the tank.
Remove the old flapper. Unhook the chain from the flush handle lever. The flapper has two arms that hook onto small pegs on the sides of the overflow tube. Slide them off the pegs and lift the old flapper out.
Clean the flush valve seat. This is the rim where the flapper sits. Wipe it with a damp cloth to remove mineral buildup, grime, or any debris. A clean surface helps the new flapper seal properly.
Install the new flapper onto the pegs. Slide the new flapper’s arms onto the overflow tube pegs the same way the old one came off. Make sure it centers over the flush valve opening.
Attach the chain with slight slack. Hook the chain to the flush handle lever, leaving about 1/2 inch of slack. Turn the water back on, let the tank fill, and test several flushes to confirm the flapper closes completely each time.
| Flapper Problem Sign | What It Means |
|---|---|
| Brittle or cracked texture | Rubber has deteriorated from age or chemical exposure and can’t form a watertight seal |
| Doesn’t close completely | Warped shape or mineral buildup prevents the flapper from sitting flush against the valve seat |
| Stuck in open position | Chain too short or flapper hinges stiff, preventing it from dropping back down after flush |
| Constant hissing sound | Small leak allowing water to escape continuously, even though you might not see obvious water movement |
Repairing or Replacing a Faulty Fill Valve
A failing fill valve shows specific symptoms. You’ll notice the toilet randomly refills even when no one’s used it. Or the tank fills but the water keeps running afterward instead of shutting off completely. Sometimes you hear the fill valve cycling on and off rapidly, like it can’t decide whether to fill or stop.
Dirt and sediment cause most fill valve problems. Small particles get into the valve mechanism and prevent the internal seal from closing all the way. When that happens, water flows intermittently as the valve tries to close but can’t maintain a complete seal.
Try cleaning the valve first before buying a replacement. Turn off the water supply and flush to drain the tank. Find the fill valve cap at the top of the valve assembly and turn it counterclockwise to remove it. Hold a cup upside down over the opening to catch spray, then turn the water back on briefly to flush debris out of the valve. Turn the water off, replace the cap, turn the water back on fully, and test whether this solved the running problem.
If cleaning doesn’t work, you need a new fill valve. Signs that replacement is necessary include visible cracks in the valve body, the valve won’t stop running even after cleaning, adjustment screws are stripped, or the toilet is running constantly and you’ve already ruled out flapper problems.
Replacement fill valves cost $10 to $25 and come as universal units that fit most toilets. They include detailed instructions. The installation takes about 20 minutes. You’ll turn off the water, disconnect the supply line from the bottom of the tank, unscrew the mounting nut that holds the old valve, lift it out, install the new one, and reconnect everything.
Even if cleaning temporarily fixes a fill valve, plan to replace it soon. Once debris problems start, they usually return. Fill valves are designed to last several years, but they’re not lifetime components.
Adjusting Float Height and Position

The float tells the fill valve when to stop filling the tank. When the water reaches the right level, the float rises with it and triggers the fill valve to shut off. If the float is set too high, water rises until it spills over the top of the overflow tube. The fill valve shuts off, but water drains through the overflow tube, which lowers the level, which drops the float, which opens the fill valve again. The cycle never stops.
If the float is set too low, the tank won’t fill to the proper level for a strong flush. Your toilet might work, but not efficiently.
Adjusting a Ball Float
Older toilets use a ball float attached to a metal arm. To lower the water level, gently bend the arm downward. To raise it, bend the arm upward. Make small adjustments, about 1/4 inch at a time. Flush and let the tank refill to see where the new water level settles.
Some ball float systems have an adjustment screw or clip where the arm connects to the fill valve. Turn the screw or move the clip to change the float position without bending the arm. These are easier to fine tune than the bend the arm type.
Adjusting a Cup Float
Modern toilets use a cup shaped float that slides up and down on the fill valve shaft. Look for a long, thin adjustment rod running down the side of the float with a clip or screw mechanism. Pinch the clip or loosen the screw, slide the float up to increase water level or down to decrease it, then release the clip or tighten the screw to lock it in place.
Test after each adjustment. The correct water level sits about 1 to 2 inches below the top of the overflow tube. That leaves enough space to prevent overflow while maintaining sufficient water for proper flushing pressure.
Fixing Chain Length and Flush Handle Problems
The chain connects the flush handle lever to the flapper. When you push the handle, the chain lifts the flapper, water flows into the bowl, and the flush happens. When you release the handle, the chain should have just enough slack that the flapper drops and seals against the flush valve seat.
If the chain is too long, excess chain can slip under the flapper and prevent it from sealing. If the chain is too short, it holds the flapper slightly open all the time. Either problem causes water to leak from the tank into the bowl, triggering those intermittent refills.
The ideal chain length allows about 1/2 inch of slack when the flapper is closed. Adjust it by unhooking the chain from the flush lever and moving it to a different hole, either closer to or farther from the lever arm. Most chains have multiple connection points. Test the flush after each adjustment to make sure the flapper opens fully when you flush and closes completely afterward.
Check for tangled or kinked chains. Sometimes the chain gets twisted and caught on itself, which shortens its effective length or makes movement jerky. Straighten it out and make sure it hangs cleanly between the lever and flapper without catching on anything inside the tank.
The flush handle itself can cause problems. If the mounting nut on the inside of the tank is loose, the handle wobbles and doesn’t lift the chain consistently. Tighten that nut with pliers or an adjustable wrench. If the handle is cracked or the plastic lever arm inside the tank is worn and brittle, replace the entire handle assembly. These cost $5 to $15 and installation is straightforward.
Addressing Overflow Tube and Flush Valve Issues
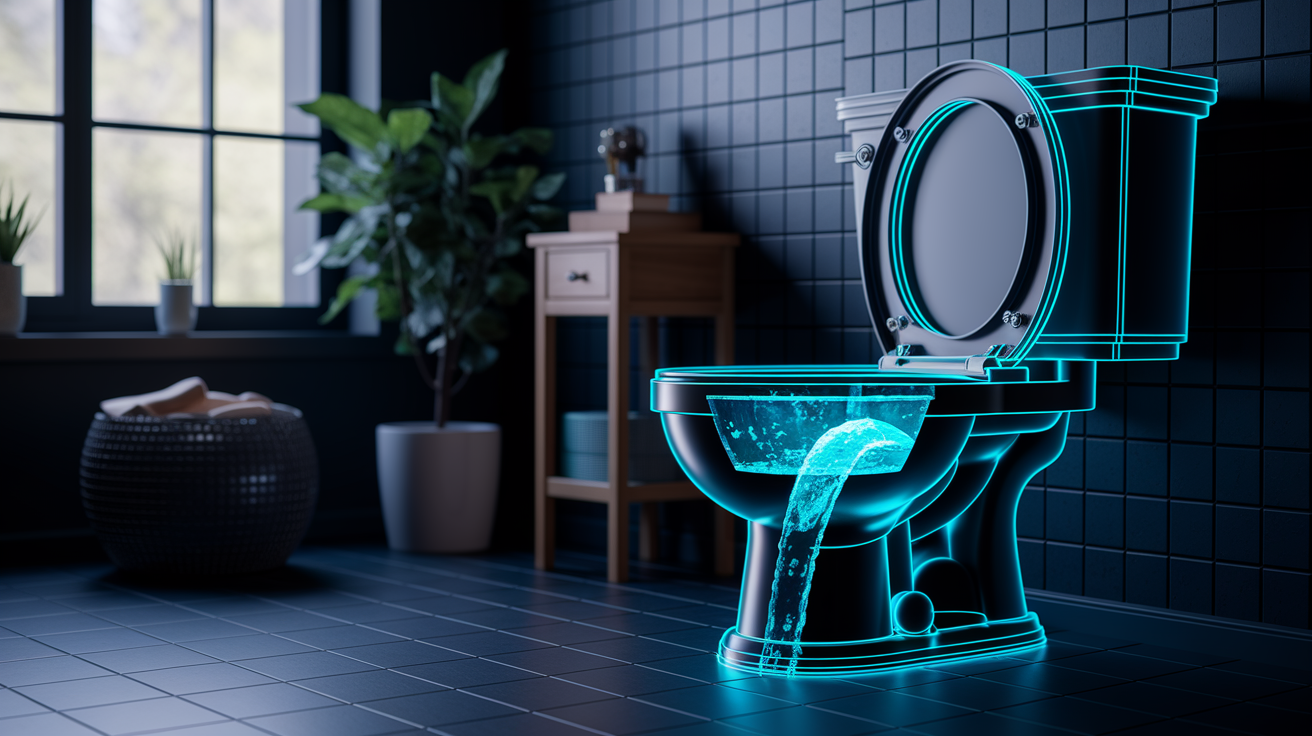
The overflow tube is the vertical pipe in the center of your toilet tank. Its job is to prevent the tank from overflowing if the fill valve fails to shut off. Water that rises too high spills into the overflow tube and drains into the bowl instead of flooding your bathroom. That’s a good safety feature, but it causes intermittent running if the float is set too high or if the tube itself is damaged.
Check the overflow tube for cracks, especially near the base where it connects to the flush valve. A crack lets water leak out constantly, even if your water level is set correctly. If you find a crack, you’ll need to replace the entire flush valve assembly, because the overflow tube is part of that unit.
The refill tube is a small, flexible tube clipped to the top of the overflow tube. After each flush, it directs a small stream of water down into the overflow tube to refill the bowl. If this tube isn’t clipped in place and is instead hanging loose in the tank, it can spray water and throw off the fill cycle. Make sure it’s properly attached to the overflow tube rim.
The flush valve seat is the opening at the bottom of the tank where the flapper seals. Over time, mineral deposits or rough edges develop around this opening. Even a new flapper can’t seal properly if the surface it’s seating against is rough or uneven.
Inspect the flush valve seat by running your finger around the rim. It should feel smooth. If you feel burrs, rough spots, or see mineral buildup, clean it. Use a piece of emery cloth or fine grit sandpaper to gently smooth the surface. Wipe away the debris, then test the seal with a new flapper.
If the flush valve seat is badly pitted, cracked, or corroded, you need to replace the entire flush valve assembly. This is a bigger job that involves removing the toilet tank from the bowl, but it’s still a DIY project if you’re comfortable with it. The alternative is to hire a plumber, which makes sense if the toilet is old or you’re dealing with multiple failing parts.
Understanding Your Toilet Tank Components
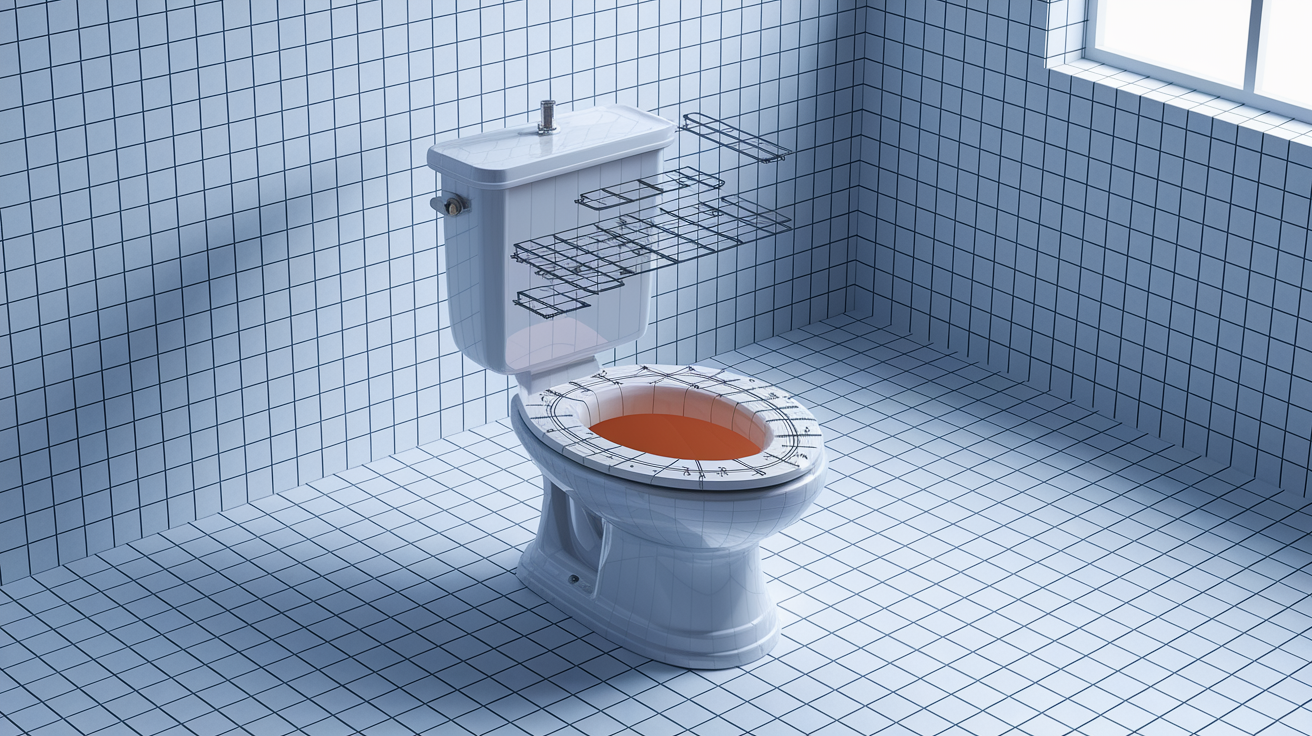
If you want to understand why these fixes work, it helps to see how the whole system operates together. You don’t need to know this to make repairs, but some people find it useful.
The flush cycle starts when you push the handle. That lifts the flapper via the chain, which opens the flush valve and lets water rush from the tank into the bowl. The sudden surge of water creates a siphon effect in the bowl’s internal passageway, which pulls waste down the drain. As the tank empties, the flapper drops and seals the flush valve shut again. Meanwhile, the dropping water level lowers the float, which signals the fill valve to open and begin refilling the tank.
The fill valve sends water through two paths. The main flow refills the tank. A small secondary flow goes through the refill tube, which clips onto the overflow tube and directs water into the bowl to restore the bowl’s standing water level. As the tank fills, the float rises with the water level. When it reaches the preset height, the float triggers a mechanism inside the fill valve that shuts off the water flow. Everything stops until the next flush.
Each component depends on the others working correctly. The chain must allow the flapper to seat. The flapper must seal so the tank holds water. The float must be positioned correctly so the fill valve stops at the right level. The fill valve must shut off completely when signaled. When any one part malfunctions, the whole cycle gets disrupted and you hear that intermittent running.
Water Pressure and Mineral Deposit Problems

High water pressure in your home’s supply lines can prevent the fill valve from shutting off properly. The incoming water force is too strong for the valve’s internal mechanism to close against. If you notice your toilet running and also have issues with other fixtures, like a shower that’s too forceful or faucets that are hard to turn off completely, water pressure might be the underlying problem.
Hard water leaves mineral deposits throughout your plumbing system. In the toilet tank, these deposits accumulate on the flapper, making it stiff and preventing a good seal. They build up around the flush valve seat, creating an uneven surface. They clog the small openings in the fill valve. If you live in an area with hard water, you’ll see white, chalky buildup on tank components.
Regular cleaning helps manage mineral deposits before they cause failures. Here are four maintenance steps that prevent problems.
Vinegar soak for mineral deposits. Remove the flapper and submerge it in white vinegar for a few hours to dissolve buildup, then rinse and reinstall. Do this annually.
Debris flushing from fill valve. Remove the fill valve cap once a year and flush out any sediment that’s accumulated, using the same technique described earlier.
Regular tank interior inspection. Every few months, remove the tank lid and look for discoloration, buildup, or parts that seem corroded. Catch problems early.
Water softener consideration for hard water areas. If mineral buildup is constant despite cleaning, a whole house water softener protects all your plumbing fixtures, not just the toilet.
If you’ve replaced parts and cleaned everything but the toilet still runs, and you notice strong water pressure throughout your home, call a plumber to test the pressure. They can install a pressure reducing valve on your main water line if needed. This is not a DIY fix because it involves the main supply.
Tools and Replacement Parts You’ll Need
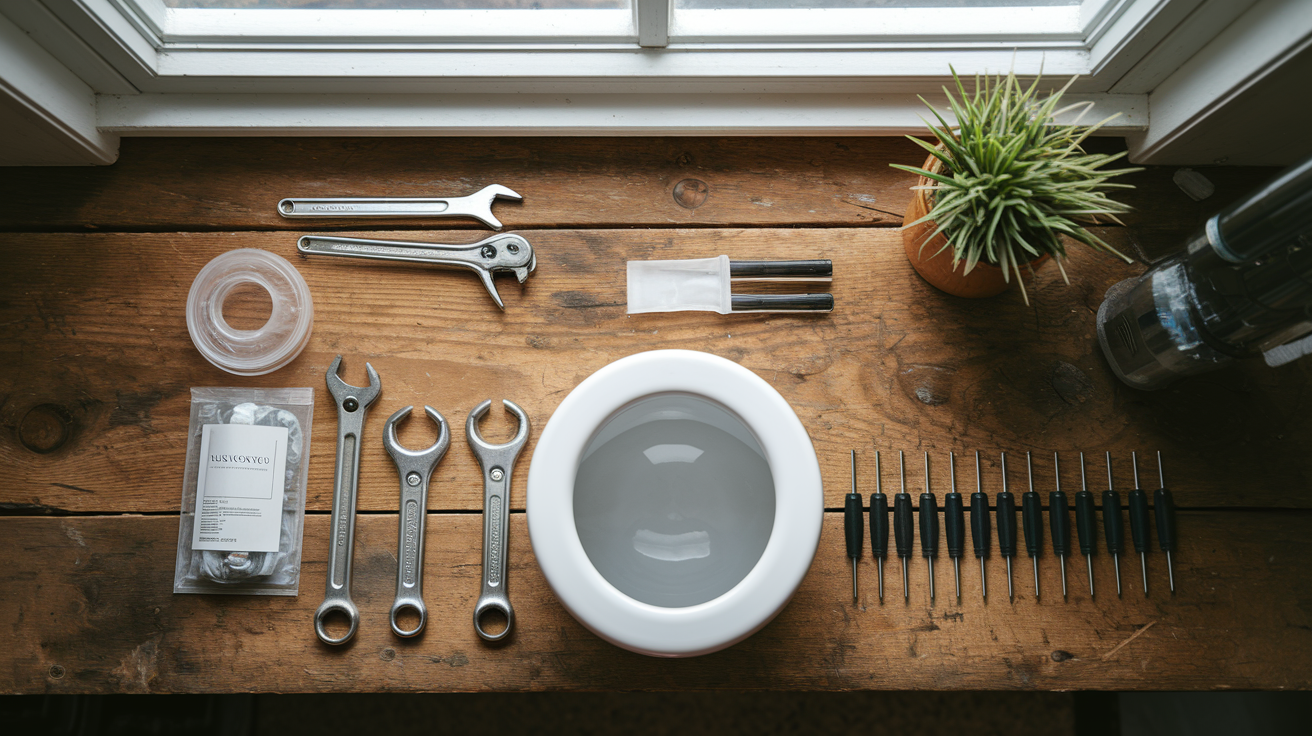
Most toilet repairs use common household tools you probably already have. Replacement parts are inexpensive and available at any hardware store or home center. Having everything ready before you start makes the job go faster.
| Item | Typical Cost | Notes |
|---|---|---|
| Flapper valve | $4 to $8 | Universal flappers fit most toilets; bring old flapper to match size |
| Fill valve | $10 to $25 | Universal design; includes all hardware and instructions |
| Float assembly | $8 to $15 | Often sold as part of fill valve kit; rarely needs separate replacement |
| Flush handle | $5 to $15 | Side mount or front mount styles; verify which type your toilet uses |
| Complete toilet repair kit | $20 to $35 | Includes flapper, fill valve, and hardware; good value for full refresh |
| Basic tools | — | Adjustable wrench, screwdrivers (flat and Phillips), towels, sponge |
Take your old parts with you to the hardware store. Most staff can help you match the correct replacement just by looking at what you removed. This is especially helpful with flappers, which come in slightly different sizes and attachment styles.
Universal repair kits work for most standard two piece toilets. If you have a one piece toilet, a wall mounted unit, or an unusual brand, check the manufacturer’s website for specific part numbers. Photograph the inside of your tank before you start, including any model numbers stamped on the tank or parts. That photo serves as a reference if you need to order specialty components.
When to Call a Professional Plumber and Replacement Decisions
Some toilet problems signal issues beyond what DIY fixes can address. Recognizing when you’re out of your depth prevents small problems from becoming expensive damage. There’s no shame in calling for help when the situation calls for it.
Here are six situations that require a professional plumber.
Replaced parts don’t fix the problem. If you’ve installed a new flapper, adjusted the float, and cleaned the fill valve but the toilet still runs every few minutes, something else is wrong. A plumber can diagnose hidden leaks or internal cracks.
Visible cracks in the tank or bowl. Cracks can’t be reliably repaired. Water seeping through a crack will eventually cause major leaks and potential water damage to your bathroom floor.
Water pressure issues throughout your home. If multiple fixtures show signs of excessive pressure or low pressure, the problem is in your main supply line, not just the toilet.
Toilet older than 20 years with repeated failures. Multiple component failures in a short period mean the toilet is at the end of its useful life. Replacement makes more sense than ongoing repairs.
Water pooling around the toilet base. This indicates a wax ring failure or a crack in the bowl, not a tank problem. The repair requires removing and resetting the toilet.
Lack of confidence or physical ability for DIY repair. If you’re not comfortable working inside the tank, hiring someone who does this daily is worth the service call cost.
Consider full toilet replacement if your unit is 15 to 20 years old and requires frequent repairs. Older toilets also waste significantly more water per flush. Models built before 1994 use 3.5 to 7 gallons per flush. Modern toilets use 1.28 to 1.6 gallons per flush while providing equal or better flushing power.
That difference adds up. A family of four using an old 5 gallon per flush toilet uses about 20,000 more gallons per year compared to a modern 1.6 gallon model. At average water rates, that’s $70 to $150 per year in wasted water costs, not counting the impact on sewer charges.
Run a cost benefit analysis. If you’ve spent $50 to $100 on repairs in the past two years and the toilet is still giving you problems, replacement makes financial sense. A new toilet installed by a plumber typically costs $200 to $500, depending on the model and labor rates in your area. That’s equivalent to just a few years of repair costs and higher water bills.
Other signs pointing toward replacement include frequent clogs that require plunging, surface cracks in the porcelain even if they’re not leaking yet, a toilet that wobbles or rocks on the floor, and outdated flush technology that can’t keep up with modern low flow standards.
Check if your water utility offers rebate programs for replacing old toilets with high efficiency models. Many municipalities provide $50 to $100 rebates as part of water conservation initiatives. That rebate reduces your net replacement cost and helps the upgrade pay for itself faster through water savings.
If the issue seems straightforward but you’ve run out of time, patience, or just want the peace of mind that comes with professional work, Home Repair & Recovery Services connects homeowners with experienced local contractors who handle toilet repairs and replacements as part of their regular service offerings.
Preventing Future Toilet Running Problems
Regular maintenance prevents most toilet problems from developing in the first place. Spending a few minutes every few months checking tank components saves you from emergency repairs and wasted water down the road.
Here are seven prevention tips that keep toilets running smoothly.
Quarterly visual tank inspection. Remove the lid and look for obvious wear, mineral buildup, or component damage. Catching deterioration early means replacing parts before they fail completely.
Avoid drop in tank cleaning tablets. Those blue tablets contain harsh chemicals that break down rubber flappers, gaskets, and seals. They shorten part life significantly. Use bowl cleaners instead.
Replace flappers every 3 to 5 years proactively. Don’t wait for failure. Flappers are cheap and quick to replace. Scheduled replacement prevents leaks before they start.
Gently operate the flush handle. Slamming or forcing the handle stresses the internal lever arm and chain connections. A gentle push is all it takes for proper function.
Address hard water with treatment. If you see mineral buildup, consider water softening options or at minimum, clean components more frequently with vinegar treatments.
Keep the tank lid secured. A cracked lid can fall and break internal components. Always replace the lid carefully and make sure it sits properly.
Schedule annual plumbing check ups. A professional inspection of all your home’s plumbing catches small issues before they become emergencies. Many plumbers offer maintenance plans.
A running toilet wastes an astonishing amount of water. A moderate leak wastes 30 to 50 gallons per day. A severe leak, like a fully open flapper, can waste 200 gallons per day or 6,000 gallons per month. At typical water rates of around $1.50 per 1,000 gallons, that severe leak costs an extra $9 per month just in water charges. Add sewer charges, which are often calculated based on water use, and you’re looking at $15 to $20 per month wasted.
You can verify whether your toilet is leaking by checking your water meter. Turn off all water in your house for two hours. No showers, no laundry, no dishwasher, no outside watering. Check the meter reading before and after. If it moved, you have a leak somewhere, quite possibly the toilet.
The environmental impact matters too. Municipal water treatment uses energy and chemicals. Wastewater processing does the same. Every gallon wasted is a gallon that required resources to clean and deliver, only to go straight down the drain without being used. Multiply that across all the homes with running toilets and the waste becomes substantial.
Small, consistent maintenance protects your investment and keeps your water bills predictable. That’s worth a few minutes of attention every few months.
Final Words
When your toilet runs every few minutes, it’s usually a flapper valve or fill valve asking for attention. Most of these fixes cost less than $25 and take under an hour.
The good news? You’ve got a clear path forward now. Check the flapper first, test the fill valve, adjust the float if needed, and don’t ignore the chain.
If you’ve swapped parts and it’s still cycling, or you’re dealing with cracks or pressure issues, that’s when a pro makes sense. Either way, you’re stopping water waste and getting your home back to normal. That’s a win.
FAQ
Is it normal for a toilet to run every so often?
A toilet running every so often is not normal and usually signals a problem with internal tank components. The toilet runs intermittently because water is slowly leaking from the tank into the bowl, triggering the fill valve to refill every few minutes in what’s called ghost flushing.
Most commonly, this happens when the flapper valve no longer seals properly against the flush valve seat. A worn or broken flapper allows water to trickle past it continuously, dropping the tank level until the float signals the fill valve to kick in and restore the water.
Other causes include a faulty fill valve that won’t shut off completely, incorrect float height that causes overflow, or debris blocking proper valve closure. Left unfixed, this wastes up to 200 gallons of water per day and increases your bill noticeably.
The good news is that most of these issues have simple fixes. Start by lifting the tank lid and watching the flapper at the bottom during a quiet moment. If you see even slight movement or water trickling past it, a $5 flapper replacement usually solves the problem.
Why put aluminum foil in a toilet tank?
Placing aluminum foil in a toilet tank is sometimes suggested as a way to prevent mineral buildup and sediment from settling on components. The idea is that foil attracts minerals through an electrolytic reaction, keeping them from accumulating on the flapper, fill valve, and other rubber parts.
In reality, this method doesn’t work reliably and can create new problems. Foil can tear into small pieces that clog the fill valve or get stuck under the flapper, actually causing leaks instead of preventing them.
If you’re dealing with hard water mineral deposits, better solutions include regular vinegar soaks to dissolve buildup, installing a whole-house water softener, or replacing worn parts every few years before minerals cause damage. Clean internal components during routine inspections rather than relying on foil tricks.
For prevention, replace flappers and fill valves proactively every three to five years in hard water areas. This schedule keeps the toilet running smoothly without gimmicks that might jam up the works.
Why does my toilet make a running noise every few minutes?
Your toilet makes a running noise every few minutes because the tank is slowly losing water and refilling to restore the proper level. This happens when water leaks from the tank into the bowl, usually through a worn flapper that no longer creates a tight seal.
As water trickles past the flapper, the tank level gradually drops. When it falls enough, the float signals the fill valve to open and add water back. You hear this refill cycle as a hissing or running sound that lasts 30 seconds or so before stopping.
The pattern repeats every few minutes because the leak is slow but steady. Check this by adding food coloring to the tank water and waiting 30 minutes without flushing. If the bowl water changes color, the flapper is leaking and needs replacement.
Other causes include a faulty fill valve that won’t fully close, a float set too high that spills water into the overflow tube, or debris preventing components from sealing properly. Lift the tank lid during a running cycle to see which part is active.
Does ghost flushing increase water bill?
Ghost flushing absolutely increases your water bill, sometimes dramatically. A toilet that refills every few minutes can waste 200 gallons per day or about 6,000 gallons per month, depending on how severe the leak is and how often the tank refills.
At average water rates, that leak can add $50 to $100 or more to your monthly bill. The exact cost depends on your local water rates and whether you also pay for sewer charges based on water usage, which doubles the financial impact.
You can verify the waste by checking your water meter. Turn off all water in the house, then watch the meter for movement. If it’s still running, you have a leak somewhere, and the toilet is often the culprit.
Fixing ghost flushing is usually as simple as replacing a $5 flapper or adjusting the float. Given the water waste and cost, even a toilet that runs only occasionally should be repaired right away. The fix pays for itself within days through reduced water use.