

You’ve been staring at that ceiling crack for how long now? Six months? A year? Most homeowners wait way too long to fix drywall tape cracks because they assume it’s complicated or that it’ll just come back. But here’s the thing: when you use the right tape and build up your coats properly, the crack stays gone. This repair takes one afternoon of actual work, a couple days of waiting for mud to dry, and saves you a few hundred dollars you’d spend hiring it out.
Step-by-Step Drywall Tape Crack Repair Guide
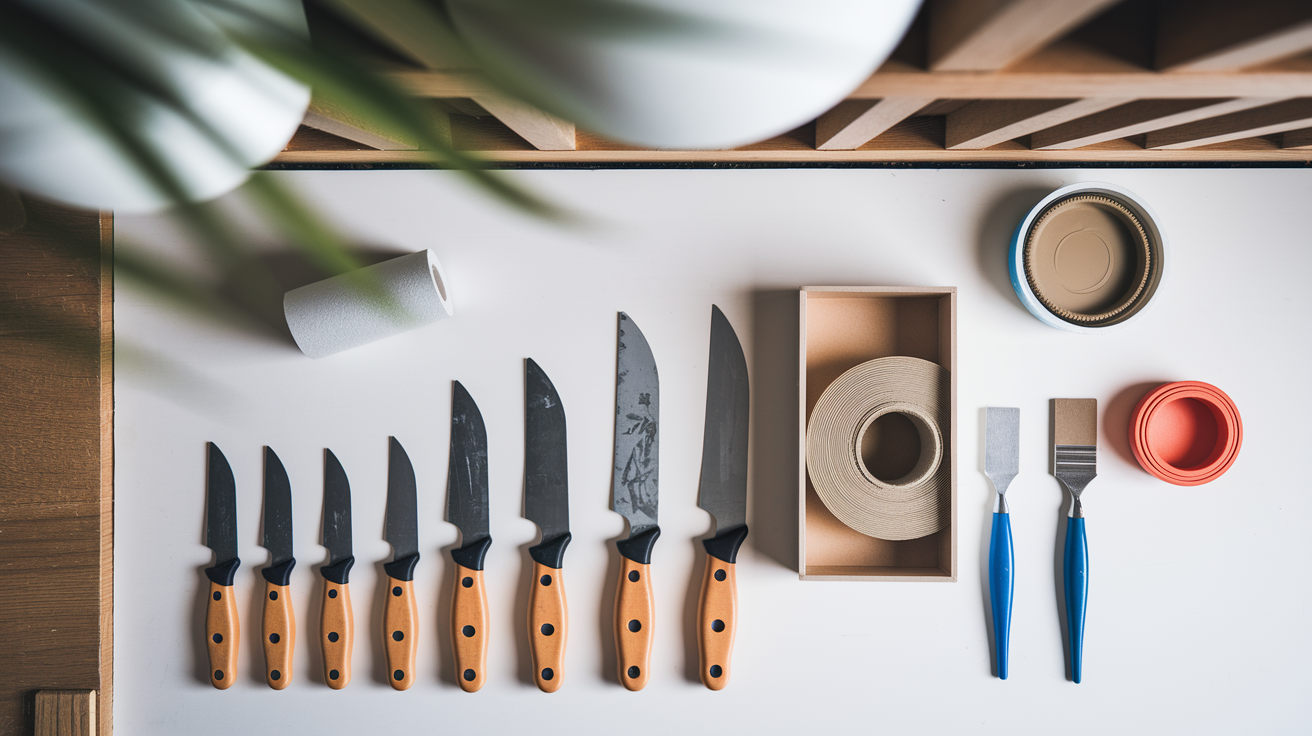
Most drywall tape cracks show up because of normal house settling and structural movement. Nothing you did wrong, just the building doing what buildings do. The good news? Proper repair technique stops cracks from coming back, and you can knock out the work in one afternoon or spread it over a weekend.
You’ll need fiberglass mesh drywall tape or paper tape, all-purpose joint compound or lightweight formula, a 4 inch putty knife, a 6 inch drywall knife, a mud pan, 120 grit and 220 grit sandpaper or a sanding sponge, primer, matching wall paint, and maybe a dust mask if you’re sensitive to fine particles.
Here’s the complete repair process:
-
Press around the crack gently with your palm. If the drywall moves or feels springy, it’s loose.
-
Add screws through the drywall panel into the studs or ceiling joists every 4 to 6 inches wherever it feels loose. Snug them down until the screw head dimples the surface slightly, but don’t break through the paper.
-
Use your putty knife to scrape away all loose tape, peeling paper backing, and crumbling compound until you hit solid material. If it lifts easily, it needs to go.
-
Widen the damaged area just a bit. Maybe a quarter inch on each side so you’re working with clean edges that’ll hold new compound properly.
-
Vacuum the dust from the repair area and wipe it with a slightly damp cloth. Let it dry completely before moving forward.
-
For mesh tape, press the self-adhesive side directly over the crack, centered so the crack runs down the middle of the tape. For paper tape, spread a thin layer of compound into the crack first. You’ll embed the tape into that wet layer in the next step.
-
Load your 4 inch putty knife with a small amount of joint compound. You want enough to work with but not so much that it globs up.
-
For mesh tape, apply a thin layer over the tape with moderate pressure, filling the mesh holes and creating a smooth surface. For paper tape, press the tape into the wet compound you applied and smooth it flat, squeezing out any air bubbles as you go.
-
Start in the middle of the tape and work outward with smooth strokes. This keeps the tape from wrinkling or bunching up at the ends.
-
Let the first coat dry completely. Standard all-purpose mud takes about 24 hours. Check the container for exact timing on your product.
-
Apply a second coat using your 6 inch knife, extending 2 to 4 inches wider than the first coat on all sides. The wider knife helps you spread the compound thinner and smoother.
-
Feather the edges by applying a bit more pressure on the outer edge of your knife, the side touching bare drywall. This creates a thin, tapered transition that blends the patch into the surrounding wall.
-
Let the second coat dry. If you’re chasing a really smooth finish or if you can still see ridges, apply a third coat that’s even wider and thinner than the second.
-
When the final coat is completely dry and cool to the touch, sand with 120 grit sandpaper using light circular motions. Focus on blending those edges.
-
Finish with 220 grit sandpaper until the patch feels flush with the wall when you run your hand over it.
-
Apply a primer coat that extends 2 to 3 inches beyond the edges of your repair. Don’t skip this. Unprimed compound shows through paint as a dull spot.
-
Paint with a color and sheen that matches your wall, feathering the paint beyond the primed area so there’s no visible line where you stopped.
Total timeline runs about 2 to 3 days with drying time between coats, but you’re only actively working for 2 to 4 hours total. That’s a beginner friendly repair that saves you $150 to $300 compared to hiring someone.
Why Drywall Tape Cracks and How to Identify Serious Issues

Cracks show up for a handful of common reasons, and knowing which one you’re dealing with helps you fix it right. The most frequent culprit is normal house settling, especially in new construction during the first year or two as framing lumber dries and the foundation stabilizes. Seasonal temperature swings and humidity changes cause expansion and contraction. You’ll see more cracks in winter when heating systems dry out the air and materials shrink. Sometimes the problem comes from improper installation: seams that don’t line up with studs, too few fasteners, or rushed work that didn’t follow proper spacing. Loose drywall that’s pulling away from the framing will crack along the seams. And moisture problems from leaks or high humidity can weaken the joint compound and paper backing, leading to failure.
If the same crack comes back after you’ve done a proper repair, that’s your signal that something’s still moving. Check if the drywall is loose and needs additional screws every 4 to 6 inches. Use a stud finder to verify that seams actually line up with studs or ceiling joists. If the seam is hanging in mid air between framing members, it’ll keep cracking no matter how well you tape it.
Some cracks need professional eyes before you bother with cosmetic repairs. Watch for cracks wider than a quarter inch, diagonal stair step patterns that often mean foundation issues, multiple cracks appearing suddenly in different rooms, cracks that come with doors or windows that suddenly stick, or any crack that reopens after two proper repair attempts.
Most cosmetic cracks fix successfully with the right technique. But foundation settling and major structural movement need professional evaluation before you start patching.
Choosing Between Mesh Tape and Paper Tape for Crack Repairs

Tape choice affects how long your repair lasts and how much patience you’ll need during application.
Mesh Tape Advantages and Best Uses
Self-adhesive mesh tape is the easiest option for DIY work. It sticks directly to the drywall, so you’re not wrestling with positioning while trying to spread compound at the same time. The holes in the mesh let compound bond through to the wall surface behind it, and it works great for ceiling cracks where gravity makes paper tape tricky. You can apply it to straight wall joints without much skill. Just press it on and you’re ready for compound.
It’s slightly less strong than paper tape, but adequate for most repairs you’ll run into around the house.
Paper Tape for Maximum Strength
Paper tape has to be embedded in a layer of wet joint compound, which means you’re doing two things at once: spreading mud and positioning tape. But that extra effort creates a stronger continuous membrane that resists tearing better than mesh. Professionals prefer it for critical joints and corner work. It’s also the better choice where structural movement happens, because the solid paper flexes without the mesh pulling apart at the weave.
| Tape Type | Ease of Use | Strength | Best For |
|---|---|---|---|
| Mesh | Beginner friendly, self-adhesive | Good | Ceiling cracks, straight seams, DIY repairs |
| Paper | Requires embedding skill | Excellent | Corners, high stress areas, recurring cracks |
For typical DIY crack repairs, mesh tape gives you the best balance of ease and strength. For recurring cracks or high stress areas like corners, paper tape embedded properly delivers superior performance.
Building Up Multiple Coats for a Smooth Finish

Multiple coats aren’t about making the work take longer. They’re how you get a patch that disappears completely under paint. Each coat builds thickness, widens the repair area, and gradually blends the patch into the surrounding wall so you can’t feel or see where the repair stops.
Wait until your first coat is completely dry before touching it again. That’s 24 hours for most all-purpose mud, though you should check your product’s specific instructions. Some setting type compounds dry faster. When you’re ready for the second coat, load compound on your 6 inch taping knife and apply it 2 to 4 inches wider than the first coat on all sides. The wider knife helps you maintain a smooth, even layer. Apply moderate pressure, but press harder on the outer edges, the part touching bare drywall. That’s how you feather the compound into a thin, tapered transition that blends smoothly. Leave the center slightly thicker than the edges.
You’ve got options on compound types depending on your timeline and preferences. All-purpose mud works for standard repairs with that 24 hour wait between coats. Lightweight formula is easier to sand and doesn’t add as much weight to ceiling repairs. Setting compound, the powder you mix with water, comes in 45 minute or 90 minute versions and lets you apply multiple coats in one day because it sets hard on a clock instead of air drying slowly. Topping compound gives the smoothest finish if you’re using it for your final coat.
Professionals usually go with three coats: an embedding coat that holds the tape, a fill coat that builds thickness, and a finish coat that creates the final smooth surface. Each one gets progressively wider and thinner as you move outward.
| Coat Number | Width Beyond Previous | Drying Time | Purpose |
|---|---|---|---|
| First (Embedding) | Just covers tape | 24 hours (standard mud) | Secure tape and fill voids |
| Second (Fill) | 2 to 4 inches wider | 24 hours (standard mud) | Build thickness and begin feathering |
| Third (Finish) | 2 to 4 inches wider | 24 hours (standard mud) | Final smoothing and blending |
Sanding Process: Creating an Invisible Drywall Repair
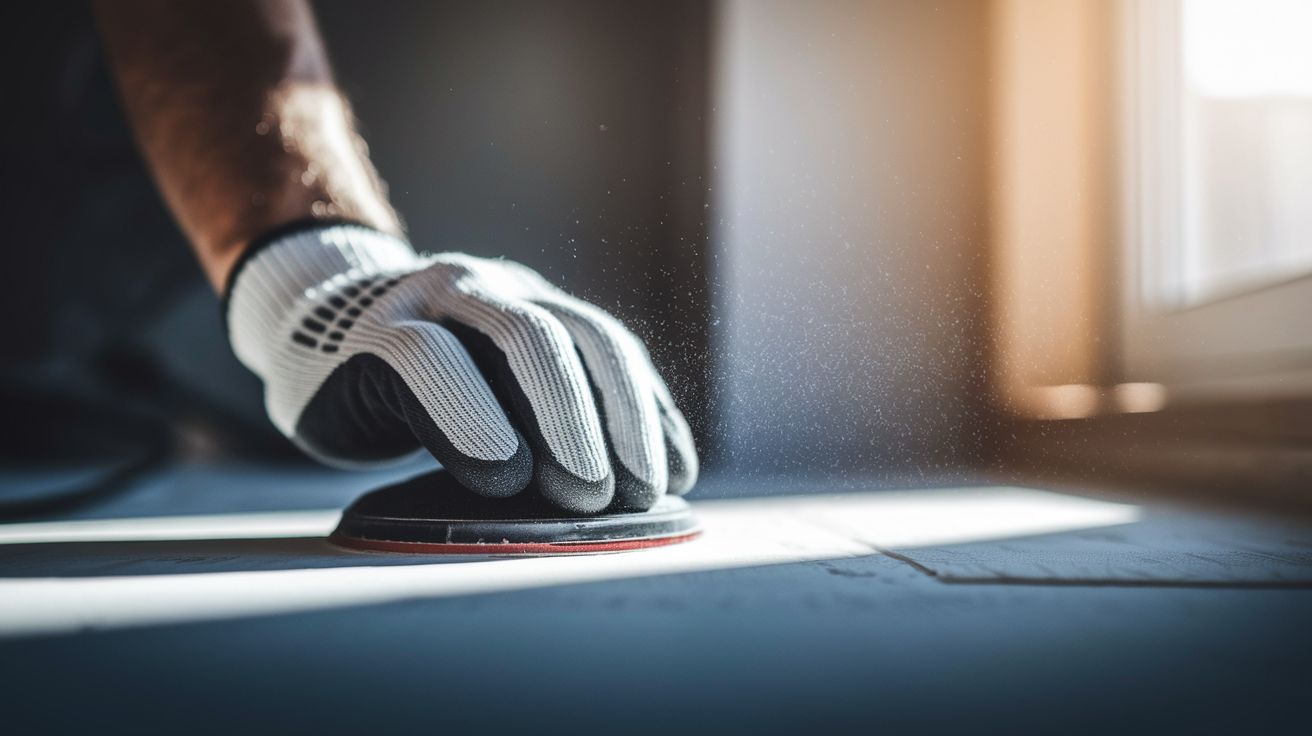
Sanding is what separates repairs that disappear from patches that announce themselves every time you walk past. It removes ridges, smooths transitions, and creates the blend that looks professional instead of obvious.
Wait until your final coat is completely dry. If it still feels cool to the touch, moisture is still evaporating and you’ll gum up your sandpaper. Start with 120 grit sandpaper or a sanding sponge to do the shaping work. Use light pressure in circular or sweeping motions. You’re not trying to sand through to the tape, just removing high spots and feathering where the patch meets the existing wall. Those edges need the most attention because that’s where your eye catches differences in surface level.
Switch to 220 grit sandpaper for final smoothing once you’ve got the shape right. Here’s a useful trick: hold a handheld flashlight or work light at a shallow angle to the wall. Shadows will show you every little ridge and low spot that your eyes miss in normal light. If you spot low areas or imperfections that sanding won’t fix, apply a thin skim coat of compound to fill them, let it dry, and sand again with 220 grit. Keep checking with that angled light until the patch feels flush with the wall when you run your hand over it.
Sanding creates a lot of fine dust that gets everywhere and isn’t great to breathe. Open windows for ventilation, wear a respirator mask rated for fine dust particles, and use a vacuum with a brush attachment frequently while you work. After you finish sanding, wipe the walls down with a slightly damp cloth to pick up residual dust before you prime.
Eye protection and a dust mask are essential, especially if you’re working on ceiling cracks overhead and the dust is falling into your face.
Primer Coat and Paint Finish Application
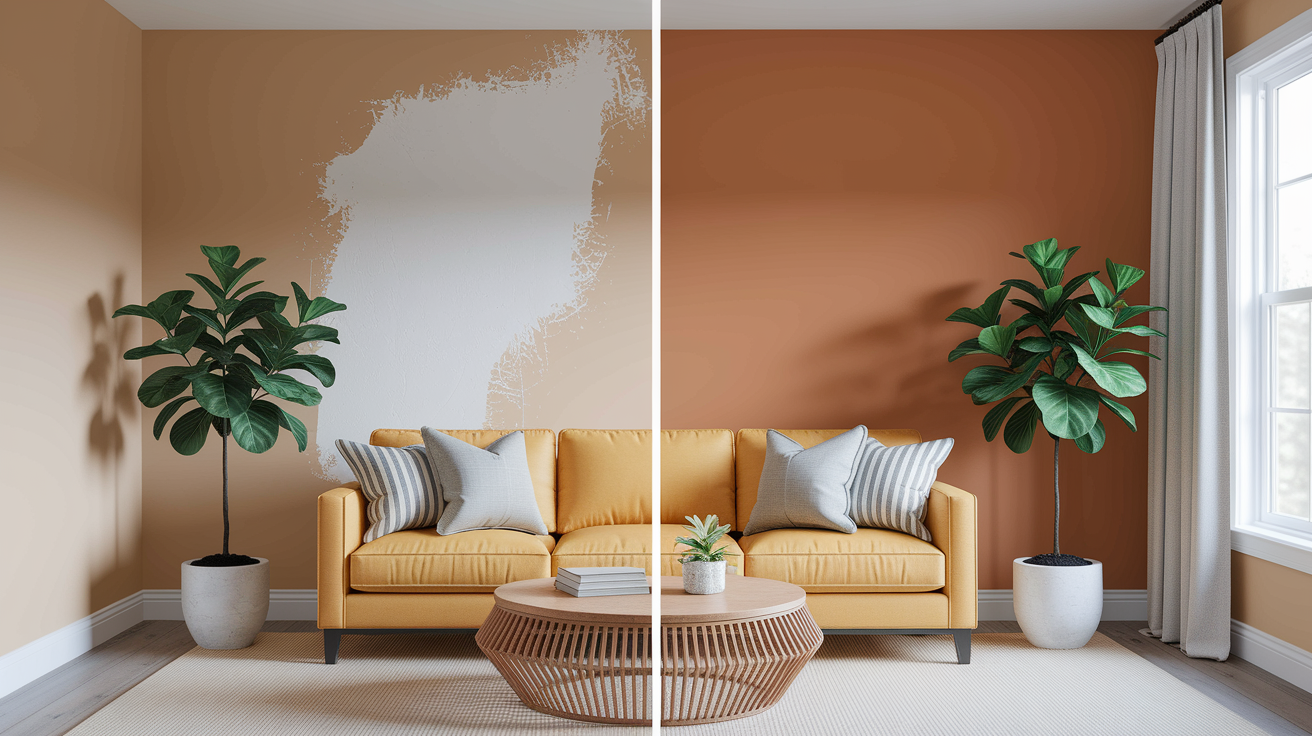
Unprimed patches show through paint as dull spots every time. That happens because bare joint compound is porous and absorbs paint differently than the sealed drywall paper around it. Even if you can’t see the repair after sanding, you’ll see it after painting if you skip primer.
Apply a primer coat to your repaired area, extending it 2 to 3 inches beyond the edges of your compound work. Use a small brush or roller, whatever feels comfortable for the size of your patch. Let it dry according to the product instructions. Some all in one products like Patch Plus Primer combine the compound and primer steps, which saves you time and an extra coat. You can paint 30 minutes after your final coat with those products.
Texture matching matters on anything except smooth walls. For an orange peel texture, thin some joint compound with water until it’s about the consistency of pancake batter, then apply it with a spray bottle or texture roller. For knockdown finish, apply the texture a bit thicker, wait a minute or two for it to firm up slightly, then lightly flatten the high spots with a taping knife held nearly flat against the wall. Popcorn ceiling texture usually comes in aerosol cans designed for small patches, or you can use a hopper gun if you’re dealing with a larger area. Practice your texture technique on a scrap piece of drywall or cardboard first. Texture shows mistakes immediately and is harder to sand off than smooth compound.
Use the same paint sheen as your surrounding wall. Flat, eggshell, and satin all reflect light differently, and mixing sheens makes repairs visible even when the color matches perfectly. Feather your paint beyond the primed area so there’s no hard line where you stopped rolling. Two thin coats usually work better than one heavy coat. If you’re serious about an invisible repair and the wall gets good light, paint the entire wall from corner to corner. Even perfectly matched paint can show a slight color difference between old and new if you’re just spot painting.
Professional results come from patience with each step, not from expensive tools or secret techniques.
Special Situations: Corner Repairs and Ceiling Crack Fixes
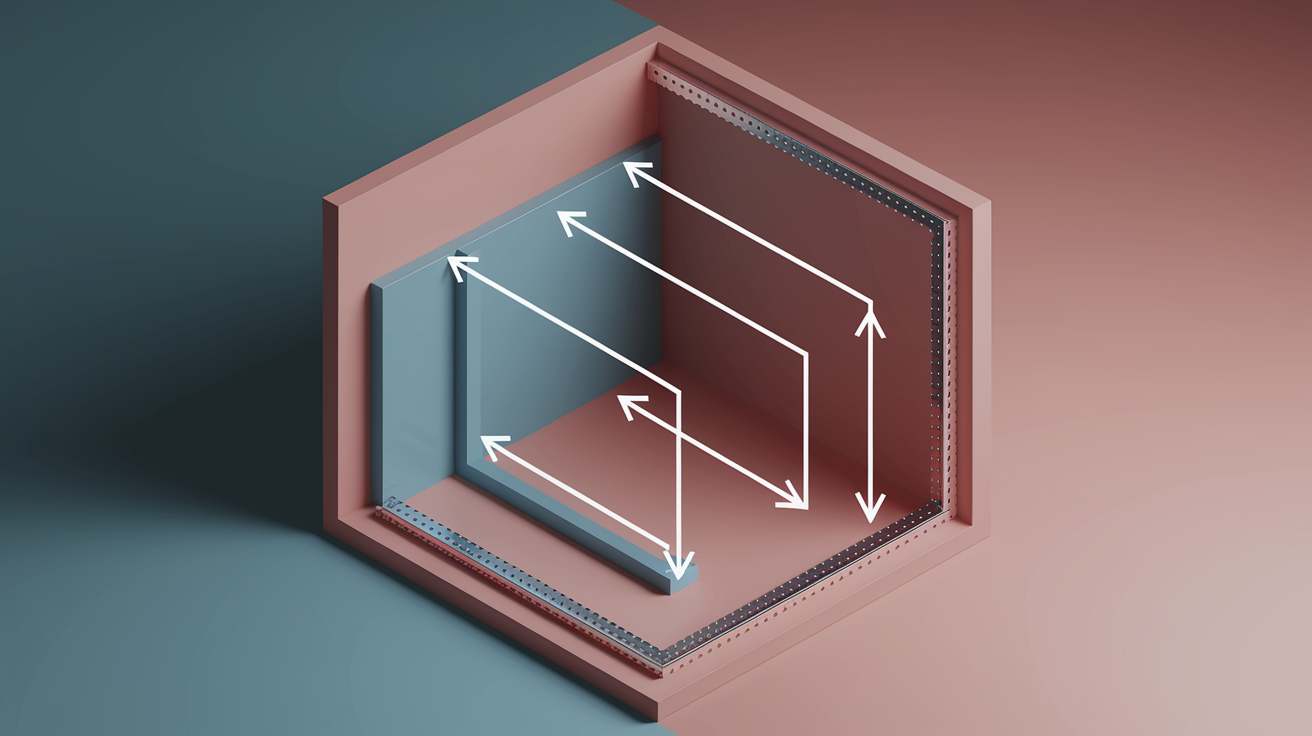
Corners and ceilings create challenges because of angles, gravity, and the way movement concentrates at these spots.
Repairing Corner Bead Damage and Inside Corners
Outside corner repairs sometimes mean replacing damaged metal corner bead if it’s bent or dented. Compound alone won’t fix a bent metal edge. Inside corners benefit from paper tape that you fold lengthwise down the middle to create a crisp 90 degree angle. Press one side into the wall, then the other side into the adjacent surface, and embed both in compound.
Corners where walls meet ceilings crack frequently from seasonal movement as the house expands and contracts. These spots often work better with flexible paintable caulk instead of rigid compound. The caulk flexes with the movement instead of cracking apart. Use a thin bead of white paintable caulk (not silicone, it won’t take paint), smooth it with a wet finger, and paint after it cures.
When you’re taping any corner, apply the tape to both surfaces that meet at the angle. That gives you maximum strength across the joint.
Fixing Ceiling Cracks Without Drips
Working overhead changes everything. Compound that’s too thin will drip on your face and slide off the knife before you get it smoothed. Mix your compound slightly thicker, closer to peanut butter consistency than sour cream. Apply thinner coats than you would on a wall, but plan on doing more of them to build up the thickness you need.
Work in small sections so you’re not reaching and holding your arms up longer than necessary. Hold the knife at a steeper angle than you would on a wall, almost perpendicular to the ceiling. Support the compound on your knife with your other hand while you reach up and position it.
Setting type compound that firms up on a timer works well for ceiling repairs because it stops sagging before gravity wins.
When flexibility matters more than hardness, like at those ceiling wall junctions or in corners that keep reopening, consider flexible sealants or caulking alternatives instead of rigid joint compound. Some movement needs to be accommodated rather than resisted.
Troubleshooting Failed Repairs and Knowing When to Call Professionals
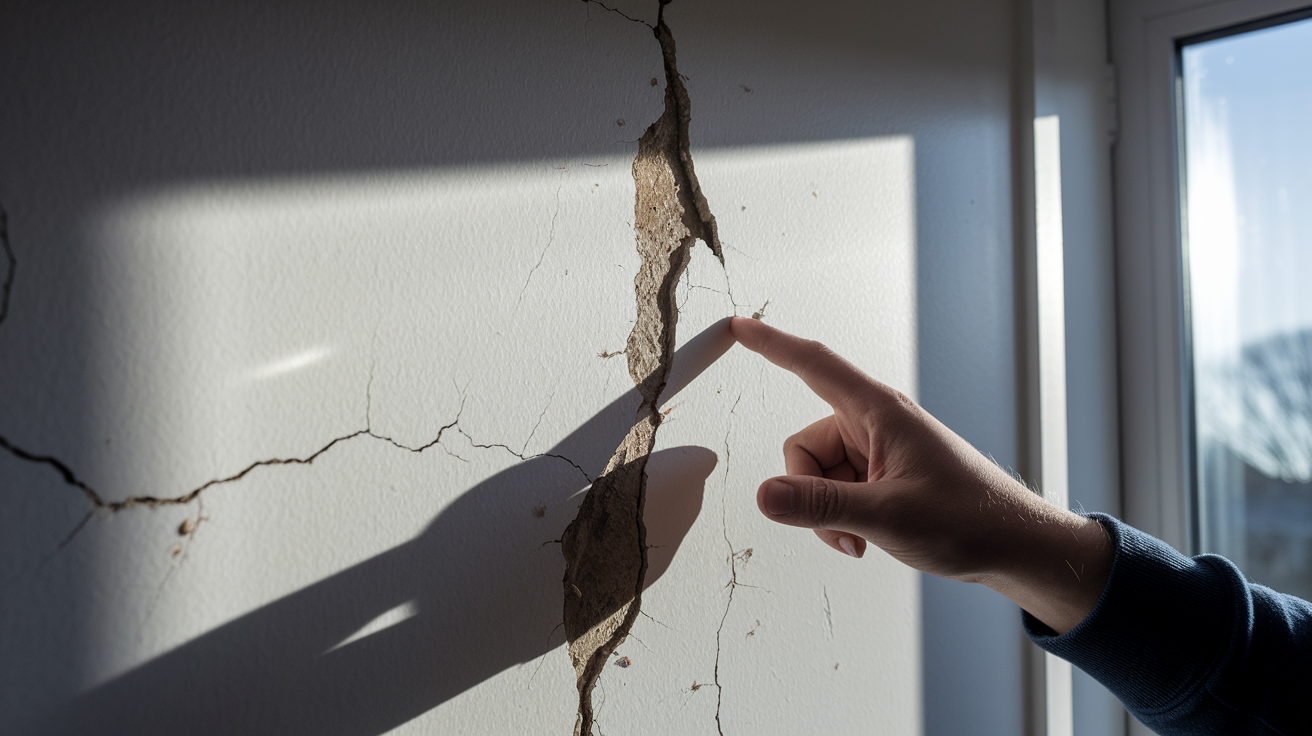
Even experienced DIYers run into problems, but knowing whether to troubleshoot or call for help saves you time and frustration.
Compound cracking as it dries means you applied it too thick. Joint compound shrinks as moisture evaporates, and thick applications crack from that shrinkage. Fix it by scraping out the cracked compound and applying thinner coats.
Bubbles appearing under tape? Air got trapped during application. Cut an X over each bubble with a utility knife, peel back the tape flaps, add compound underneath, and press the tape flat again.
Edges showing ridges after painting means your feathered edges weren’t wide enough or well blended. Sand down the ridges and apply another coat that extends wider with better feathering at the edges.
Patch visible after painting happens when you skip the primer coat. Bare compound absorbs paint differently than sealed drywall. Prime the area and repaint.
Same crack reopening in the same spot signals underlying movement that repair alone won’t fix. Add screws every 4 inches to secure loose drywall to studs, or switch to a flexible repair method if the movement is ongoing.
Compound falling off ceiling means your mix is too thin or wet. Use thicker consistency or switch to setting type compound that hardens before gravity pulls it down.
Tape wrinkling during application usually happens when you start from the end instead of the middle. Remove the wrinkled section and reapply, starting from the center and working outward.
Rough texture after sanding means compound was still too soft or damp. Wait longer for complete drying. Compound should feel cool to the touch when dry. Sand again after it’s fully cured.
Patch shrinking below surrounding surface is normal compound shrinkage, especially on thick applications. Apply an additional thin coat to bring the surface flush.
Color difference visible after painting means the patch is absorbing paint differently despite priming. Apply another primer coat, let it dry completely, then repaint. Some patches need two primer coats.
If repairs repeatedly fail in the same location despite proper technique, you’re dealing with structural movement, moisture infiltration, or foundation settlement that needs professional assessment. Pushing forward with more of the same repairs just wastes your time and materials.
Specific scenarios that need professionals include cracks wider than a quarter inch that suggest structural problems, multiple cracks appearing suddenly throughout the home, diagonal stair step patterns that point to foundation settlement, cracks that come with doors or windows suddenly sticking or not closing properly, water damage or moisture problems behind the drywall, large sections where tape has failed across entire walls or ceilings, cracks in load bearing walls where structural integrity matters, and situations where building codes or permits come into play.
Professionals bring proper diagnosis of underlying causes, warranties on the repair work, expertise with complex texture matching, access to commercial grade materials, and the ability to address structural issues at the same time they’re fixing the cosmetic damage.
If the same crack returns after two proper DIY repair attempts, professional evaluation is worth the cost to identify what’s actually causing the problem. Typical professional repair runs $150 to $300, but that includes diagnosis and usually some kind of warranty on the work.
Cost Estimation and Time Requirements for DIY Repairs

Most crack repairs cost under $30 in materials and take 2 to 3 days when you factor in drying time between coats, though you’re only actively working for 2 to 4 hours total spread across those days.
Material costs break down like this:
Mesh tape roll: $4 to $8
All-purpose joint compound quart: $5 to $10
Putty knife and 6 inch taping knife if you don’t own them: $8 to $15
Sandpaper or sanding sponge: $3 to $6
Primer if your compound doesn’t include it: $10 to $15
Paint touch up from existing can or small sample: $3 to $5
Total typical cost: $20 to $35
Timeline with standard all-purpose mud looks like this: Day 1 takes about 30 minutes for prep and first coat. Day 2 is another 30 minutes for the second coat. Day 3 might need a third coat if you’re chasing extra smoothness, that’s about 30 minutes. Day 4 is sanding, priming, and painting, which runs about 60 minutes of active work.
You can compress that timeline significantly using setting type compound that comes as powder you mix with water. The 45 minute or 90 minute versions harden on a schedule instead of air drying slowly, so you can apply a new coat every hour or two. That lets you complete the entire repair in one day if you’re willing to stay with it.
Professional repair for similar work typically costs $150 to $300 but finishes in one visit, which matters if you’re on a tight deadline or just don’t want to deal with it.
Prevention Tips: Stopping Cracks Before They Start

While some cracking is inevitable in settling homes, especially new construction in the first couple years, many cracks are preventable through proper installation and environmental control.
Maintain consistent humidity levels between 30 and 50 percent relative humidity year round. Use humidifiers in winter when heating systems dry out the air, and dehumidifiers in summer if you’re in a humid climate. Proper ventilation in bathrooms and kitchens prevents moisture from saturating drywall and weakening the paper and compound. Avoid extreme temperature fluctuations that cause rapid expansion and contraction. Address roof leaks and plumbing problems immediately, before moisture gets behind the drywall and causes damage you can’t see until it’s serious.
Installation and maintenance best practices that prevent cracks include:
Ensure drywall seams align with studs or ceiling joists during installation. Seams hanging in mid air between framing will crack.
Use proper screw spacing: every 12 inches along edges, every 16 inches in the field areas.
Don’t overtighten screws so they break through the paper face. That weakens the hold.
Allow new construction to settle for a few months before doing final finish work if the timeline permits.
Inspect your home annually and retighten any loose drywall screws you find.
Address foundation drainage issues that cause ongoing settling and movement.
Use quality materials and proper application technique during initial installation instead of rushing the job.
Regular inspection catches small cracks before they get worse. Addressing small repairs promptly prevents the damage from compounding. A hairline crack ignored becomes a wide gap, and a small section of failed tape spreads along the entire seam. Understanding your home’s seasonal movement patterns helps you anticipate problem areas and check them before cracks open up.
Final Words
Drywall tape crack repair looks intimidating until you break it down into manageable steps.
The process itself is straightforward: secure loose drywall, remove damaged material, embed tape properly, build up thin coats, and sand smooth. Most repairs cost under $30 and take just a few hours of actual work spread across a couple of days.
If the crack returns after a solid repair, that’s your signal to check for loose panels or deeper movement issues. But for typical settling cracks, this method holds.
You’ll have your walls looking normal again without the stress of scheduling someone or the cost of a service call.
FAQ
How can you fix drywall tape that’s cracking?
You can fix drywall tape cracking by removing loose material, securing any movement with screws, applying mesh or paper tape over the crack, and covering with multiple thin coats of joint compound. The repair takes 2-3 days with drying time between coats but only requires 2-4 hours of active work.
What type of drywall tape works best for repairing cracks?
The best drywall tape for cracks is self-adhesive fiberglass mesh tape for most DIY repairs because it sticks directly to the wall and provides permanent reinforcement. For recurring cracks or high-stress areas, paper tape embedded in wet compound creates a stronger continuous membrane that better resists structural movement.
What should you use to fill cracks in drywall?
To fill cracks in drywall, use all-purpose joint compound applied over reinforcing tape in multiple thin coats rather than filling the crack directly with compound alone. Lightweight setting-type compound works well for same-day repairs, while standard all-purpose mud requires 24 hours drying between coats.
What’s the best tape for repairing cracked walls?
The best tape for cracked walls depends on the situation: fiberglass mesh tape offers the easiest application and adequate strength for typical cracks, while paper tape provides maximum strength for corners and areas with ongoing structural movement. Both prevent cracks from returning when applied properly with joint compound.
Why does drywall tape keep cracking in the same spot?
Drywall tape keeps cracking in the same spot because of ongoing structural movement from house settling, loose drywall not properly secured to studs, or seasonal expansion and contraction from temperature changes. If the crack returns after proper repair, check for loose panels and add screws every 4-6 inches into the framing.
How many coats of joint compound do you need for tape repairs?
You need 2-3 coats of joint compound for tape repairs, with each coat applied wider than the previous one to create smooth feathered edges. The first coat embeds the tape, the second coat builds thickness 2-4 inches wider, and the optional third coat provides final smoothing before sanding.
What’s the difference between mesh tape and paper tape for drywall?
The difference between mesh tape and paper tape is that mesh has a sticky backing for easy DIY application and allows compound to bond through the holes, while paper tape requires embedding in wet compound but creates a stronger, tear-resistant repair. Mesh works well for straight cracks, paper excels in corners and high-stress areas.
How long does drywall mud need to dry between coats?
Drywall mud needs to dry 24 hours between coats when using standard all-purpose joint compound, though fast-drying products allow recoating in 30 minutes and setting-type compounds firm up in 45-90 minutes. Always check that the compound feels cool to touch before applying the next coat or sanding.
Do you need to prime drywall patches before painting?
You need to prime drywall patches before painting because bare joint compound absorbs paint differently than sealed drywall, creating visible dull spots that show through the finish coat. Apply primer 2-3 inches beyond the repair edges, or use combination patch-plus-primer products that eliminate the separate priming step.
When should you call a professional for drywall cracks?
You should call a professional for drywall cracks wider than 1/4 inch, diagonal stair-step patterns suggesting foundation issues, cracks that reopen after two proper repair attempts, or multiple cracks appearing suddenly throughout the home. Professional assessment identifies underlying structural problems that cosmetic repairs won’t solve.
How do you repair cracks where walls meet ceilings?
You repair cracks where walls meet ceilings by using paper tape folded lengthwise for inside corners or applying flexible paintable caulk instead of rigid compound for joints with seasonal movement. These corner cracks often result from temperature fluctuations and need materials that flex rather than crack with ongoing structural shifts.
What grit sandpaper should you use for drywall repairs?
You should use 120-grit sandpaper for initial shaping and smoothing of dried joint compound, then switch to 220-grit for final finishing before priming. Use light pressure with circular motions, focusing on feathering edges where the patch meets the existing wall to create an invisible transition.