

You’ve probably stared at those bubbles in your drywall tape and wondered if ripping it all out and starting over is the only option. It’s not. Most bubbled tape happens because too much compound got squeezed out during the first pass, leaving nothing to hold the tape down when moisture hits it again. The good news? You can fix it in about five steps spread over a few days, and once you understand why it bubbled in the first place, you can make sure it doesn’t come back.
Quick Repair Overview: Fixing Bubbled Drywall Tape
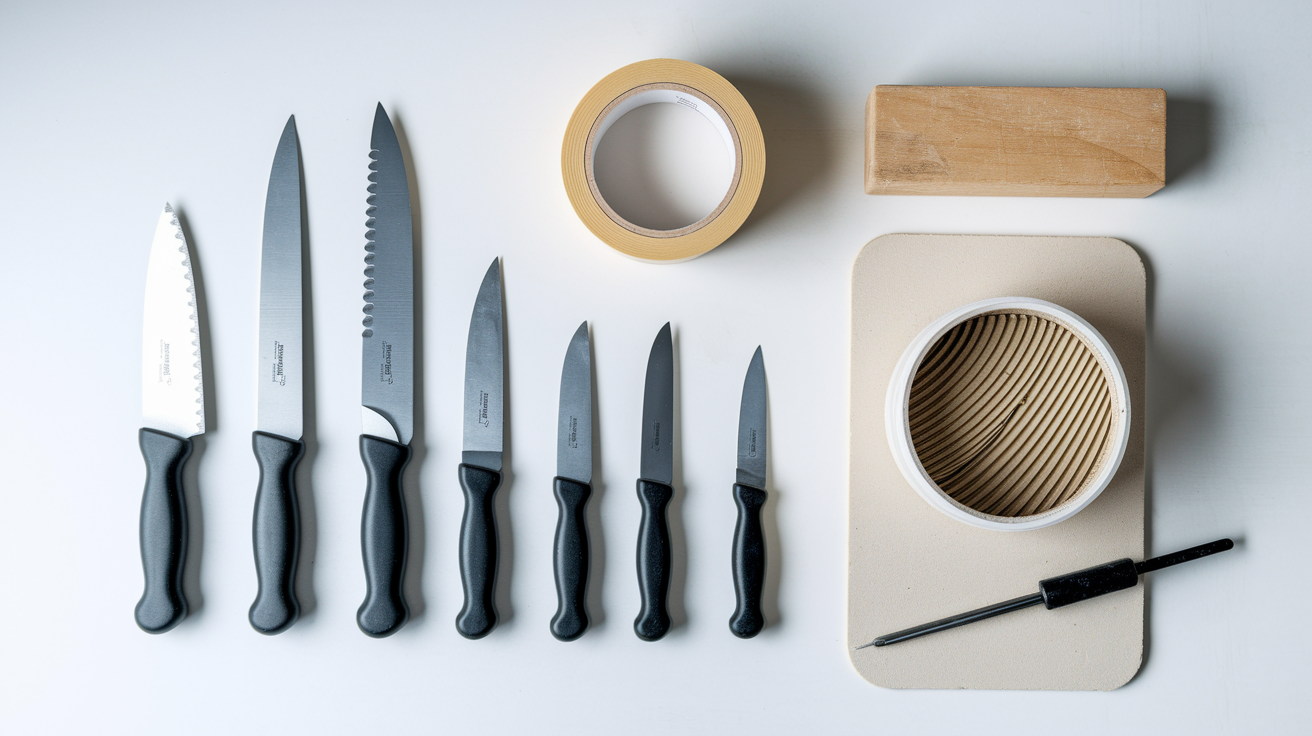
Fixing bubbled drywall tape isn’t complicated if you know what you’re doing. Most repairs stretch across 3 to 5 days, but that’s mostly just waiting for things to dry. Your actual work time? Maybe a few hours total.
Complete Repair Process:
-
Cut out the bubbled section with a utility knife, using light pressure. Score around the bubble and cut from end to end where the tape still grips the wall properly.
-
Remove the damaged tape and loose compound carefully. Peel away what you cut without making the repair area bigger than it needs to be.
-
Clean the surface thoroughly and wait for it to dry completely. A slightly damp sponge works well for wiping away dust and debris.
-
Apply a quarter inch layer of joint compound that goes wider than your tape. Make sure you’ve got full coverage with no thin spots.
-
Embed new tape using a 5 inch knife with firm, even pressure. Pull from one end to the other to get rid of air pockets. Your tape should overlap the existing tape by 0.5 to 1 inch on each side.
-
Allow 24 hours of drying time, then apply two more thin finishing coats with 24 hours between each. Each coat should reach a few inches past the previous one.
-
Sand smooth, prime, and paint once everything’s completely dry.
Bubbles happen when too much compound gets squeezed out from beneath the tape during the first pass. When you press the taping knife too hard, you’re removing the adhesive layer that’s supposed to hold the tape against the drywall. Later, when you apply the second coat, the tape soaks up water and expands. But there’s nothing holding it down, so it lifts and forms blisters.
Moisture reactivation causes problems too. If the room’s too humid, or there’s a hidden leak somewhere, the tape can bubble even after the initial installation looked perfect.
Call a professional if you’re dealing with extensive ceiling bubbling, visible water damage, or if bubbles keep coming back after you’ve followed proper repair steps. Sometimes the problem isn’t the tape. It’s what’s behind the wall.
Understanding What Causes Drywall Tape Bubbles

The biggest culprit is too much knife pressure during the first application. When you press too hard while smoothing the tape, you squeeze out too much compound from underneath. That compound bonds the tape to the drywall surface. Remove too much and the tape’s just sitting there with nothing holding it down. Later, when you come back to apply the second coat, that’s when trouble starts.
That second coat reactivates the paper tape. The tape absorbs water from the fresh compound and expands. Without enough dried compound securing it to the wall, the tape lifts and forms those frustrating bubbles.
Application errors stack up fast. If the surface had dust or debris before you applied the tape, the compound can’t form a proper bond. If you didn’t wait long enough between coats, the first layer is still soft and can’t support the tape when moisture hits it again. If your compound was too thin or watery to begin with, it doesn’t have enough body to create a strong adhesive layer. Think of watery compound like trying to glue something with diluted paste. It just doesn’t hold.
Material quality and environmental conditions matter more than most people think. Low quality joint compound or compound that’s been frozen can crack and bubble even with perfect technique. Applying compound when the room’s too cold causes slow, uneven drying. Low humidity can pull moisture out of the compound too fast, preventing proper curing. Using heavy duty fiberglass tape when light duty paper tape would work better, or vice versa, creates compatibility issues that show up as bubbles later.
Essential Tools and Materials for Repairing Tape Bubbles

Having the right stuff ready before you start makes the repair process smoother and helps you avoid extra trips to the hardware store mid project.
Required Items:
- Utility knife with sharp blade
- 5 inch flexible taping knife
- 8 inch finishing trowel or knife
- Joint compound (all purpose or topping compound)
- Drywall tape (paper or fiberglass mesh)
- Sanding block or dust free sanding tools (120 grit and 150 grit)
- Clean bucket for mixing
- Primer (drywall primer or PVA sealer)
- Paint for touch ups
- Sponge for cleanup
- Drop cloth for protection
- Safety glasses
All purpose compound works for base coats and finishing, while topping compound is lighter and easier to sand for final coats. Pre mixed compound is convenient and consistent, but powder compound gives you more control over texture if you’re experienced with mixing. The consistency should be like warm cake batter. Smooth and easy to spread, but not runny. If you’re using pre mixed compound, test the quality by spreading an 8 inch wide patch on clean drywall and letting it dry completely. If it’s hard to remove with a scraper, the batch is good quality. If it scrapes off easily or feels chalky, the compound may have been compromised by freezing or age.
Step by Step Process for Removing Bubbled Tape

Careful removal prevents turning a small repair into a larger problem. Rushing this step usually means damaging the surrounding wall and expanding your work area.
Removal Steps:
-
Score around the bubble perimeter with light knife pressure. You’re cutting through tape and compound, not gouging into the drywall paper beneath.
-
Cut through the tape at the bubble ends where solid compound resumes. Make clean cuts so the new tape will have good overlap points.
-
Peel away the loosened tape section carefully. Start at one end and pull slowly. If it resists, make another light cut rather than forcing it.
-
Remove any remaining loose compound or debris from the exposed area. Scrape gently with your knife to clear away anything that’s not firmly attached.
-
Check the surrounding tape for additional loose areas by pressing lightly with your fingers. If you feel more soft spots, mark them. You might need to extend your repair slightly.
-
Clean the surface with a slightly damp sponge and let it dry completely before moving forward.
Inspect the prepared area once it’s dry. Run your hand over the edges where you made cuts. They should feel smooth and solidly attached. If the edges are lifted or loose, trim them back a bit further until you reach tape that’s properly bonded. The surface should be completely dry and dust free before you apply new compound. Any contamination will compromise the new bond just like it did the first time.
Applying Joint Compound and Embedding New Tape
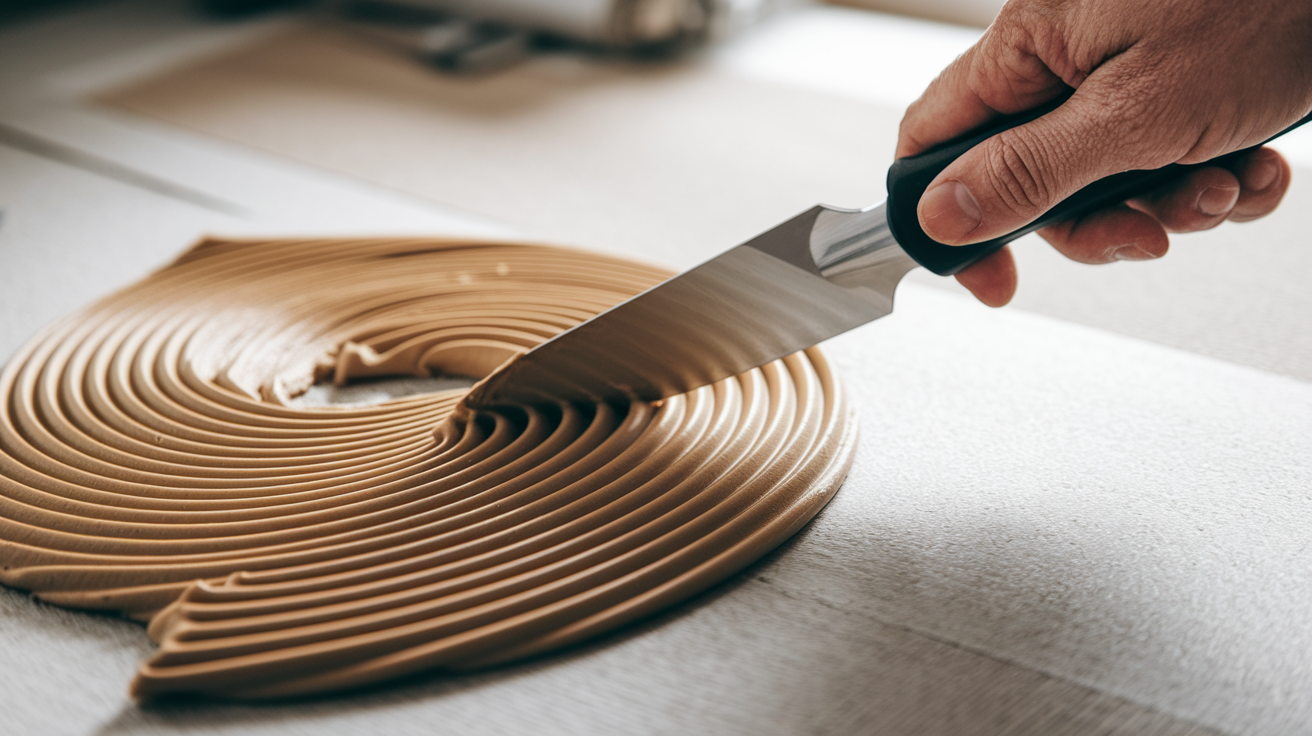
The compound application and embedding process is where you prevent future bubbles. Get this right and your repair will last.
Proper compound consistency flows easily but doesn’t run. Scoop some onto your knife. It should stay in place but spread smoothly when you apply pressure, similar to warm cake batter texture. If it’s too stiff, add a tiny amount of water and mix thoroughly. If it’s too thin, it won’t hold the tape properly.
Apply the base coat by spreading a quarter inch layer of compound over the repair area. The compound should extend at least an inch beyond where your tape will sit on each side. Don’t skimp here. You need enough compound to fully embed the tape and create a strong bond with the drywall surface. Round off any sharp corners in your compound application to prevent the tape from catching and tearing as you press it down.
Cut your new tape piece so it overlaps the existing tape by 0.5 to 1 inch on each side. Center the tape over the seam and press it gently into the wet compound with your fingers to get it positioned correctly. Now use your 5 inch knife at about a 45 degree angle. Start at one end and pull the knife along the tape with firm, even pressure. You’re forcing out air pockets and excess compound while embedding the tape into the base layer. Apply steady pressure. Not so light that air remains trapped, but not so hard that you squeeze out all the compound.
Small wrinkles in the tape are fine. They’ll smooth out as you work the knife along and will be completely covered by subsequent coats.
The tape should look slightly translucent when properly embedded, with compound visible through the paper. If you see dry spots where the tape looks bright white, you didn’t use enough compound beneath it. That’s exactly how the original bubble formed. Carefully peel up that section, add more compound, and re embed the tape before it dries.
Environmental Factors and Drying Time Requirements
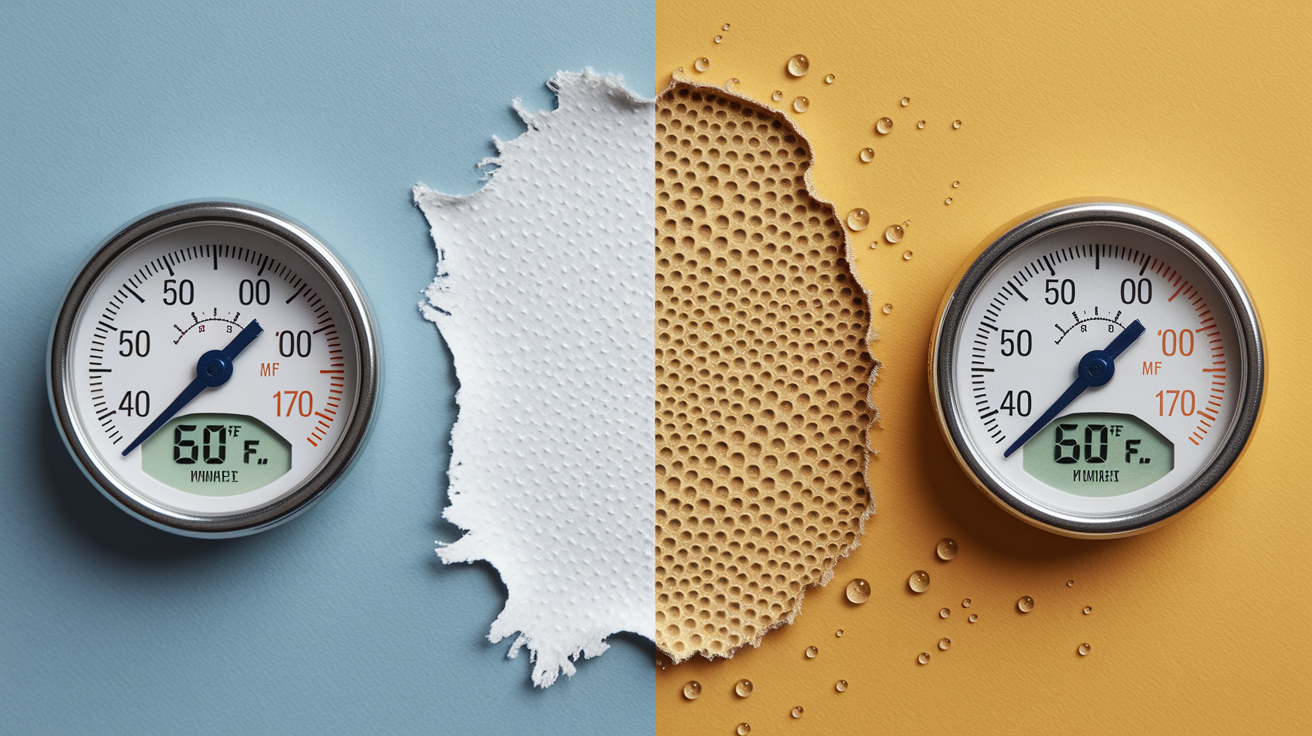
Proper drying time and environmental conditions prevent moisture related bubbling. Rushing this step causes most repeat failures.
The standard rule is 24 hours between coats. That’s a minimum, not a suggestion. In high humidity or low temperature conditions, you’ll need longer. Sometimes 36 to 48 hours. Test dryness by touching the compound lightly. It should feel hard and cool to the touch. If it’s still soft or feels warm, it’s not ready. If it leaves residue on your finger, wait longer. Some people get impatient when they can see the compound has changed color from dark to light, but color change just means the surface is dry. The compound beneath might still be curing.
Ideal environmental conditions make a huge difference. Keep the room temperature between 55 and 70 degrees Fahrenheit. Relative humidity should be in the 40 to 60% range. Good ventilation helps, but avoid direct drafts that can cause uneven drying and cracking. Use fans to improve air circulation. Positioning a fan to move air across the repair (not directly at it) improves drying better than dehumidifiers in some conditions. The goal is steady, even drying through all layers of compound.
Hidden moisture problems cause bubbles to reappear even after a perfect repair. If you fix the tape correctly but bubbles come back within weeks or months, something’s introducing moisture behind the wall. Look for water staining, soft spots, or discoloration that might indicate roof leaks, plumbing issues, or foundation problems. A moisture meter can detect elevated moisture levels in the drywall even when you can’t see visible signs yet.
If you suspect moisture issues, don’t keep re taping the same spot. Check behind the wall if possible, or look for patterns. Bubbles near bathrooms might indicate plumbing leaks, bubbles on exterior walls could mean roof or siding problems, bubbles on lower sections might point to foundation moisture. Address the moisture source first, let everything dry thoroughly, then make your tape repair. The article on Common Signs of Water Damage walks through how to identify if moisture problems are causing repeated bubbling issues.
Finishing Coats and Smoothing Tape Seams

The finishing coats create an invisible repair by gradually blending the patched area into the surrounding wall.
Apply the second coat with your 8 inch knife once the first coat is completely dry. This layer should be thin, roughly 1/16 inch thick. Spread the compound 2 to 3 inches beyond the edges of your first coat. The goal is feathering, which means creating a gradual transition from the built up repair area to the flat wall surface. Hold your knife at a low angle and apply light pressure as you work away from the center. The edges should be nearly transparent.
Feathering technique takes a light touch. Start your knife stroke on the built up area and pull outward toward the flat wall. Lift the knife gradually as you reach the edge so the compound tapers to nothing. If you see a ridge forming at the edge, you’re either using too much compound or not angling your knife correctly.
The third coat might not be necessary for small repairs, but it makes larger repairs completely invisible. Use a 10 or 12 inch knife for this pass. Apply an ultra thin layer that extends even wider than the second coat. Sometimes 6 to 8 inches beyond the repair center on each side. This wide feathering means the repair area blends so gradually that your eye can’t detect where the patch ends and the original wall begins.
Clean your tools thoroughly between coats. Even small dried compound chunks or debris on your knife will create bumps and ridges that show through the final finish.
Sanding Techniques for Bubble Free Tape Repairs

Sanding is the final smoothing step before priming and painting. Good sanding technique makes the difference between a repair you can see and one that disappears completely.
Sanding Guidelines:
- Use 120 grit sandpaper for initial smoothing of the dried compound
- Switch to 150 grit for your final pass to create a smooth surface
- Sand in circular or figure eight motions to avoid creating grooves
- Never sand through the tape layer. This weakens the seam and can cause shrinking, warping, or cracking later
- Wear a dust mask and eye protection
- Consider wet sanding or dust free sanding tools for cleaner work and easier cleanup
Test the smoothness by running your hand lightly over the repair area. Better yet, hold a work light or flashlight at an angle to the wall. The angled light reveals even subtle imperfections. Ridges, bumps, or areas that aren’t quite level with the surrounding surface. If you spot imperfections, you have two choices. Sand more if there’s enough compound thickness, or apply another thin skim coat and sand again after it dries. When the surface feels smooth to your hand and looks even under angled light, it’s ready for primer.
Choosing the Right Drywall Tape to Prevent Bubbles
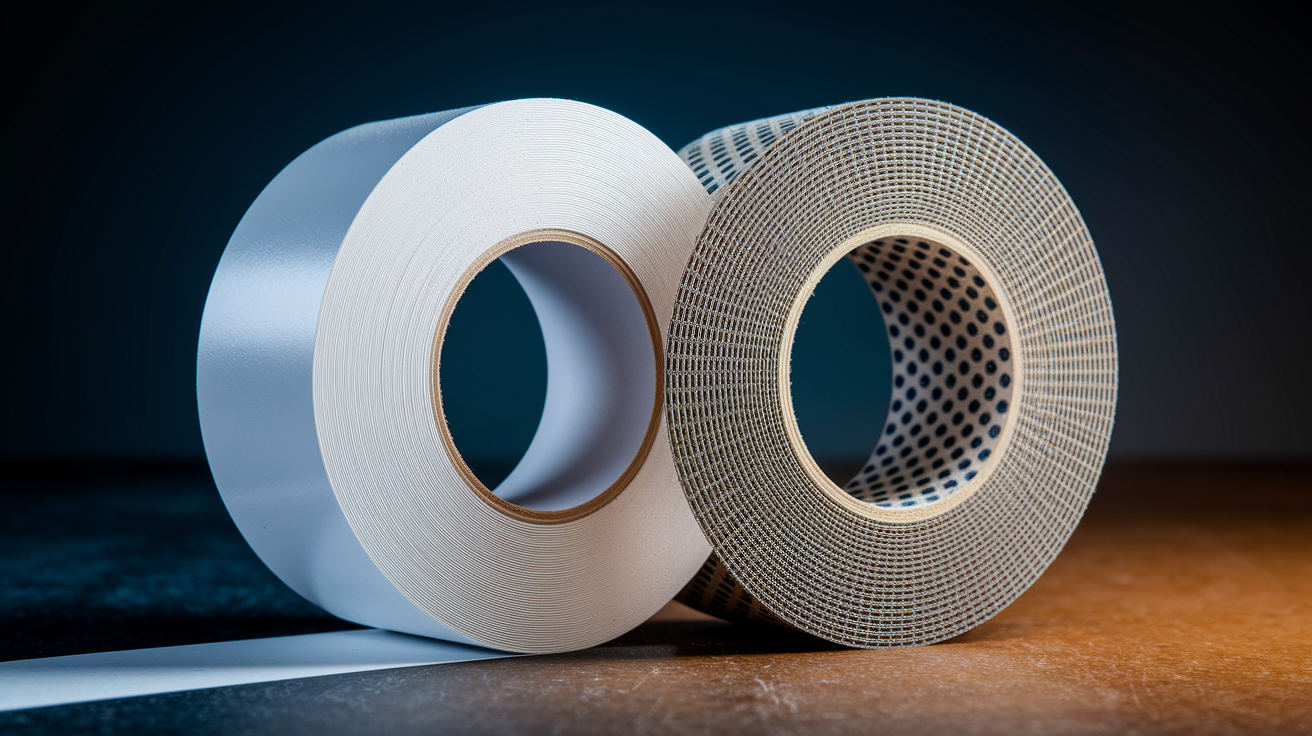
The type of tape you choose affects how likely bubbles are to form and how forgiving the application process will be.
Paper tape and fiberglass mesh tape have different structures that create different challenges. Understanding these differences helps you choose the right tape for your situation and technique level.
Paper tape is a solid strip of heavy paper with a slight crease down the center for folding into inside corners. It requires wet compound beneath it for adhesion. There’s no adhesive on the tape itself. This makes it more prone to bubbling if your application technique isn’t solid. But paper tape has stronger tensile strength than mesh, and professional finishers prefer it for perfectly flat seams on walls and ceilings. When embedded properly into adequate compound, paper tape creates the strongest, flattest seam possible.
Fiberglass mesh tape has a completely different structure. The woven mesh has small holes throughout, and one side has a self adhesive backing. Those holes are the key advantage. When you apply compound over mesh tape, the mud pushes through the holes and locks the tape in place. Air pockets can’t form because air escapes through the mesh openings. The self adhesive backing means you can stick the tape to the wall first, then apply compound over it. This is faster and virtually bubble proof, making mesh tape ideal for repairs and DIY projects.
When to use each type comes down to the specific application and your skill level. Mesh tape works great for repairs, ceiling seams, and any area where you want a more forgiving application process. It’s perfect for small repairs like fixing bubbled tape because the application is straightforward and reliable. Paper tape is better for inside corners (where you need the fold) and for critical flat seams where professional finishing standards matter. If you’re new to taping or repairing occasional bubbles, mesh tape eliminates most of the technique sensitive aspects that cause problems.
Mesh tape does have minor limitations. It’s slightly weaker for inside corners compared to folded paper tape, and the mesh texture can require an extra coat of compound to fully conceal. But for bubble prone areas and repairs, the structural advantages of mesh tape outweigh these minor drawbacks.
| Tape Type | Bubble Risk | Application Method | Best Use |
|---|---|---|---|
| Paper Tape | Higher (requires perfect technique) | Apply compound first, embed tape into wet mud | Flat seams, inside corners, professional finishing |
| Mesh Tape | Very low (holes eliminate air pockets) | Self adhesive, stick to wall then apply compound | Repairs, ceiling seams, DIY projects, bubble repairs |
Common Taping Mistakes That Cause Bubbles

Most bubbles result from preventable application errors rather than defective materials. Recognizing these mistakes helps you avoid creating new problems while fixing old ones.
The good news is that once you know what causes bubbles, the fixes are straightforward. It’s mostly about technique, not talent.
Frequent Application Errors:
- Applying too much knife pressure that squeezes out too much compound from beneath the tape
- Using compound that’s too thin or watery to create a proper adhesive bond
- Failing to embed tape fully into wet compound, leaving air pockets
- Not overlapping tape pieces adequately where sections meet (needs 0.5 to 1 inch overlap)
- Applying tape to dusty or contaminated surfaces that prevent adhesion
- Starting the second coat before the first coat is fully dry, causing moisture reactivation
- Using insufficient compound as a base layer beneath paper tape
- Leaving air pockets during initial embedding by not pulling the knife firmly enough
Recognizing these mistakes in your own work or in failed repairs helps you troubleshoot repeat issues. If bubbles keep forming in the same spot after multiple attempts, review this list. Usually one of these errors is the culprit. The most common mistake is pressing too hard during the initial embedding, followed closely by not waiting long enough between coats.
Priming and Painting Over Repaired Tape Seams
Never paint directly over drywall tape bubbles without repairing them first. The paint makes bubbles more noticeable by highlighting the texture difference between the bubbled area and the flat wall. The bubble shows through as a distinct raised area with different light reflection, and paint can’t hide that.
Proper priming before painting is essential. Use drywall primer or PVA (polyvinyl acetate) sealer on the bare compound. This sealer prevents “flashing,” which is when repaired areas absorb paint differently than the surrounding wall and show through as dull or shiny spots even when using the same paint. Apply one coat of primer and let it dry completely. The primer creates a uniform surface that accepts topcoat paint evenly.
Paint application requires some care to match the existing wall perfectly. Use the same paint sheen as the existing wall. Flat, eggshell, satin, or whatever was originally used. Feather the paint edges well beyond the repair area so there’s no visible line where new paint meets old. Apply two thin coats rather than one heavy coat, allowing proper drying time between coats. Test the color match in an inconspicuous area first if you’re not certain the paint is from the same batch as the original. Paint color can shift slightly between batches even when using the same formula.
Troubleshooting Persistent Bubbling Problems
Recurring bubbles after you’ve followed proper repair procedures indicate deeper issues that technique alone won’t solve.
Something beyond application method is causing the tape to fail.
Diagnostic Checks for Repeat Bubbling:
- Test joint compound quality using the 8 inch patch method (spread compound on clean drywall, let dry, try to scrape off. Good compound resists removal)
- Check the drywall surface for contamination, damage, or deteriorated paper facing
- Verify room conditions meet temperature requirements (55 to 70°F) and humidity requirements (40 to 60%)
- Inspect for hidden moisture sources using a moisture meter on the drywall and surrounding areas
- Examine the substrate for loose gypsum board, compromised paper facing, or previous water damage
- Review whether your tape type is compatible with the compound you’re using
- Consider whether old compound on the wall is incompatible with the new compound you’re applying
When bubbles keep coming back despite multiple careful repairs, it’s time to call a professional. Extensive ceiling bubbling can indicate structural issues or hidden leaks that require more investigation. Repeated failure after you’ve followed proper technique several times suggests substrate problems, contamination you can’t see, or environmental factors that need professional assessment. Suspected structural moisture issues definitely require professional inspection. The cost of ignored moisture problems far exceeds the cost of proper diagnosis and repair. Large areas requiring repair might be more cost effective to have professionally finished, especially if you’re already dealing with persistent problems. The article on Professional Drywall Repair Services covers when to hire a professional versus continuing DIY approaches for extensive bubbling.
Cost and Time Estimates for Bubble Repairs
Planning your repair timeline and budget helps set realistic expectations and avoid frustration with the multi day process.
| Repair Scope | DIY Time | DIY Materials Cost | Professional Cost |
|---|---|---|---|
| Small patch under 1 sq ft | 3 to 4 days (1 hour active work) | $15 to $25 | $75 to $150 |
| Medium repair 1 to 4 sq ft | 4 to 5 days (2 hours active work) | $25 to $40 | $150 to $300 |
| Large area 4 to 10 sq ft | 5 to 6 days (3 to 4 hours active work) | $40 to $60 | $300 to $500 |
| Ceiling repairs | 5 to 7 days (3 to 5 hours active work) | $30 to $50 | $200 to $450 |
The timeline assumes proper drying between coats, with 24 or more hours for each coat to cure completely. Total calendar time runs 3 to 5 days even though your actual hands on work might only be 2 to 3 hours spread across those days. Most of the time is waiting for compound to dry. Rushing this process by applying coats before previous layers have dried completely causes the bubbles to come right back. Sometimes within days of finishing the repair. High humidity conditions or cold temperatures can extend drying times beyond 24 hours per coat, pushing the total timeline to a week or more. Factor in this waiting time when planning your repair, especially if you need the room back in service by a specific date.
Final Words
Drywall tape bubbles start with simple application mistakes, but you can fix them the right way.
Cut out the damaged section, embed fresh tape in a solid compound base, and give each coat the full 24 hours it needs to dry. That’s the process that actually holds.
Most bubbles happen because the tape never had enough mud underneath it to stick, or because someone rushed between coats. Now you know what to look for.
If the bubbling keeps coming back after a proper repair, that’s telling you something else is going on. Usually moisture. Sometimes bad compound.
Get the technique right once, and you’re done with it.
FAQ
How do you fix bubbles in drywall tape?
You fix bubbles in drywall tape by cutting out the damaged section with a utility knife, removing loose material, applying a fresh layer of joint compound, embedding new tape with firm pressure to eliminate air pockets, and allowing proper drying time between finishing coats.
What causes air bubbles when doing a drywall patch?
Air bubbles form during a drywall patch when you press the taping knife too hard and squeeze out too much compound from beneath the tape, leaving insufficient adhesive to hold the tape against the drywall surface.
Why do I get bubbles in my drywall compound?
You get bubbles in your drywall compound when tape absorbs moisture from subsequent coats before the first coat has dried completely, causing the tape to expand and blister where there’s not enough compound securing it down.
How do you fix drywall tape pops?
You fix drywall tape pops by cutting out the loose or raised section, removing damaged material, applying a thin base layer of compound, embedding new tape that overlaps existing tape by half an inch on each side, and allowing 24 hours of drying between each finishing coat.
Can you paint over drywall tape bubbles?
You cannot successfully paint over drywall tape bubbles because the paint only masks the problem temporarily and actually makes the bubbles more noticeable once the paint dries, highlighting the uneven surface underneath.
What is the difference between paper tape and mesh tape for preventing bubbles?
The difference between paper tape and mesh tape for preventing bubbles is that fiberglass mesh tape has holes that allow compound to penetrate through, eliminating air pockets, while paper tape requires wet compound beneath it for adhesion and is more prone to bubbling if applied improperly.
How long should joint compound dry before applying another coat?
Joint compound should dry for 24 hours before applying another coat, though high humidity or low temperatures may require longer drying times to prevent the tape from absorbing moisture and creating new bubbles.
When should I call a professional for drywall tape bubbles?
You should call a professional for drywall tape bubbles when you have extensive ceiling bubbling, visible water damage, repeated failures after proper repair attempts, or suspect hidden moisture problems that require inspection behind the walls.