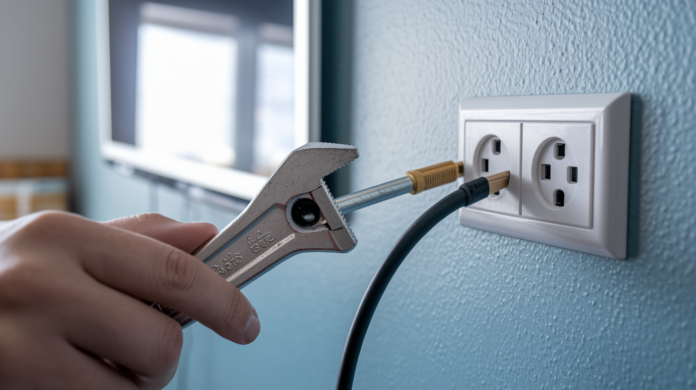

You probably never think about the coaxial outlet behind your TV until the signal disappears. And when that happens, your first assumption is the cable company’s at fault or you need an expensive service call. But here’s the truth: about 70% of coaxial outlet failures trace back to loose connections or minor cable damage you can fix yourself in under five minutes. We’ll walk you through the fast checks that restore signal, show you how to spot real problems, and help you know when it’s actually time to call for help.
Common Causes and Immediate Solutions
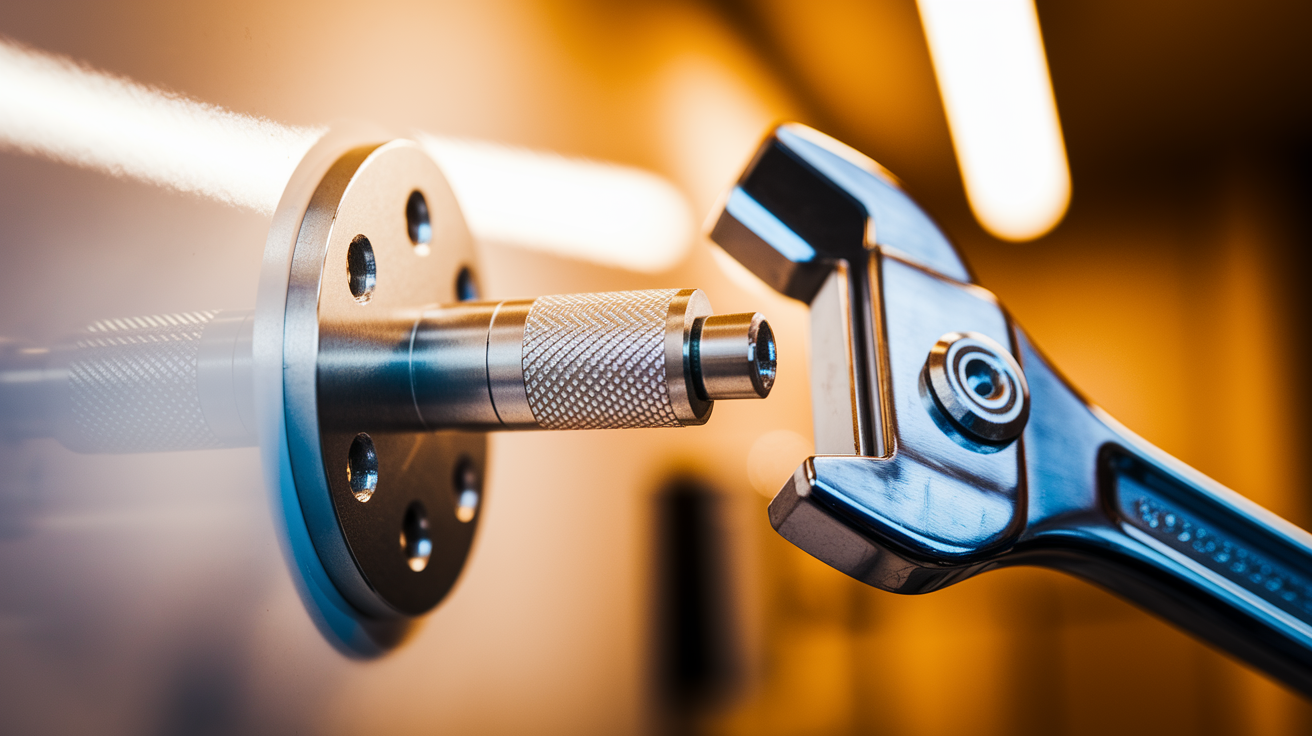
Most coaxial outlet failures come from four basic problems that have simple fixes. Before you assume you need a tech visit or major repairs, these quick checks restore connectivity in just a few minutes most of the time. Signal problems happen right at the connection points where cables attach to outlets and devices.
| Problem | How to Identify | Immediate Fix | When to Move to Next Step |
|---|---|---|---|
| Loose F-connector | Connector wobbles when touched, can be turned by hand without tools | Hand-tighten clockwise at both wall outlet and device end until snug, then use wrench for final 1/4 turn | If connector still spins freely after tightening or connection feels stripped |
| Damaged cable | Visible cuts, kinks, flat spots from compression, frayed outer jacket, or pet chew marks | Replace the damaged cable section or entire cable if damage is severe | If new cable doesn’t restore signal or multiple sections show damage |
| Inactive service | New home, new service setup, or recent address change with no previous signal history | Contact service provider to verify signal activation at your address and specific outlet | If provider confirms activation but outlet still shows no signal |
| No provider signal | Multiple devices fail on different outlets, neighbors report similar issues | Check provider website or app for neighborhood outage notifications | If no outage is reported but signal remains absent |
The most common fix needs just your hands and maybe a wrench. Start by checking the F-connector at your wall outlet first. Grip the connector and try turning it clockwise with your fingers. If it turns easy, it’s loose. Hand-tighten clockwise at both the wall outlet and device end until snug. You should feel firm resistance but don’t force it. Then take an adjustable wrench and give it a final quarter turn. That’s it. Don’t over-tighten or you’ll damage the threads. Treat the connection like you’re closing a jar lid. Snug is good. Cranking it down with all your strength isn’t necessary.
After tightening connections, wait about 30 seconds and check if your device shows connectivity. For cable modems, watch for the indicator lights to cycle through their startup sequence. For televisions, try changing channels or accessing the signal strength menu. If service comes back right away, you’ve found the problem. If not, at least you’ve ruled out loose connections.
When immediate fixes don’t solve the problem and your coaxial outlet still isn’t working, systematic diagnosis becomes necessary. This means checking each component in the signal path from the service provider’s connection point to your device. Later sections cover testing procedures, physical damage assessment, and equipment verification. Working through each step methodically saves time compared to randomly trying fixes.
Document what you’ve tried so far. Write down which connections you tightened, what cables you inspected, and what results you saw. If you eventually need to contact your service provider or hire a technician, this information helps them diagnose faster. Share a couple photos and we’ll point you in the right direction. Showing exactly where the cable connects and any visible damage cuts troubleshooting time significantly.
Testing Your Coaxial Wall Outlet for Active Signal
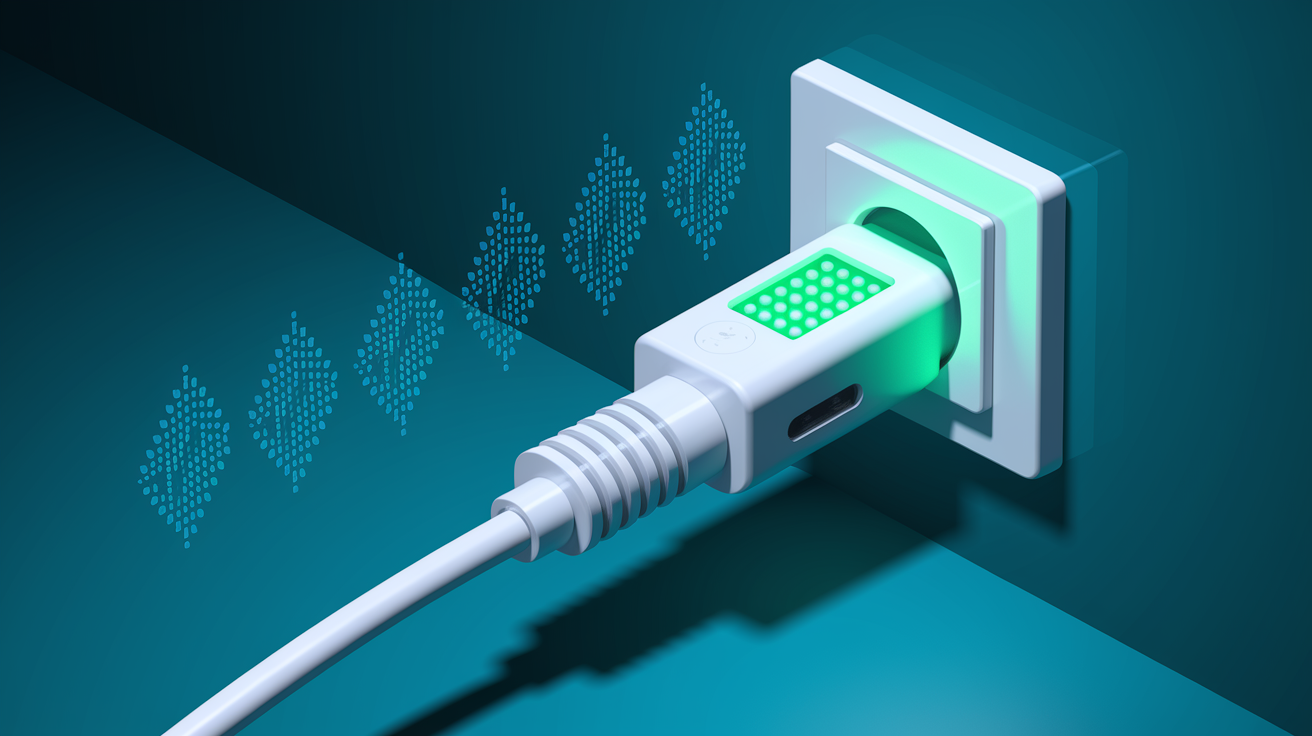
Not all coax outlets are active when you move into a home. They might look identical, with the same connector and wall plate, but some receive signals from your cable provider while others don’t. Builders often install outlets in multiple rooms for flexibility, but the service provider only activates specific connection points during installation.
You can figure out if an outlet receives an active signal using two methods. The first uses a dedicated coax cable tester like the DSS-01, which plugs directly into the outlet and displays results through LED indicators. Turn on the tester, push it into the coax outlet, press the button, read the LED indicator, and turn off when finished. The whole process takes under 10 seconds. A green LED means a valid signal is detected and the outlet is ready for modem installation. A red LED means no valid signal was detected at that outlet. The second method connects a cable modem to the outlet and watches the indicator lights during the modem’s startup sequence. This works if you already own a cable modem and want to test outlets without buying more equipment.
Cable modem light patterns tell you what’s happening with the signal. Power light solid means the modem is getting electricity and powered on correctly. Downstream light blinking then solid means the modem is receiving signal from the cable provider successfully. Upstream light solid means the modem is sending signal back to the provider’s network. Online light solid means full connectivity established, modem is ready for internet use. No lights or only power means no signal from outlet, indicating provider signal absent or outlet not connected to active line.
When testing shows no signal at an outlet, you’ll need to decide whether to contact the service provider or continue DIY troubleshooting. Contact the provider first if you’re setting up new service, recently moved, or if none of your outlets show signal. The provider can verify whether your address is activated and which outlet should carry the main signal. Continue with DIY troubleshooting if some outlets work but others don’t, or if an outlet that previously worked suddenly stopped. These situations usually mean problems with your home’s internal wiring or connections rather than provider side issues.
Physical Damage and Connection Problems
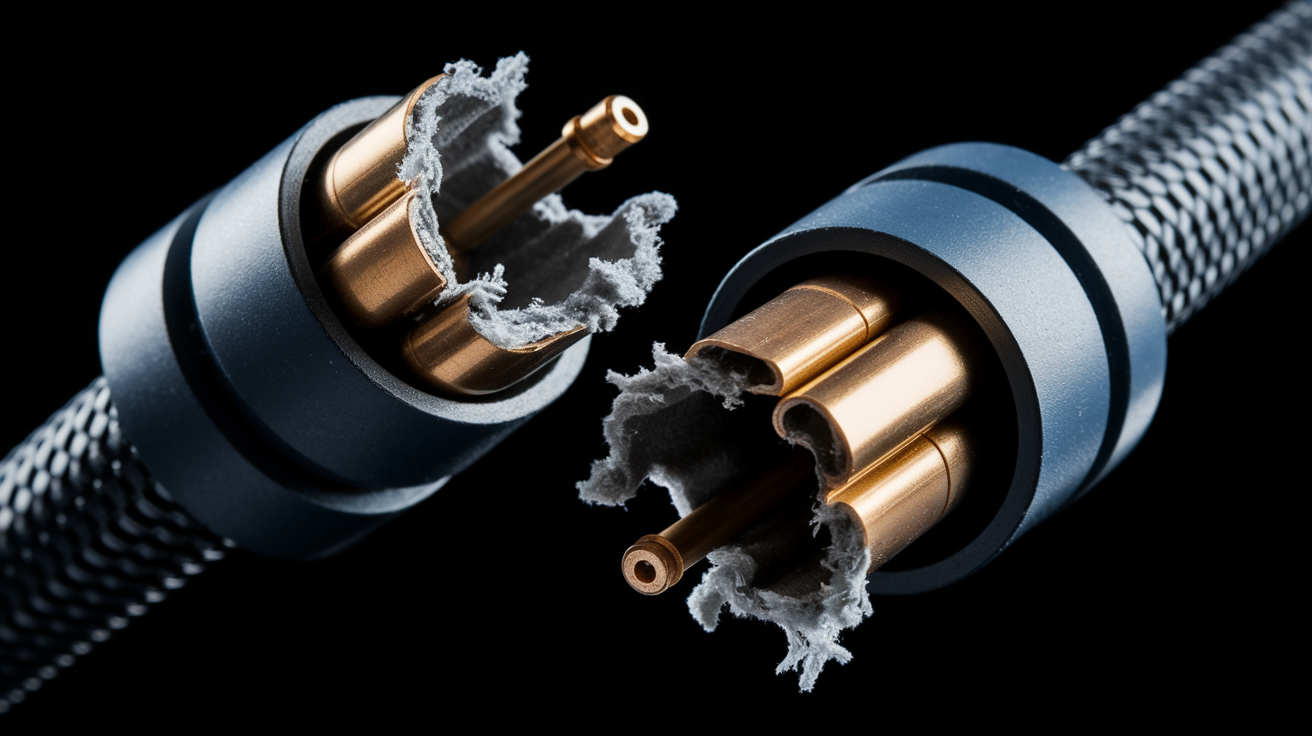
Cable components face daily wear from household activity. Vacuuming near baseboards, moving furniture, pets exploring behind entertainment centers, and temperature changes all stress coaxial cables over time. The good news? Physical damage creates visible signs you can spot during inspection.
Cable vulnerabilities concentrate at connection points and anywhere the cable bends or runs through high traffic areas. These spots need the most attention during your inspection. Damage that seems minor, like a small kink or a slightly loose fitting, actually disrupts the signal significantly because coaxial cable depends on precise spacing between the center conductor and the outer shield.
| Problem Type | Visual Signs | Impact on Signal | Inspection Method |
|---|---|---|---|
| Loose F-connector | Connector wobbles when touched, turns easily by hand | Complete signal loss or intermittent connection | Try turning connector by hand at both outlet and device end |
| Bent center pin | Center conductor not centered in connector opening or visibly angled | Partial or complete signal loss | Look directly into connector opening with flashlight |
| Corroded fittings | Green or white residue on metal threads, rust spots | Weakened signal strength, intermittent connectivity | Inspect metal connector surfaces closely, especially outdoor connections |
| Damaged cable jacket | Cuts exposing inner layers, torn or split outer covering | Signal loss from shield damage, moisture intrusion risk | Run fingers along entire cable length feeling for irregularities |
| Kinked cable | Sharp bends creating flat or creased sections | Significant signal degradation at bend point | Look behind furniture and at cable routing around corners |
| Moisture damage | Discoloration around fittings, rust on connector threads, water marks | Corrosion leading to signal loss or short circuits | Check outdoor entry points, basement areas, areas near plumbing |
| Dust accumulation | Visible buildup in connector threads or around center pin | Poor contact causing intermittent signal issues | Inspect unused outlets that have been exposed for extended periods |
| Compression damage | Flat spots on cable, indentations from furniture legs or door frames | Shield and conductor spacing disrupted, signal degradation | Check cable path under furniture, along baseboards, through doorways |
Follow these systematic inspection steps to check your coaxial outlet and cable thoroughly. Remove the wall plate by unscrewing the mounting screws to access the outlet connection behind it. Check if the F-connector at the outlet can be hand-tightened by gripping it and trying to turn clockwise. Examine the center pin by looking straight into the connector opening with a flashlight. The pin should be perfectly centered and straight, not bent to one side. Trace the visible cable path from the outlet to your device, looking for any damage points like cuts, kinks, or compression marks. Verify the cable routing avoids sharp bends or compression by checking behind furniture, along baseboards, and anywhere the cable passes through tight spaces. Inspect cable entry points for moisture or pest damage, especially where cables enter from outside or pass through exterior walls. Check the ground wire connection if present. It should be securely attached to both the outlet and your home’s grounding system.
Multiple issues often exist at the same time. You might find a loose connector and a kinked cable in the same installation. Addressing all found problems improves your success rate significantly. If you’ve been adjusting the cable connection every few weeks to keep it working, that’s a sign of an underlying problem that needs permanent fixing rather than temporary adjustments.
Repair Solutions for Common Outlet Issues
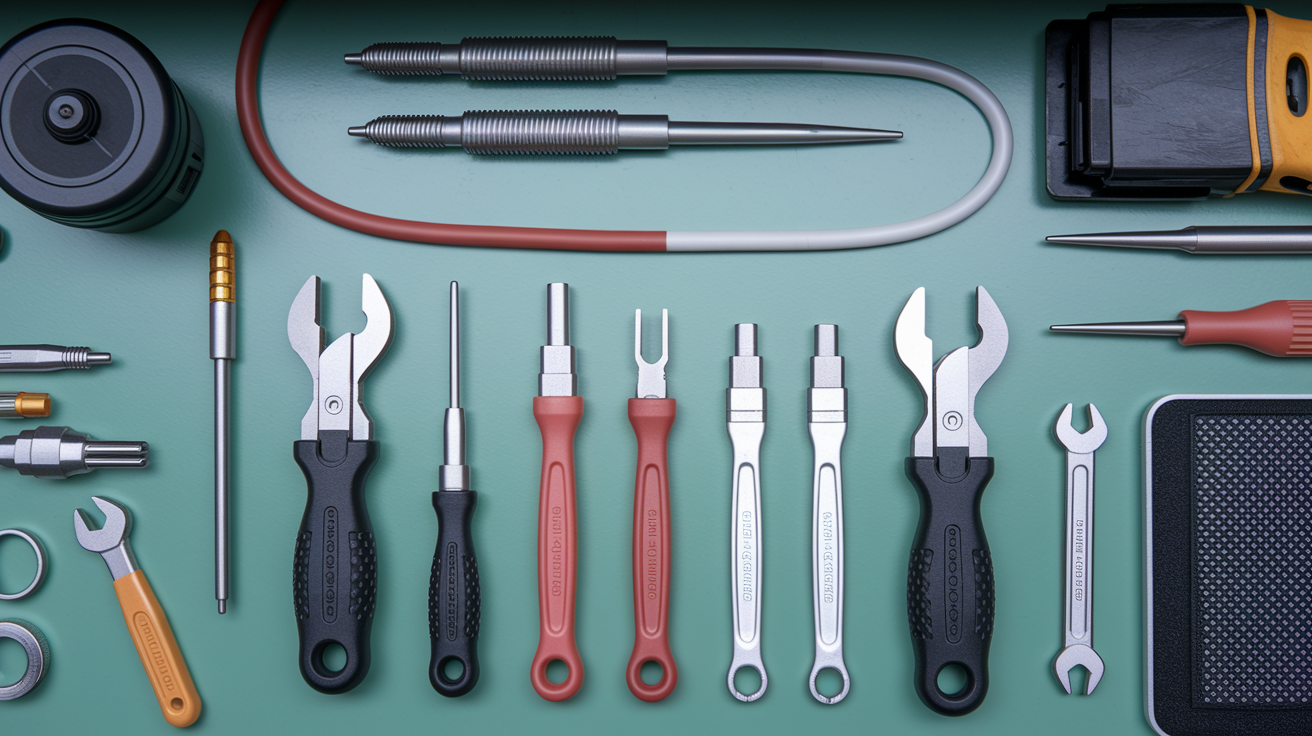
Some coaxial outlet problems fall within DIY appropriate territory while others require professional service. You can safely handle loose connections, simple connector replacements, and cleaning tasks. Leave anything involving electrical work, wall penetrations for new cable runs, or exterior service line connections to licensed professionals.
Replacing a Damaged F-Connector
When an F-connector shows damage, corrosion, or won’t tighten properly, replacement restores proper function. You’ll need a cable stripper tool designed for coaxial cable, compression F-connectors sized for your cable type, and a wrench. Start by cutting off the old connector with the cable stripper. Strip the cable to proper lengths. Expose 1/4 inch of the center conductor, 1/4 inch of the white dielectric foam, and remove 1/2 inch of the outer jacket. Slide the new compression F-connector over the prepared cable end and push firmly until the center conductor protrudes through the connector face. Use the compression tool to tighten the connector onto the cable, creating a permanent seal. Compression F-connectors provide better connection than screw on types. Think of the difference like a crimp versus a twist on wire connector. Compression fittings create a weathertight seal and mechanical bond that won’t loosen over time.
Tightening Loose Wall Outlet Connections
Loose connections at the wall outlet happen frequently because people bump the cable when moving furniture or cleaning. Hand-tighten the F-connector clockwise until snug. You should feel solid resistance. Use an adjustable wrench for the final quarter turn, but avoid over-tightening which damages threads or crushes the connector. Check the center pin alignment before tightening by looking into the connector opening to make sure the pin isn’t bent. Verify the connection doesn’t spin freely after tightening by trying to rotate the connector by hand. It should be completely secure.
Cleaning Corroded Connectors
Corrosion builds up on connectors exposed to moisture or outdoor conditions. Disconnect the cable from both ends before cleaning. Use contact cleaner spray or isopropyl alcohol on a cotton swab to clean the threaded areas and center pin. Gently work around all metal surfaces, removing any green or white residue. Allow everything to dry completely before reconnection. This usually takes 5 to 10 minutes. Apply a small amount of dielectric grease to the threads and connector body to prevent future corrosion. The grease creates a moisture barrier without interfering with signal transmission.
Test the outlet after completing repairs by reconnecting your device and checking for signal. Cable modems cycle through their startup sequence with lights indicating power, downstream signal reception, upstream signal transmission, and full online status. This sequence typically completes in 2 to 3 minutes. Television service should show clear picture quality across all channels without pixelation or freezing.
Troubleshooting Splitter and Distribution Problems
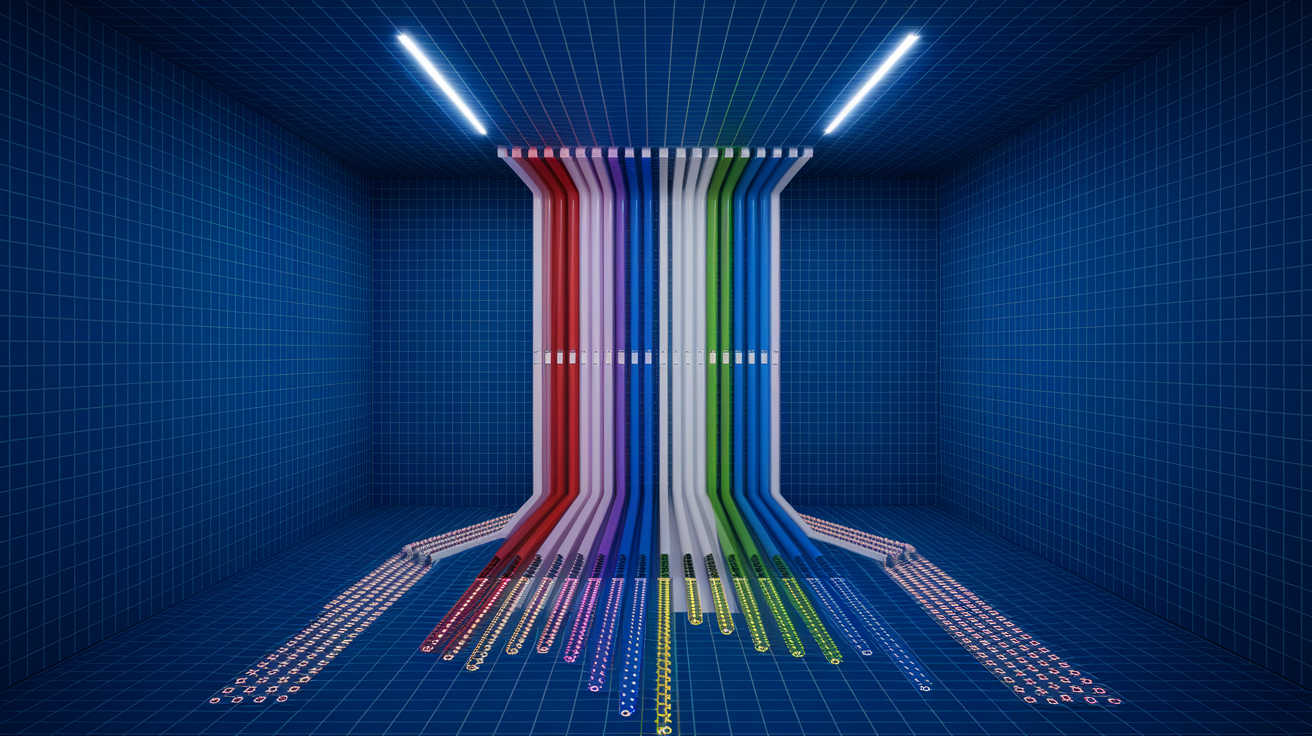
Homes typically have a main coax line entering from outside that splits to multiple outlets through a distribution system. Each split reduces signal strength by 3.5 to 7 dB depending on splitter quality and configuration. This signal loss is normal and expected, but excessive splitting or poor quality splitters cause outlets to receive inadequate signal strength for reliable service. Understanding how your home’s coax distribution works helps identify whether splitter issues contribute to your outlet problems.
The distribution point is usually in the basement, attic, utility closet, or an outside junction box mounted on your home’s exterior. This is where the main cable line from the service provider connects to a splitter that feeds individual cables to each outlet location. Finding this central point lets you inspect the splitting configuration and identify potential problems in the distribution system.
Splitter problems that affect outlet performance include old or corroded splitter reducing signal quality. Splitters degrade over time, especially in damp environments or outdoor installations. Too many splits degrading signal strength happens because each outlet connection point requires a split, and excessive splitting reduces available signal below usable levels. Unbalanced splitter sending unequal signal to outlets means some outlets receive adequate signal while others don’t, despite identical connections. Loose connections at splitter ports create the same signal loss issues as loose outlet connections. Splitter not rated for required frequency range is common because older splitters rated for cable television may not support frequencies required for modern cable internet service. Unused splitter ports not terminated with 75 ohm caps cause signal reflection that degrades signal quality on active ports.
Testing by temporarily bypassing the splitter helps figure out if the splitter causes your outlet problem. Disconnect the cable feeding your problem outlet from the splitter and connect it directly to the main incoming line. If signal quality immediately improves or service restores, the splitter configuration is your issue. You’ll need to either upgrade to a higher quality splitter, reduce the number of splits by removing unused outlets from the distribution system, or install an amplified splitter that compensates for signal loss. Amplified splitters work well when you have many outlets or long cable runs, but they require power and add complexity to the system.
Understanding Signal Interference and Environmental Factors
Coaxial cable design includes a metallic shield layer specifically to protect against electromagnetic interference from outside sources. This shield surrounds the center conductor and blocks most interference when intact and properly grounded. However, shield damage from cable jacket cuts or exposure, combined with proximity to strong electromagnetic sources, allows interference to disrupt the signal traveling through the cable.
Shield integrity matters because even small breaches let interference penetrate. When the outer jacket gets cut or worn through, the braided metal shield underneath loses its protective capability at that point. Moisture entering through damaged jacket sections accelerates shield degradation through corrosion.
| Interference Source | Frequency Range | Symptoms | Solution |
|---|---|---|---|
| Fluorescent lights | Broadband RF noise | Horizontal lines in picture, intermittent signal drops | Route cable away from light fixtures, replace older ballasts with electronic types |
| Microwave ovens | 2.4 GHz primary, harmonics across spectrum | Signal loss only when microwave operating, pixelation during use | Maintain minimum 3-foot separation between cable and microwave |
| Wireless routers and devices | 2.4 GHz and 5 GHz bands | Intermittent connectivity issues, variable signal quality | Position router away from coax cable runs, use quad-shield cable |
| Power lines and electrical outlets | 60 Hz fundamental plus harmonics | Hum bars in picture, modem connection instability | Maintain 6-inch minimum separation from power cables, check grounding |
| Amateur radio transmitters | Varies by license, typically HF through UHF | Picture interference during transmissions, modem resets | Install high-pass filter at device connection, verify shield integrity |
Grounding issues create another common source of signal problems that appear similar to interference. Improper grounding creates ground loops that introduce hum, noise, or intermittent signal disruption into your coax system. The cable shield should connect to your home’s electrical grounding system at a single point, typically where the main service line enters the building. Check ground wire connections at the distribution panel and verify they’re secure and corrosion free. Make sure your system uses a single point ground configuration, meaning all grounds connect to one central grounding point rather than multiple separate grounds. Multiple ground connections create loops that act like antennas picking up interference.
Using shielded cable rated for Quad Shield (RG6QS) in high interference environments provides extra protection. Quad Shield cable includes two layers of foil and two layers of braided shielding instead of the standard dual shield configuration. This additional shielding is particularly helpful for cable runs near power panels, along exterior walls near power meters, or in commercial buildings with heavy electrical equipment nearby.
Service Provider and Upstream Connection Issues

Cable internet service depends on upstream infrastructure that homeowners can’t directly access or repair. Your coaxial outlet connects to neighborhood equipment including the node serving your area, trunk lines running through your street, and the tap point where your home’s service line connects to the main cable system. Problems anywhere in this upstream chain affect your outlet’s functionality even when everything inside your home is perfect.
Provider side issues that affect coaxial outlet performance include new service not yet activated at the address. Service orders require activation in the provider’s system before signal reaches your home. Scheduled maintenance work affecting the area means planned upgrades or repairs temporarily interrupt service to entire neighborhoods. Neighborhood node failure or overload happens because nodes serve multiple homes and can fail or become overloaded during peak usage. Damaged exterior line from street to home means the service drop cable running from the utility pole or pedestal to your home gets damaged by weather, landscaping, or tree branches. Weather related outages occur when severe weather damages trunk lines, nodes, and connections throughout the distribution system. Aging infrastructure in older neighborhoods means systems installed decades ago may not reliably support modern service demands. Signal levels outside acceptable range at the tap point can happen even with active service, where signal strength at your connection point may be too high or too low for proper modem operation.
Check the provider’s website or mobile app for outage notifications and service status before calling. Most providers maintain real time outage maps showing affected areas and estimated restoration times. This saves you a phone call if there’s a known neighborhood issue already being addressed.
Request a technician visit after completing all DIY troubleshooting steps covered in earlier sections. Specifically, schedule a service call when multiple outlets throughout the home fail at the same time, which suggests an upstream problem rather than issues with individual outlets. Call for service when signal meter readings show levels outside the acceptable range. Downstream should measure between negative 7 to positive 7 dBmV and upstream should measure between 38 to 48 dBmV. Problems persisting after replacing all internal components like cables, connectors, and splitters also warrant professional diagnosis because the issue likely exists in the external service connection or provider equipment.
Tools and Equipment for Coaxial Outlet Diagnosis
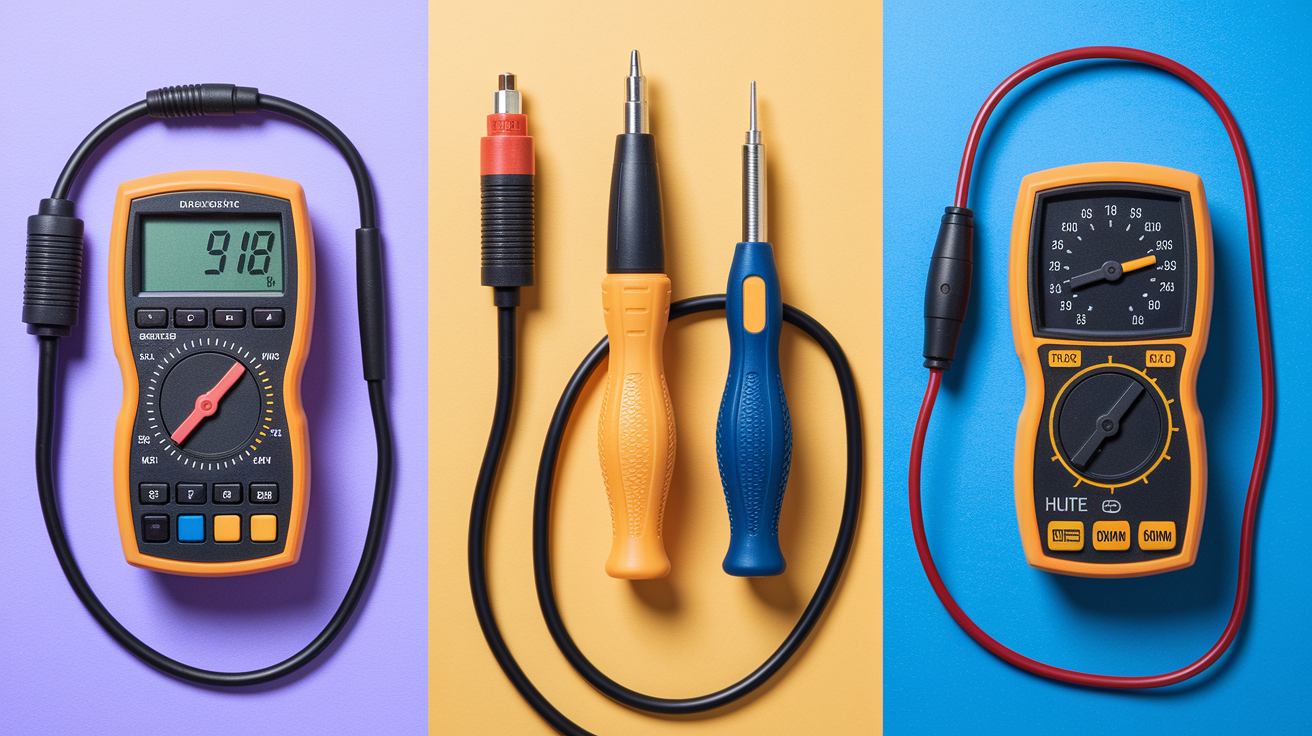
Investing in basic testing equipment helps diagnose coaxial outlet problems without calling a technician for every issue. The right tools let you confirm whether problems exist in your home’s wiring or stem from service provider issues, saving both time and service call fees.
| Tool | Purpose | Cost Range | Skill Level |
|---|---|---|---|
| Coax cable tester | Signal presence detection, determines if outlet receives valid broadband signal | $15-40 | Beginner |
| Digital multimeter | Continuity and resistance testing to verify cable integrity | $20-60 | Intermediate |
| Signal level meter | Measures signal strength in dB for TV and internet, shows upstream and downstream levels | $50-200 | Intermediate |
| Cable stripper tool | Removes cable jacket and prepares cable ends for connector replacement | $10-25 | Beginner |
| Compression tool | Installs F-connectors with proper compression for weathertight seal | $15-40 | Beginner |
| Torque wrench for coax | Tightens connections to proper specification without over-tightening | $20-50 | Beginner |
| Tone generator and probe | Traces cables behind walls to identify which outlet connects to which cable | $30-80 | Intermediate |
A basic coax cable tester is sufficient for most homeowner needs. These devices confirm whether an outlet receives a valid broadband signal without requiring technical knowledge of signal levels or frequency ranges. Plug the tester into the outlet, press the button, and read the LED indicator. Green means signal present, red means no signal. This simple yes or no answer tells you whether to focus troubleshooting on your internal wiring or contact the service provider about activation or upstream issues.
Advanced tools like signal level meters become necessary when you’re dealing with persistent issues despite trying basic fixes, when you want to optimize performance across multiple outlets, or when you’re installing a distribution system with amplifiers. Signal meters display actual dB measurements for downstream and upstream channels, letting you verify whether levels fall within the acceptable range for your service. This objective data helps when discussing issues with your provider’s technical support.
Tool availability through home improvement stores and online retailers makes acquiring diagnostic equipment straightforward. Most major retailers stock basic coax testers and cable preparation tools in their electrical or home theater sections. Specialized equipment like professional grade signal meters may require ordering online, but entry level meters suitable for homeowner use are readily available.
Cable Quality and Specification Requirements
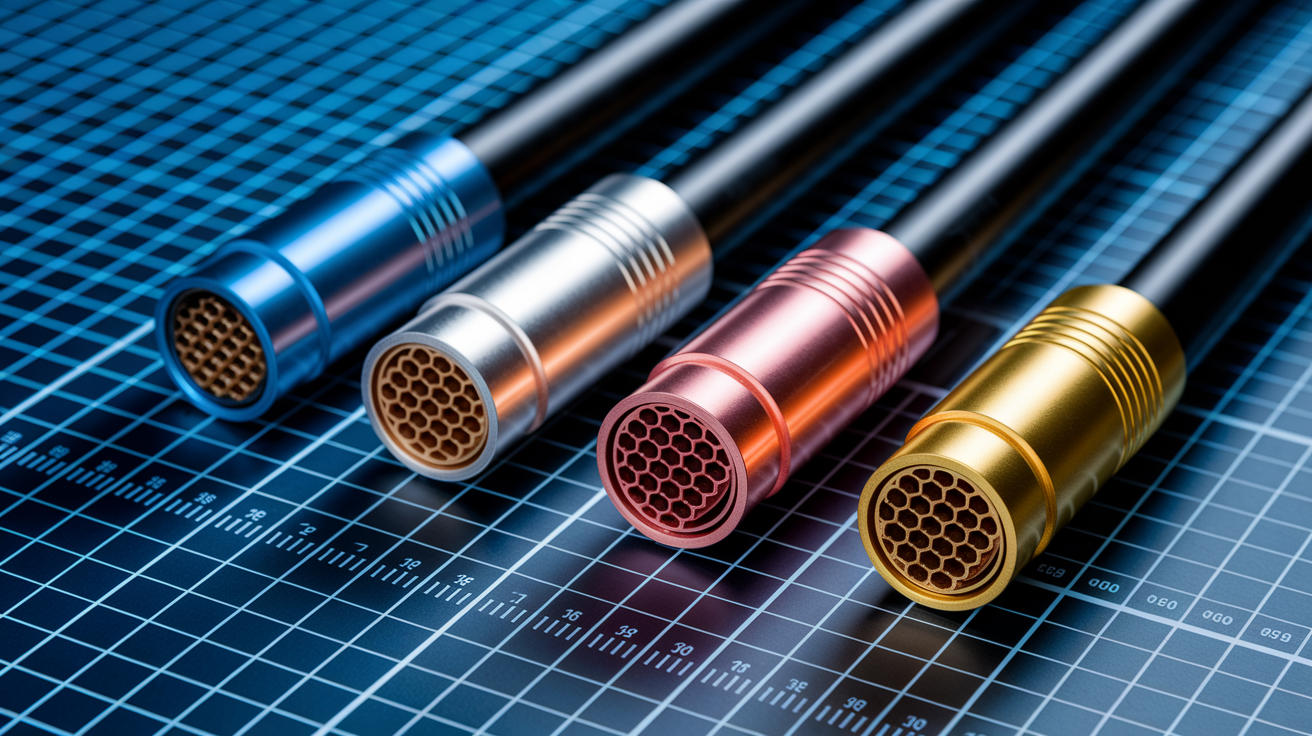
Not all coaxial cable is equivalent, and using the wrong cable type for your service causes performance problems even when everything else in your installation is correct. Older cable installed decades ago may look fine but can’t support the frequency range and bandwidth requirements of modern cable internet and television services.
RG59 represents the older standard commonly installed in homes built before 2000. This cable has a thinner center conductor, basic shielding, and frequency rating typically limited to 50 to 100 MHz. The 75 ohm impedance matches video equipment requirements, but the limited frequency range and higher signal loss make RG59 inadequate for current cable internet speeds. RG6 cable is the current standard with a thicker copper clad steel center conductor, improved shielding configuration, and frequency rating up to 1000 MHz or higher depending on grade. The thicker center conductor and better shielding result in lower signal loss per foot of cable length, making RG6 the required choice for modern installations.
Key specifications to understand when selecting coaxial cable include impedance must be 75 ohms for video and data applications. This standardized impedance ensures proper signal transfer between cable segments and equipment. Frequency rating should be 3 GHz for modern cable internet because higher frequency capability supports the full channel range used by current cable internet services. Shielding configuration with dual shield minimum, quad shield preferred means dual shield includes one foil layer and one braided shield while quad shield adds second layers of each for enhanced interference protection. Center conductor size of 18 AWG copper clad steel for RG6 provides the right balance of conductivity, strength, and signal carrying capacity. Sweep tested certification for guaranteed performance across frequency range verifies the cable maintains proper impedance and low loss across all frequencies it’s rated for, not just at specific test points.
Identify your current cable type by checking the jacket markings printed along the cable length. Manufacturers print cable specifications directly on the outer jacket, including the cable type (RG59 or RG6), impedance rating, and often the maximum frequency rating. If the marking shows RG59 or has no frequency rating above 1000 MHz, replacement with proper RG6 cable will likely improve performance.
Replace any RG59 cable still in use, especially for outlets serving cable modems or 4K television service. The performance difference becomes particularly noticeable at higher service speeds where RG59’s frequency limitations and higher signal loss create bottlenecks. Cable age beyond 15 to 20 years also warrants replacement regardless of type because the insulating materials degrade over time. The white dielectric foam becomes brittle, the outer jacket cracks, and the shield loses effectiveness even when the cable looks acceptable from the outside.
When to Call a Professional for Coaxial Outlet Repair

Many coax outlet issues resolve through simple DIY diagnostics covered in earlier sections. Following the methodical troubleshooting sequence of checking connections, testing for signal presence, inspecting for physical damage, and verifying cable quality handles most common problems. However, certain situations require professional expertise and specialized equipment.
Scenarios requiring professional help include cable runs behind finished walls to new outlet locations. Installing new outlets involves wall penetration, cable fishing through wall cavities, and coordination with building structure. Distribution panel replacement or major reconfiguration means upgrading from passive splitters to amplified distribution systems requires knowledge of signal levels and proper system design. Suspected grounding system problems need understanding of electrical code requirements and may involve coordinating with your utility company. Signal amplifier installation and configuration must be properly placed and configured to avoid signal overload or oscillation. Problems traced to the exterior service connection remain the provider’s responsibility because work on the service drop between your home and the utility pole or pedestal belongs to them. Compliance with local building codes for new installations matters because some jurisdictions require permits and inspections for new cable runs, similar to our door installation projects that follow local requirements. Wall damage requiring repair after cable access happens when outlet relocation or repair involves cutting into walls, so proper drywall repair restores the wall to its original condition. Integration with whole home distribution systems means complex systems serving many rooms with multiple service types benefit from professional design and installation.
Professional service calls follow a structured diagnostic process. Technicians arrive with specialized equipment including signal level meters that measure both downstream and upstream signal characteristics. They test signal at multiple points throughout your home’s coax system, starting at the service entry point and working toward individual outlets. This systematic approach identifies exactly where signal degradation occurs. After completing diagnosis, technicians document their findings and provide repair or replacement recommendations with associated costs. The documentation helps you understand what’s wrong and why specific repairs are necessary.
Typical costs for professional coaxial outlet service include service provider technician visits ranging from $50 to $100, though many providers waive the fee if problems exist in their equipment or if you maintain a service plan. Independent cable installers typically charge $75 to $150 per hour for diagnostic and repair work. New outlet installation including materials and cable fishing through walls costs $150 to $300 depending on the complexity of the cable run and wall construction.
Home Recovery Pro approaches coaxial outlet issues by first diagnosing the problem through systematic testing, then coordinating with service providers when needed to verify upstream signal availability, performing accessible repairs that don’t require opening walls, and ensuring signal quality meets service requirements at all active outlets. Tell us what’s going on and we’ll schedule a time that works. We can verify your connections, test signal levels, and identify whether issues exist in your home’s wiring or require provider coordination.
Preventing Future Coaxial Outlet Problems
Proactive care extends cable lifespan and maintains reliable connectivity, reducing the emergency repair needs that disrupt streaming, remote work, and daily internet use. Most preventive measures cost little but significantly impact long term performance.
Follow these preventive measures to avoid future coaxial outlet failures. Maintain minimum bend radius of 1.5 inches. Never kink or fold cable sharply, even temporarily during installation or furniture moving. Use cable clips instead of metal staples to secure routing because staples compress and damage the cable jacket and internal shield layers. Apply weatherproofing to all outdoor connections using self fusing silicone tape and protective boots on any connector exposed to weather. Inspect exterior junction boxes annually checking for moisture accumulation, corrosion on connections, or pest intrusion that damages cables. Route cables away from power lines and electrical panels maintaining 6 inch separation minimum to reduce electromagnetic interference. Install termination caps on all unused coax outlets because 75 ohm termination caps prevent signal reflection that degrades signal quality on active outlets. Verify furniture placement doesn’t compress or pinch cables against walls by checking behind furniture when rearranging rooms. Schedule service provider signal quality check every 2 to 3 years because aging installations benefit from periodic verification that signal levels remain within acceptable range.
Document cable routing with photos for future reference. Take pictures showing how cables run behind entertainment centers, through wall plates, and to the distribution panel. Label cables at the distribution panel using tape flags or cable tags indicating which cable feeds which room or outlet. When you need to trace a cable later during troubleshooting or renovation work, this documentation saves considerable time.
Preventive measures work because most coaxial cable problems develop gradually rather than failing suddenly. A small kink today becomes a complete signal failure months later as the internal conductor work hardens and breaks. Moisture entering through a tiny jacket crack corrodes the shield over time until signal quality degrades below usable levels. Catching and addressing small issues during routine inspection prevents them from becoming service interruptions that require immediate attention at inconvenient times.
Final Words
A coaxial outlet not working usually comes down to loose connections, damaged cable, inactive service, or splitter problems.
Most of these you can check yourself in about ten minutes with basic tools and a systematic look at the connections.
Tighten what’s loose. Replace what’s damaged. Test the outlet with a simple cable tester or modem. And call your provider if the signal’s just not there.
If you’ve worked through the basics and it’s still not coming together, or if the fix means running new cable behind walls, that’s when a pro makes sense.
Either way, you’ll have your connection back and know what to watch for next time.
FAQ
How do you check if a coaxial outlet is working?
To check if a coaxial outlet is working, you can plug in a coax cable tester and read the LED indicator, or connect a cable modem to watch for solid indicator lights showing downstream, upstream, and online connectivity. Both methods confirm whether the outlet receives an active signal from your service provider.
How much does it cost to fix a coax outlet?
Fixing a coax outlet typically costs $50 to $100 for a service provider technician visit, or $75 to $150 per hour for an independent cable installer. New outlet installation including wall fishing and materials ranges from $150 to $300, depending on complexity and location.
Can a coaxial cable outlet go bad?
A coaxial cable outlet can go bad due to loose or corroded F-connectors, bent center pins, moisture damage, or physical impact on the wall plate. The outlet itself rarely fails, but the connections and cable components attached to it degrade over time from environmental exposure and repeated use.
What is the life expectancy of a coaxial cable?
The life expectancy of a coaxial cable is typically 15 to 20 years when properly installed and protected from environmental damage. Cables exposed to moisture, temperature extremes, or physical stress may degrade faster, while indoor cables in stable conditions often remain functional beyond 20 years.
What causes a coaxial outlet to stop working?
A coaxial outlet stops working due to loose F-connector fittings, damaged cables with cuts or kinks, inactive service from your provider, or corroded connections from moisture exposure. Most failures stem from these four common causes, which usually have simple fixes homeowners can perform themselves.
How do you tighten a loose coaxial connection?
To tighten a loose coaxial connection, hand-turn the F-connector clockwise at both the wall outlet and device end until snug, then use an adjustable wrench for a final quarter turn without over-tightening. Check that the connection doesn’t wobble or spin freely after tightening.
What is the difference between RG6 and RG59 coaxial cable?
RG6 coaxial cable features a thicker center conductor and superior shielding rated to 1000+ MHz for modern cable internet, while RG59 has a thinner conductor rated only to 50-100 MHz for older applications. RG6 is the current standard and should replace any remaining RG59 cable in homes.
How do you know if your cable signal is coming from the provider?
You know your cable signal is coming from the provider when your cable modem displays solid downstream, upstream, and online indicator lights after connecting to the outlet. You can also check your provider’s website or app for service status and outage notifications in your area.
Can splitters cause coaxial outlet problems?
Splitters can cause coaxial outlet problems when they’re old and corroded, create too many signal divisions, have loose port connections, or aren’t rated for modern frequency ranges up to 1000+ MHz. Each split reduces signal strength by 3.5 to 7 dB depending on splitter quality.
How do you replace a damaged F-connector on coaxial cable?
To replace a damaged F-connector, cut off the old connector, strip the cable to expose a quarter inch of center conductor and dielectric with a half inch of outer jacket removed, then install a new compression F-connector and tighten with a torque wrench. Compression connectors provide better connections than screw-on types.
What tools do you need to test a coaxial outlet?
To test a coaxial outlet, you need a basic coax cable tester for signal detection or a digital multimeter for continuity checks. Advanced troubleshooting may require a signal level meter to measure dB readings and verify strength falls within acceptable ranges for your service type.
Where is the coaxial distribution panel in a house?
The coaxial distribution panel in a house is usually located in the basement, attic, utility closet, or an outside junction box where the main cable line enters and splits to multiple outlets. This panel contains the splitters and connections that send signal throughout your home.
When should you call a professional for coaxial outlet repair?
You should call a professional for coaxial outlet repair when you need cable runs behind finished walls, have signal levels outside acceptable ranges after DIY fixes, experience multiple outlet failures simultaneously, or require distribution panel replacement. Wall fishing and code compliance situations also need professional expertise.