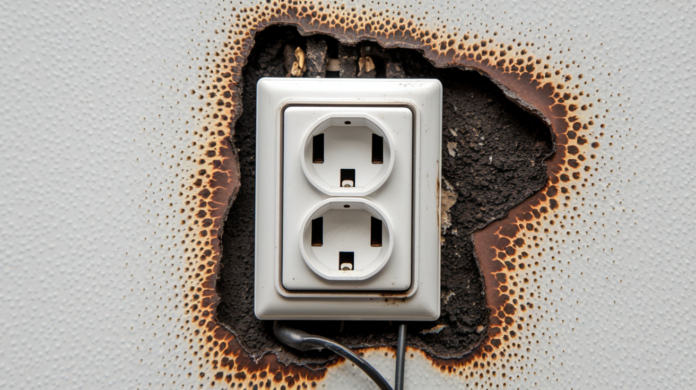

You plug in your phone charger and nothing happens. The lamp won’t turn on. You check the breaker panel and everything looks fine, switches pointing the right direction. So what’s going on? A dead outlet with a perfectly happy breaker usually means something failed between the panel and that outlet, a loose connection, a worn-out GFCI somewhere else cutting power, or an outlet that just gave up. We’ll walk through the simple checks you can do yourself and when it’s time to call someone who does this for a living.
Why Your Outlet Isn’t Working: Common Causes and Mechanical Failures

Your circuit breaker can sit there looking totally fine while an outlet goes completely dead. It’s not broken. It just hasn’t seen a problem worth reacting to yet. Breakers only flip when they detect three specific things: too much current from running every appliance at once, a short circuit where hot and neutral wires touch, or a ground fault when electricity finds a weird path it shouldn’t take.
The three usual suspects for a dead outlet? A tripped GFCI somewhere else in your house that’s cutting power to outlets you didn’t even know were connected. Loose wires at the outlet itself or tucked away in a junction box you can’t see. Or an outlet that’s just worn out from years of use. That loose connection in your garage might be why the bedroom outlet doesn’t work anymore.
These failures create what’s called high resistance. The circuit chokes down but doesn’t pull enough juice to make the breaker care. So the outlet dies while the breaker thinks everything’s peachy.
Five reasons an outlet quits without touching the breaker:
- GFCI outlet tripped somewhere else, killing everything downstream
- Loose wiring at push-in connections that weren’t great to begin with
- Worn out outlet with spring contacts that gave up
- Bad connection in a junction box hiding behind your wall
- Breaker that’s actually broken but won’t admit it
Push-in connections are trouble waiting to happen. You shove the wire into a slot instead of wrapping it around a screw, and it works fine. For a while. Then the outlet heats up when you use it, cools down when you don’t, and after enough cycles the connection gets sloppy. Electricity stops flowing. Sometimes the outlet will flicker on and off before it dies completely, which is your warning sign.
Outlets wear out from normal use. Every time you plug something in and yank it back out, you’re wearing down the springs inside. Eventually they can’t grip anymore. Wire nuts vibrate loose. Screws back themselves out slowly. Connections corrode in boxes you forgot existed. One bad connection upstream kills everything after it, and the breaker just sits there.
Quick Safety Checks Before Troubleshooting Your Outlet
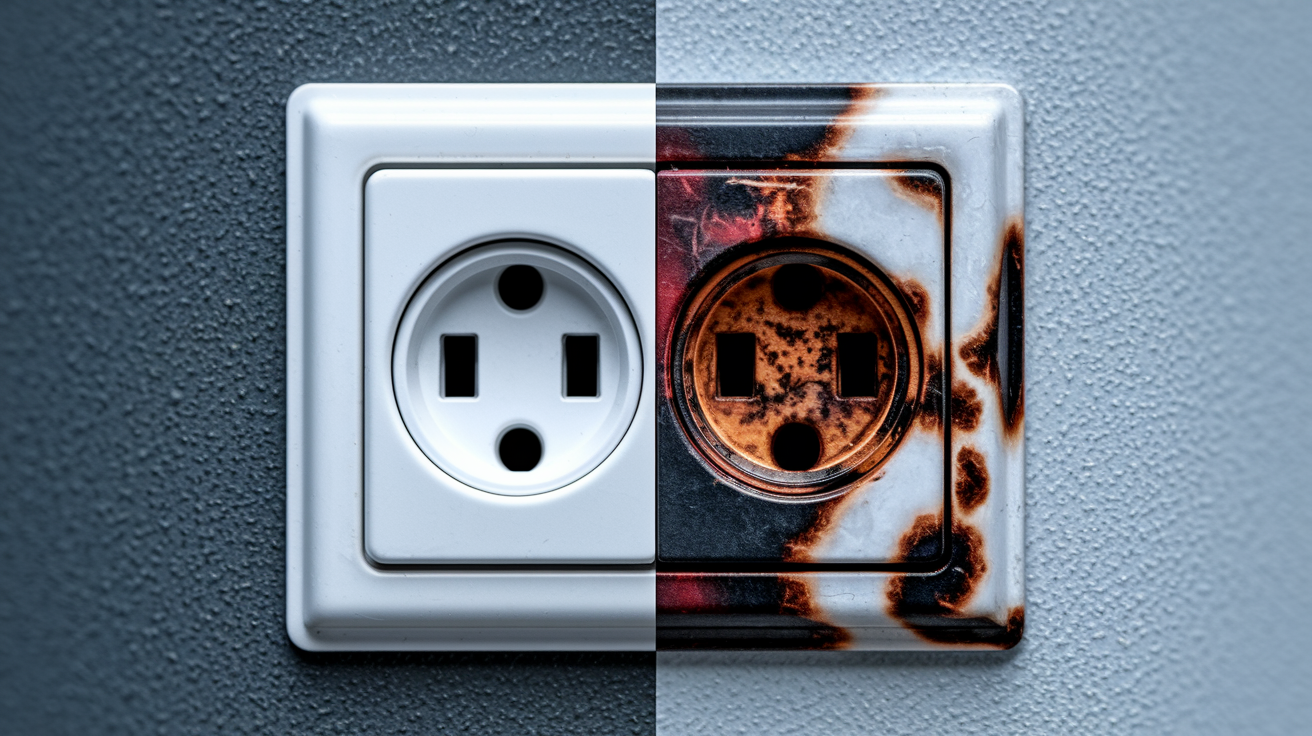
Walk up to the dead outlet and actually look at it before you do anything else. Check for scorch marks, weird discoloration, anything that looks like heat damage. Put your hand close without touching. Smell anything burning? Feel warmth?
If you notice any of that, stop.
Certain warning signs mean you’re past the DIY stage and into “call someone who knows what they’re doing” territory. Trying to fix an outlet that’s already showing damage can shock you or burn your house down.
Six signs that mean stop immediately:
- Burn marks around the outlet
- Burning smell from the outlet or wall
- Warm faceplate when you touch it carefully
- Sparking when you plug things in
- Buzzing or crackling from inside the wall
- Melted plastic anywhere near the outlet
Testing for a Tripped GFCI Outlet on Your Circuit

GFCI outlets have test and reset buttons in the middle. You’ll find them in kitchens, bathrooms, garages, outside, anywhere near water. They watch electricity flowing through and cut power instantly if something seems off, like current leaking where it shouldn’t.
Here’s the annoying part. One GFCI can control multiple regular outlets you didn’t know were connected to it. The GFCI in your garage might be protecting your workshop, your outdoor outlets, maybe that random hallway outlet. You’d never guess they were related.
Walk around and check every GFCI you can find. Look for a reset button sticking out instead of sitting flush. Press it hard until it clicks and stays in. Test your dead outlet again with something simple like a hair dryer.
If the GFCI trips again immediately, something’s actually wrong. Don’t keep pressing it. Forcing a GFCI to stay on when it doesn’t want to is asking for trouble.
Diagnostic Testing: Checking Outlets and Identifying Patterns
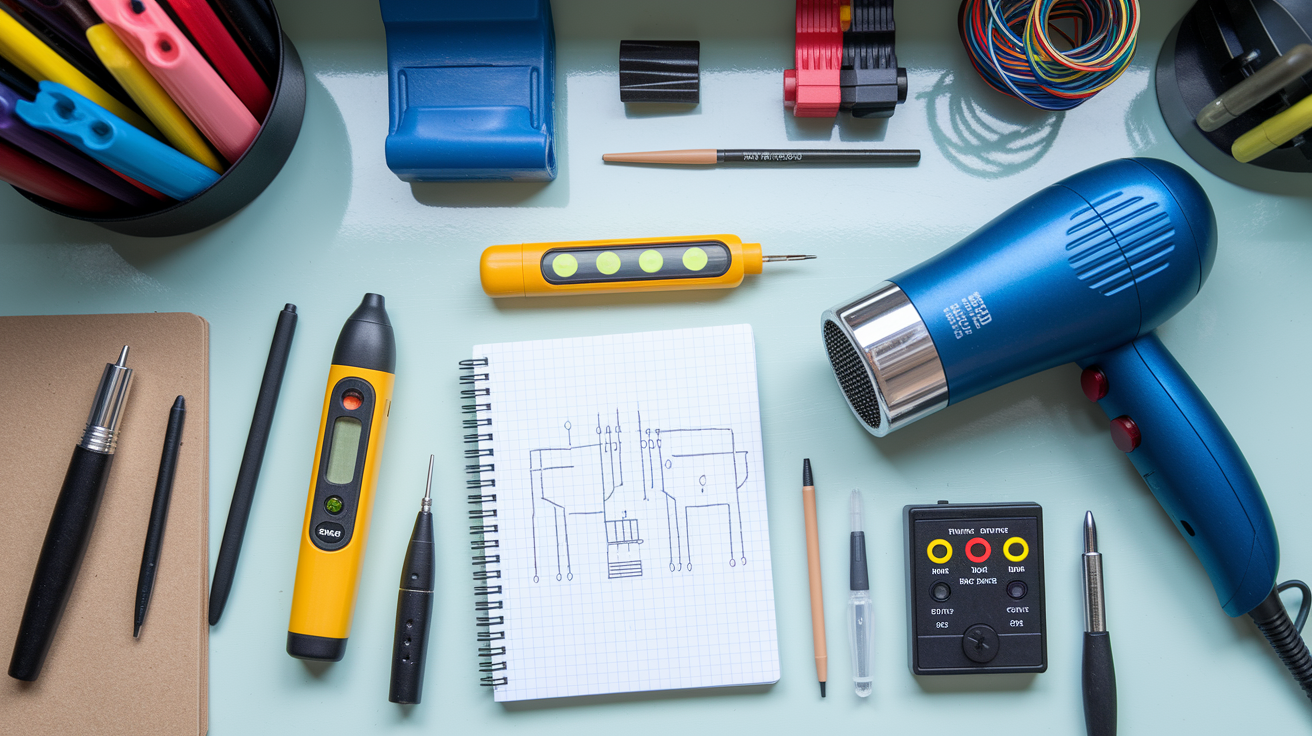
Test other outlets in the same room, then check the rooms next door. Multiple dead outlets probably means they’re on the same circuit with a shared problem somewhere. One dead outlet usually means that specific outlet or its wiring failed.
Plug something you know works into the dead outlet. Then plug the thing you thought was broken into an outlet that definitely works. This tells you whether your device died or the outlet actually has no power.
Switched Outlets and Half-Hot Receptacles
Lots of living rooms and bedrooms have outlets controlled by wall switches so you can turn lamps on from the door. These can mess with your troubleshooting because the outlet works fine. It’s just off.
Some outlets are split. Top stays on all the time, bottom connects to a switch. Or the other way around. Try every wall switch in the room, even the ones you never use or thought didn’t do anything. Test both halves of the outlet separately.
Plug-in outlet testers cost about $5 and show wiring problems through light patterns. You plug one into a working outlet and see what correct wiring looks like. Different patterns show different problems. Non-contact voltage testers look like fat pens and beep when they detect electricity without touching anything metal.
Using a Non-Contact Voltage Tester
- Test it on a working outlet first to make sure the battery isn’t dead
- Hold it by the handle only
- Put the tip near the outlet without sticking it in
- Watch for flashing lights and beeping that mean power’s present
If the tester shows nothing at your dead outlet, the problem’s upstream somewhere before power even gets there.
Step-by-Step Outlet Replacement for DIYers
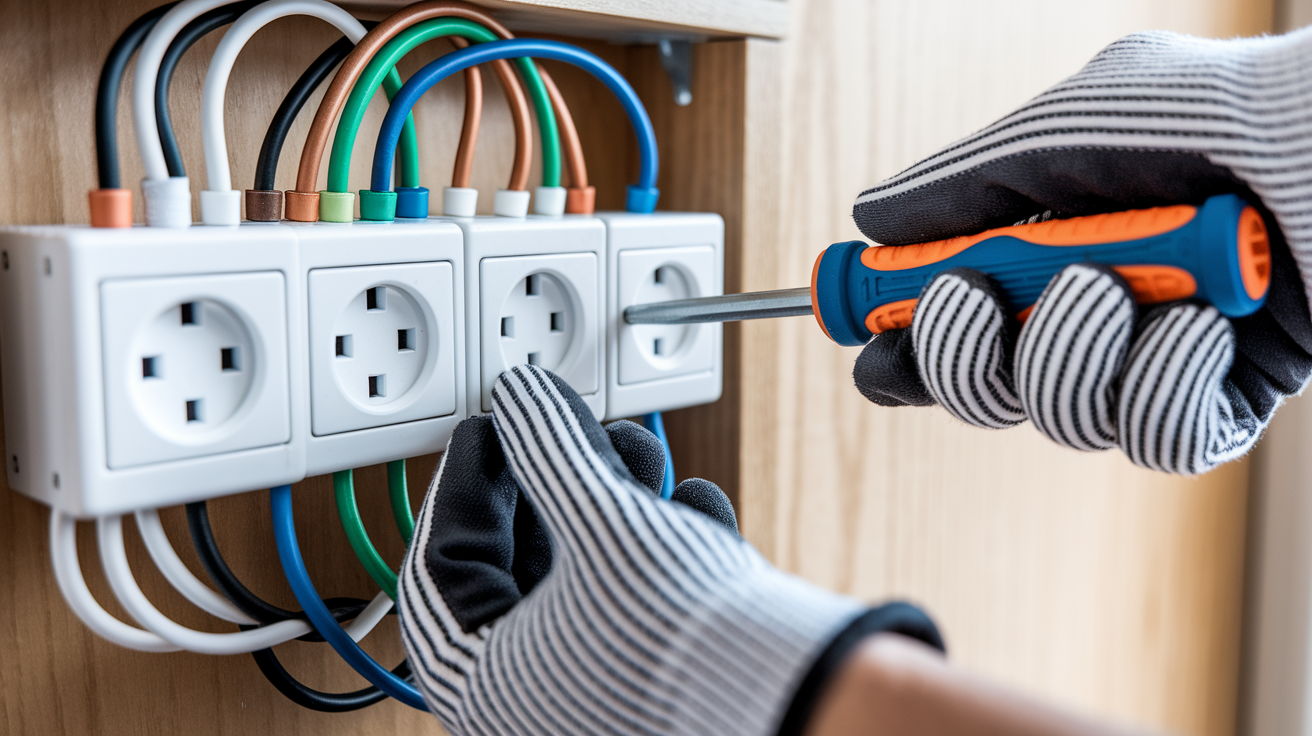
Replacing an outlet isn’t complicated if you’re careful and go slow. The actual work takes maybe 15 minutes once you know what you’re doing.
You need screwdrivers, a voltage tester, wire strippers, needle-nose pliers, and a new outlet that matches your old one’s amperage rating. Look for “15A” or “20A” stamped on the side.
Eight steps for swapping an outlet:
- Kill power at the breaker panel
- Test the outlet to confirm it’s actually dead
- Remove the cover plate and mounting screws
- Pull the outlet out without touching bare wire
- Take a photo of how everything connects
- Unscrew the wires from the old outlet
- Connect wires to the new one (black to brass, white to silver, bare copper to green)
- Fold wires back, mount the outlet, put the cover on, turn power back on, test it
Always test before touching wires, even after you turned the breaker off. If you see more wires than you expected or can’t figure out what goes where, stop and call someone.
What Licensed Electricians Check Beyond the Outlet

Electricians have tools that trace circuits through walls to find junction boxes you didn’t know existed. Those boxes might be above ceiling panels, behind closet drywall, under attic insulation.
They test breakers with equipment that checks whether the internals actually work, not just whether the switch flips. Breakers can get damaged and fail without looking broken. The switch sits in the on position but nothing’s happening inside.
They calculate electrical load, verify wire sizes match what they’re supposed to, check if the circuit can handle everything plugged into it. An electrician adds up all the wattage on that circuit and compares it to what it’s rated for. Sometimes what looks like a bad outlet is just too much stuff running on one circuit.
They also find weird stuff like shared neutrals, aluminum wiring problems, code violations. DIY fixes might cover up bigger problems you can’t see.
When to Stop DIY and Call a Professional Electrician

Some situations aren’t for DIY work. Period. Doesn’t matter how confident you feel. Screwing up electrical work burns houses down or kills people. It also creates code violations that’ll bite you when you sell.
Professional electricians carry insurance, know code requirements, can pull permits. They’ve seen thousands of wiring setups and can spot problems in minutes that would take you hours of dangerous guessing.
Eight situations where you need professional help:
- Burning smell or smoke from outlets, switches, or walls
- Warm or hot outlets or breakers
- GFCI that trips again immediately after reset
- Multiple dead outlets on the same circuit
- Shocks or tingling when touching appliances
- Aluminum wiring anywhere in your house
- Any work inside the electrical panel beyond flipping breakers
- Not sure what you’re looking at or what to do next
Understanding Why Breakers Don’t Always Trip

AFCI breakers in newer homes detect dangerous arcing inside walls. But they won’t necessarily trip for a simple loose connection. The loose wire just stops conducting. No arc, no trip.
Older homes have basic thermal-magnetic breakers that only care about overloads or short circuits. A loose connection that stops conducting? Doesn’t register.
Loose connections create high resistance. High resistance chokes current flow way down. The tiny bit of current that might trickle through, or no current at all, doesn’t come close to what the breaker needs to see before it trips. From the breaker’s view, everything looks normal or just lightly loaded.
Cost and Time Expectations for Outlet Repairs
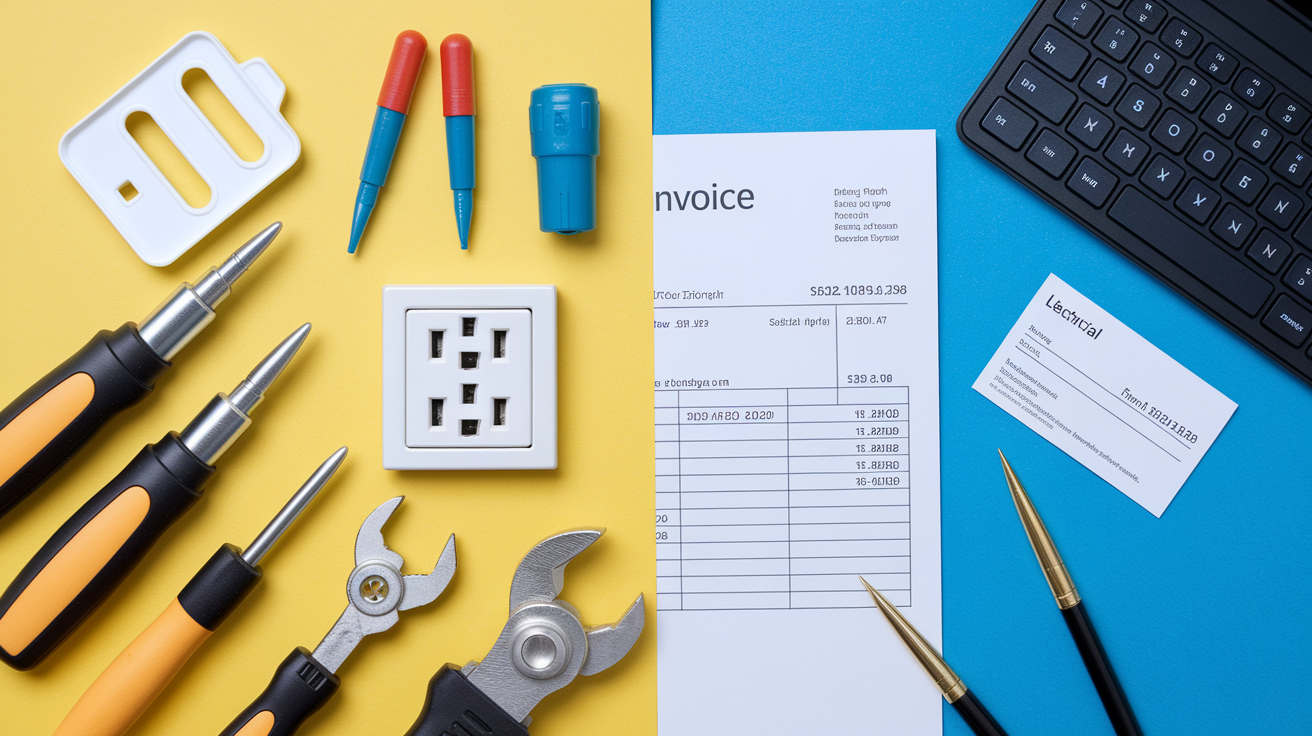
DIY outlet replacement costs $3-15 for a standard outlet, $15-30 for GFCI. Add $30-60 for tools if you don’t have them. Time investment is about 1-2 hours once you find the right breaker and get your tools together.
Professional service starts with a service call fee of $75-150 just to show up. Outlet replacement runs $100-200 for basic work. Diagnosis and fixing upstream wiring problems costs $200-500 or more depending on how much wall they need to open. Complex stuff like rewiring or panel work can hit $1,000 or more.
| Repair Type | DIY Cost | Professional Cost | Time Required |
|---|---|---|---|
| Simple outlet replacement | $5-20 | $100-200 | 1-2 hours DIY / 30 minutes professional |
| GFCI outlet replacement | $15-35 | $150-250 | 1-2 hours DIY / 45 minutes professional |
| Diagnose and repair loose wiring | Not recommended DIY | $200-500 | 2-4 hours |
| Circuit rewiring or panel work | Not recommended DIY | $500-2,000+ | 4-8 hours or multiple visits |
Preventing Future Outlet Failures
Don’t overload outlets. Space heaters, window AC units, hair dryers, kitchen appliances all pull serious current. They should be on dedicated circuits, not sharing with lights and other stuff. Power strips don’t give you more capacity. They just make it easier to overload what you’ve got.
Check outlets occasionally for warning signs. Loose plugs when you insert them. Warm faceplates. Discoloration around the opening. Fix these before they turn into complete failures or fire hazards.
When you replace outlets, buy quality ones with screw terminals instead of push-in connections. Wrap wire clockwise around the screw so tightening pulls it tighter. Never put multiple wires under one screw. Consider tamper-resistant outlets if you have kids, they’ve got spring shutters that keep foreign objects out.
Final Words
When your outlet stopped working but the breaker didn’t trip, you’re usually dealing with a connection issue rather than an overload.
Tripped GFCI outlets, loose backstabbed wires, and worn receptacle contacts are the most common culprits.
Many of these fixes are manageable for DIYers who follow proper safety steps. Turn off the power, test carefully, and replace what’s needed.
But if you see burn marks, smell anything unusual, or the problem keeps coming back, bring in a licensed electrician. Some issues hide upstream where you can’t see them.
Either way, you’ll get that outlet working again and restore normal life at home.
FAQ
What could cause a bunch of outlets to stop working if no breaker is popped?
A bunch of outlets can stop working without a tripped breaker when a single GFCI outlet upstream trips and cuts power to all downstream outlets on that circuit, or when a loose wire connection fails at a shared junction box affecting multiple receptacles.
Why would an outlet suddenly not have power?
An outlet suddenly loses power typically due to a tripped GFCI elsewhere on the circuit, loose or disconnected wiring at push-in connections, worn internal contacts in the receptacle, or a failed connection in an upstream junction box that doesn’t draw enough current to trip the breaker.
Why is my socket not working but the fuse not tripped?
Your socket stops working without tripping the fuse because loose connections, worn outlet contacts, and disconnected wires create high resistance rather than short circuits, so they fail to pull enough current to trigger the breaker’s overload protection.
Can an electrical breaker fail without tripping?
An electrical breaker can fail without tripping when it’s damaged internally by electrical surges or shorts, preventing the trip mechanism from functioning properly even though a fault exists on the circuit, which requires professional replacement for safety.