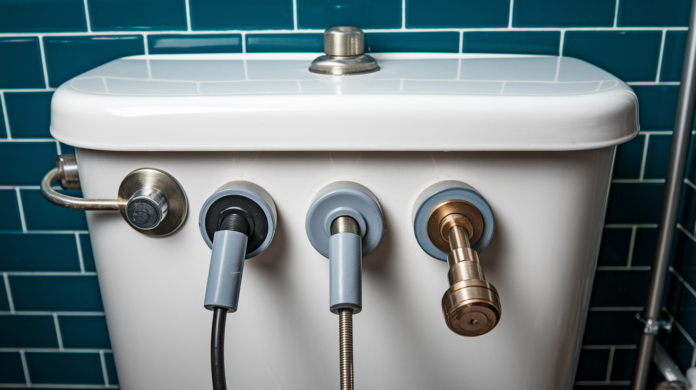

Have you been jiggling the toilet handle to stop that constant running sound? That annoying hiss usually means your fill valve needs cleaning, not replacing. Mineral deposits and sediment clog the small openings inside the valve, which keeps water trickling into the bowl or prevents the tank from filling at normal speed. The good news is you can fix most fill valve problems in about 30 minutes with white vinegar, an old toothbrush, and basic hand tools you already own. Cleaning restores normal operation without the cost or hassle of swapping out the entire assembly.
Determining Your Fill Valve Type

Before you start cleaning, figure out which type of fill valve lives in your tank. There are three main types: float cup, float ball, and ballcock assembly. Float cup designs are what you’ll find in most modern toilets. They’ve got a cylindrical cup that slides up and down a vertical gray shaft. Float ball valves use a round ball attached to a horizontal arm that rises with the water level. Ballcock assemblies are the older mechanisms with a brass body and plunger system. Your valve type matters because disassembly steps and cleaning access points change slightly between designs.
To identify your valve, lift the tank lid and check the left side (usually) where water enters. A float cup valve has a tall vertical tube with a cup shaped piece that moves up and down. A float ball valve has that distinctive ball floating on the water surface, connected by an arm to the valve body. Ballcock valves look more mechanical and industrial, often with brass or copper colored metal components. Fluidmaster and Korky are the two brands you’ll see most often in hardware stores and newer toilet installations.
| Valve Type | Visual Identification | Common Brands | Cleaning Difficulty |
|---|---|---|---|
| Float Cup | Vertical gray shaft with sliding cylindrical cup | Fluidmaster, Korky | Easy |
| Float Ball | Round ball on horizontal arm | Fluidmaster, generic | Moderate |
| Ballcock | Brass body with plunger mechanism | Older brands, various | Moderate to difficult |
Good news is that cleaning steps are similar across all types. The main difference is how you access the valve internals, and even that follows the same basic pattern of shutoff, disassembly, cleaning, and reassembly.
Required Tools and Cleaning Materials
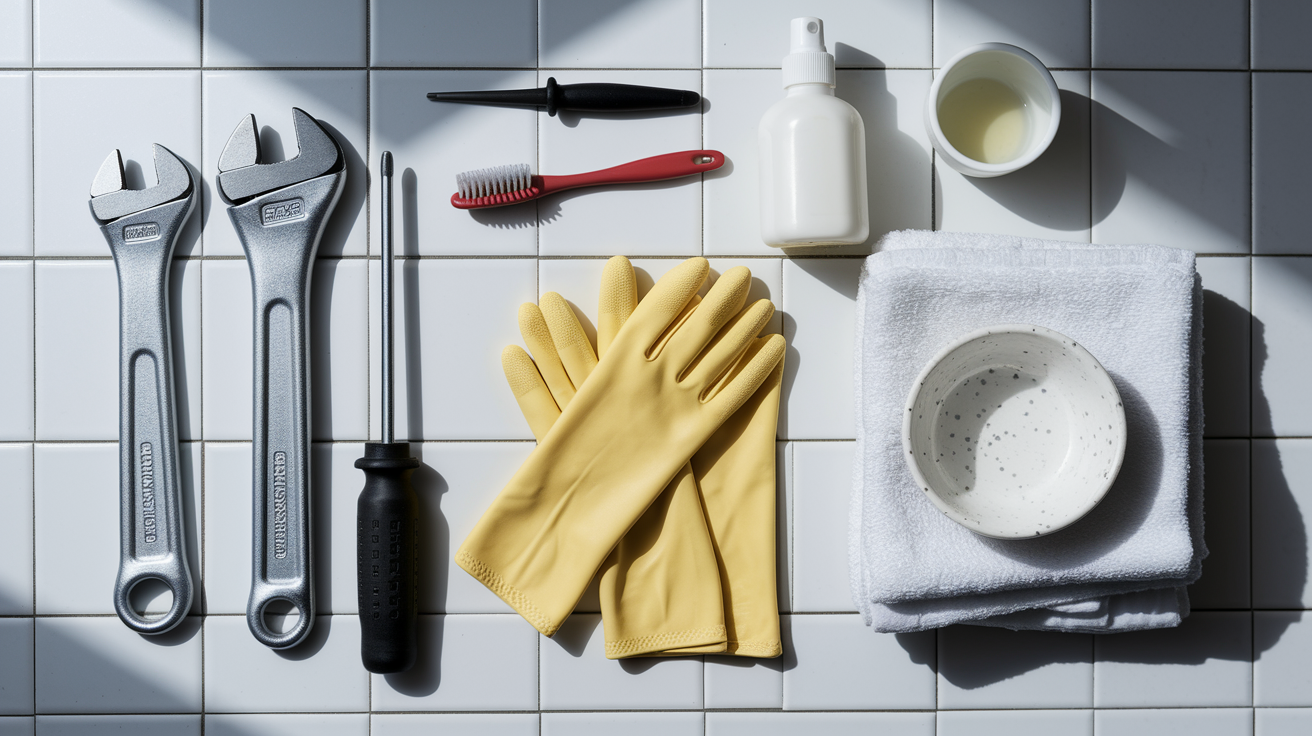
Most of what you need is probably already in your home. Cleaning a fill valve doesn’t require specialty plumbing tools or expensive equipment. Having everything ready before you start makes the job faster and keeps you from dripping water across the house looking for a screwdriver.
Basic Tools:
- Adjustable wrench or pliers
- Flathead screwdriver
- Cup (for catching debris and directing water spray)
- Towels (at least 2 or 3 for spills)
- Small container or bowl
- Old toothbrush or small scrubbing brush
Cleaning Solutions:
- White vinegar (most versatile and safe)
- Baking soda (for making cleaning paste)
- Commercial descaler like CLR
- Toilet bowl cleaner with limescale remover
- Scrubbing brush or old toothbrush
For light cleaning and regular maintenance, white vinegar handles the job without harsh chemicals or strong fumes. It dissolves mineral deposits effectively when you soak parts for 30 minutes to an hour. If you’re dealing with thick white crusty buildup or orange iron staining, a commercial descaler works faster and cuts through severe accumulation that vinegar can’t touch. Just make sure you wear gloves and work in a ventilated space when using commercial products. The choice comes down to how bad the buildup is and whether you want to wait for vinegar to work or get it done quickly with stronger chemicals.
Safety Precautions and Preparation Steps
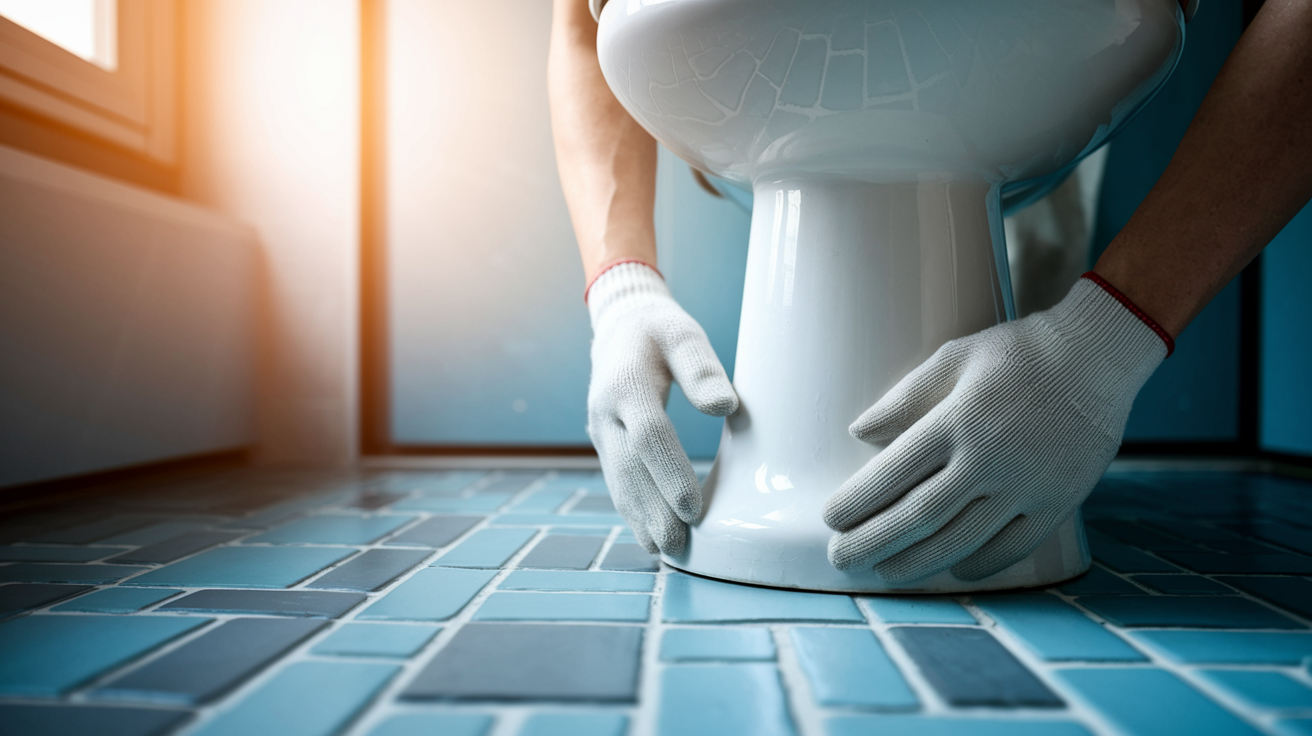
Working on toilet fill valves means handling water, cleaning chemicals, and components that have been sitting in tank water for years. A few basic precautions keep the job safe and prevent water damage to your bathroom floor.
Safety Measures:
- Wear rubber gloves to protect hands from bacteria and chemicals
- Ensure adequate ventilation when using commercial descalers or cleaners
- Place towels on the floor around the toilet base to catch spills
- Keep a bucket nearby for excess water from the tank
- Read all chemical cleaner instructions and dilution ratios before starting
Preparation Steps:
- Locate the water shutoff valve on the wall behind or beside the toilet
- Clear the area around the toilet so you have room to work
- Gather all tools and materials before you start
- Test the shutoff valve by turning it clockwise to confirm it works
- Lay towels around the base and have extras within reach
Taking time to shut off the water completely and set up your workspace prevents the most common problems. A shutoff valve that hasn’t been turned in years might leak or drip when you first use it. If that happens, you’ll catch it early with towels in place. Having everything ready means you’re not leaving the valve partially disassembled while you hunt for a toothbrush or more vinegar. The whole job takes 30 to 45 minutes when you work steadily, but preparation makes it feel straightforward instead of chaotic.
Complete Step-by-Step Cleaning Process
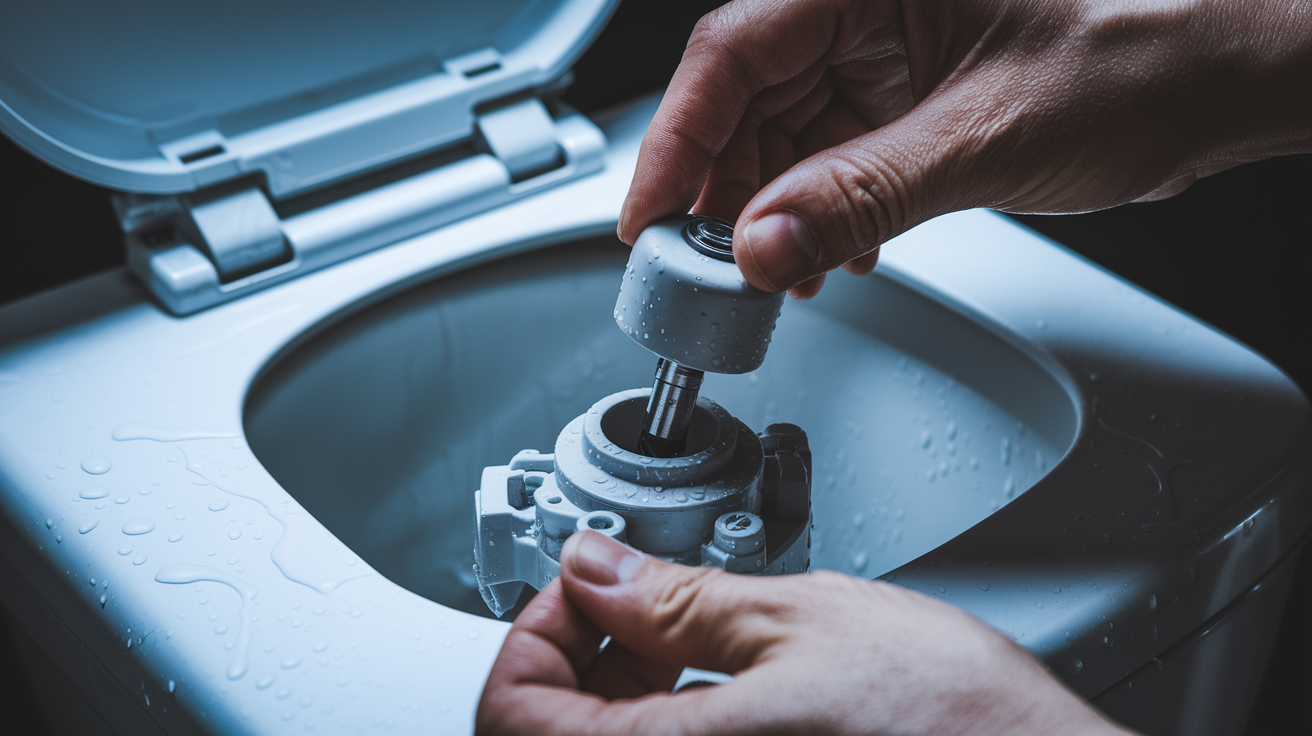
Cleaning your fill valve fixes most slow filling tanks and toilets that keep running after you flush. You’ve got two options: a quick flush cleaning that takes about 10 minutes, or a full disassembly and deep clean that takes 30 to 45 minutes. Use the quick method for light sediment or as regular maintenance. Choose the full cleaning process when you’re dealing with visible mineral deposits, very slow filling, or if the quick method didn’t solve the problem.
Main Steps:
-
Turn off the water supply valve located on the wall behind or beside your toilet by rotating the oval handle clockwise until it stops
-
Flush the toilet once to drain most of the water from the tank, then hold the flush handle down to empty as much as possible
-
Remove the fill valve cap by twisting it counterclockwise while holding the gray shaft steady with your other hand to prevent the whole assembly from spinning
-
Lift the float cup up along the shaft and hold it in that raised position (this gives you access to the valve internals)
-
Look for debris, sediment, or mineral deposits on the rubber seal, valve seat, and inside the valve body
-
Clean the components using the techniques described in the subsections below based on what you see
-
Reassemble by placing the cap back on the valve body and turning it clockwise until you hear and feel it click and lock into place
-
Push the float cup back down to its original position, turn the water supply back on slowly, and watch for proper operation and any leaks
Removing Light Surface Debris and Sediment
If you see small particles or light sediment, start simple. Wipe the rubber seal and valve seat with a clean cloth to remove loose debris. Use an old toothbrush to gently scrub any visible deposits on the valve components. Check the small filter screen (if your valve has one) at the base where water enters. Often you’ll find tiny particles of sediment, bits of deteriorated rubber from the supply line, or mineral flakes that got trapped there. Pick these out with your fingers or flush them away with a brief spray of water into your cup.
Cleaning Moderate to Heavy Mineral Deposits
For white, chalky buildup or crusty deposits, you need soaking time. Fill a small container with white vinegar and submerge the valve cap, rubber seal, and any removable components for 30 to 60 minutes. The vinegar dissolves calcium and lime deposits without damaging rubber or plastic parts. While they soak, use a toothbrush dipped in vinegar to scrub the inlet holes and valve seat that remain in the tank. If any holes look clogged, carefully use a toothpick to clear them. After soaking, scrub the parts again with the toothbrush and rinse everything thoroughly with clean water.
Treating Severe Calcium and Hard Water Buildup
When you see thick white or rust colored crusty layers that feel rough and hard, commercial descaler works better than vinegar. Products like CLR or Lime-A-Way cut through severe buildup faster. Follow the dilution instructions on the bottle. Always wear rubber gloves and make sure the bathroom is ventilated because these products have stronger fumes than vinegar. Soak the parts for the recommended time (usually 5 to 15 minutes for CLR, not the full hour you’d use with vinegar). Use a scrubbing brush aggressively on limescale. The deposits should soften and flake off. Rinse every component multiple times with clean water to remove all chemical residue before you reassemble.
Inspecting Components During Cleaning
While everything’s apart and you can see it clearly, check the rubber seal or diaphragm gasket for cracks, tears, or hard brittle spots. Look at any O-rings for wear or flattening. Examine where the refill tube connects to make sure it’s secure and not cracked. Check the float cup itself for cracks or water trapped inside (if water got in, it won’t float properly). Look at the filter screen for tears or deterioration. If any of these parts are damaged, cleaning won’t fix your problem. You’ll need to replace those specific components or the entire fill valve. But if everything looks intact, just worn or dirty, cleaning will get you back to normal operation.
Once you finish cleaning and reassemble everything, adjust the water level by pushing the float cup back to its original position on the shaft. The water should sit about 1 inch below the top of the overflow tube (that tall tube in the center of the tank). Turn the water back on slowly and watch the tank fill. Run through 3 or 4 complete flush cycles to make sure the valve fills consistently, shuts off completely, and isn’t leaking anywhere. If the water level’s too high or too low, most float cups have an adjustment clip or screw mechanism on the side that lets you raise or lower the float position slightly.
Troubleshooting Persistent Issues After Cleaning
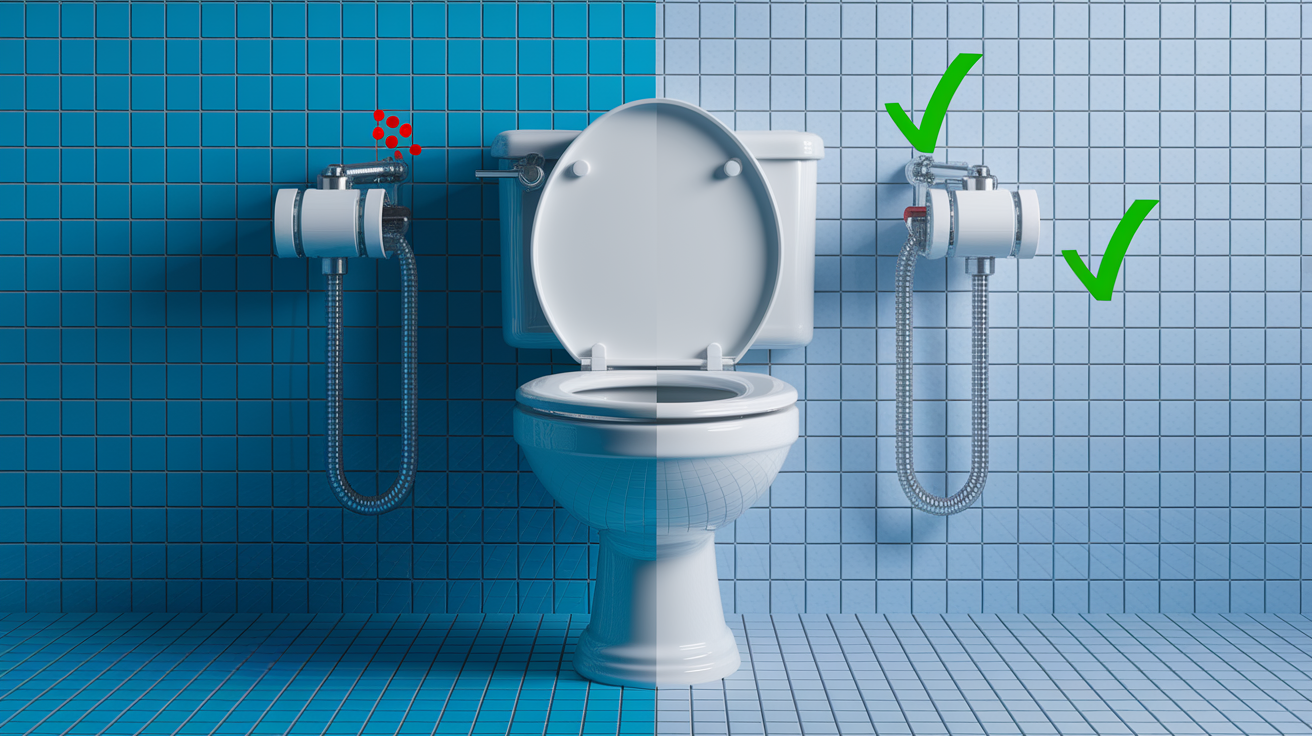
Most problems clear up once you clean the valve properly. But if you’re still having issues, or if new problems appeared after you reassembled everything, here’s what to check.
Toilet Still Running After Cleaning
If water keeps trickling into the bowl, the float might be set too high or the flapper valve might be the actual problem. First, lower the float cup slightly using the adjustment mechanism on the valve shaft. This makes the valve shut off when the water reaches a lower level. Test with a flush. If it still runs, push down gently on the flapper at the bottom of the tank. If the running stops, your flapper isn’t sealing properly and needs replacement. The fill valve cleaning didn’t cause this, you just noticed it because you were paying attention.
Slow or Weak Tank Filling
Check that you fully opened the water supply valve after you finished the job. It’s easy to turn it on halfway and not realize it. If the valve’s fully open and filling is still slow, you might have low water pressure in that line or a restriction in the supply line itself. Try disconnecting the supply line from the bottom of the tank (turn off the water first) and check for buildup inside the line or a clogged screen washer where it connects.
Hissing or Whistling Sounds
These noises usually come from water passing through small openings or vibrating components. Make sure you tightened the valve cap completely until it clicked and locked. A loose cap lets water vibrate the parts. If the sound continues, small mineral deposits you didn’t fully clear might still be restricting flow through inlet holes. Try the cleaning process again, focusing on those tiny openings.
Leaking Around Valve Base
Water pooling at the base of the fill valve means the mounting nut underneath the tank needs tightening or the tank to bowl seal has issues. Use an adjustable wrench to gently tighten the nut on the underside of the tank where the fill valve connects (you’ll need to reach under the tank). Don’t overtighten or you could crack the porcelain. If tightening doesn’t stop the leak, you’re looking at gasket or seal problems that require removing and reinstalling the entire fill valve with new seals.
If you’ve worked through these troubleshooting steps and the toilet still isn’t working right, call a plumber. You’ve eliminated the simple fixes, so what remains likely needs professional diagnosis or involves other tank components.
Preventing Future Buildup Through Regular Maintenance
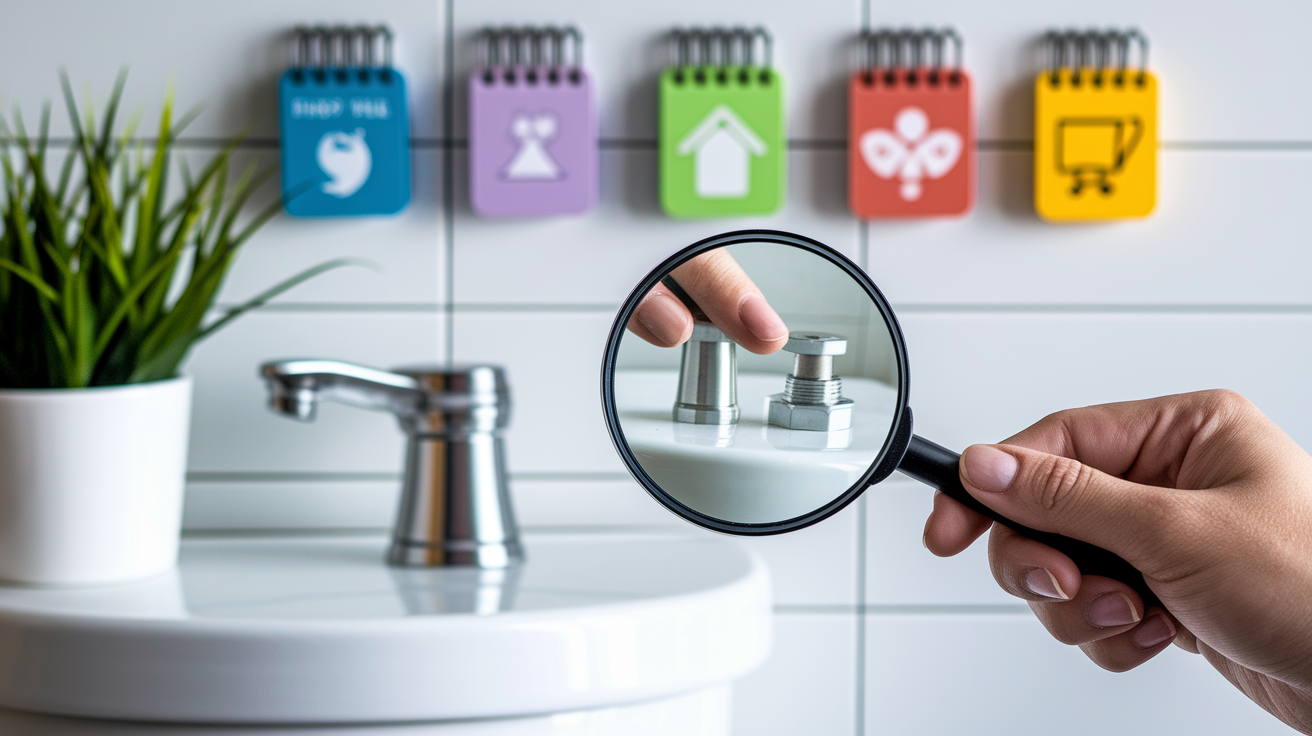
An annual quick flush cleaning keeps your fill valve working smoothly and extends its lifespan by years. If you have hard water (you know you do if you see white spots on faucets and shower doors), plan on checking the valve every year. With soft water or if you have a water softener system, every 2 to 3 years is fine. Water quality directly impacts how fast mineral deposits accumulate inside the valve mechanism.
Even if you don’t fully disassemble the valve, a quick maintenance cleaning takes under 10 minutes. Remove the cap with the water off, look for debris, do a quick flush of the valve body with the cup method, and reassemble. This simple routine catches buildup before it gets thick enough to cause problems.
Preventive Measures:
- Annual quick flush cleaning for hard water areas, every 2 to 3 years otherwise
- Quarterly visual inspection by just lifting the tank lid and looking for visible deposits or slow filling
- Install a whole house water softener if you have severe hard water throughout your home
- Use tank cleaning tablets cautiously (some can damage rubber components over time)
- Check the small filter screen on the supply line periodically for debris
- Monitor early warning signs like slightly slower filling or occasional brief running sounds after flushes
When to Replace Instead of Clean Your Fill Valve
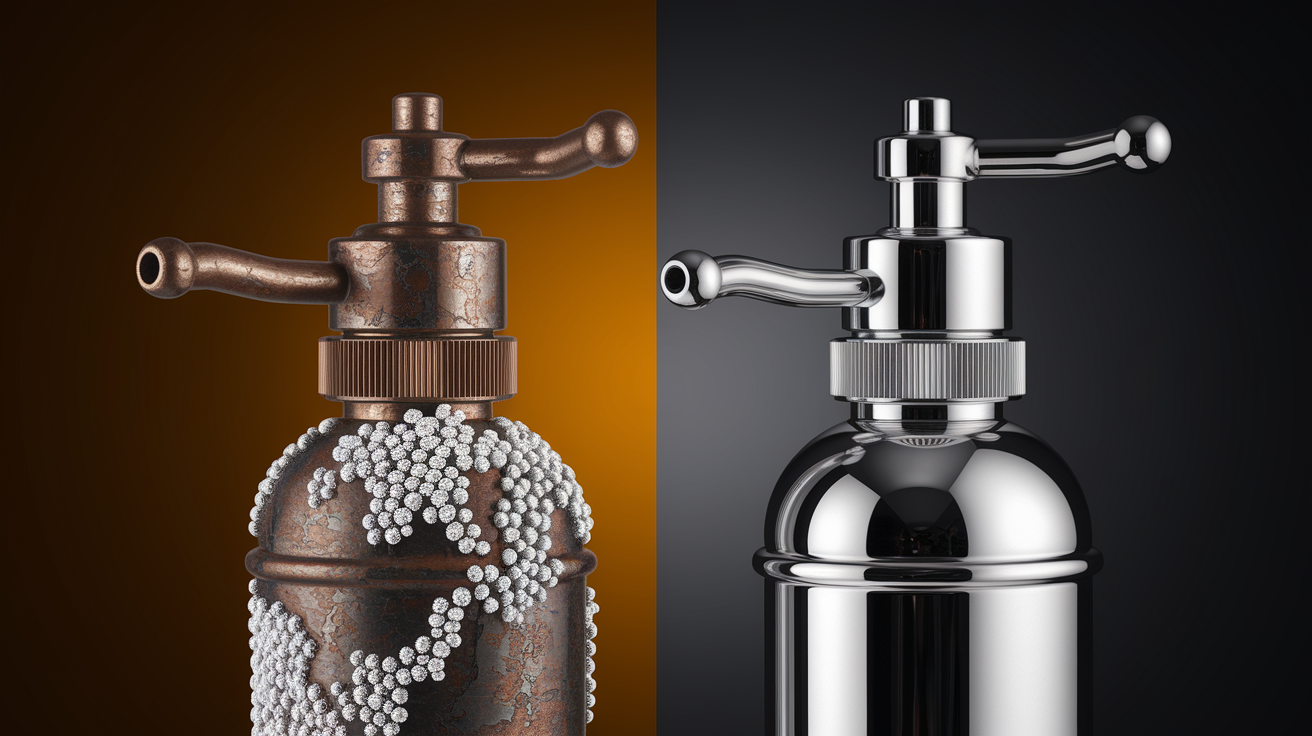
Fill valves typically last 5 to 7 years, sometimes longer in areas with good water quality. Age, water chemistry, and usage patterns all affect lifespan. If your valve’s over 7 years old and giving you problems, replacement might make more sense than cleaning, especially if you’ve already cleaned it once this year. A new fill valve costs $10 to $30 at hardware stores and takes 20 to 30 minutes to install, even if you’ve never done it before.
Some problems tell you right away that cleaning won’t help. If the valve housing has visible cracks, if metal components show heavy corrosion, or if rubber parts have hardened and cracked, replacement is the answer. Cleaning fixes buildup and clogs, not structural damage or worn out components.
Signs to Replace Your Fill Valve:
- Age over 7 to 10 years with recurring issues
- Persistent leaking that continues after cleaning and reassembly
- Cracked housing, float cup, or valve body
- Obsolete valve type with no available replacement parts
- Repeated failures within a few months of previous cleaning
- Heavily corroded metal components that can’t be cleaned
- Desire to upgrade to a more water efficient modern design
| Issue | Clean | Replace |
|---|---|---|
| Mineral buildup only | Yes | No |
| Worn or hardened gaskets | No | Yes |
| Cracked float cup or body | No | Yes |
| Corroded metal body | No | Yes |
| Age 10+ years | Maybe once | Yes if problems return |
Think about the cost benefit here. Cleaning materials (vinegar or cleaner, toothbrush, towels) cost around $5 to $10 if you need to buy them. A new fill valve plus supply line costs $15 to $30 for DIY installation, or $100 to $150 if you hire a plumber. If your valve’s relatively new (under 5 years) and this is the first issue, definitely try cleaning. If it’s older or you’ve cleaned it before within the past year, replacement gives you a fresh start and usually includes a better warranty. Professional installation makes sense if you’re not comfortable working on plumbing, if the shutoff valve is stuck or leaking, or if you’re replacing multiple components at once.
Final Words
A toilet fill valve that’s running slow or constantly refilling usually just needs a good cleaning. Most of the time, it’s mineral deposits or small debris blocking the valve seat or inlet holes.
You’ve got the steps now. Twist off the cap, check the rubber seal, soak stubborn buildup in vinegar, and reassemble with that confirming click.
If you stay on top of it with a quick annual flush, you’ll catch problems before they turn into midnight leak emergencies. And if cleaning doesn’t solve it, at least you’ll know it’s time for a simple replacement instead of guessing.
Your toilet will fill quietly, shut off when it’s supposed to, and stop wasting water.
FAQ
Can a toilet fill valve be cleaned?
A toilet fill valve can be cleaned by turning off the water supply, removing the valve cap, and flushing out mineral deposits and debris with white vinegar or a commercial descaler. Most slow-filling or running toilet issues resolve with a simple cleaning instead of replacement.
How to clean a fill valve on a Kohler toilet?
To clean a fill valve on a Kohler toilet, shut off the water, flush to drain the tank, twist the cap counterclockwise while holding the shaft steady, lift the float cup, and clean debris from the rubber seal and valve seat. Reassemble by twisting the cap clockwise until it clicks.
What do plumbers recommend to clean toilet tanks?
Plumbers recommend white vinegar for natural cleaning or commercial descalers like CLR for heavy mineral buildup, combined with a scrubbing brush or old toothbrush to remove deposits from the fill valve, inlet holes, and filter screen. Annual cleaning prevents most common fill valve problems.
How to know if a fill valve is clogged?
A fill valve is clogged if the toilet tank fills very slowly, runs continuously after flushing, makes weak or inconsistent refills, or produces hissing sounds during operation. These symptoms indicate mineral deposits or debris blocking the valve’s inlet holes or filter screen.
What are the three main types of toilet fill valves?
The three main toilet fill valve types are float cup valves with a cup that slides along a vertical shaft, float ball valves with a ball attached to a horizontal arm, and older ballcock assemblies with more complex mechanisms. Fluidmaster and Korky manufacture the most common modern float cup valves.
How long should you soak a fill valve in vinegar?
You should soak a fill valve in white vinegar for 30 to 60 minutes to dissolve moderate to heavy mineral deposits and calcium buildup. For severe hard water scaling, extended soaking combined with scrubbing using a toothbrush or commercial descaler produces better results.
When should you replace a fill valve instead of cleaning it?
You should replace a fill valve instead of cleaning it when the valve is over seven to ten years old, has cracked housing or components, shows persistent leaking after cleaning, or develops repeated failures within months. Replacement valves cost $10 to $30 and take 20 to 30 minutes to install.
How often should you clean a toilet fill valve?
You should clean a toilet fill valve annually if you have hard water or every two to three years with soft water to prevent mineral accumulation and clogging. Regular quick-flush cleanings and quarterly visual inspections help extend the valve’s lifespan and maintain proper operation.