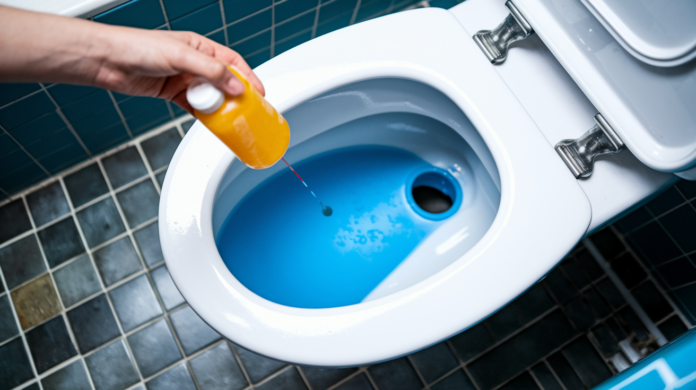

You know that sound of your toilet refilling when nobody’s touched it? That’s not a ghost. It’s your flapper leaking water from the tank into the bowl, and it’s wasting gallons every single day. A flapper that doesn’t seal properly is one of the most common toilet problems, but here’s the good news. You can test it in 15 minutes, diagnose the cause, and usually fix it yourself without calling anyone. We’ll walk you through the whole process.
Quick Diagnostic Test: Confirming Your Flapper Leak
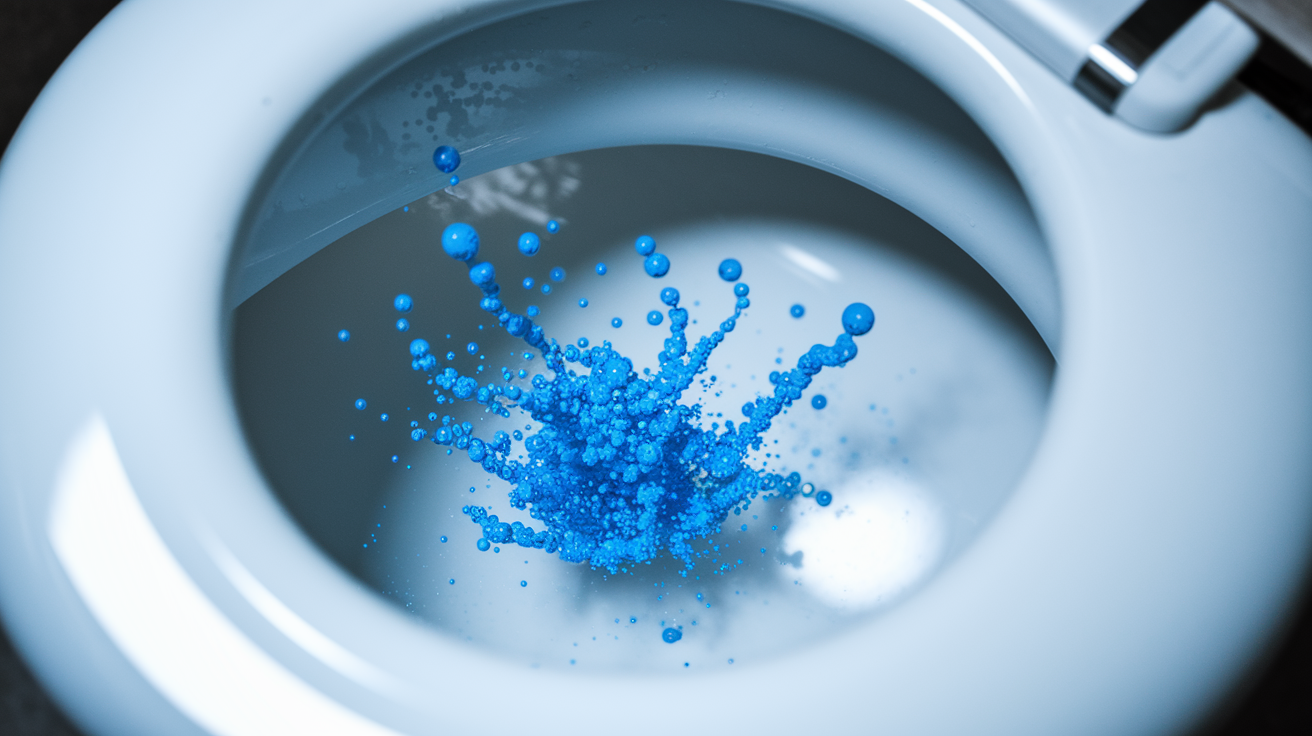
If you’re hearing phantom flushes in the middle of the night or a constant hissing sound coming from your toilet tank, chances are you’ve got a flapper sealing problem. You might notice the tank refilling when nobody’s used the bathroom, or catch that steady trickle of water running into the bowl. Classic signs that water is slipping past a flapper that’s not doing its job.
Before you start replacing parts, there’s a quick 15 minute test that’ll confirm exactly what’s happening. The food coloring test takes the guesswork out of leak detection and shows you immediately whether your flapper is the problem.
- Add several drops of food coloring or a colored tablet to the tank water (don’t flush yet)
- Wait 15 to 20 minutes without flushing the toilet
- Check if colored water appears in the bowl. If it does, you’ve confirmed a flapper leak
Five Root Causes Behind Flapper Seal Failures

Figuring out why your flapper isn’t sealing means identifying which of these five common issues is causing the problem.
1. Worn, cracked, or warped rubber from age and chemical exposure
Over time, chlorine and other toilet cleaners break down the rubber material. The flapper becomes brittle, develops cracks, or warps out of shape. If you see any cracks or the rubber feels stiff and inflexible, replacement is the only fix. If it’s just coated with mineral deposits but the rubber still feels pliable, cleaning might work.
2. Incorrect chain length
A chain that’s too short holds the flapper open slightly and prevents it from closing all the way, causing continuous running. A chain that’s too long gets tangled under the flapper or wraps around other parts. This one’s a simple adjustment fix.
3. Mineral deposits and sediment buildup on the valve seat
Hard water leaves calcium and mineral deposits on the flush valve seat where the flapper makes contact. Even a thin layer prevents a tight seal. If the flapper rubber is still in good shape, cleaning these deposits can restore function without replacement.
4. Wrong flapper size for your flush valve opening
Flush valves come in 2 inch and 3 inch sizes. If the flapper doesn’t match your valve opening, it won’t create a proper seal no matter how new it is. You’ll need the correct size replacement.
5. Misalignment over the valve opening
Sometimes the flapper sits crooked or off center. It might not line up with the mounting posts correctly, or the guide arm needs adjustment. Repositioning the flapper or adjusting the guide arm usually fixes this without needing a replacement.
It’s worth noting that you can have more than one of these problems at the same time. Even if you fix one issue and things improve, another underlying problem might still be there. As a general rule, plan to replace your flapper every 4 to 5 years as preventive maintenance, even if it looks fine.
Complete Flapper Replacement Step by Step Guide

Swapping out a worn flapper takes about 15 to 20 minutes and doesn’t require special tools.
- Turn off the water supply by turning the shutoff valve clockwise. It’s located on the water supply line coming out of the wall or floor behind your toilet
- Flush the toilet to drain the tank completely
- Unhook the flapper chain from the flush lever. Keep it untangled while you work
- Remove the old flapper from the mounting posts or pegs. Pay attention to which direction it faces so you don’t install the new one backwards
- Clean the valve seat thoroughly with a sponge to remove any mineral deposits or gunk. If you skip this step, your new flapper won’t seal any better than the old one
- Install the new flapper on the mounting posts, making sure it’s properly aligned and facing the right direction. This is where most people make mistakes, so double check that it sits flat and centered
- Reattach the chain with approximately half an inch of slack when the flush lever is at rest. Too tight means it won’t seal, too loose means incomplete flushes
- Turn the water supply valve counterclockwise to restore flow. If you’ve got extra chain links flopping around, cut them off with pliers to keep them from getting caught on other parts
Flush the toilet several times and watch how the flapper opens and closes. Listen for running water after the tank refills. If you want to be absolutely certain, repeat the food coloring test and wait those 15 to 20 minutes to confirm no colored water shows up in the bowl.
Cleaning Mineral Buildup From Flapper and Valve Seat
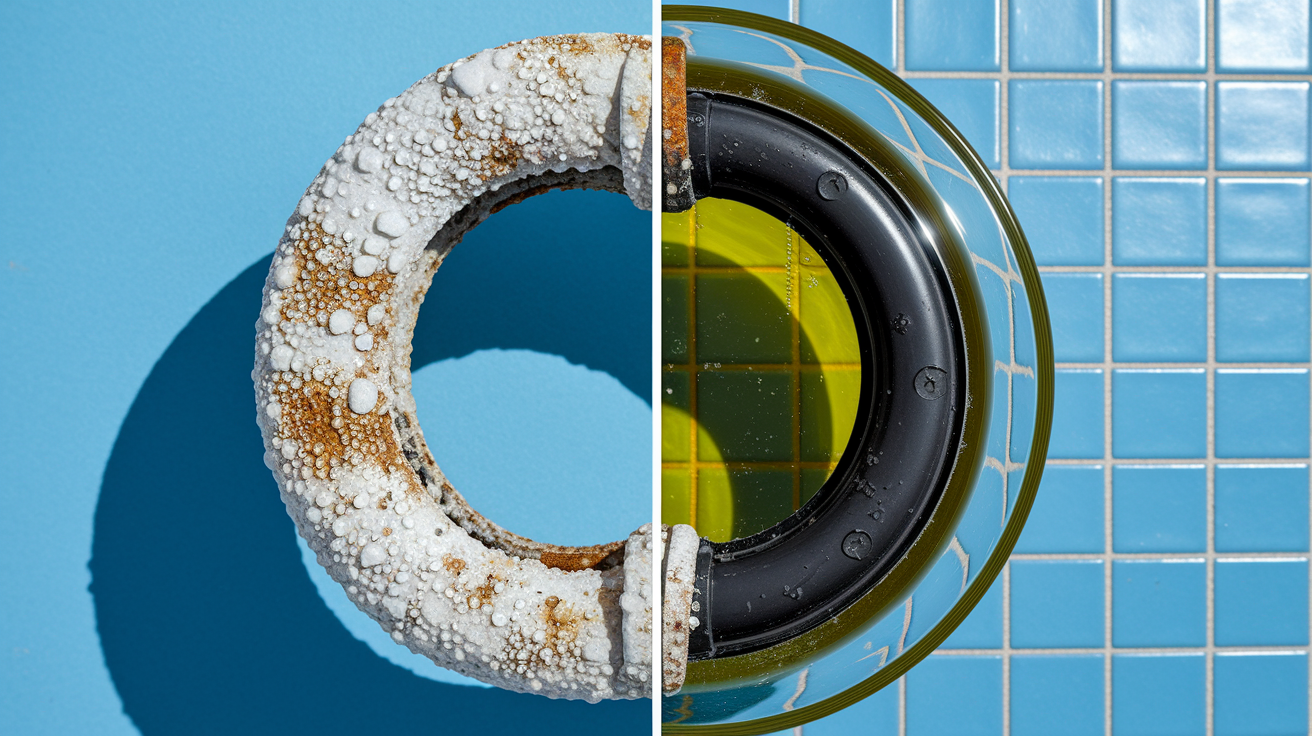
Hard water is tough on toilet parts. Calcium and mineral deposits accumulate on both the flapper and the valve seat over time, creating a rough surface that prevents a tight seal. You’ll see white or rust colored crusty buildup, especially if you live in an area with hard water.
If the rubber itself hasn’t cracked, warped, or turned brittle, cleaning can bring back proper sealing function. There’s no need to replace a flapper that’s structurally sound but just covered in deposits.
Remove the flapper from the tank after shutting off the water and draining the tank. Soak it in a mixture of equal parts white vinegar and water for 30 minutes. Scrub the valve seat and the flapper with a soft brush or rag to remove all the buildup. Rinse everything thoroughly and reinstall, then test to make sure you’ve got a good seal.
Adjusting Flapper Chain Length for Optimal Performance

The chain connects your flush lever to the flapper and controls both the opening and closing action. When you push the lever, the chain lifts the flapper so water can rush into the bowl. When you release the lever, the chain needs to have just enough slack for the flapper to drop back down and seal.
Too much slack creates problems during flushing. The chain doesn’t pull tight enough to lift the flapper all the way, so you end up with weak flushes and water that doesn’t clear the bowl properly. Too little slack is even worse because it holds the flapper open slightly even after you release the flush lever. Water runs continuously because the seal never fully closes.
The sweet spot is about half an inch of slack when the flush lever sits at rest. Adjust the chain connection on the flush lever or on the flapper itself to get that right amount of play. If you’ve got a bunch of extra links dangling, cut them off with pliers. Loose chain can get caught under the flapper or wrapped around other components, causing all kinds of unpredictable behavior.
Selecting the Right Replacement Flapper for Your Toilet
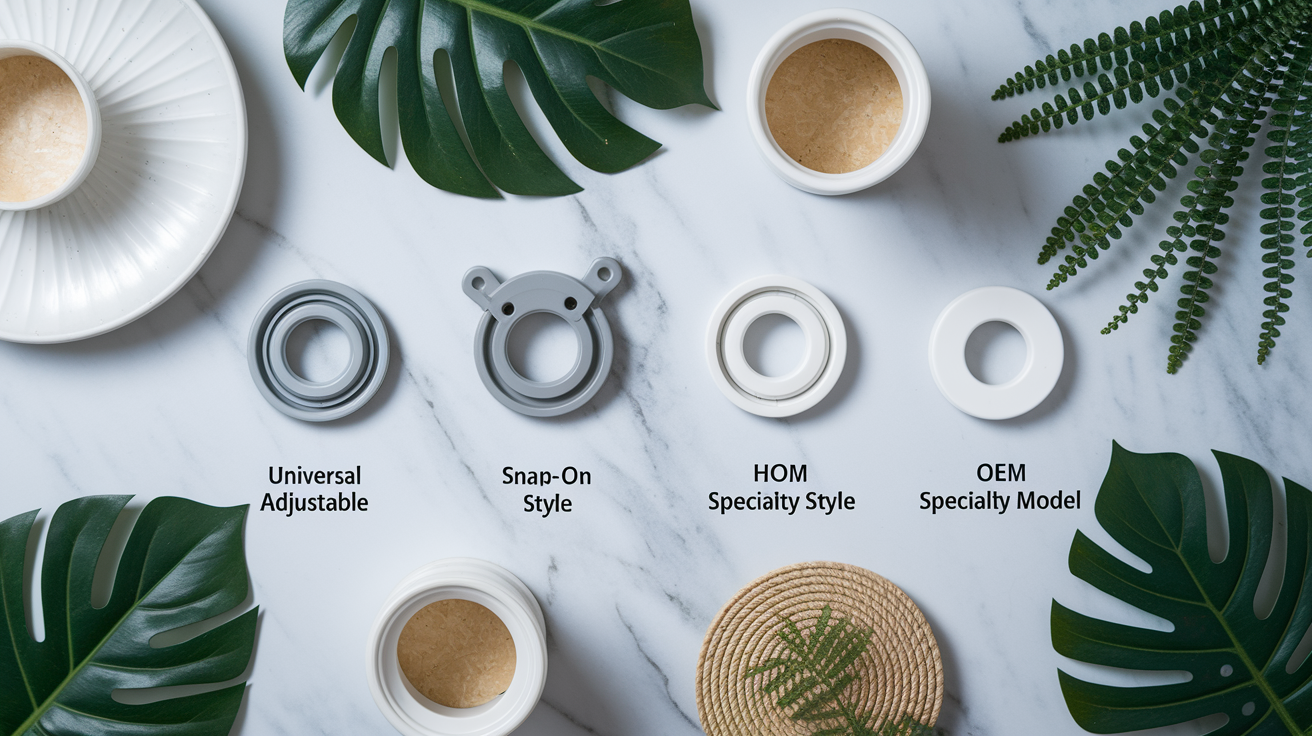
Flappers aren’t all the same. They come in different sizes and attach to the flush valve in different ways. The two most common flush valve sizes are 2 inches and 3 inches, and your flapper needs to match whichever size you have.
Universal adjustable flappers work for many standard toilets, but they’re not truly universal. Older toilets and high efficiency models often require exact OEM replacements that match your toilet’s manufacturer and model. Using the wrong type means you’ll be right back where you started, even with a brand new part.
| Flapper Type | Mounting Method | Best For |
|---|---|---|
| Universal Adjustable | Adjustable arms or clips that fit multiple valve sizes | Standard toilets with 2 inch or 3 inch flush valves |
| Snap On Style | Snaps directly onto pegs on overflow tube | Newer toilets with peg mounted systems |
| Hook Style | Hooks over ears on sides of overflow tube | Older toilet models with ear mounted systems |
| Specialty/OEM Specific | Manufacturer designed for specific models | High efficiency toilets, pressure assist models, brand specific designs |
Fixing Flush Valve Seat Damage That Prevents Sealing

The flush valve seat is the smooth surface where the flapper makes contact to create the seal. Even a brand new flapper won’t work if this surface is damaged, corroded, or uneven. Any nicks, scratches, or buildup creates tiny gaps that let water slip through.
After you remove the old flapper, run your fingers around the rim of the valve seat. You’re feeling for rough spots, pitting, corrosion, or any irregularities. A smooth, even surface is what you need.
Minor imperfections can be smoothed out with fine grit sandpaper. Gently sand the surface in a circular motion until it feels uniform. Wipe away any residue before installing the new flapper. But if the valve seat is severely corroded, warped, or has deep damage, sanding won’t be enough. You’re looking at a complete flush valve replacement, which usually means calling a professional plumber because it involves unbolting the tank and replacing the entire valve assembly.
Water Quality Impact and Preventive Maintenance Strategies

Hard water speeds up everything that can go wrong with a flapper. The high mineral content causes calcium buildup faster, and the more buildup you get, the harder it is to maintain a good seal. If you’ve got chlorinated municipal water, that accelerates rubber deterioration. The chlorine breaks down the rubber material, making it brittle and prone to cracking.
If you live in an area with hard water or high chlorine levels, you’ll need to replace flappers more often and inspect them more frequently. What might last five years in soft water areas could fail in two or three years where water quality is tougher on rubber components.
The good news is that a little proactive toilet maintenance tips can prevent emergency repairs and cut down on water waste.
Replace flappers every 4 to 5 years as a preventive measure, even if they look fine. Avoid drop in tank cleaners and harsh chemical toilet bowl cleaners that deteriorate rubber faster. Perform quick visual inspections every three months for cracks, brittleness, or visible wear. Clean mineral deposits from the valve seat every 6 months if you have hard water. Check chain slack and adjustment once a year to make sure it hasn’t shifted.
Tools and Materials Needed for Flapper Repairs
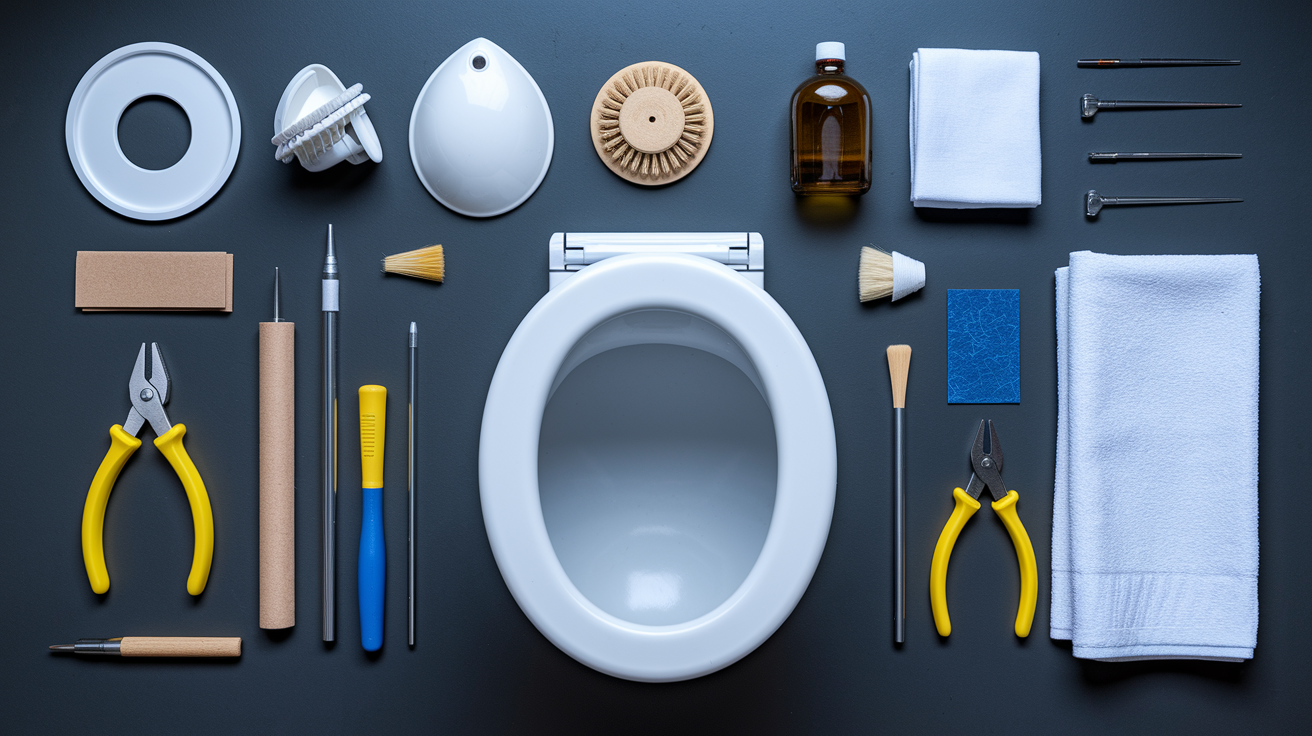
Most flapper repairs use common household tools and parts that won’t break your budget.
| Item | Purpose | Estimated Cost |
|---|---|---|
| Replacement Flapper | New seal to replace worn or damaged flapper | $5 to $15 |
| White Vinegar | Dissolves mineral deposits and calcium buildup | $2 to $4 |
| Soft Brush or Sponge | Scrubs away buildup without scratching surfaces | $1 to $3 |
| Cutting Pliers | Trims excess chain links to prevent tangling | $8 to $15 |
| Fine Grit Sandpaper | Smooths minor valve seat imperfections | $3 to $6 |
| Towels/Rags | Wipes up water and dries components during repair | Already on hand |
Troubleshooting When Flapper Replacement Doesn’t Stop Running Water

The flapper is the most common reason for a running toilet, but it’s not the only reason. If you’ve installed a new flapper correctly, adjusted the chain, cleaned everything, and water is still running, something else in the tank needs attention.
Identifying what’s causing the problem helps you figure out whether you can handle it yourself or whether it’s time to bring in a professional. Some tank component issues are straightforward fixes, while others require specialized knowledge or tools.
The usual suspects when a new flapper doesn’t solve the problem are a fill valve malfunction causing water to flow continuously even when the tank is full, water level set too high causing overflow into the overflow tube, damaged or misaligned overflow tube that’s cracked or not positioned correctly, float mechanism stuck in the up position or improperly adjusted, or a refill tube disconnected from the overflow tube or positioned so it’s not directing water properly.
Call a plumbing repair services professional when your DIY flapper replacement doesn’t stop the running water, when you see visible cracks in the flush valve assembly, when water damage or mold appears around the base of your toilet, when multiple tank components need replacement at the same time, or when you’ve got a specialty toilet model that requires manufacturer specific expertise. Some repairs just make more sense to hand off, especially when you’re dealing with components that could cause bigger problems if they’re not installed correctly.
Final Words
A toilet flapper not sealing properly wastes water and keeps that subtle hissing sound going 24 hours a day.
Most of the time, you’re dealing with worn rubber, mineral buildup, or a chain that’s set wrong. And those problems usually get fixed in less than an hour with about ten dollars in parts.
Replace the flapper, clean the valve seat, check the chain slack, and test it.
If it still runs after that, the issue’s deeper and it’s probably time to bring in a pro. But for most flappers, a quick swap puts everything back to quiet and normal.
FAQ
Q: Why is my toilet flapper not getting a good seal?
A: Your toilet flapper is not getting a good seal typically because of worn or cracked rubber, mineral deposits on the valve seat, incorrect chain length, wrong flapper size, or misalignment over the flush valve opening.
Q: Will vaseline help seal a toilet flapper?
A: Vaseline will not help seal a toilet flapper and can actually attract dirt and debris that interfere with proper sealing. Clean the valve seat and replace the flapper if it’s worn or damaged instead.
Q: Why is my toilet still leaking after replacing the flapper?
A: Your toilet is still leaking after replacing the flapper likely because of a damaged flush valve seat, incorrect water level setting, fill valve malfunction, wrong flapper size for your toilet model, or misaligned installation.
Q: What is the life expectancy of a toilet flapper?
A: The life expectancy of a toilet flapper is typically 4 to 5 years, though hard water and high chlorine levels can cause rubber deterioration faster. Replace flappers every 4 to 5 years as preventive maintenance.
Q: How do I know if my flapper is causing the leak?
A: You can know if your flapper is causing the leak by performing the food coloring test: add food coloring to the tank, wait 15 to 20 minutes without flushing, and check if colored water appears in the bowl.
Q: Can I clean my toilet flapper instead of replacing it?
A: You can clean your toilet flapper if the rubber isn’t cracked, brittle, or warped by soaking it in equal parts white vinegar and water for 30 minutes, then scrubbing away mineral deposits with a soft brush.
Q: How much slack should the flapper chain have?
A: The flapper chain should have about half an inch of slack when the flush handle lever is at rest to allow proper flapper closure without interference while ensuring complete lifting during flushing.
Q: What tools do I need to replace a toilet flapper?
A: You need minimal tools to replace a toilet flapper: a replacement flapper, cutting pliers for excess chain, white vinegar and a soft brush for cleaning, fine-grit sandpaper if needed, and towels or rags.
Q: When should I call a plumber for a running toilet?
A: You should call a plumber for a running toilet when flapper replacement doesn’t stop the leak, visible cracks exist in the flush valve, water damage appears around the toilet base, or multiple tank components need replacement.