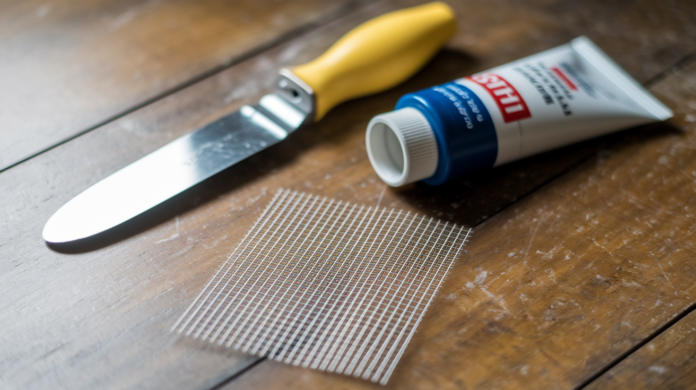

Have you been staring at that wall hole for weeks, telling yourself you’ll fix it “soon”? Most homeowners put off drywall repairs because they think it’s complicated or expensive. The truth is, a decent repair kit costs $8 to $25 and the work takes a couple hours, not a whole weekend. This guide breaks down what’s actually in these kits, which one fits your hole size, and how to avoid the mistakes that make repairs crack or show through paint.
Top-Rated Drywall Repair Kits: Products, Prices, and What’s Inside
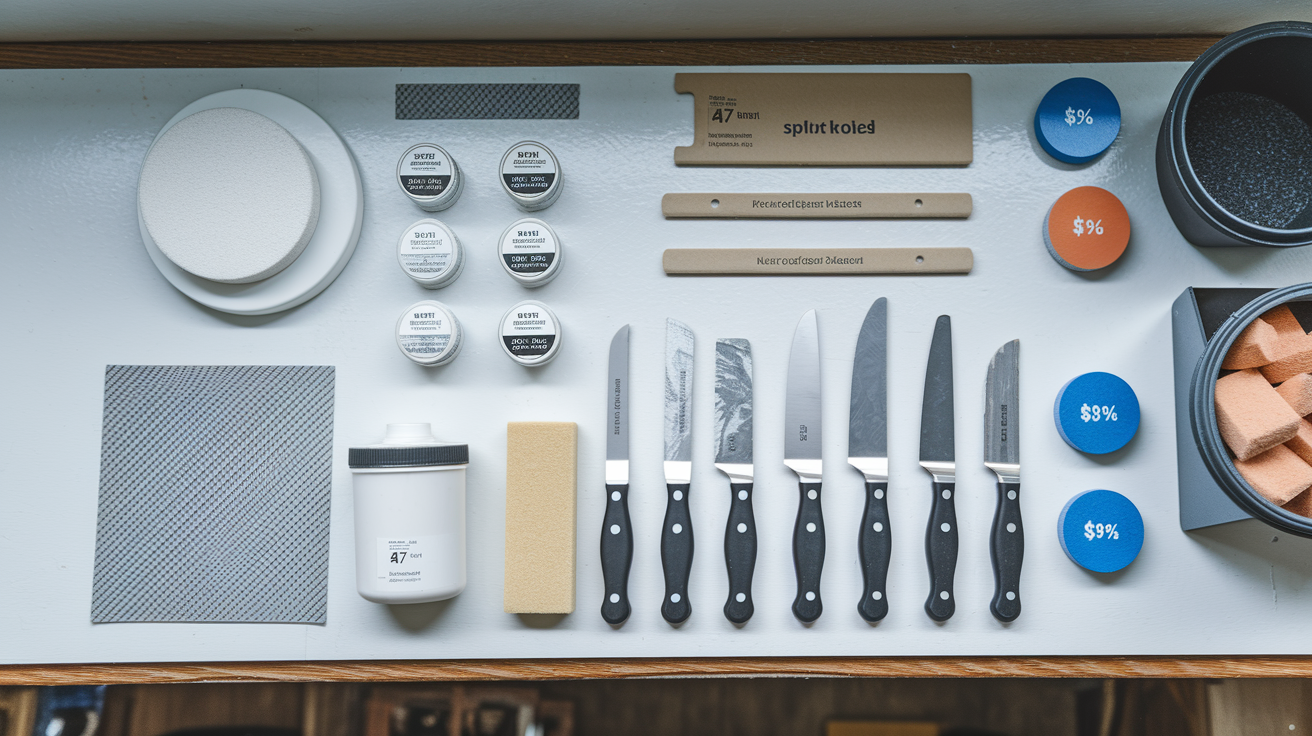
Repair kits get matched to hole size and damage type. Different components and pricing, depending on how bad the wall looks.
| Kit Type | Price Range | Hole Size Capacity | Key Components |
|---|---|---|---|
| Basic Spackle Kit | $5-10 | Under ½ inch | Primer-enhanced spackle and applicator tool |
| Standard Mesh Patch Kit | $8-15 | ½ to 3 inches | Self-adhesive mesh patch, joint compound, putty knife, sanding sponge |
| Premium All-in-One Kit | $15-25 | Multiple repairs up to 3 inches | Multiple patches, compound, full tool set |
| Large Hole Kit | $20-35 | 3+ inches | Drywall pieces, tape, compound, tools |
The 3M High Strength Small Hole Repair and DAP kits show up constantly in professional recommendations. Hardware stores stock them, online reviews mention them repeatedly, and they deliver results without needing weird specialty skills or a second trip to buy missing parts.
Hole size determines which kit you’ll grab. Small holes under ½ inch are nail pops, screw holes, minor dents. Just need filler. Medium holes from ½ to 3 inches are doorknob crashes and bigger accidents that need something behind them for support. Large holes past 3 inches? You’re working with actual drywall pieces now, not just patching material.
All-in-one kits work great if you’re new to this and don’t want to hunt down individual parts. Component-specific kits give you more control if you know what you’re doing, letting you pick compound consistency and patch type based on your specific wall texture.
Repairing Small Holes in Drywall with Patch Kits
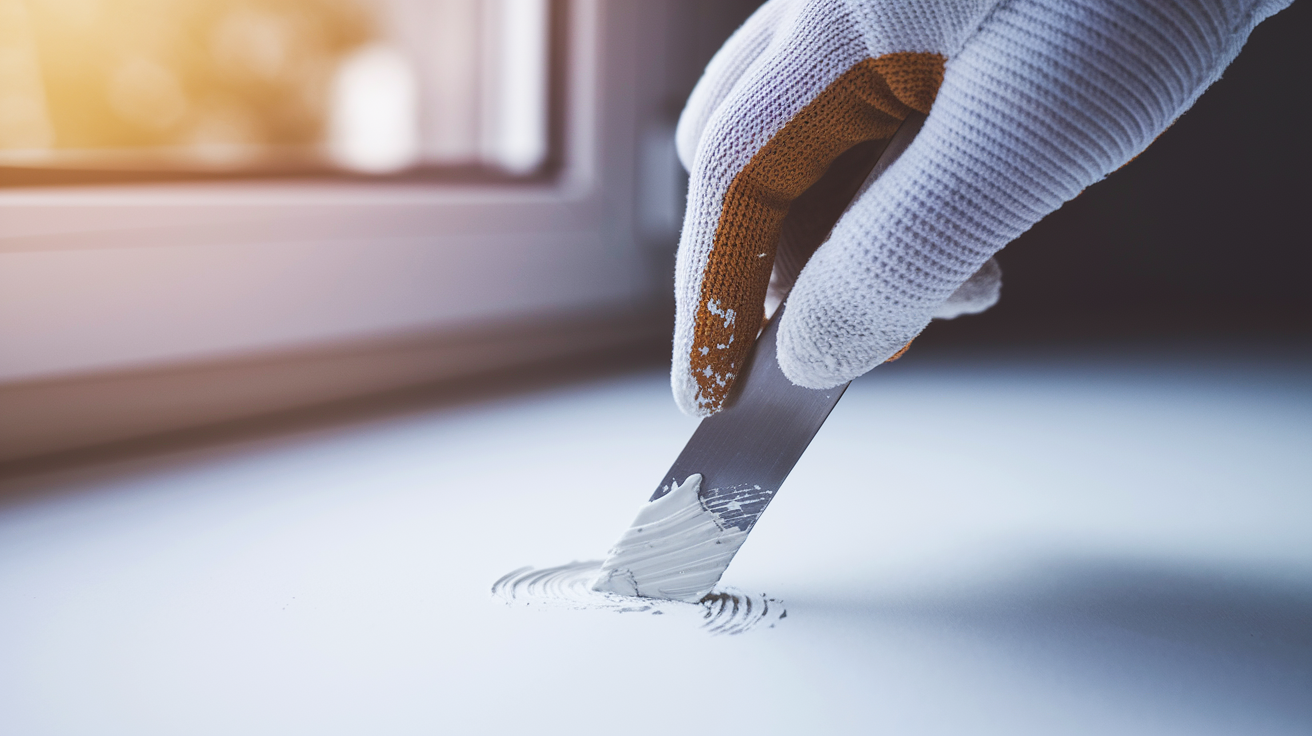
Small holes run from ⅛ to ½ inch. Nails, screws, or when you bump something into the wall. These are easy.
Four steps, pretty straightforward:
- Clean the area and sand lightly to get rid of loose stuff and flaky paint.
- Press spackle into the hole with your putty knife or applicator, filling it completely.
- Let it dry. Usually 30 to 60 minutes depending on what the package says.
- Sand it smooth once it’s totally dry. Gentle circles.
Primer-enhanced spackle saves you a step because it’s filler and primer together. Small holes typically need just one coat since you’re not dealing with deep damage. The compound fills the space, dries firm, and won’t shrink back or crack on you.
This takes under an hour total. You’re not fixing structural problems or doing complicated layering. Fill it, wait, smooth it, done. Ready for paint.
Medium Hole Wall Damage Repair Kit Application
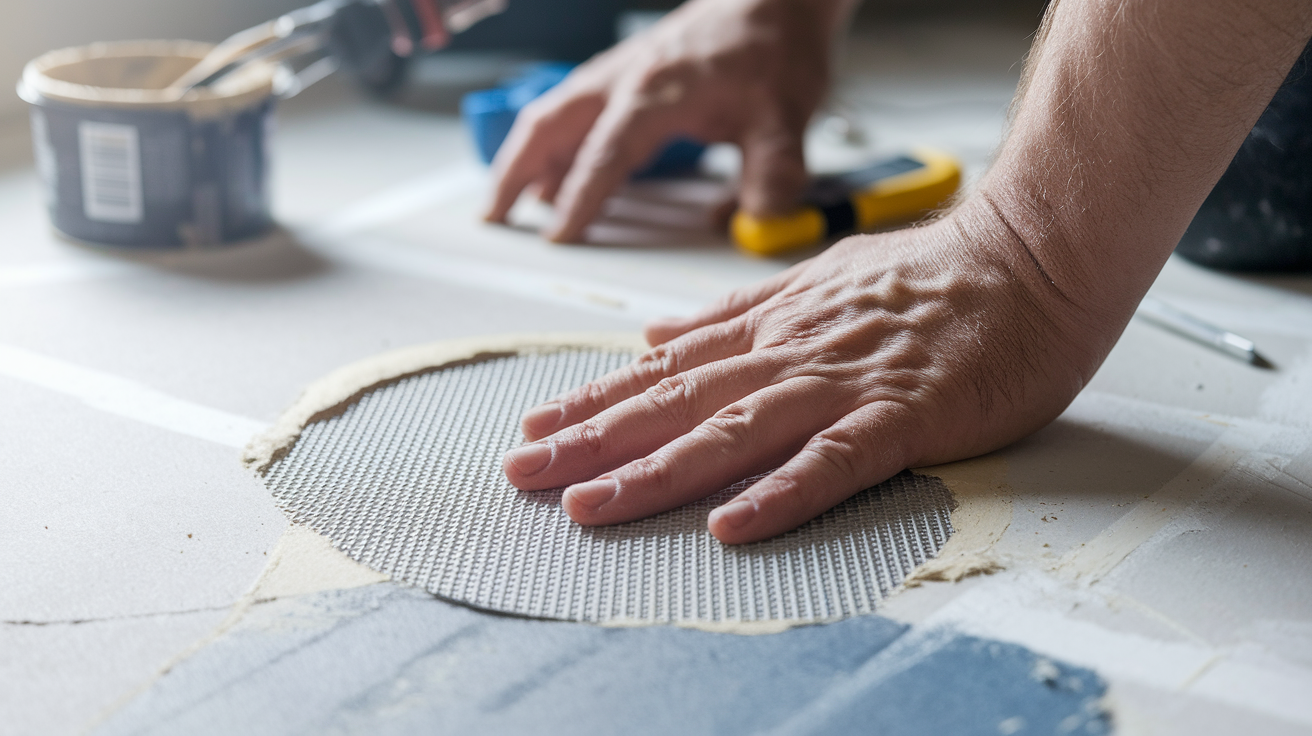
Holes between ½ and 3 inches need something behind them or they’ll crack again. Without backing, the compound fails at the edges within weeks.
Five steps for medium holes:
- Sand and clean around the hole so everything sticks properly.
- Cut your self-adhesive patch 1 inch bigger than the hole on every side.
- Center the patch and press it down firmly, working from the middle outward so you don’t trap air bubbles.
- Apply your first thin coat of joint compound in a crisscross pattern, spreading 2 to 3 inches past the patch edges.
- Let it dry completely, then add a second coat if there are still low spots.
The feathering technique matters here. You’re blending the repair into the wall without creating ridges you can see from across the room. Spread compound one direction, then cross it at an angle. Thin out the edges as you work outward. Multiple thin coats beat one thick glob because thick applications crack while drying and take forever to cure.
Fiberglass mesh gives you the reinforcement you need for a repair that lasts. It spreads stress across a bigger area instead of concentrating everything at weak edges where compound meets drywall.
Essential Sanding Techniques and Tools for Smooth Repairs
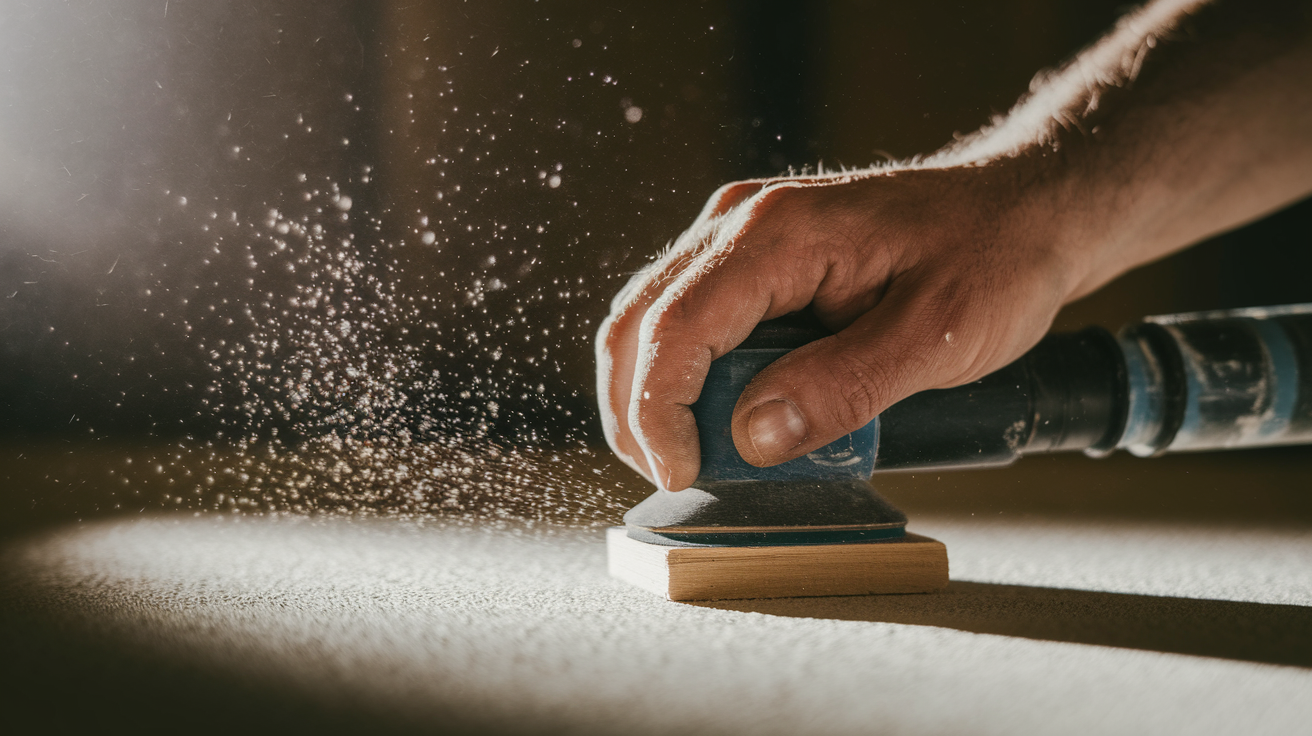
You need to sand before you apply compound and after it dries. Skip this and everyone will see your repair.
Pre-repair sanding gets the surface ready for bonding. Use 120-150 grit sandpaper around the hole edges and about 2 inches out from the damage. This clears loose debris, flaky paint, and paper fibers that stop compound from sticking. Doesn’t need to be perfect, just clean and slightly rough so the compound has something to grab.
Finish sanding happens after the compound feels completely dry and firm when you touch it. Same 120-150 grit sandpaper, gentle circular motions, working from the patch center outward. Don’t oversand or you’ll expose the tan drywall paper underneath, which creates a texture difference from the rest of your wall. If you see tan paper showing through white compound, stop immediately.
Tools you’ll want:
- 120-150 grit sandpaper for prep and finishing
- Sanding block or sponge to keep pressure even
- Drop cloth for the dust
- Clean damp cloth for wiping between coats
- Dust mask if you’re doing multiple repairs
Patient, gentle sanding keeps you from damaging things while making repairs disappear. You’re blending and smoothing, not grinding down to the core.
Finishing and Painting Your Drywall Patch

You need to prime even if you used primer-enhanced products. Otherwise you’ll get flashing, where patched spots look dull because they soak up paint differently than the rest of the wall.
Make sure the patch is totally dry and firm first. Not cool or tacky when you touch it. Roll on a full coat of interior primer with a small roller, going 2 to 3 inches past the repair. This seals the compound and creates a consistent base so paint goes on evenly. Let it dry properly before painting, usually 1 to 2 hours depending on how humid it is.
Texture matching makes the difference between obvious repairs and invisible ones. Smooth walls just need paint once the primer’s dry. Textured walls need wall texture spray in orange peel or knockdown patterns before you paint. Hold the can 18 to 24 inches from the wall, apply light coats. Practice on cardboard if you haven’t done this before. Let texture dry completely, then prime and paint.
Spending time on finishing steps gives you professional results where repairs basically disappear. For tricky texture matching or repairs in spots everyone sees, drywall repair and patching services can blend things perfectly with your existing wall.
Common Mistakes When Using Wall Repair Kits

Simple repairs fail when you skip basic steps or don’t think about how that wall gets used afterward. Most problems come from rushing or not planning ahead.
Mistakes to avoid:
- Skipping surface prep and dust removal. Poor adhesion, compound falls apart later.
- Slapping compound on too thick in one coat. It cracks and takes forever to dry.
- Not waiting for things to dry between coats. Traps moisture, weakens everything.
- Cutting the patch too small without 1-inch overlap. Edges crack under stress.
- Painting without primer. Visible flashing, uneven sheen.
- Rushing in high humidity. Everything takes longer to dry and can sag.
- Not using wall anchors rated for the actual weight when you hang stuff back up.
- Skipping doorstops after fixing doorknob damage. You’ll just punch another hole.
- Hanging heavy items on drywall alone instead of finding studs for proper support.
Prep the wall right and use correct techniques, you won’t be fixing the same spot again. If you’re patching doorknob damage, install a doorstop before you repaint. If you’re filling anchor holes, use proper anchors rated for what you’re actually hanging.
Pull old anchors straight out with pliers. If one won’t budge, push it into the wall cavity with a screwdriver handle instead of tearing up more drywall trying to yank it out.
Take your time with repairs and protect vulnerable spots. Saves you money and effort compared to patching the same place over and over.
Comparing Pre-Mixed vs. Powder Repair Kit Formulas
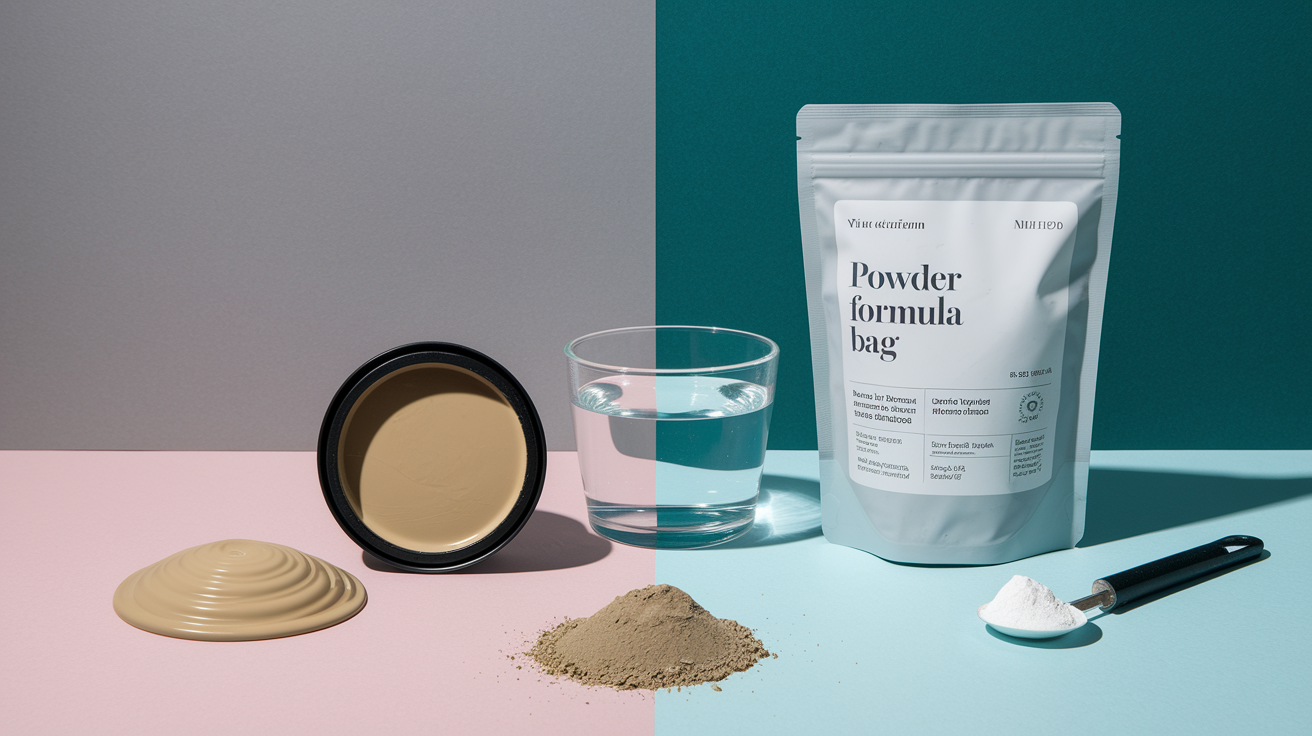
Repair kits come in pre-mixed or powder formulas. Each has advantages depending on your situation and skill level.
Pre-mixed compounds are ready immediately. Lightweight, no mixing mistakes possible. You open it and start working. Longer working time means less pressure to finish fast before it stiffens, which helps if you’re still figuring out your technique. The tradeoff is slower drying, sometimes 2 to 3 hours between coats when it’s humid.
Powder formulas need water added per package directions, typically 3-to-1 powder to water. Dries faster so you can do multiple coats in one day instead of waiting overnight. Setting-type versions harden chemically rather than just evaporating, making them shrink less and tougher for deeper repairs or spots that take abuse. The catch is less forgiveness if you’re inexperienced because working time is limited and if you mess up the consistency, it affects your results.
Pre-mixed lightweight compound works best for most homeowners and small to medium repairs. You’ll get good results without worrying about mixing ratios or racing against the clock.
How Long Drywall Repairs Take and Durability Expectations
Timeline varies by hole size and how many coats you need. Factor in drying time and you’re looking at hours to complete, not minutes.
Here’s the timing breakdown. Small holes take under 1 hour total, spackling compound dries in 30 to 60 minutes depending on humidity and repair size. Medium holes need 2 to 4 hours across multiple coats with drying between applications. Full completion including primer and paint spans 1 to 2 days when you account for proper drying between each layer. Patches must feel completely dry and firm before you sand or paint. If the surface feels cool or tacky, it’s not ready.
Repairs done right with mesh reinforcement for holes bigger than ½ inch last decades as permanent fixes when you prep the wall correctly and use proper technique. The repair becomes part of the wall structure, not just a cosmetic cover. Compound bonds with surrounding drywall and the mesh spreads stress so you don’t get cracks at patch edges.
Good repairs match surrounding drywall strength and won’t crack or separate over time. You shouldn’t be able to find the repair a year later unless you remember exactly where it was.
When to Use a Repair Kit vs. Calling a Professional
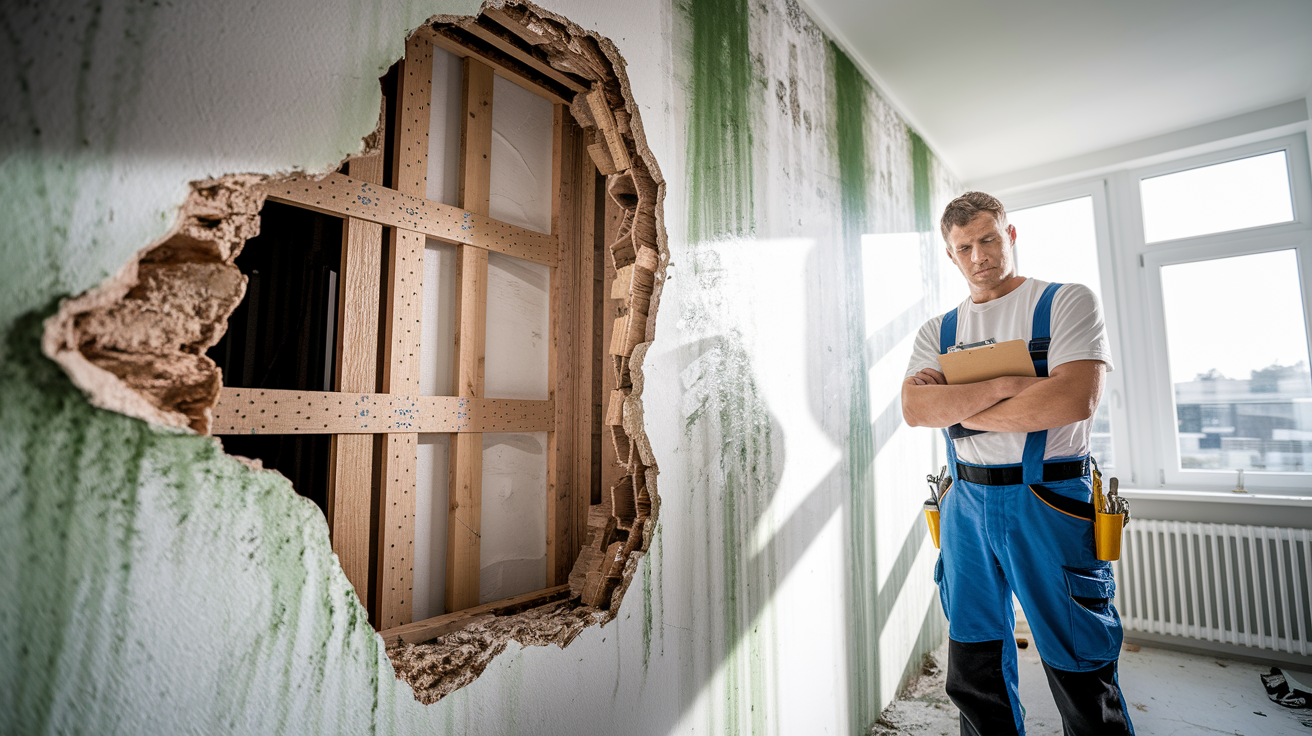
Most small to medium holes are perfect DIY projects. But certain conditions need expert help. Know the difference before you buy materials.
Situations that need professional assessment:
- Holes bigger than 3 inches that require the California patch method with actual new drywall pieces
- Cracks that suggest structural issues or foundation settling, not simple damage
- Moisture damage or visible mold where you need to find and fix the source
- Damage near electrical outlets or plumbing where hidden problems might exist
- Multiple large repairs throughout the home suggesting something bigger is wrong
- Damage to load-bearing walls where structural integrity matters
- Repairs in high-visibility spots where texture matching is critical for resale value
Repair kits handle isolated small and medium damage from everyday life really well. Nail holes, doorknob impacts, furniture bumps, accidental punctures. You don’t need special skills. But extensive wall damage often means underlying problems like moisture getting in, foundation settling, or structural movement that won’t be fixed with compound and mesh.
Professional services handle material sourcing, proper structural assessment, and guaranteed results for complex repairs. For situations beyond what a repair kit can handle, Home Recovery Pro services provide expert evaluation and permanent solutions for extensive damage, moisture issues, or repairs that need specialized techniques.
Final Words
The right drywall hole repair kit makes most wall damage manageable, even if you’ve never done it before.
Match the kit to your hole size. Follow the prep and application steps. Give the compound time to dry properly before you sand and prime.
Small repairs take under an hour. Medium holes need patience for multiple coats. But when you’re done, the patch will be permanent and invisible.
If the damage is larger than 3 inches, involves moisture, or keeps coming back, that’s when it makes sense to bring in help and figure out what’s really happening.
For everything else, you’ve got this.
FAQ
What is best to patch holes in drywall?
The best material to patch holes in drywall depends on hole size. For small holes under ½ inch, primer-enhanced spackle works well. For medium holes ½ to 3 inches, use self-adhesive mesh patches with lightweight joint compound for structural reinforcement.
How big of a hole can you patch in drywall?
You can patch holes in drywall up to 3 inches using standard repair kits with mesh patches and joint compound. Holes larger than 3 inches require the California patch method with new drywall pieces and different techniques beyond typical kit capabilities.
How to fix a hole in a drywall kit?
To fix a hole using a drywall kit, clean the area first, then apply self-adhesive mesh patch cut 1 inch larger than the hole on all sides, spread thin coats of joint compound using a crisscross feathering pattern, sand smooth when dry, and prime before painting.
Is it better to use spackle or joint compound?
Spackle is better for small holes under ½ inch because it dries quickly and often contains primer, while joint compound works better for medium holes ½ to 3 inches because it provides stronger adhesion when used with mesh reinforcement and prevents cracking.
What are the essential tools included in drywall repair kits?
Drywall repair kits typically include putty knife for spreading compound, self-adhesive mesh patch for reinforcement, primer-enhanced spackle or joint compound for filling, and sanding sponge with 120-150 grit sandpaper for smoothing. All-in-one kits contain complete tool sets for multiple repairs.
How long does drywall compound take to dry?
Drywall compound takes 30 to 60 minutes to dry for small repairs, depending on humidity and repair size. The patch should feel completely dry and firm, not cool or tacky to touch, before sanding or painting. Medium holes require 2-4 hours across multiple coats.
Do I need to prime drywall patches before painting?
You need to prime drywall patches before painting to prevent flashing, even when using primer-enhanced spackle. Apply a full coat of interior primer with a small roller over the patched area for a consistent paint base that prevents visible discoloration through the topcoat.
What grit sandpaper should I use for drywall repairs?
You should use 120 to 150 grit fine-grit sandpaper for drywall repairs, both before applying compound for proper adhesion and after drying for a smooth finish. Use gentle circular motions to avoid oversanding and exposing the drywall paper underneath the surface.
When should I call a professional instead of using a repair kit?
You should call a professional for holes larger than 3 inches, cracks indicating structural issues, moisture damage or visible mold, damage near electrical outlets or plumbing, and repairs in high-visibility areas where texture matching is critical for professional drywall repair and patching.