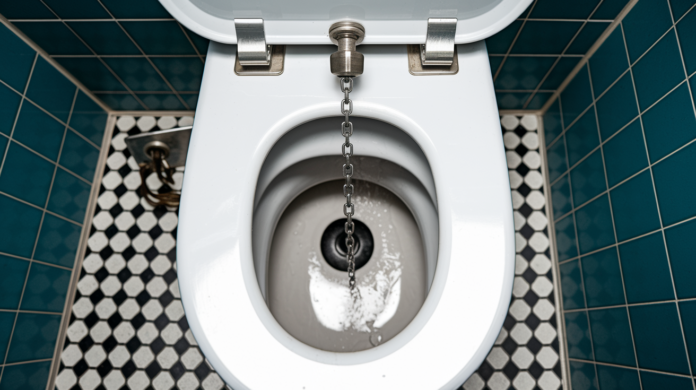

That toilet’s been running for weeks now, hasn’t it? Every time you walk past the bathroom, you hear that faint hissing sound and watch your water bill climb. Good news is you can fix it yourself in less than an hour for about twenty bucks. Most running toilets come down to a worn flapper, loose chain, or fill valve that won’t quit. We’ll walk you through exactly how to figure out what’s wrong and get it sorted, step by step.
Flapper Valve Replacement: The Primary Fix for Running Toilets
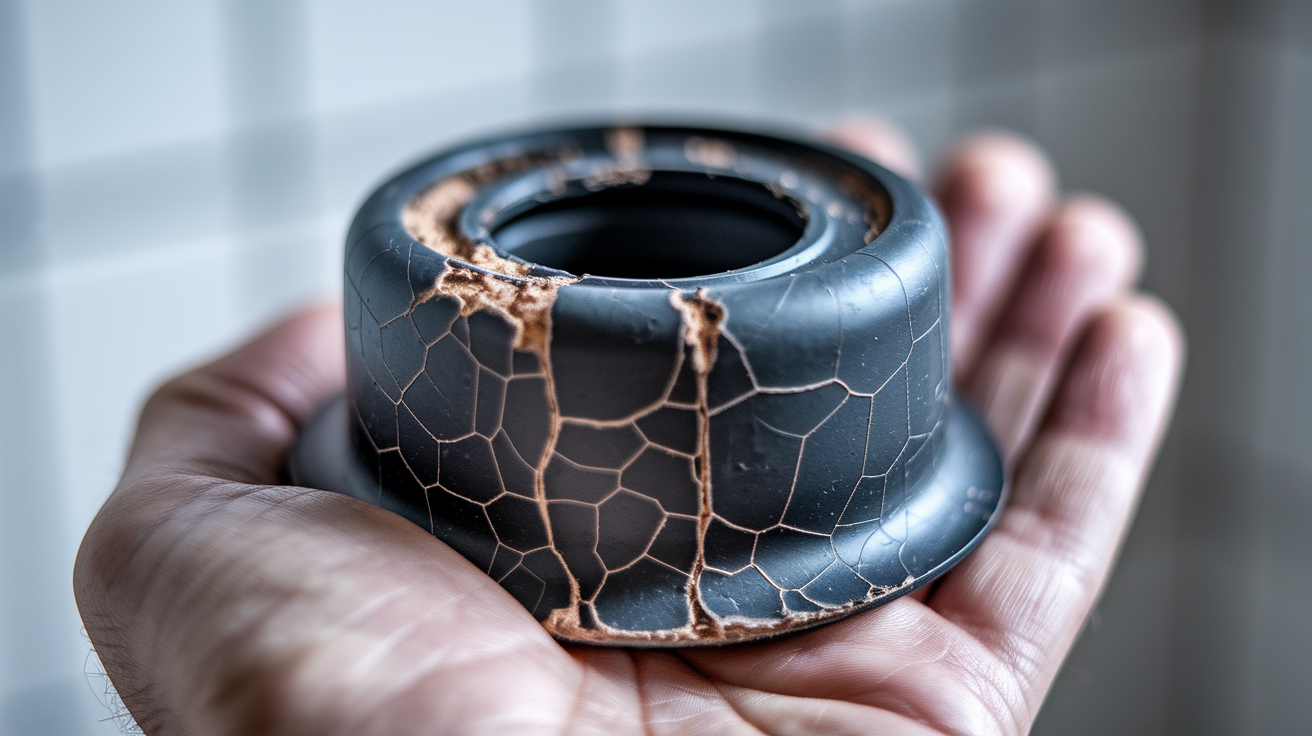
Worn flapper valves cause about 90% of running toilet problems. You can knock this repair out in under an hour for less than twenty bucks. No advanced plumbing skills needed.
Before you buy anything, run the stick test. While water’s running in the tank, push the flapper down with a stick or ruler. If the water stops right away, you’ve found your problem. This confirms everything before you start tearing things apart.
Here’s how to replace the flapper:
- Turn the shutoff valve clockwise. You’ll find it on the wall or floor behind the toilet.
- Flush once to drain the tank.
- Sponge out any leftover water if needed.
- Unhook the chain from the flush handle lever.
- Pull the old flapper off the pegs on the overflow tube. Some slide off side posts, others unhook from a ring.
- Measure your flush valve opening. It’s either 2 inches or 3 inches. Bring the old flapper to the store so you get the right match.
- Clean the valve seat with a scouring pad. Get off all the mineral buildup and gunk that’s stopping it from sealing properly.
- Install the new flapper and reattach the chain with about half an inch of slack when it’s closed.
That slack in the chain matters. Too tight and the flapper can’t seal. Too loose and the chain gets trapped underneath when it closes.
Turn the water back on and let the tank refill. Test it a few times to make sure everything seals up and the water stops running. Flappers usually last 5 to 7 years, but hard water can wear them out faster.
Understanding Your Toilet Tank Component Layout
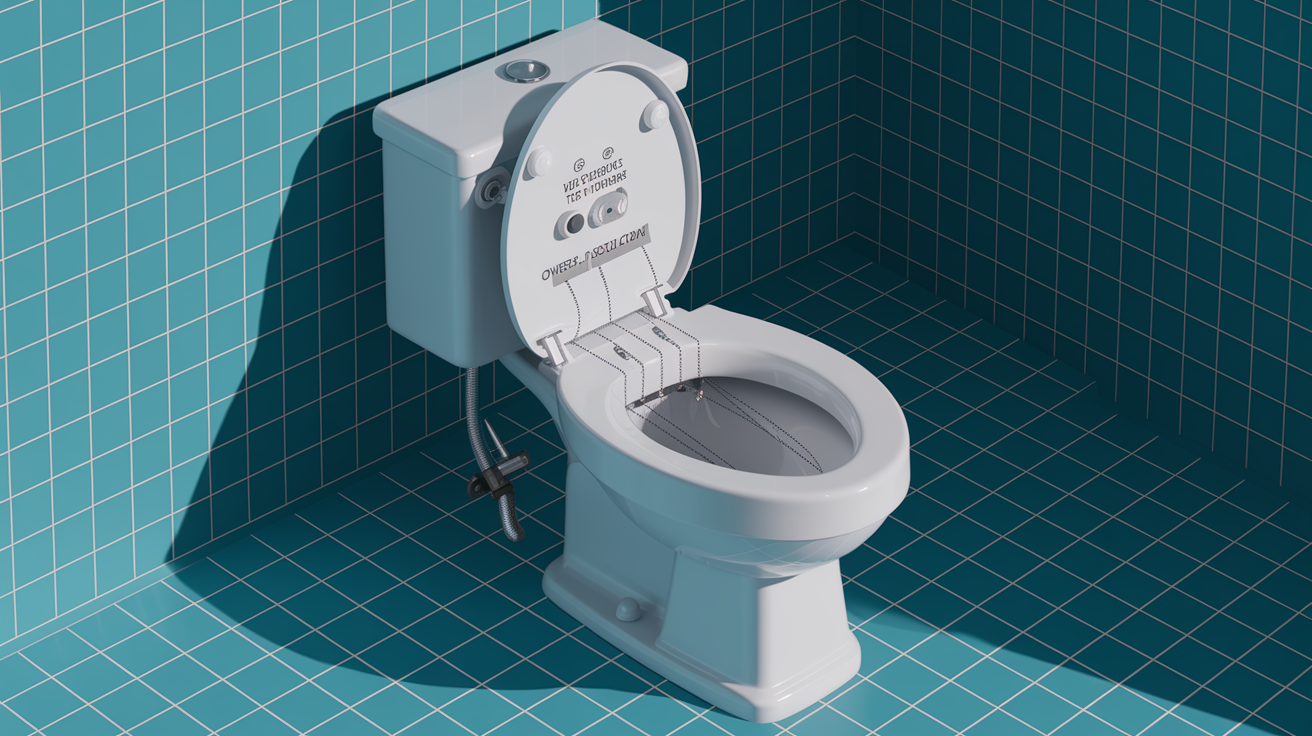
Here’s how the whole flush cycle works. You press the handle, it lifts the chain, which raises the flapper off the flush valve seat. Water rushes into the bowl. The flapper drops back down to seal things off. The fill valve starts refilling the tank while the refill tube brings water back into the bowl. When the float rises to the right level, it tells the fill valve to shut off.
One piece toilets have everything molded together. Two piece toilets have the tank bolted to a separate bowl. This matters when you’re buying repair kits.
When your toilet’s running, something in that cycle isn’t doing its job. Usually it’s the flapper not sealing, the fill valve not shutting off, or the float not signaling properly.
Key parts to know:
- Flush handle and trip lever (the arm connected to the handle inside)
- Chain connecting the trip lever to the flapper
- Flapper (rubber seal at the tank bottom)
- Flush valve seat (the opening the flapper covers)
- Fill valve (tall assembly that brings water in)
- Float (ball or cylinder that rises with water)
- Overflow tube (vertical pipe in the center)
- Refill tube (small flexible tube from fill valve to overflow tube)
Diagnosing the Specific Cause of Your Running Toilet
Four main culprits in order: worn flapper, chain problems, busted fill valve, wrong water level.
Listen for clues. Hissing means fill valve trouble. Gurgling points to the flapper. Phantom flushes where it refills on its own? That’s a slow flapper leak.
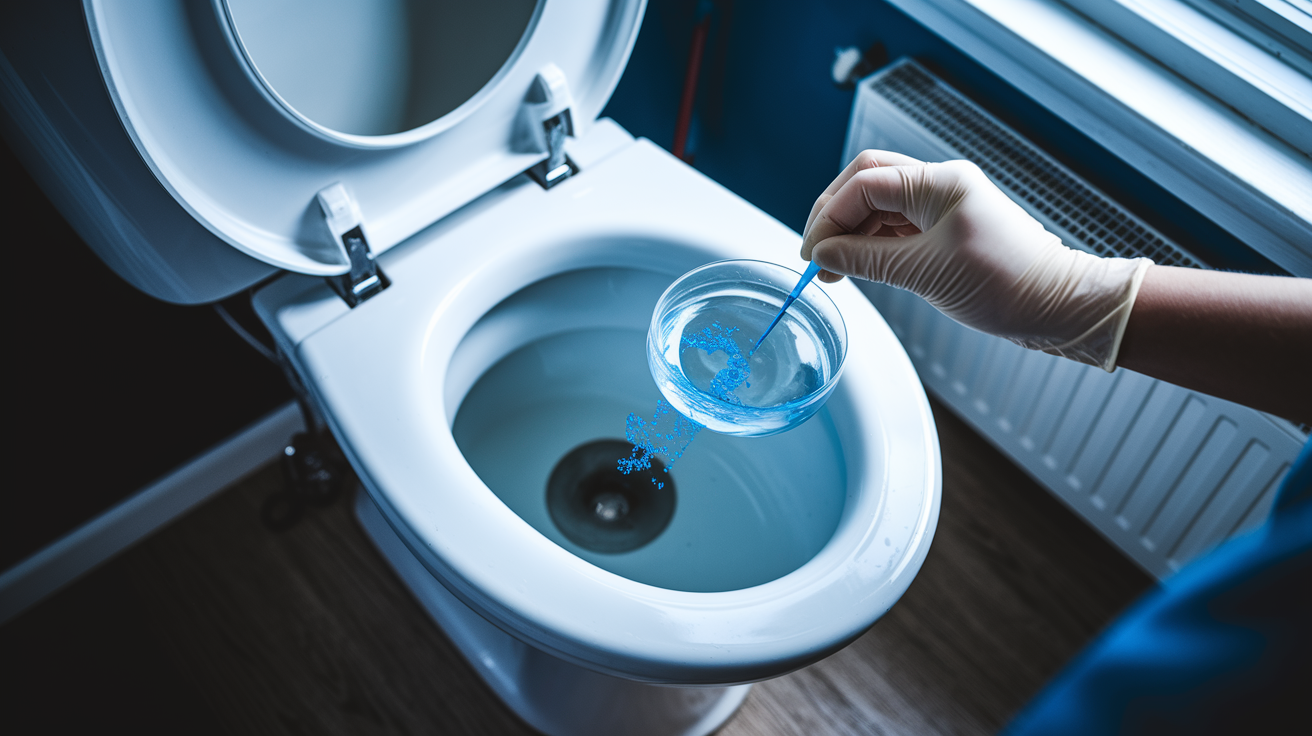
Try the food coloring test. Drop some food coloring in the tank. Wait 15 minutes without flushing. Check if colored water shows up in the bowl. If it does, your flapper’s leaking. “I had no idea the flapper was the problem until I ran that test. Thought my toilet was just randomly refilling every hour or so.”
Pop the tank lid off and watch what happens when you flush. See if the flapper seats completely. Check whether the chain’s tangled or too tight. Watch if the fill valve keeps running after the float hits the right height. Make sure water stops about half an inch to an inch below the overflow tube top.
Adjusting Chain Length for Proper Flapper Function

Chain problems cause a lot of running toilets. Not enough slack holds the flapper open a bit. Too much slack and it gets stuck under the flapper.
Unhook the chain from the trip lever. Count links until you’ve got about half an inch of slack with the flapper seated. Hook it back on at the right spot. Chain too short? Grab a chain extension at the hardware store for a few bucks. Too long? Snip off the extra links.
Some chains have a little float attached. You can slide it up or down, or take it off completely if it’s getting in the way. Test the flush several times. Make sure the flapper opens all the way when you press the handle and closes completely when you let go.
Repairing or Replacing the Fill Valve Assembly
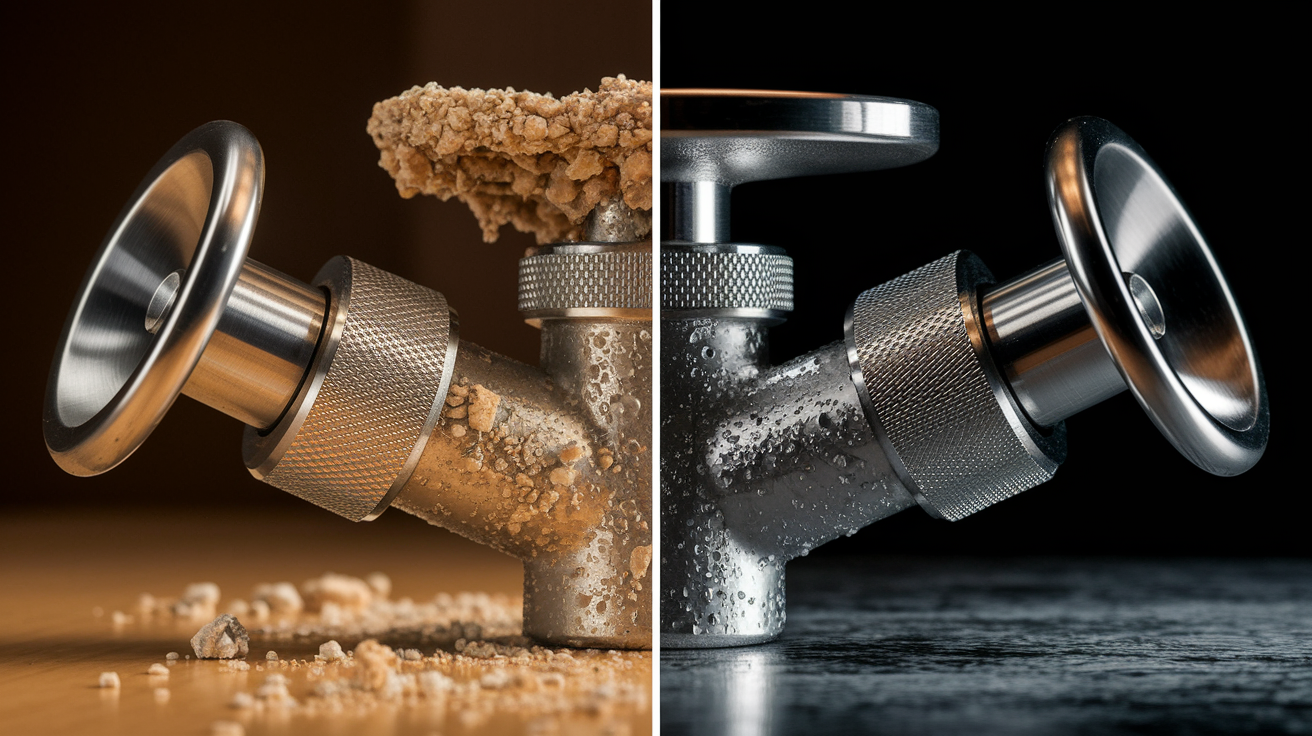
Fill valve issues keep water running into the tank. Good news is you can often clean it instead of replacing it.
Testing and Cleaning the Fill Valve
While the tank’s filling, lift the float arm or push down the float. Water stops? The valve works fine and just needs adjusting. Still running? Time to clean or replace.
To clean it, shut off the water and flush to empty the tank. Take off the fill valve cap. Hold a cup upside down over the opening. Turn the water on briefly to blast out debris and mineral crud. The cup catches the spray. Scrub the valve parts with a soft brush. Put it back together and test.
Complete Fill Valve Replacement
If cleaning doesn’t fix it, you need a new valve. Turn off the shutoff valve and flush. Disconnect the supply line from under the tank with an adjustable wrench. Unscrew the locknut holding the valve. Pull out the old one.
Slide the new valve through the hole in the tank bottom. Hand tighten the locknut from underneath, then add half a turn with a wrench. Don’t overtighten or you’ll crack the porcelain. Reconnect the supply line. Adjust the valve height so water stops half an inch to an inch below the overflow tube. Turn the water back on and test it a few times.
Connecting the Refill Tube and Checking Overflow Tube Height

The refill tube sends a little stream of water from the fill valve into the overflow tube while the tank refills. This brings the bowl’s water level back up after flushing.
Attach one end to the nipple on the fill valve. Clip the angle adapter onto the overflow tube rim. Don’t shove it down inside. Make sure there aren’t any kinks. The tube end should sit just above the overflow tube opening, at least half an inch above where the water line ends up.
If your overflow tube’s taller than the critical level mark on the fill valve (even when it’s maxed out), you’ll need to cut it down. Use a hacksaw to trim the overflow tube so it sits about an inch below that critical level mark. This stops overflow and lets everything shut off properly.
Adjusting Float Position and Water Level
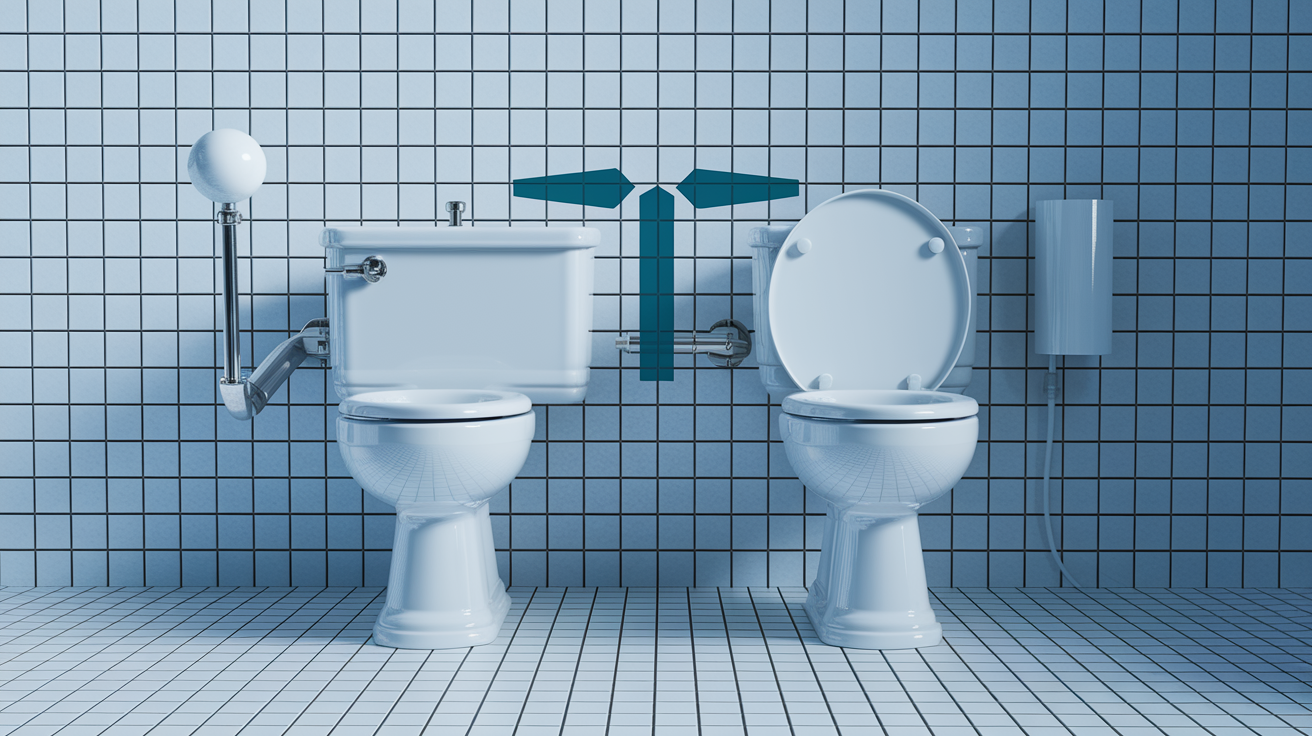
Wrong float adjustment makes the fill valve shut off at the wrong time. Too early and you get weak flushes. Too late and water just keeps draining into the overflow tube.
There are two float types. Ball floats attach to an arm. Bend the arm down to lower water level, up to raise it. Cylinder floats slide on the fill valve shaft. Pinch the spring clip and slide the float up or down.
Water level should stop half an inch to an inch below the overflow tube top. Let the tank fill completely and check that water stops at the right spot. If it keeps running after the float’s in the right position, you need to clean or replace the fill valve like we covered earlier.
Preventing Future Toilet Tank Running Issues

Most toilet parts last 5 to 7 years. Flappers wear out fastest since they’re constantly underwater. Hard water speeds up deterioration of rubber seals and causes mineral buildup everywhere.
Once a year, do a tank inspection and cleaning. Shut off the water and drain the tank. Wipe everything down to get rid of mineral deposits and sediment. Check all the rubber parts for flexibility. If they’re stiff or cracked, replace them. Make sure connections are tight and chains move freely.
Skip the chemical toilet bowl cleaners and tank tablets. Those things destroy rubber flappers, gaskets, and seals way faster. Use white vinegar for cleaning mineral deposits instead. It’s tough on buildup but gentle on parts.
Replace stuff before it breaks. If a flapper feels stiff or looks discolored, swap it out. If the fill valve makes weird noises, clean or replace it before it starts leaking. Keep spare flappers and a basic repair kit handy. A twenty dollar kit in your cabinet beats a 2 a.m. emergency when the toilet won’t stop running.
Toilet Tank Repair Time and Cost Expectations

Toilet tank repairs are some of the easiest home fixes you can do. Most take an hour or less, even if you’ve never done it before. If you know what you’re doing, you can finish in 10 to 20 minutes.
Here’s what you’ll spend: flapper replacement is $5 to $12, complete fill valve runs $15 to $25, chain replacement costs $3 to $5, and a full universal repair kit with everything is $20 to $35. Compare that to a plumber’s service call at $100 to $200.
The payback’s instant. A running toilet wastes 200 gallons per day, adding $50 to $100 to your monthly water bill. Fifteen bucks for a repair pays for itself in days.
| Repair Type | Estimated Time | Typical Cost | Difficulty Level |
|---|---|---|---|
| Flapper replacement | 15 to 30 minutes | $5 to $12 | Beginner |
| Chain adjustment | 5 to 10 minutes | $0 to $5 | Beginner |
| Fill valve cleaning | 10 to 15 minutes | $0 | Beginner |
| Fill valve replacement | 30 to 45 minutes | $15 to $25 | Intermediate |
| Complete troubleshooting and repair | 45 to 60 minutes | $20 to $35 | Intermediate |
When to Call a Professional Plumber for Toilet Tank Repairs
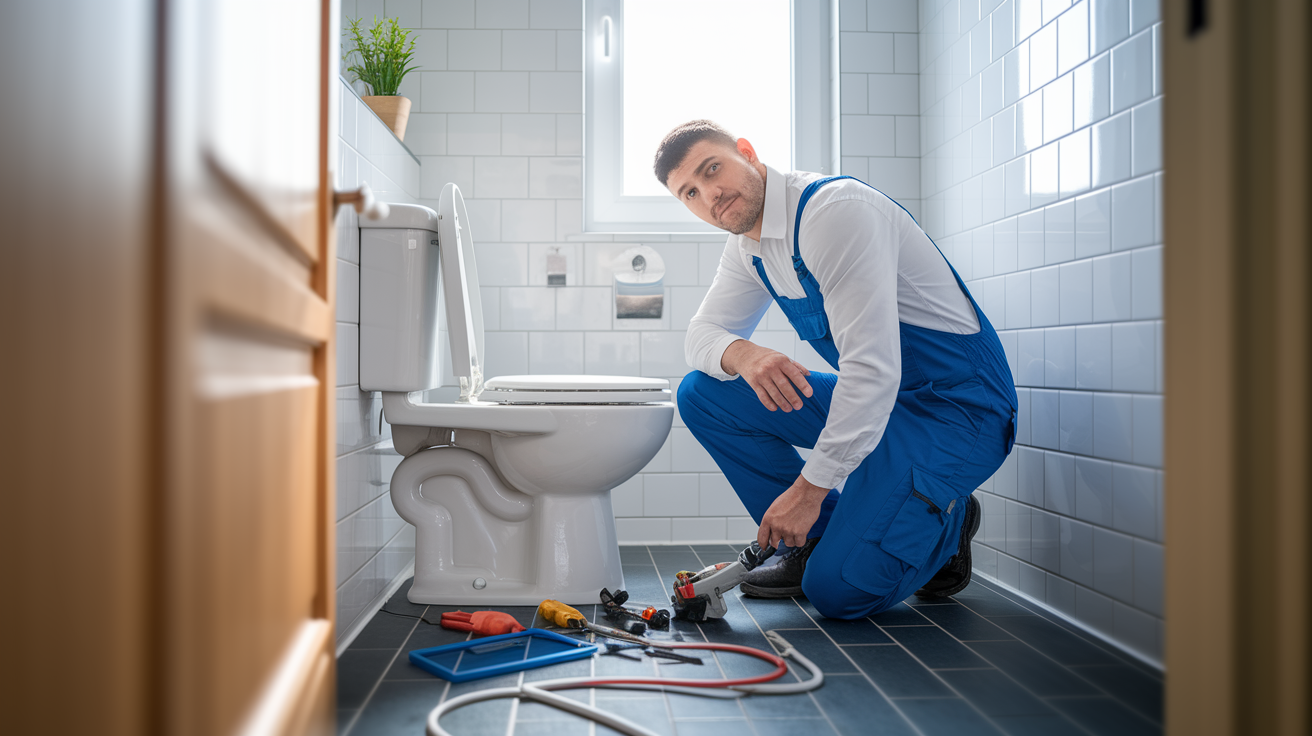
Most running toilet repairs really are DIY friendly. But some situations need professional help.
Call a plumber if you’ve got cracks in the porcelain tank or bowl, leaks that won’t stop even after replacing everything, leaks at the tank to bowl connection (the gasket replacement can crack porcelain if you do it wrong), leaks at the toilet base showing a failed wax ring (whole toilet has to come off), or water damage on the subfloor or ceiling below the bathroom.
Sometimes professional help just makes more sense financially. If you’ve tried fixing it multiple times and it’s still not working, the problem’s probably bigger than basic tank parts. If your toilet’s ancient and you’re racking up repair costs close to what replacement would cost ($200 to $400), just replace it. If you can’t safely lift a tank lid or work in tight spaces, don’t hurt yourself trying. If weird water pressure issues are affecting fixtures throughout your house, a plumber can check the whole system.
Just like homeowners call pros for door and window repairs when things get complicated, toilet repairs that feel over your head are worth getting help with. Preventing water damage costs way less than a service call. And when you’re juggling multiple projects and this toilet repair’s eating up more time than expected, bringing someone in for minor plumbing repairs frees you up to focus on what matters most.
Final Words
A running toilet is almost always a flapper issue you can fix yourself in under an hour for less than twenty bucks.
Once you know how to repair a running toilet tank, you’ll stop the water waste, lower your bill, and avoid that constant background hiss.
Most of these fixes don’t need a plumber. Just basic tools, the right part, and a little patience.
If the problem keeps coming back after you’ve tried everything here, yeah, it might be time to call in help. But nine times out of ten, you’ve got this.
Your toilet will flush clean, fill quietly, and stop running. That’s the goal.
FAQ
How do you fix a toilet tank that keeps running?
You fix a toilet tank that keeps running by replacing the flapper valve, which solves about 90% of these problems and costs under $20. Shut off the water supply, drain the tank, remove the old flapper, clean the flush valve seat, and install a new flapper with proper chain slack.
What is the most common cause of a constantly running toilet?
The most common cause of a constantly running toilet is a worn or deteriorated flapper valve that no longer seals properly against the flush valve seat. This allows water to leak continuously from the tank into the bowl, triggering the fill valve to run constantly.
How do I stop my toilet tank from trickling?
You stop a toilet tank from trickling by testing the flapper with a stick while water runs. If pressing the flapper down stops the water immediately, replace the flapper. If water continues, check chain adjustment, clean or replace the fill valve, or adjust the float position.
Will JB Weld work on a toilet tank?
JB Weld is not recommended for toilet tank repairs because porcelain cracks indicate structural failure requiring full toilet replacement rather than adhesive fixes. Attempting to patch cracked porcelain risks sudden failure, water damage, and potential injury from sharp ceramic edges.
How long does a toilet flapper typically last?
A toilet flapper typically lasts 5 to 7 years before requiring replacement due to constant water submersion and rubber deterioration. Hard water and chemical toilet cleaners accelerate wear, often shortening this lifespan to 3 to 5 years in areas with mineral-heavy water.
Can a running toilet significantly increase my water bill?
A running toilet can significantly increase your water bill by wasting 200 gallons per day, adding $50 to $100 monthly to utility costs. This makes even a simple $15 flapper replacement pay for itself within days while preventing thousands of gallons of waste.
What tools do I need to fix a running toilet?
You need basic tools to fix a running toilet including an adjustable wrench, sponge, bucket, and replacement parts from a hardware store. Most repairs require no specialized plumbing tools, making this an accessible DIY project for beginners with minimal equipment.
Should I replace all toilet tank parts at once?
You should replace all toilet tank parts at once if the toilet is over 7 years old or multiple components show wear, using a universal repair kit for $20 to $35. This prevents repeat repairs and ensures all components work together properly for reliable long-term function.