

You can patch that hole in your wall even if it looks intimidating. Large holes over 6 inches across need backing support, not just spackle, but the method is straightforward. You’ll cut a clean opening, install wood strips behind the drywall for structure, screw in a replacement piece, then finish with tape and compound. Most people expect this to be complicated, but the actual hands-on work only takes a few hours spread over a few days while each layer dries.
Step-by-Step Method to Repair Large Drywall Holes

Large drywall holes, anything over 6 inches across, need a different approach than small nail holes or dings. You can’t just fill it with spackle and hope for the best. The damaged area has no solid backing to support the patch, which is why the repair needs structure behind it.
The backing board method is the most reliable technique for large holes. Here’s how it works: you cut away the damaged section to create a clean opening, install wood strips behind the existing drywall to act as anchor points, then screw a replacement drywall piece to those strips. After that comes the finishing work with tape and joint compound to make it disappear.
Tools and Materials Required
| Category | Items Needed | Purpose |
|---|---|---|
| Cutting Tools | Utility knife, drywall saw, T-square | Cutting and marking clean edges |
| Fastening Tools | Screw gun, screwdriver, studfinder | Securing backing and patch in place |
| Finishing Tools | Putty knife, taping knife, sandpaper (120-220 grit), sanding block | Applying compound and smoothing surface |
| Materials | Drywall piece, backing wood (1×3 or 1×4 lumber), drywall screws, mesh tape, joint compound, primer, paint | Building the repair structure and finish |
| Safety Equipment | N95 dust mask, protective eyewear | Protection from drywall dust during sanding |
Sanding drywall compound creates a fine dust that you really don’t want in your lungs. Wear an N95 mask throughout the sanding steps and keep your safety glasses on to protect your eyes. Open a window if possible and consider taping plastic over doorways to contain the dust.
1. Assess and prepare the damaged area
Start by checking what’s behind that wall. Run a studfinder across the area to locate any wall studs. Look for signs of moisture damage or mold around the hole, especially if water caused the damage.
Before you cut anything, check for electrical wiring and plumbing. Turn off power to nearby outlets if you’re not sure what’s running through that wall. For exterior walls, you’ll want to see what condition the insulation is in once you open things up.
Use your T-square and pencil to mark a clean rectangular shape around the damaged area. Straight lines make everything easier from here on out. Cut along those marked lines with a drywall saw, working slowly to create clean edges. If the hole has ragged edges or crumbling drywall around it, trim those away too.
2. Install backing support strips
Cut your backing wood strips about 4 inches longer than the opening. If your hole is 10 inches across, cut strips to 14 inches. This gives you room to anchor them securely behind the existing drywall on both sides.
Position the first strip behind one edge of your opening. You want half the strip’s width hidden behind the existing wall and half visible inside the opening. That exposed half is where you’ll attach your patch piece.
Drive drywall screws through the existing wall into the backing strip. Space them a few inches apart and make sure that strip sits flush and doesn’t wobble. Repeat for all sides of the opening. The backing needs to be sturdy because it’s holding everything together.
3. Measure and cut replacement drywall piece
Measure your opening carefully, both width and height. Cut your replacement piece about 1/8 inch smaller than those measurements. This slight gap makes fitting easier and gives you room for the tape and compound.
Match the thickness of your existing drywall. Residential walls usually have half inch drywall, but check to be sure. Score the front paper with your utility knife along a straight edge, then snap the drywall along that line. Cut the back paper to separate the piece completely.
Test fit your patch before moving forward. It should sit flush with the surrounding wall surface without forcing or binding. If it’s too tight, trim a bit more off the edges.
4. Secure the patch to backing strips
Position your patch in the opening and line it up so it sits evenly against those backing strips. Starting from the center and working outward, drive drywall screws through the patch into the backing strips.
Space screws about 6 to 8 inches apart around the perimeter. Countersink each screw slightly so the head sits just below the paper surface, but don’t break through the paper. That creates a dimple you can fill later with compound.
Check that your patch sits flush with the surrounding wall. Run your hand across the seam. If you feel a ridge or gap, adjust before moving on.
5. Apply mesh tape to all seams
Cut pieces of self-adhesive fiberglass mesh tape to cover each seam between your patch and the existing wall. Press the tape firmly into place, making sure it adheres smoothly without bubbles or wrinkles underneath.
The tape should center over the seam, covering equal amounts of both surfaces. If you’re patching a corner or edge, wrap the tape around for complete coverage. Cover the exposed screw heads if they fall near seams. This tape reinforces the joints and prevents cracks from forming later.
6. Apply joint compound in multiple coats
For your first coat, load joint compound onto your putty knife and spread a thin layer over the mesh tape and screw heads. Extend this coat about 6 inches beyond the edges of your patch. Hold the knife at a low angle and pull it smoothly across the surface. Excess compound squeezing out the sides means you’re applying enough pressure.
Let that first coat dry completely, usually 24 hours depending on humidity. Don’t rush this part.
Second coat goes on with a wider knife. Feather the compound out 8 to 10 inches beyond where the first coat ended. This gradual widening is what makes the patch disappear. Apply thin layers, not thick globs.
Another 24 hours of drying time brings you to the third coat. This is your final smoothing pass. Feather the compound out 12 inches or more, spot filling any imperfections you see. Keep it thin. You can always add more, but removing excess compound means more sanding.
7. Sand between coats for smooth finish
Make absolutely sure each coat is bone dry before you sand. Touch it in the morning before you start. If it feels cool to the touch, it’s still releasing moisture.
Start with 120 grit sandpaper for your first coat. Sand in circular motions to blend the edges into the surrounding wall. Don’t press hard. Let the sandpaper do the work.
Move to 150 grit for the second coat, then 220 grit for your final smoothing after the third coat. Check your work by running your hand across the surface and shining a light at an angle. Shadows will show you any ridges or low spots you missed.
Clean the dust off completely between coats. A slightly damp cloth works well for this and keeps dust from becoming airborne.
8. Prime and paint the repaired area
Apply primer to the entire repaired area. Joint compound is porous and will absorb paint differently than the surrounding wall, causing a condition called flashing where the patch shows through even after painting. Primer seals everything and prevents that.
Let the primer dry completely, then apply your paint. If you’re matching an existing wall color, bring a sample to the paint store or take a photo in natural light. Match the sheen too, whether that’s flat, eggshell, or satin.
Use a roller to apply paint, extending well beyond your patch area. Feather the wet edges while the paint is still workable so you don’t create a visible border. A second coat usually gives you complete coverage.
This repair typically takes 2 to 3 days from start to finish when you account for drying time between coats. The actual hands on work might only add up to a few hours total. The method works the same whether you’re repairing a wall or a ceiling, though ceiling work requires more careful attention to keeping wet compound from dripping. Patience with the drying times is what produces results that look professional. Rush the process and you’ll see it in the finish.
Applying Joint Compound Coats to the Patched Hole
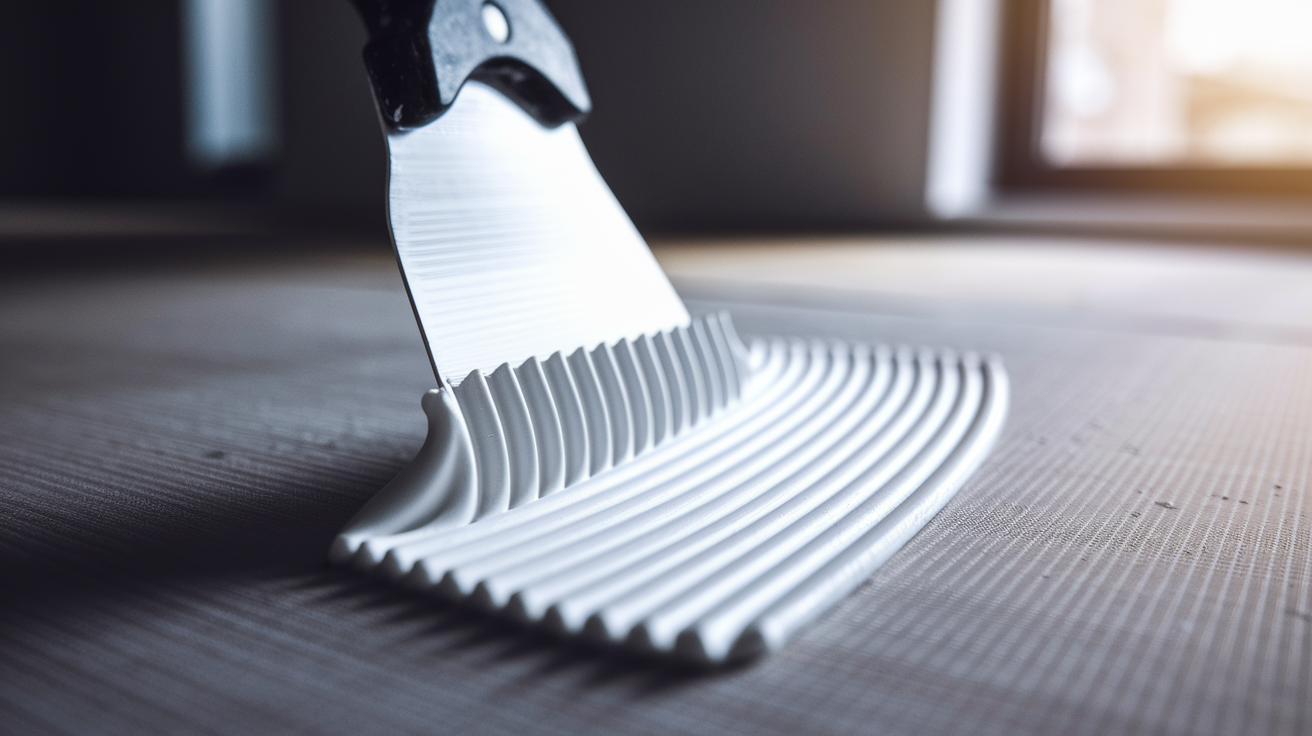
Multiple thin coats of joint compound always produce better results than trying to fill everything in one thick application. Thick compound shrinks as it dries, cracks more easily, and takes forever to cure all the way through. Thin layers dry faster, sand easier, and build up a smooth finish gradually.
First Coat Application
Your first coat needs to cover that mesh tape and all the screw heads completely. Load compound onto your taping knife and spread it across the tape, pressing firmly enough that compound fills the mesh and excess squeezes out both sides. Scrape off the excess with a clean pass of the knife.
Keep this layer thin, maybe 1/8 inch at most over the tape itself. Extend the compound about 6 inches beyond the edges of your patch on all sides. The goal here is coverage and embedding the tape, not creating a perfect surface. That comes with the next coats.
Second Coat Application
After your first coat dries completely (give it a full 24 hours), load your wider taping knife with compound. Apply this coat 8 to 10 inches beyond where the first coat ended. This gradual widening is called feathering, and it’s what makes the repair invisible.
Hold your knife at a low angle and pull it across the surface in long, smooth strokes. Overlap your passes slightly so you’re not leaving ridges between strokes. The center of your repair will be thicker than the outer edges, but that’s exactly what you want. The edges should taper down to almost nothing where they meet the existing wall.
Third Coat Application
Your third coat is the widest and thinnest application. Feather it out 12 inches or more from the patch center. This coat is mostly about spot filling any small imperfections you can see or feel from the previous coats.
If you’ve got a tiny low spot or a hairline ridge, this is when you address it. Apply compound only where needed rather than covering the entire area again. Long, light strokes with your widest knife give you the smoothest finish.
Joint compound typically needs 24 hours between coats, but that can stretch longer in humid conditions or during cold weather. The compound should be hard to the touch and lighter in color when it’s ready. If it still feels cool or looks darker in spots, those areas are still drying. Some people use a fan to speed things up, which works as long as you’re not creating so much airflow that the compound dries too fast and cracks. Slow and steady wins here.
Sanding Techniques for a Smooth Drywall Finish

Wait until each coat of compound is completely dry before you start sanding. Trying to sand damp compound just makes a mess and ruins your sandpaper. Put your N95 mask and eye protection on before you start. This part creates dust, and you’ll be glad you prepared.
Start with 120 grit sandpaper for your first coat, focusing on any obvious ridges or bumps that came from your knife strokes. Progress to 150 grit for your second coat, using light pressure and checking your work frequently with your hand. Use 220 grit for final smoothing after the third coat to create transitions between the patch and existing wall. Sand in circular motions rather than straight lines to blend edges more naturally and avoid creating visible scratch patterns.
Check your surface by running your hand across it and shining a light at an angle to see shadows from any remaining imperfections. Consider using a damp sponge instead of sandpaper for final smoothing, which reduces airborne dust and works well for small touchups.
A sanding block helps maintain even pressure and prevents you from creating low spots by pressing too hard in one area. Work from the center of your repair outward toward the edges. The goal is a surface you can’t feel when you run your hand across it.
After sanding each coat, wipe down the area with a slightly damp cloth to remove all the dust. That dust will mess up your next coat of compound or your primer if you leave it. Open a window and let things air out between sanding sessions. The dust settles surprisingly far from where you’re working.
Matching Texture on Repaired Drywall Surfaces
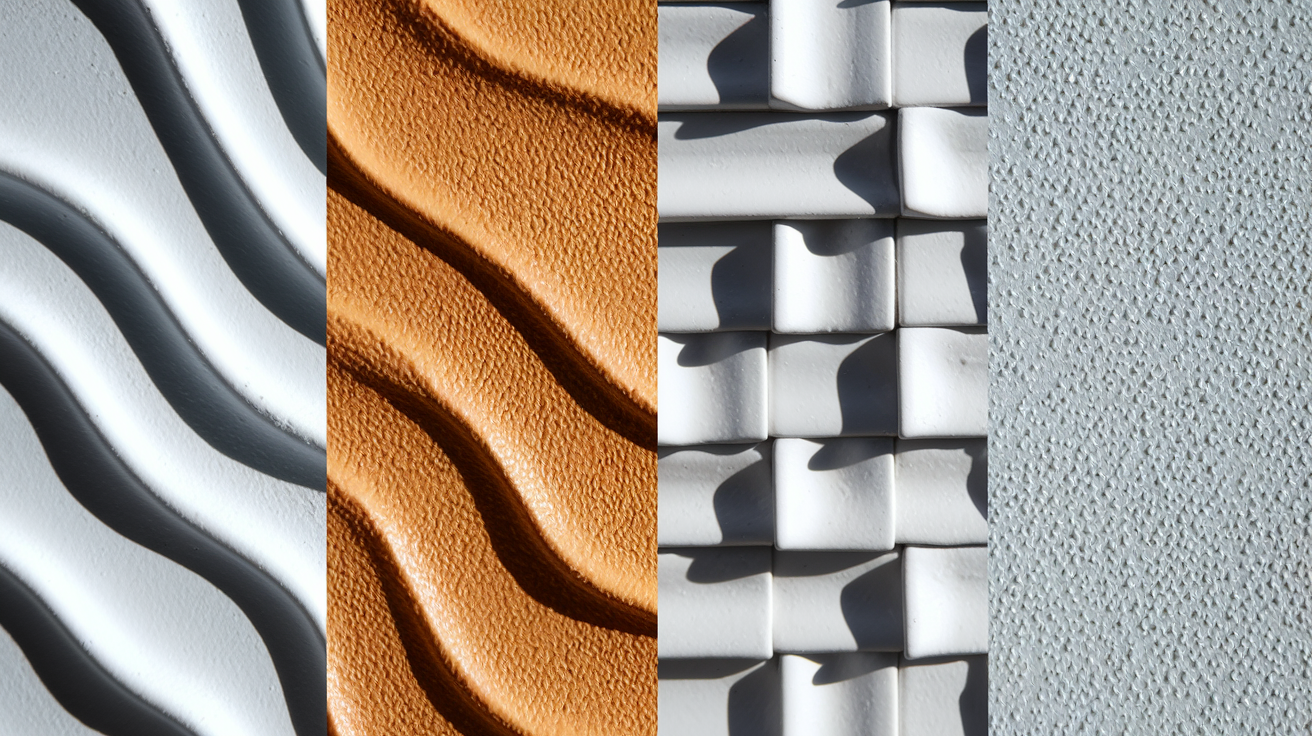
Texture matching is what makes or breaks an invisible repair. You can nail every other step perfectly, but if your smooth patch sits in the middle of an orange peel wall, everyone’s going to see it. Take a close look at your existing wall texture before you prime. Is it smooth, slightly bumpy, heavily textured?
Practice your texture technique on a piece of cardboard or scrap drywall before you apply it to your finished repair. This gives you a chance to adjust your approach and see how the texture looks when it dries. Texture often appears different wet versus dry, so let your test sample dry completely.
| Texture Type | Application Method | Tools Needed |
|---|---|---|
| Smooth | No texture needed, just proper sanding and priming | Fine-grit sandpaper, primer, low-nap roller |
| Orange Peel | Spray texture or high-nap roller application | Texture spray can or 3/8-inch nap roller |
| Knockdown | Apply spray texture, then lightly flatten with knife | Texture spray, wide taping knife |
| Popcorn | Spray-on popcorn texture or manual application | Popcorn texture mix, spray applicator or brush |
Priming and Painting the Drywall Patch
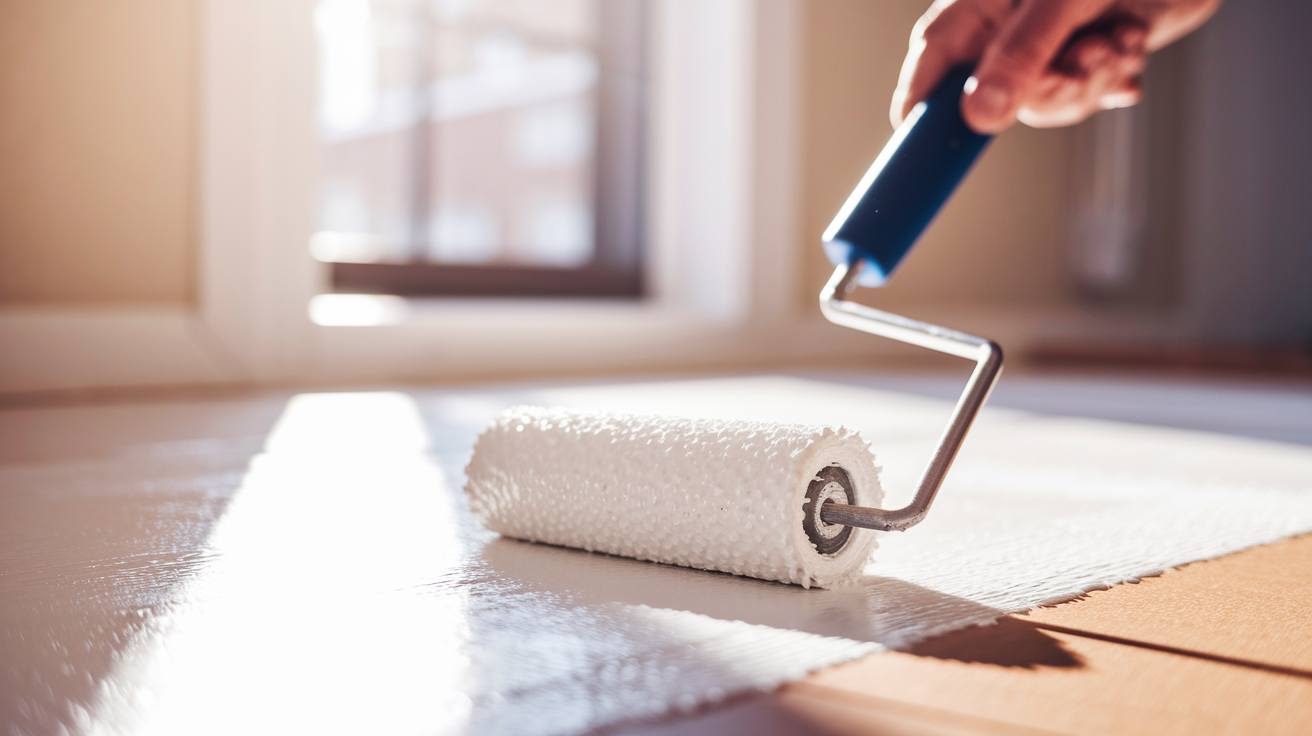
Prime the entire repaired area after your final sanding is complete and you’ve cleaned away all the dust. Joint compound is porous and absorbent. If you skip primer and go straight to paint, that patched area will soak up paint differently than the surrounding wall. The result is a visible patch that shows through as a dull spot even after multiple coats of paint. Primer seals the compound and creates an even surface for your finish paint.
Match your paint color and sheen to the existing wall. If you’re not sure what color you’ve got, cut a small paint chip from an inconspicuous area (inside a closet works well) and bring it to a paint store for computer matching. Sheen matters as much as color. Flat paint, eggshell, and satin all reflect light differently. A satin patch on a flat wall will catch your eye every time.
Apply your paint with a roller, using the same nap thickness as the rest of the wall. Start in the center of your repair and roll outward, extending well beyond the patched area. Feather the wet edges while the paint is still workable by rolling lightly where the new paint meets the existing wall. This blending prevents a visible border. Load your roller evenly, don’t oversaturate it with paint.
Let everything dry, then check your work under different lighting conditions. Look at it in morning light, afternoon light, and with your lamps on at night. Sometimes a patch that looks perfect in bright daylight shows up under artificial light. If you see any difference, a second coat of paint usually takes care of it.
Common Mistakes to Avoid When Patching Large Holes
You’ll learn faster by knowing what not to do. Most drywall patch failures come from the same handful of mistakes, and they’re all avoidable once you know to watch for them.
Skipping backing support or using inadequate blocking is a big one. Without solid backing behind your patch, it’ll flex and crack the joint compound within weeks. Cutting patch pieces that fit too tightly is another problem. A patch that’s forced into the opening won’t sit flush and makes finishing nearly impossible.
Applying joint compound too thick in single applications causes shrinkage as it dries, creating cracks and depressions that require additional coats to fix. Not waiting for complete drying between coats is probably the most common mistake. Rushing the drying time traps moisture that weakens the repair and causes bubbling under paint.
Over sanding and creating low spots happens when you get aggressive with the sandpaper. You can remove too much compound and create depressions that show up after painting. Forgetting to prime before painting creates flashing where the patch shows through as a dull spot regardless of how many coats of paint you apply.
Inadequate feathering of compound edges leaves abrupt transitions where compound meets drywall. These create visible ridges that sanding can’t completely remove. Not matching texture before painting is the last big one. A smooth repair on a textured wall stands out immediately no matter how perfectly you blended the compound.
Most of these mistakes add time to your project rather than ruining it completely. You can usually fix them by adding another coat of compound or an extra sanding pass. The exception is inadequate backing support, which means starting over from the beginning.
Cost Breakdown and Time Investment for Large Hole Repair
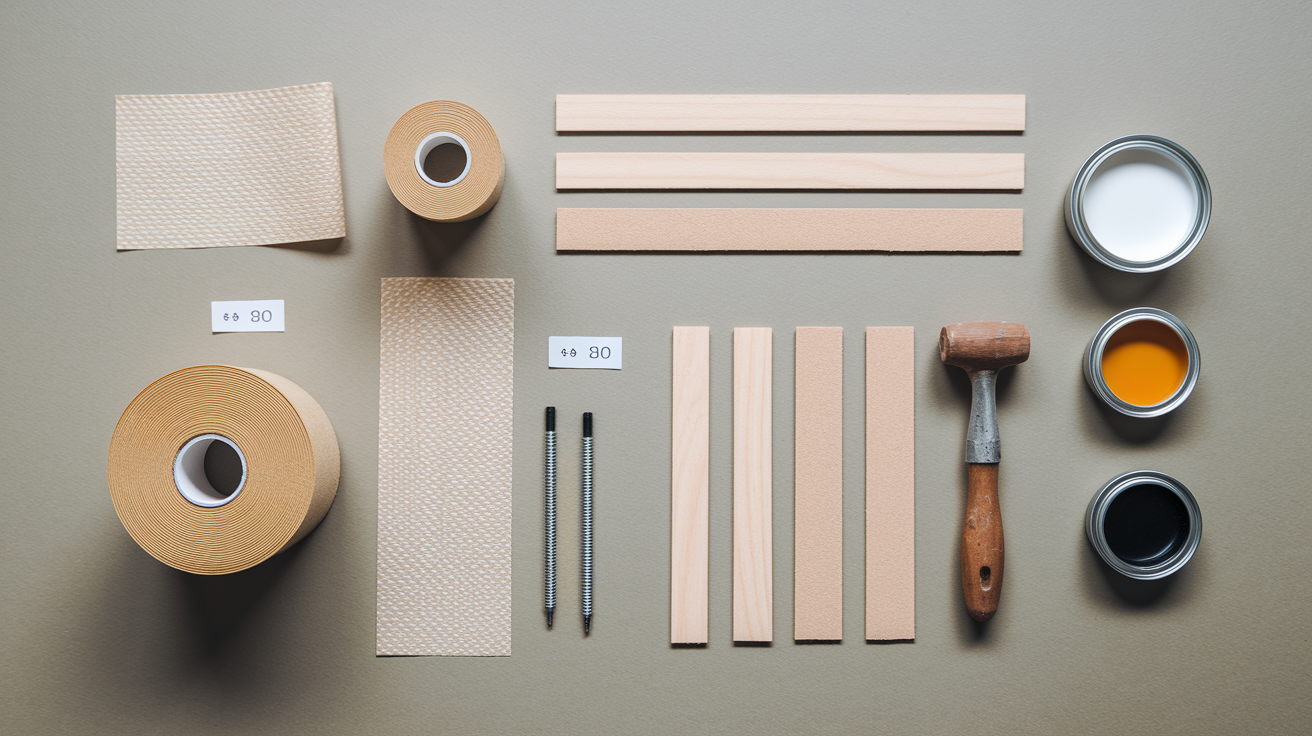
This repair typically takes 2 to 3 days from start to finish, but most of that time is waiting for joint compound to dry between coats. Your actual hands on work might only add up to 3 or 4 hours total, spread across those days. Day one is cutting, fitting, and applying the first coat of compound. Day two is sanding and applying the second coat. Day three is final sanding, priming, and painting.
The timeline matters because you can’t rush the drying. Joint compound needs those full 24 hour cycles between coats to cure properly. Trying to speed it up by applying heat or piling on thick layers just creates problems later.
| Material/Tool | Estimated Cost |
|---|---|
| Drywall sheet (partial) | $8-15 |
| Backing wood strips | $3-8 |
| Drywall screws | $4-7 |
| Mesh tape | $4-6 |
| Joint compound (quart) | $5-10 |
| Sandpaper assortment | $3-6 |
| Primer (small can) | $6-12 |
| Paint (quart) | $8-15 |
A DIY repair typically runs between $30 and $60 in materials, assuming you already own basic tools like a utility knife and screwdriver. Professional repair for the same hole runs $150 to $400 depending on your location and the complexity of texture matching. The price gap makes this a worthwhile DIY project if you’ve got the time to let things dry properly between steps.
Alternative Drywall Patch Methods for Different Situations

Different hole sizes and locations sometimes call for different techniques. The backing board method we covered works reliably for large holes, but you’ve got options for specific situations that might save you time or work better in tight spaces.
California Patch Method for Medium Holes
This technique works well for holes in the 4 to 8 inch range where you need a cleaner finish than a typical patch kit but don’t want to install full backing boards. Cut a piece of scrap drywall a few inches bigger than your hole. Trace the hole shape onto paper, then transfer that shape reversed onto the back of your scrap piece.
Score straight lines across the top and bottom of the traced shape, then snap off the excess drywall. Here’s the trick: peel away the broken drywall pieces but keep the front paper layer intact. This leaves you with a patch piece surrounded by a paper border about 1.5 inches wide.
Slightly wet the paper edges, apply a thin layer of joint compound around your hole, then press the patch into place. The paper border acts like built in tape. You’ll still need multiple coats of compound and proper feathering, but you skip the backing board installation step entirely.
Metal Patch Panels for Quick Repairs
Pre fabricated metal mesh patches with adhesive backing work for moderate holes when you can’t easily access the back side of the wall for backing installation. These aluminum screens have adhesive around the edges and a slightly flexible mesh center.
Peel off the backing, center the patch over your hole, and press the adhesive edges firmly against the wall. Then apply joint compound over the entire patch in thin coats, just like you would over mesh tape. The metal mesh provides the structural support that prevents the compound from sagging into the hole.
The backing board method remains the most reliable approach for holes over 8 inches or any situation where you need maximum strength. These alternatives work, but they depend more on the compound itself for structural integrity. For smaller repairs or situations where backing access is truly limited, they’re solid options that get the job done.
When to Call a Professional for Drywall Repair

Many large holes are manageable DIY projects, but some situations benefit from professional experience and specialized tools. There’s no shame in recognizing when a repair is beyond your comfort level or requires expertise you don’t have.
Damage near electrical wiring or plumbing is one of those situations. If you see wires or pipes behind your damaged drywall, a professional can safely work around utilities and knows the codes for maintaining proper clearances. Holes in ceilings requiring scaffold or significant overhead access present another challenge. Working overhead is tiring and dangerous without proper staging, and keeping wet compound from dripping takes practice.
Evidence of moisture damage, mold growth, or ongoing water infiltration needs diagnosis and remediation before any cosmetic repair. Mold requires specific handling procedures. Structural damage to wall studs or framing members means broken or compromised framing needs proper repair before you can patch the drywall surface.
Fire rated assemblies or walls requiring soundproofing specifications get tricky because some walls have specific rating requirements that affect material selection and installation methods. Multiple large holes requiring consistent texture matching across rooms takes experience, especially with knockdown or complex finishes. And honestly, if you don’t have the tools or confidence to complete the repair properly, a botched DIY repair costs more to fix than hiring a pro from the start.
Get estimates from a couple of local drywall contractors even if you’re planning to do the work yourself. Knowing the professional cost helps you make an informed decision about whether the DIY savings justify your time investment. Some repairs fall into that middle ground where either approach makes sense depending on your schedule and skill level.
Final Words
When you patch a large hole in drywall, the backing board method gives you repair strength that lasts.
The process takes a few days with drying time, but the steps themselves aren’t complicated.
Cut clean, install solid backing, fit your replacement piece, then build up joint compound in thin coats. Sand between layers, match the texture, prime, and paint.
If you take your time and let each coat dry fully, you’ll end up with a patch that disappears into the wall. And that’s exactly what you’re after.
FAQ
How do you fix a huge hole in drywall?
To fix a huge hole in drywall, you cut the damaged area into a clean rectangular shape, install wooden backing strips behind the existing drywall edges, screw a replacement drywall patch to those backing strips, then finish with mesh tape and joint compound applied in multiple thin coats.
How big of a hole can you fill in drywall?
A hole in drywall can be filled using different methods depending on size. Holes smaller than 4 inches can use spackle or patch kits, while holes between 4-6 inches need the California patch method. Holes larger than 6 inches require the backing board method with a replacement drywall piece.
How to fix a very big hole in the wall?
A very big hole in the wall is fixed by cutting a rectangular opening around the damage, securing wooden backing strips behind the drywall with screws, attaching a replacement drywall piece to those strips, then covering seams with mesh tape and applying multiple coats of joint compound.
What filler is best for large wall holes?
The best filler for large wall holes is all-purpose joint compound (also called mud) applied in multiple thin coats over a properly installed drywall patch with backing support. For holes over 6 inches, spackle or hole filler alone won’t hold, and a structural patch with backing strips is required.
What tools do you need to repair large drywall holes?
To repair large drywall holes, you need cutting tools (utility knife, drywall saw, T-square), fastening tools (screw gun, screwdriver), finishing tools (putty knife, taping knife, sandpaper), plus materials like drywall scraps, backing wood, screws, mesh tape, joint compound, and safety equipment including an N95 mask.
How long does it take to patch a large drywall hole?
Patching a large drywall hole typically takes 2-3 days from start to finish, though active work time is only a few hours. Most of the timeline consists of waiting 24 hours between each of the three joint compound coats to dry completely before sanding and applying the next layer.
Do you need backing support for large drywall holes?
Yes, you need backing support for large drywall holes over 6 inches because the replacement patch needs something solid to screw into. Wooden strips (1×3 or 1×4 lumber) are secured behind the existing drywall edges, providing anchor points that keep the patch flush and stable with the surrounding wall.
What type of joint compound works best for drywall patches?
All-purpose joint compound works best for most drywall patches because it’s versatile for all three coats, sands easily, and produces smooth results. Lightweight formulas are easier to sand, while setting-type compounds dry faster but are harder to work with and less forgiving for beginners attempting their first large repair.
How many coats of joint compound do you apply to a drywall patch?
You apply at least three coats of joint compound to a drywall patch, with each coat feathered wider than the previous one. The first coat covers the mesh tape and screw heads, the second coat extends 8-10 inches beyond the first, and the third coat feathers 12 inches or more for seamless blending.
Can you use the same method to patch drywall on ceilings?
Yes, you can use the same backing board method to patch drywall on ceilings as you would for walls. The technique is identical, though ceiling repairs are more physically demanding because you’re working overhead, may need scaffolding or a sturdy ladder, and gravity makes holding the patch in position trickier.
What grit sandpaper should you use for drywall repairs?
For drywall repairs, start with 120-grit sandpaper after the first coat dries, progress to 150-grit after the second coat, and finish with 220-grit for final smoothing. The grit progression creates smooth transitions without over-sanding, and finer grits reduce visible scratches before priming and painting the repaired area.
Why do you need to prime drywall patches before painting?
You need to prime drywall patches before painting because joint compound is porous and absorbs paint differently than existing painted surfaces, causing flashing (visible shiny or dull spots). Primer seals the compound, creates uniform texture, and ensures the finish paint looks consistent across the entire wall without showing the repair.
How do you match texture on a repaired drywall surface?
To match texture on a repaired drywall surface, identify your existing texture type (smooth, orange peel, knockdown, or popcorn), then replicate it using spray texture, sponge, brush, or roller techniques before painting. Practice on cardboard first to get the pattern right, and apply texture after priming but before final paint.
What are common mistakes when patching large drywall holes?
Common mistakes when patching large drywall holes include skipping backing support, applying compound too thick, not allowing 24 hours drying time between coats, over-sanding and creating low spots, inadequate edge feathering, forgetting to prime before painting, and not matching the existing wall texture before applying final paint coats.
When should you call a professional for drywall repair?
You should call a professional for drywall repair when damage is near electrical wiring or plumbing, holes are in ceilings requiring scaffold access, you find moisture damage or mold, structural framing is damaged, fire-rated or soundproofing panels are involved, or you lack confidence and appropriate tools for the repair.
How much does it cost to repair a large drywall hole yourself?
Repairing a large drywall hole yourself typically costs $30-60 for materials including a drywall sheet, backing wood, screws, mesh tape, joint compound, sandpaper, primer, and paint. Professional repairs for the same hole usually run $150-400, making DIY an economical option if you have the time and basic tools.