

Have you been listening to your toilet randomly refill itself every ten minutes? That phantom flush isn’t a ghost. It’s a running toilet, and it’s quietly dumping hundreds of gallons of water down the drain every month. The good news is you can fix most running toilets in under twenty minutes with a couple simple parts from the hardware store. This guide walks you through five straightforward steps to stop the leak, lower your water bill, and get your toilet working normally again.
Common Causes of a Running Toilet and Quick Identification
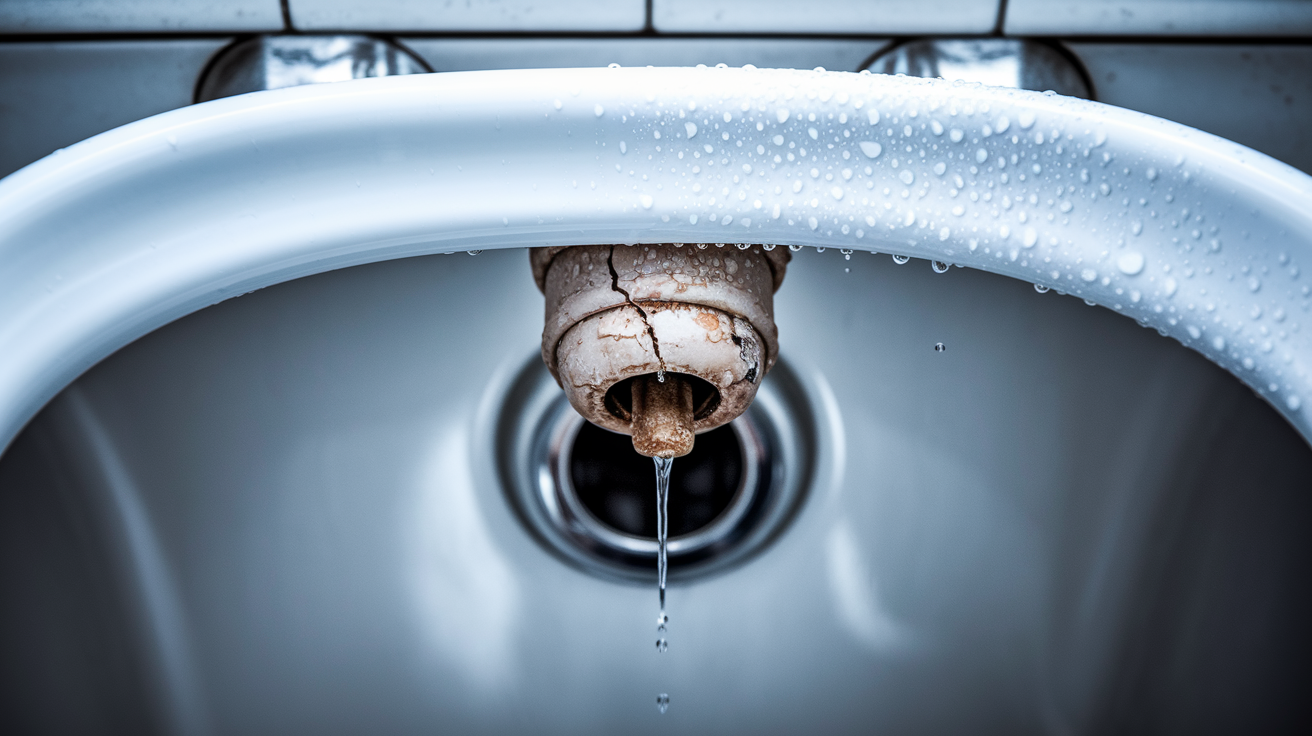
A running toilet means water keeps flowing into the tank or bowl after you flush. Instead of filling up, shutting off, and going quiet, the toilet keeps trickling or refilling on its own. This wastes water and drives up your bill, but most causes are pretty straightforward to spot and fix.
The five most common causes, ranked by how often they happen:
Worn or damaged flapper valve. The rubber seal at the bottom of the tank wears out and doesn’t create a tight seal anymore, so water leaks into the bowl.
Incorrect chain length. If the chain’s too short, it keeps the flapper from closing all the way. Too long, and it can fall between the flapper and fill valve, holding the flapper open.
Malfunctioning fill valve. The valve doesn’t shut off properly after the tank refills, so water just keeps flowing.
Incorrectly positioned float mechanism. The float sits too high, telling the fill valve to keep adding water that spills into the overflow tube.
Refill tube positioned too long. The small plastic tube from the fill valve extends too far into the overflow pipe, creating a siphon effect.
You can figure out which part’s failing by listening and looking. A “phantom flush” where the toilet randomly refills itself every few minutes? That’s the flapper leaking water from the tank into the bowl. A constant hissing sound means the fill valve isn’t shutting off properly and keeps adding water to the tank.
For a quick visual check, lift the tank lid and watch the water level. It should sit about one inch below the top of the overflow tube (that’s the tall pipe in the center of the tank). If water’s spilling over the top of that tube, your float’s set too high or your fill valve isn’t closing. Look at the chain connecting the flush handle to the flapper too. It shouldn’t be tangled, kinked, or caught under the flapper. The float should move freely without getting stuck against the tank wall or other parts.
Essential Tools and Replacement Parts for Toilet Repair
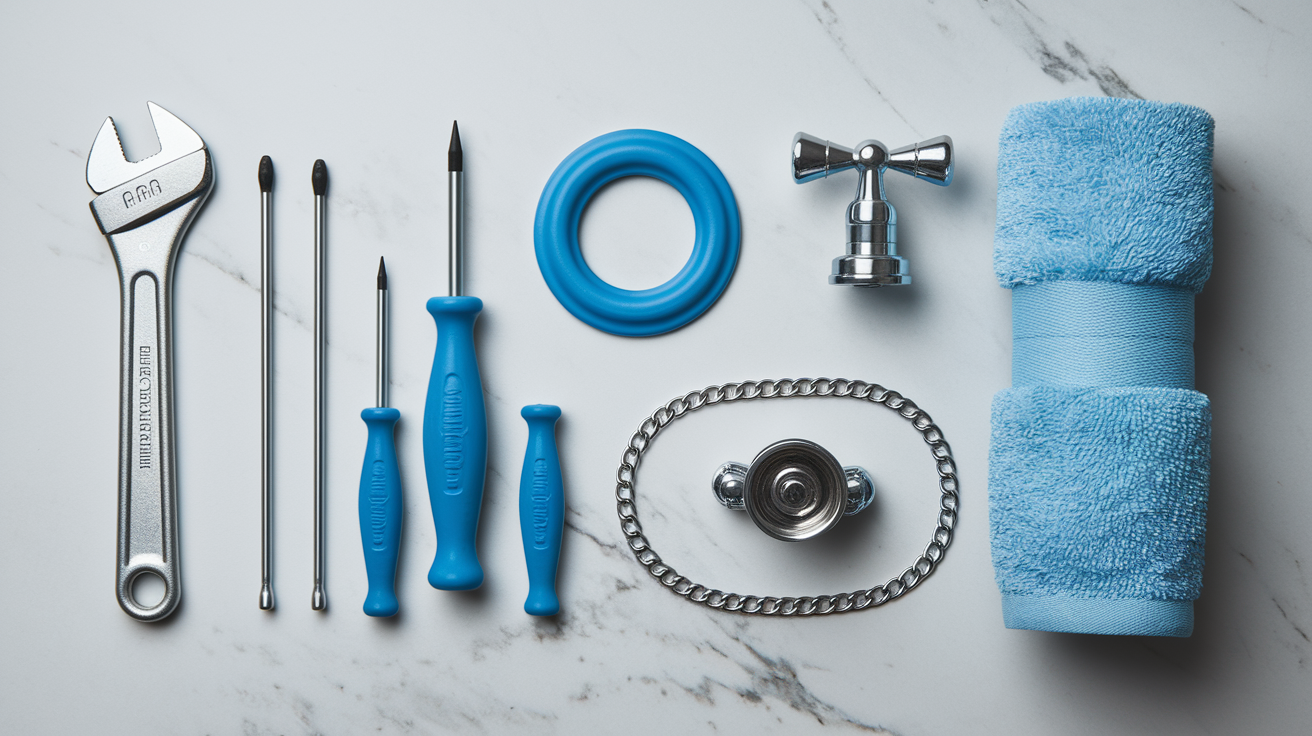
Most toilet repairs need only basic household tools you probably already have. If you need to buy replacement parts, they’re cheap and available at any hardware store. Getting everything ready before you start saves trips back and forth and makes the repair go smoothly.
| Item | Purpose | Estimated Cost |
|---|---|---|
| Adjustable wrench | Tighten or loosen tank bolts and supply line connections | $10-$20 (if needed) |
| Screwdriver set | Remove tank lid screws and adjust components | $15-$25 (if needed) |
| Replacement flapper | Creates seal at bottom of tank to prevent leaking | $20-$50 |
| Replacement fill valve | Controls water flow into tank after flushing | $15-$35 |
| Bucket | Catch water when disconnecting supply lines | $5-$10 (if needed) |
| Sponge or towels | Soak up remaining water from tank | Already on hand |
| Pliers | Remove old flappers and disconnect chain | $10-$15 (if needed) |
| Replacement chain | Connects flush handle to flapper | $3-$8 |
Replacement flappers typically cost between twenty and fifty dollars. Float assemblies run from ten to thirty dollars. Universal parts fit most standard toilets, but it’s smart to check your toilet’s manufacturer and model before buying. You can usually find this information stamped inside the tank or on the underside of the tank lid.
Buying a complete toilet repair kit, which includes a flapper, fill valve, and other common parts, often costs less than buying components individually. These kits run about forty to seventy dollars and give you everything you might need in one package. That said, if you’ve identified the specific failing part, buying just that component saves money. Flappers should be replaced every one to two years even if they look fine, since rubber breaks down gradually and small leaks waste water long before you notice any problems.
Step by Step Flapper Valve Replacement Guide

The flapper valve is the most common cause of running toilets because the rubber gets stiff and brittle over time. You can confirm flapper failure with a simple test. Lift the tank lid, reach in, and push down firmly on the flapper with your hand. If the toilet immediately stops running, the flapper’s defective and needs replacement. If you touch the flapper and it feels hard or inflexible instead of soft and pliable, it’s time for a new one.
- Turn off the water supply valve behind the toilet by turning it clockwise until it stops.
- Flush the toilet once to empty most of the water from the tank.
- Unhook the chain from the flush lever and remove the old flapper by sliding it off the pegs on either side of the overflow tube.
- Install the new flapper by sliding it onto the same pegs, making sure it sits flat against the flush valve opening at the bottom of the tank.
- Connect the chain to the flush lever with slight slack, leaving about half an inch of loose chain when the flapper’s closed.
- Turn the water supply back on by turning the valve counterclockwise.
- Flush multiple times and watch the water level to verify it refills properly and stays steady without continuing to run.
Chain length is critical to proper flapper function. If the chain’s too long, it can fall between the flapper and the fill valve, creating a gap that lets water constantly drain from the tank into the bowl. If the chain’s too short, it prevents the flapper from closing completely, which also causes continuous drainage. The chain should have just enough slack that the flapper rests fully closed when the flush handle’s in its normal position, but not so much slack that it piles up underneath the flapper. A chain with about half an inch of slack when the flapper’s down works for most toilets. If you’ve been jiggling the handle for six months to get it to stop running, yeah, the chain’s probably your problem.
After installation, test the repair by flushing four or five times in a row and watching what happens. The water should fill to the correct level (about one inch below the overflow tube top) and then stop completely. Listen for any hissing sounds, which indicate water’s still leaking somewhere. If the toilet continues to run even with a new flapper installed and proper chain adjustment, the problem may be the flush valve seat itself, which we’ll cover in a later section.
Adjusting Fill Valve, Float Mechanism, and Water Level
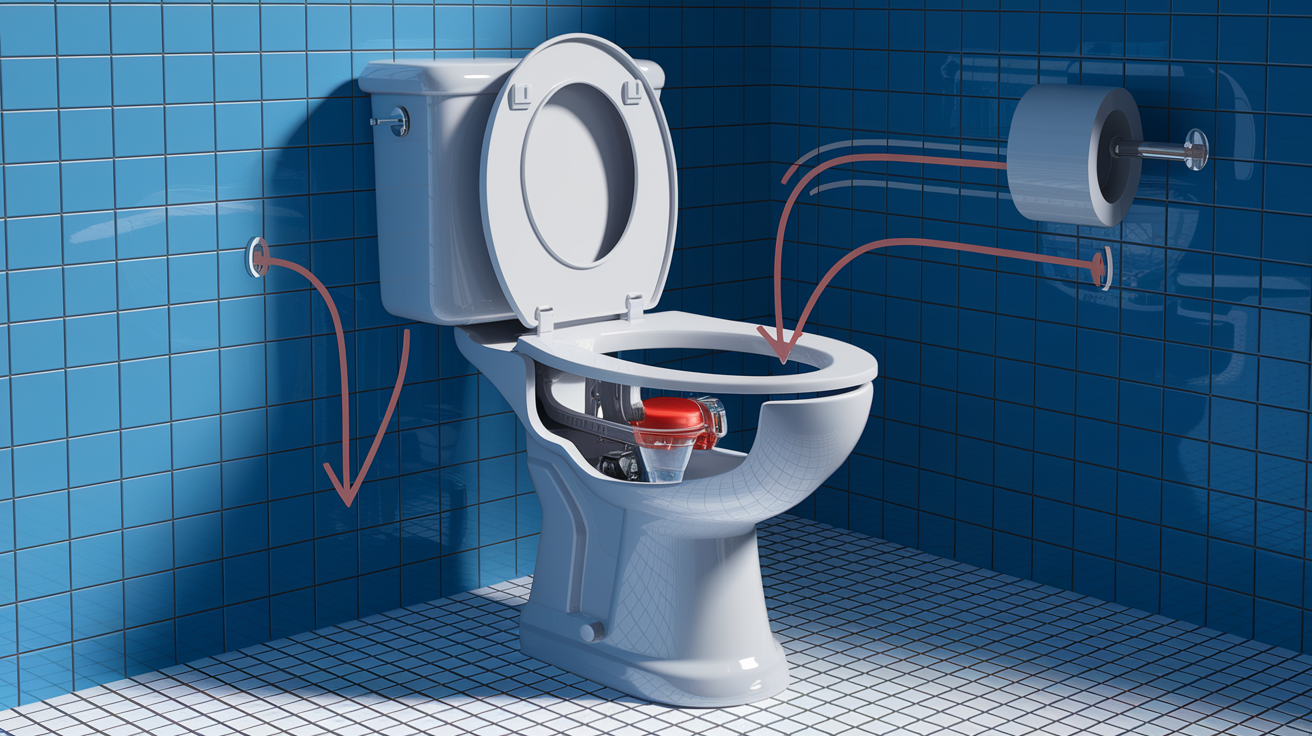
The fill valve and float mechanism work together as a connected system to control when the tank stops filling. When you flush, the float drops with the water level, which opens the fill valve to let water back into the tank. As the water rises, the float rises with it, and when it reaches the right height, it signals the fill valve to shut off. If either component’s out of adjustment, water keeps flowing and the toilet runs continuously.
The ideal water level in your tank is about one inch below the top of the overflow tube. If water’s spilling into that tube or sitting too high, your float’s positioned too high or your fill valve isn’t closing when it should. If the water level’s too low, the toilet may not flush properly.
Fill Valve Adjustment
- Locate the fill valve, which is the tall cylinder shaped component on the left side of the tank with a tube running from it.
- Find the adjustment screw at the top of the fill valve.
- Turn the screw clockwise to lower the water level, or counterclockwise to raise it. Make small adjustments, about a quarter turn at a time.
- Test by flushing and letting the tank refill completely. Watch where the water settles. Repeat adjustments until water stops about one inch below the overflow tube top.
- Inspect the top of the fill valve for any water leaking from the cap or adjustment mechanism, which indicates the valve itself may need replacement.
Float Mechanism Adjustment by Type
Your toilet has one of two float types: a ball float (older models, with a round ball on an arm) or a cup float (newer models, with a cylinder that slides up and down a central tube). Ball floats are adjusted by bending the metal arm that connects the ball to the fill valve. Bend the arm downward to lower the water level, or upward to raise it. Before adjusting, check the ball itself by unscrewing it from the arm. If there’s water inside the ball, it needs to be replaced because it can’t float properly when waterlogged.
Cup floats are adjusted by squeezing the clip on the side of the float and sliding the entire cup down the central tube to lower the water level, or up to raise it. This is easier than bending metal arms and doesn’t require any tools.
After adjusting either float type, test your adjustment:
Lift the float manually while the toilet’s running. If the water flow stops immediately, the fill valve’s working and your adjustment should solve the problem.
Verify water doesn’t spill over the top of the overflow tube when the tank’s full.
Flush several times and watch the complete fill cycle to confirm the water stops at the correct level consistently.
One more thing to check while you’re in there: the refill tube. This is the small plastic or vinyl tube that runs from the fill valve to the overflow pipe. It should clip onto the side of the overflow tube and end above the water line. If this tube has slipped down and is submerged underwater, it can create a siphon effect that keeps draining the tank. Simply unclip it, trim it with scissors if it’s too long, and reposition it so the end stays above the water level when the tank’s full.
Fixing Flush Valve and Overflow Tube Issues
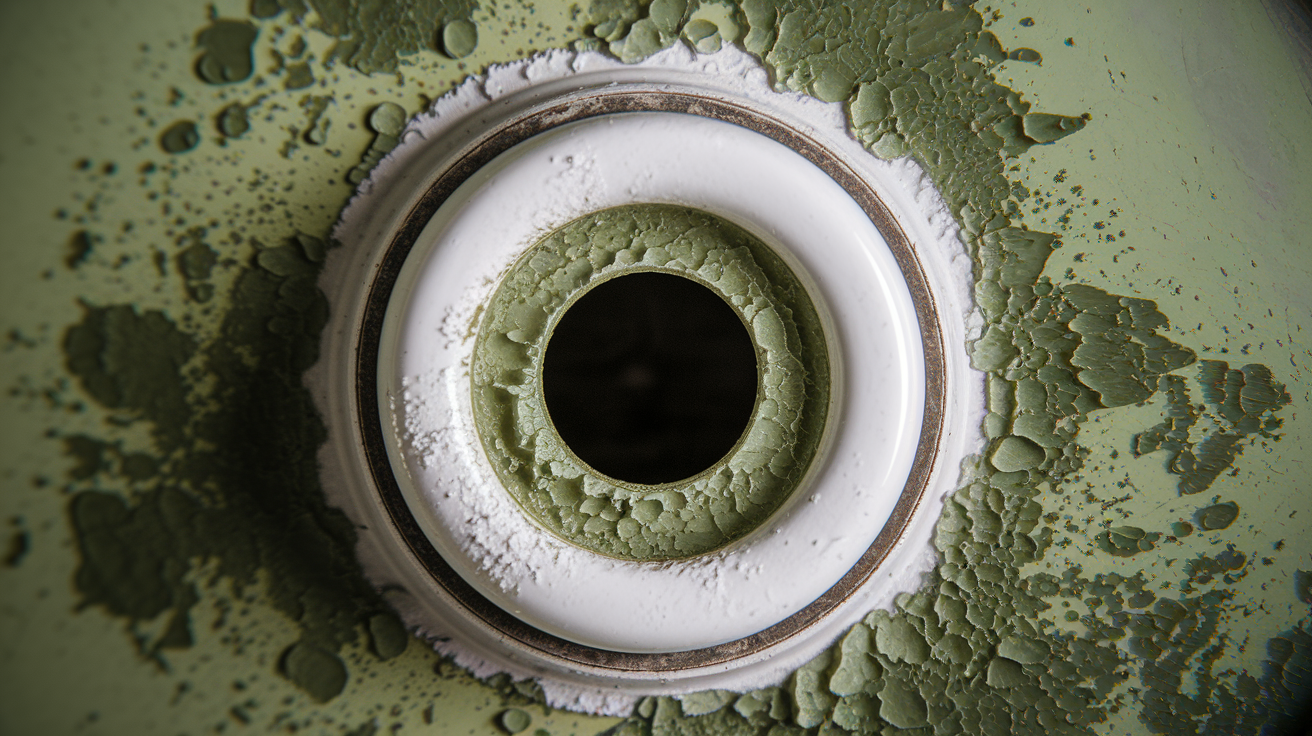
Sometimes a new flapper won’t seal properly even when the chain length’s correct and everything looks fine. The problem’s usually the flush valve seat, which is the hard plastic or porcelain ring at the bottom of the tank that the flapper sits against. Over time, this surface can develop burrs, rough spots, or mineral buildup that prevents the rubber flapper from creating a watertight seal.
To check the flush valve seat, lift the flapper and run your finger slowly around the entire edge of the opening where the flapper makes contact. You’re feeling for any bumps, rough patches, or uneven areas. The surface should be completely smooth. Even small imperfections can let water seep past the flapper and into the bowl. If you find rough spots, you can often smooth them with emery cloth or fine grit sandpaper (about 400 grit works well). Fold the sandpaper or emery cloth, reach into the tank, and gently rub the problem areas in a circular motion until they feel smooth to the touch. Wipe away any dust or debris with a damp cloth before reinstalling the flapper.
For more severe damage, like cracks or deep grooves in the valve seat, you’ll need to replace the entire flush valve assembly. This is a bigger job that requires draining the tank completely and removing the tank from the bowl. You’ll unscrew the tank bolts from underneath, lift the tank off, and replace the flush valve unit from below. If you’re comfortable with this level of disassembly, it’s still a DIY friendly repair, but many homeowners prefer to call a plumber at this point since reassembly needs to be done carefully to avoid leaks. Make sure to use a large towel or sponge to remove every bit of water from the tank before you start, because even a little water makes the job messier.
The overflow tube itself rarely causes problems, but it’s worth checking while you have the tank lid off. This tall pipe in the center of the tank directs excess water into the bowl if the fill valve malfunctions and doesn’t shut off. If the overflow tube’s cracked or has separated from the flush valve base, it won’t do its job properly. These tubes are usually part of the flush valve assembly and get replaced together if damaged. Clean the inside and outside of the overflow tube with a brush and mild cleaner if you notice mineral deposits, which can sometimes interfere with the refill tube clipping on properly.
Understanding Toilet Component Lifespan and Maintenance

Toilet components wear out gradually, and replacing them on a schedule prevents most running toilet problems before they start. Flappers should be replaced every one to two years even if they seem to be working fine. Rubber breaks down from constant exposure to water and tank cleaning chemicals, becoming less flexible over time. These small changes create tiny leaks that waste hundreds of gallons before the toilet starts running audibly.
Fill valves and flush valves also need replacing every few years regardless of suspected leaks. Internal seals and washers break down, plastic parts become brittle, and mineral deposits build up in the mechanisms. If your toilet’s older than five years and you’ve never replaced the internal components, plan to do it soon. The cost of a complete rebuild kit is far less than even one month of wasted water from slow leaks.
A simple monthly maintenance routine catches problems early and extends the life of your toilet components:
Inspect the flapper for cracks, mineral buildup, or areas where it feels stiff rather than pliable.
Listen for hissing noises from the fill valve, which indicate it’s not shutting off completely.
Check that the float moves freely and sits at the correct height without sticking or rubbing against the tank walls.
Verify the chain is straight and properly sized, with no kinks or tangling.
Clean the tank periodically to remove mineral buildup and sediment that can interfere with component function.
Use only mild cleaners and avoid abrasive products or automatic tank tablets that contain bleach, which speeds up rubber deterioration.
If your toilet was built before 1994, it uses more than 1.6 gallons per flush. These older models waste significant water compared to modern efficient toilets that use 1.28 gallons or less per flush. If you’re replacing multiple internal components in an old toilet, consider whether replacing the entire unit makes more sense. Modern toilets also offer dual flush systems that use even less water for liquid waste, typically around 0.8 gallons for a partial flush and 1.6 gallons for a full flush. The water savings add up quickly and often pay back the toilet cost within a few years, especially in areas with high water rates.
Handling Different Toilet Types and Flush Systems

Not all toilets use the traditional flapper system described in the earlier sections. Understanding your specific toilet type helps you apply the right repair approach and buy the correct replacement parts.
Dual flush toilets have become common in newer homes because they save water by offering two flush options. Instead of a traditional handle, they typically have a button on the top of the tank divided into two sections, or a handle that lifts for liquid waste and pushes down for solid waste. Inside the tank, these toilets usually use a canister flush valve (also called a tower style valve) instead of a flapper. This is a tall cylindrical unit that lifts straight up to release water. The canister system rarely develops the same running problems as flappers, but when it does leak, you typically need to replace the rubber seal at the bottom of the canister or adjust the canister height. The adjustment process involves twisting the entire canister unit to raise or lower it, similar to adjusting a fill valve.
Canister flush valves also appear in some single flush modern toilets. They’re designed to last longer than traditional flappers and create a faster, more powerful flush. When diagnosing a running toilet with this system, the troubleshooting principles remain the same: check for proper seal, verify the water level isn’t too high, and inspect the fill valve and float. The main difference is that you’re examining the canister seal and tower assembly rather than a rubber flapper and chain. Most canister systems have a twist lock design that makes removal and replacement straightforward without tools.
For any toilet type, always check the manufacturer’s instructions if you have them, or look up your specific model online. Different brands may have unique component arrangements or proprietary parts. For example, some manufacturers use specialized fill valves that require specific replacement models rather than universal parts. Providing your toilet brand and model number to hardware store staff or including it in online parts searches ensures you get components that fit properly. That said, the fundamental repair principles apply across all types: stop water flow, identify the leaking or malfunctioning component, replace or adjust it, restore water flow, and test thoroughly.
Water Waste and Cost Impact of Running Toilets
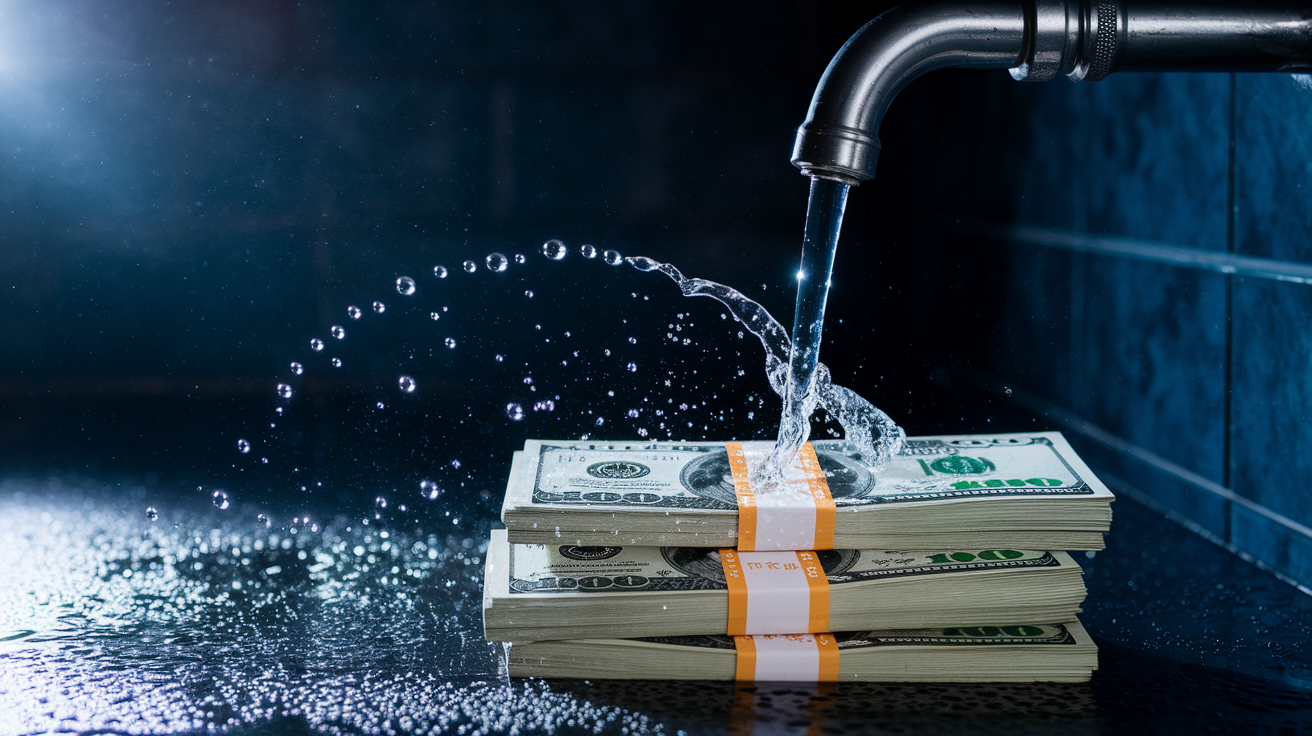
A running toilet can waste up to 200 gallons of water per day, which adds up to 6,000 gallons per month of clean drinking water flowing straight into the sewer system. To put that in perspective, the average person uses about 80 to 100 gallons of water per day for all purposes, so a single running toilet wastes as much as two people use entirely.
The financial impact gets worse with more severe leaks. A moderate continuous leak wastes approximately 2,880 gallons daily, or 86,400 gallons monthly. At the average water rate of $0.018 per gallon (rates vary significantly by location), a moderate leak adds $1,555 to your monthly water bill. Larger leaks that waste 5,760 gallons per day increase the bill by $3,110 monthly. Even a small, barely audible leak can cost the average family up to $1,000 per year in added water bills.
Beyond the direct cost, running toilets create additional expenses that don’t show up on your water bill. Constant water flow stresses your plumbing system and can speed up wear on pipes and fittings. Moisture escaping around the toilet base (a sign of more serious leaking problems) promotes mold and mildew growth on flooring and subfloors, which eventually requires expensive cleanup and floor replacement. If you’re planning to sell your home, a running toilet suggests deferred maintenance to potential buyers and can reduce your property value or become a negotiating point during inspection.
The environmental impact matters too. Municipal water systems use significant energy to treat and pump water to homes. Wasting thousands of gallons means wasting the electricity, chemicals, and infrastructure capacity used to make that water safe and deliver it. In areas experiencing drought or water restrictions, every gallon wasted puts more pressure on limited water supplies. Fixing a running toilet’s one of the easiest ways to reduce your household’s environmental footprint while saving money at the same time.
Diagnostic Testing Methods for Running Toilets

Some leaks are too subtle for visual or audible detection but still waste significant water and increase your bill. Diagnostic tests identify these hidden leaks and confirm which component’s failing before you start taking things apart.
-
Food coloring test: Add 5 to 6 drops of food coloring (any color works) to the water in the tank. Wait 30 minutes without flushing. After 30 minutes, look at the water in the bowl. If the bowl water has changed color, water’s leaking from the tank past the flapper and into the bowl. This confirms flapper failure.
-
Water level pencil line test: Draw a pencil line on the inside of the tank at the current water level. Turn off the water supply valve behind the toilet. Wait one hour without using the toilet. Check the water level against your pencil line. If the water level has dropped, water’s leaking out of the tank, either into the bowl (flapper issue) or externally through a crack (more serious problem requiring immediate attention).
-
Sound test: Stand quietly next to the toilet for two full minutes and listen carefully. A hissing sound from the fill valve area indicates the valve isn’t closing fully. A trickling sound from the bowl means water’s flowing past the flapper. A periodic refilling sound (phantom flush) confirms a slow leak from tank to bowl.
These tests work best when performed at different times. The food coloring test’s most reliable overnight since it gives plenty of time for even slow leaks to show results. Wait until before bed, add the food coloring, and check first thing in the morning. The water level test works well for faster leaks and gives results in just an hour. Sound testing’s immediate and helps you locate the problem area even before opening the tank.
When testing reveals a leak but you can’t determine which component’s failing, perform multiple tests in sequence. Start with the food coloring test to confirm a tank to bowl leak, then inspect the flapper, chain, and flush valve seat as described earlier. If the food coloring test’s negative but the toilet still runs or your water bill’s high, the issue’s likely with the fill valve, float, or overflow tube. Testing eliminates guesswork and saves you from replacing parts that aren’t actually broken.
Quick Temporary Fixes vs. Permanent Repair Solutions

Sometimes you need to stop a running toilet immediately but can’t get to the hardware store or complete a full repair right away. Understanding the difference between temporary workarounds and permanent fixes helps you make the right decision for your situation.
Temporary fixes include bending the float arm, adjusting the chain length, or jiggling the handle until the toilet stops running. These approaches can stop the immediate water waste and noise, but they don’t address the underlying problem. If the flapper’s worn out, bending the float might temporarily reduce how often it leaks, but it’s still leaking. If the chain’s causing problems, adjusting it might help short term, but a stretched or damaged chain will keep causing issues until you replace it.
Temporary fixes are appropriate when you need to stop water waste immediately while waiting for parts to arrive or until you have time to complete the repair properly. They’re also reasonable as a first troubleshooting step to help identify the problem. If adjusting the float makes the running stop, you know the issue involves water level, the fill valve, or the float itself.
Permanent solutions mean replacing worn components rather than adjusting them. A stiff flapper needs replacement, not chain adjustment to compensate for poor sealing. A fill valve that won’t shut off reliably needs replacement, not constant tweaking of the adjustment screw. Rubber components deteriorate gradually and don’t improve with adjustment. Once they’ve started failing, they continue to worsen until replaced.
The risk of relying on temporary fixes is that they mask underlying problems that worsen over time. A flapper that’s leaking slowly now will leak faster next month. A fill valve that mostly shuts off but sometimes doesn’t will fail completely eventually. Meanwhile, you’re still wasting water, still paying higher bills, and potentially allowing other components to wear faster because they’re not operating under proper conditions. When you’ve identified a failing component, plan to replace it soon rather than adjusting around it indefinitely. The cost of replacement parts is minimal compared to the cost of continued water waste and potential damage to other plumbing components.
When to Call a Professional Plumber for Toilet Repairs
Most running toilet issues can be solved with basic DIY repairs, but some situations require professional expertise. Knowing when to stop troubleshooting and call for help prevents further damage and saves time when the problem extends beyond basic component replacement.
You should call a professional plumber when:
Leaks persist after you’ve replaced the flapper and adjusted the fill valve, indicating a more complex issue with the flush valve assembly or internal tank components.
The tank or bowl is cracked, which allows water to escape and requires complete toilet replacement.
High water pressure is causing the toilet to run, a problem that needs pressure reducing valve installation on your main water line.
Corroded supply lines or shut off valves make it impossible to turn off the water supply safely.
The ballcock assembly (older style fill valve system) is faulty and you’re not comfortable with the more complex replacement process.
Issues extend beyond tank components, such as wax ring failure, flange damage, or supply line problems that cause external leaking.
Don’t feel bad about calling for help after your DIY repairs didn’t work. Sometimes multiple problems exist at once, or the initial diagnosis was incorrect. A plumber has diagnostic tools and experience with unusual failure patterns that aren’t obvious to homeowners.
When selecting a plumber, verify they’re licensed and insured in your state. Licensing requirements vary by location, but licensed plumbers have met specific training and testing standards. Insurance protects you if something goes wrong during the repair. Get multiple written quotes that break down parts and labor separately so you can compare costs fairly. Be cautious of quotes that seem unusually low, which may indicate unlicensed work or low quality parts.
Check recent customer reviews on multiple platforms and pay attention to how the plumber handles complaints or problems. A plumber with generally positive reviews but a few negative ones isn’t necessarily bad, especially if the responses show they tried to resolve issues. Request warranty details for both parts and labor. Many professional plumbers offer at least a one year warranty on parts and 30 to 90 days on labor. Confirm the plumber has specific experience with toilet repairs rather than just general plumbing, since toilets have unique components and common failure patterns.
When calling for service, provide a detailed problem description including any sounds you hear (hissing, trickling, phantom flushing), how long the problem’s been occurring, and what you’ve already tried to fix. This helps the plumber bring the right parts and tools on the first visit. If you’ve identified water damage around the base of the toilet or on the ceiling below the bathroom, mention this since it may require additional work beyond toilet repair. Water damage to drywall or flooring sometimes needs separate repair services like drywall repair and patching after the plumbing issue is resolved.
Professional repairs typically cost $150 to $400 depending on your location and the specific problem, which may seem expensive compared to DIY parts costs. But plumbers complete the work faster, guarantee their repairs, and catch related problems you might miss. If you’ve already spent two weekends troubleshooting, purchased multiple parts that didn’t solve the problem, and the toilet’s still running, the professional service cost becomes reasonable compared to continued water waste and your time investment.
Final Words
A running toilet might sound like background noise you can live with, but it’s steadily draining your wallet and wasting thousands of gallons every month.
Most fixes, like swapping out a worn flapper or adjusting the chain, take less than an hour with basic tools.
Start with the simple checks. Push down on the flapper, listen for hissing, check the water level. If those don’t point you in the right direction, the diagnostic tests will.
Once you know how to repair toilet running issues, you can stop the waste, lower your water bill, and get back to a quiet bathroom. And if it turns out to be beyond a quick fix, at least you’ll know exactly what’s happening when you call for help.
FAQ
How do I fix a toilet that keeps running?
You can fix a toilet that keeps running by first identifying the cause, which is usually a worn flapper valve, incorrect chain length, or malfunctioning fill valve. Turn off the water supply, flush to empty the tank, then replace the faulty flapper or adjust the chain and float mechanism as needed.
What is the most common cause of a constantly running toilet?
The most common cause of a constantly running toilet is a worn or damaged flapper valve that no longer creates a proper seal. The rubber deteriorates over time, becoming stiff and brittle, which allows water to continuously leak from the tank into the bowl.
Will a running toilet eventually stop?
A running toilet will not eventually stop on its own because the fill valve continues adding water to maintain the tank level. The problem will persist until you replace the worn flapper, adjust the fill valve, or fix whatever component is causing the continuous water flow.
Why does my toilet randomly run at night?
Your toilet randomly runs at night because a slightly worn flapper or valve allows slow water seepage that eventually drops the tank level enough to trigger refilling. This phantom flush happens periodically throughout the day but is more noticeable at night when the house is quiet.
How much water does a running toilet waste?
A running toilet wastes up to 200 gallons of water per day or approximately 6,000 gallons per month. Moderate leaks can waste around 2,880 gallons daily, while larger leaks may waste 5,760 gallons per day, significantly increasing your water bill and environmental impact.
How long does a toilet flapper last?
A toilet flapper lasts approximately one to two years before the rubber deteriorates and needs replacement. You should replace flappers proactively every one to two years as preventive maintenance, even if they appear functional, to avoid water waste and higher bills.
Can I use the food coloring test to detect a toilet leak?
You can use the food coloring test to detect a toilet leak by adding several drops to the tank and waiting 30 minutes without flushing. If colored water appears in the bowl during this time, you have a leak allowing water to seep past the flapper.
What tools do I need to fix a running toilet?
You need basic tools to fix a running toilet, including an adjustable wrench, screwdriver set, pliers, bucket, and sponge. For replacement parts, have a new flapper valve (costing $20 to $50) and possibly a replacement fill valve or float assembly available.
How do I adjust the water level in my toilet tank?
You adjust the water level in your toilet tank by turning the fill valve adjustment screw clockwise to lower the level or counterclockwise to raise it. The water should settle approximately one inch below the overflow tube top after flushing for proper operation.
When should I call a plumber for a running toilet?
You should call a plumber for a running toilet when leaks persist after replacing the flapper and adjusting the fill valve, when you notice a cracked tank or bowl, or when issues involve corroded supply lines or high water pressure problems beyond basic component replacement.