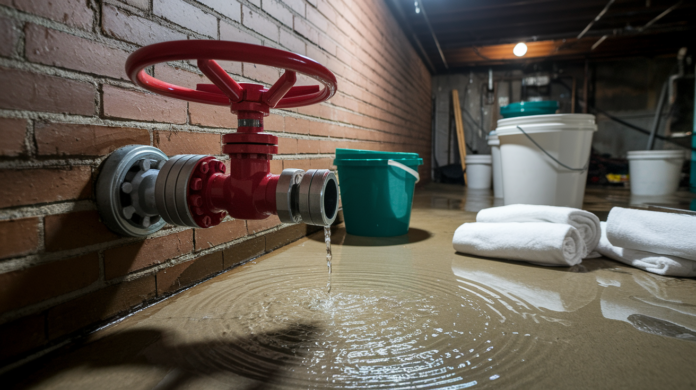

Water spraying across your floor feels like chaos, but here’s the truth most homeowners don’t hear. The damage from a burst pipe isn’t determined by the size of the crack. It’s determined by what you do in the next ten minutes. Every second you spend frozen or searching for answers online, water’s soaking deeper into your floors, walls, and subflooring. The difference between a cleanup and a full restoration often comes down to seven fast actions, and most people skip at least three of them. Let’s walk through exactly what to do, right now, before the damage spreads.
First Actions When Your Pipe Bursts
Water’s spraying across your kitchen floor. You’re standing in a growing puddle and you can hear your heart pounding. That panic? Totally normal. But here’s the thing. What you do in the next five to ten minutes will determine whether you’re mopping up a mess or calling a structural engineer.
Every second counts when water’s actively flooding your home.
Here’s your step by step plan:
-
Shut off the main water valve immediately. It’s usually in the basement, crawlspace, near your water heater, or in a low utility closet. Turn it clockwise until it stops. If you’re not sure where it is right now, that’s a problem we’ll address later, but start looking.
-
Turn off electricity at the circuit breaker box. Find the main double width switch and flip it off, especially if water’s pooling near outlets, appliances, or light fixtures. If you’re not sure which circuits serve the flooded area, shut off power to the entire house. Never touch electrical switches with wet hands. Never step in standing water near electrical equipment.
-
Open all faucets and flush toilets. This drains the remaining water trapped in your pipes and relieves pressure in the system. It also helps you confirm the main valve actually worked.
-
Note the exact location of the burst. Your plumber will need to know whether it’s under the kitchen sink, in the wall behind the toilet, or in the crawlspace near the foundation. Take a quick photo if it’s visible.
-
Place buckets under active drips and leaks. Even after you shut off the main valve, water will keep dripping from the damaged section as the system drains. Catch what you can.
-
Use towels and mops to contain pooling water. Start soaking up everything on the floor. Work fast. Water spreads into corners, under baseboards, and through flooring seams within minutes.
-
Move furniture, electronics, and valuables away from the water path. Lift items off the floor if you can. Unplug anything electrical in the affected rooms.
These seven actions need to happen within the first five to ten minutes. That’s your window. The 24 to 48 hour countdown to mold growth starts the moment water touches your floors, walls, and belongings. Proper containment in these first minutes prevents thousands of dollars in additional damage to subfloors, drywall, and baseboards. Water doesn’t stop spreading just because you’ve stopped staring at it.
Containing Water Damage From Your Burst Pipe

Not all water is the same. If the burst pipe is a clean water supply line, the type that brings fresh water to your faucets, you can handle cleanup yourself. If it’s a wastewater pipe or anything connected to sewage, stop. Don’t touch it. Black water contains biological and chemical contaminants that require professional hazmat level cleanup. You can’t safely handle sewage with household supplies.
For clean water supply pipe bursts, work quickly to remove standing water. Start with towels and mops for the first pass, soaking up everything you can reach. For significant water volumes, break out a wet/dry shop vacuum. If you don’t own one, this is the moment to borrow one or buy one. Standard household vacuums will short out and create a shock hazard. Once you’ve pulled up the obvious puddles, set up fans to accelerate drying. Point them at wet walls, baseboards, and floors. Open windows if the weather allows. If water’s spread to adjacent rooms, lay plastic sheeting in doorways to contain moisture and prevent it from migrating into dry areas.
Understand that water gets into places you can’t see. It seeps between floorboards, soaks into subflooring, and wicks up inside drywall. You can mop the surface perfectly dry and still have saturated building materials underneath. That’s why continued containment matters. Keep fans running. Keep checking corners and edges. Run your hand along baseboards to feel for dampness. If carpet’s involved, the pad underneath is probably soaked even if the surface feels okay. This hidden moisture is what causes subfloor rot, baseboard warping, and mold growth in the coming days.
Calling an Emergency Plumber for Your Burst Pipe

Even though you’ve shut off the water, the pipe’s still broken. You need a professional plumber to make a permanent repair before you can turn your water supply back on. Emergency plumbing services exist exactly for this situation. Most operate 24 hours a day, including weekends and holidays. Call immediately.
When you contact an emergency plumber, have this information ready:
- Exact location of the burst pipe (under sink, inside wall, crawlspace, basement ceiling)
- Type of pipe if visible (copper, PEX plastic, galvanized steel, or not sure)
- Whether water is fully shut off or still leaking (sometimes the main valve doesn’t close completely)
- Extent of visible damage (small crack, complete separation, pin hole leak)
- Any electrical hazards present (water near outlets, breaker box, appliances)
- Access information if the property is vacant (lockbox code, gate key location)
Typical emergency plumber response times run from one to four hours depending on your location and time of day. Night calls and holiday calls cost more, but delaying the repair doesn’t make the situation better. Here’s something most homeowners don’t realize. Water damage restoration companies won’t start work until the plumbing is repaired. They’re not going to dry out your floors while the pipe’s still broken. So that emergency plumber visit isn’t optional. It’s the first domino. Get it scheduled, then move to the next step. And before this day ends, save the number of a reliable 24 hour plumber in your phone. You don’t want to be googling “emergency plumber near me” while standing in a puddle at two in the morning.
Temporary Pipe Burst Fixes Until the Plumber Arrives
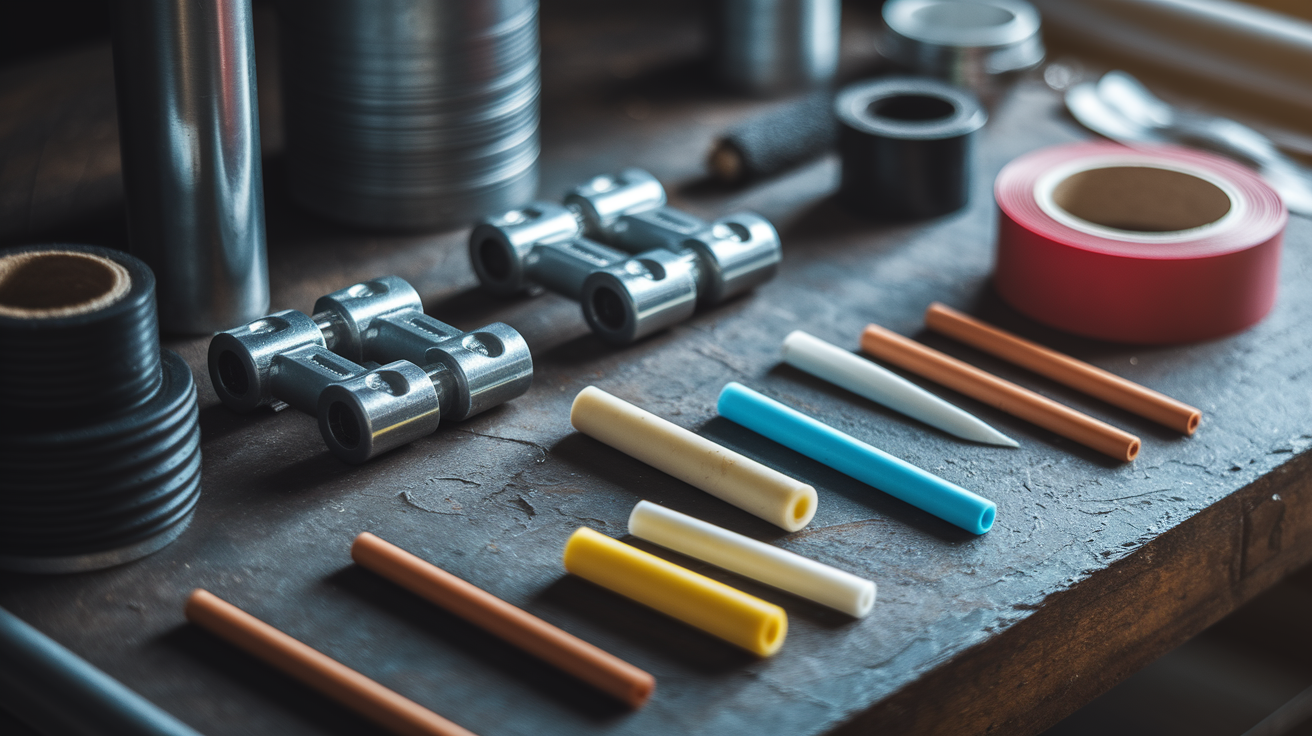
If you need to buy some time before the plumber arrives, a few temporary measures can slow or stop a leak. These aren’t permanent repairs. They’re short term patches that might hold for a few hours or maybe a day, depending on water pressure and how badly the pipe’s damaged.
You might already have some of these supplies at home. Duct tape, rubber scraps, and C clamps can work in a pinch, though results vary.
| Temporary Fix Method | Materials Needed | Effectiveness | Limitations |
|---|---|---|---|
| Pipe clamp with rubber patch | Metal clamp, rubber sheet or inner tube piece | High for small cracks and holes | Doesn’t work on completely separated pipes |
| Epoxy putty | Two part plumber’s epoxy stick | Moderate for pin hole leaks | Requires dry surface, takes time to cure |
| Waterproof tape | Silicone repair tape or plumber’s tape | Low to moderate for very small leaks | Won’t hold under significant pressure |
| Rubber sheet with hose clamp | Thick rubber sheet, adjustable hose clamp | Moderate for cracks and small holes | Difficult to position on pipes in tight spaces |
Don’t rely on duct tape alone. It’s not designed to handle water pressure and it won’t create a watertight seal. It might slow a drip, but it won’t stop a spray. The most reliable temporary fix combines a rubber patch with a mechanical clamp, something that physically compresses the rubber against the pipe. That buys you anywhere from two to twenty four hours depending on the severity of the damage and your home’s water pressure. Use that time to get a professional scheduled, not to convince yourself the problem’s solved.
Documenting Burst Pipe Damage for Insurance Claims

Before you clean up anything beyond the initial emergency water containment, grab your phone and start documenting. Insurance companies need evidence of damage before they’ll process a claim. If you mop everything up, throw away ruined items, and then call your insurer three days later, you’ll have a much harder time proving what happened.
Here’s your documentation checklist:
-
Photograph the burst pipe location from multiple angles. Get close ups showing the damage clearly. Include wide shots that show the pipe’s location in context. Make sure your phone’s timestamp feature is turned on.
-
Record a video walk through of all affected rooms. Narrate as you go. Point out water on floors, dripping from ceilings, staining on walls, and any belongings that got soaked. Video captures details that still photos miss.
-
Photograph damaged belongings with close ups of brand labels and model numbers. If your living room rug is soaked, photograph the label on the back showing manufacturer and material. If electronics got wet, photograph model numbers and serial number plates.
-
Create a written inventory with item descriptions, purchase dates, and estimated values. You don’t need receipts for everything, but be as specific as you can. “Sofa” is less helpful than “Grey fabric sectional sofa, purchased 2021, approximately $1,200.”
-
Photograph all walls, ceilings, and floors showing stains, warping, or saturation. Insurance adjusters look for structural damage, not just surface water. Show them bubbled paint, sagging ceiling panels, warped baseboards, and buckled flooring.
Most homeowner insurance policies cover sudden pipe bursts. That’s good news. The key word is “sudden.” If the pipe burst without warning due to freezing, corrosion, or a clog, that typically falls under covered perils. What insurance usually doesn’t cover is gradual damage from a slow leak you ignored for months, or frozen pipe damage if the home was left unheated. Check your specific policy, but sudden burst pipes are generally covered minus your deductible. Deductibles commonly run from $500 to $2,500. If your total damage is close to your deductible amount, you’ll need to decide whether filing a claim makes sense. But for major flooding, document everything and file promptly.
Drying Out Your Home After a Pipe Burst
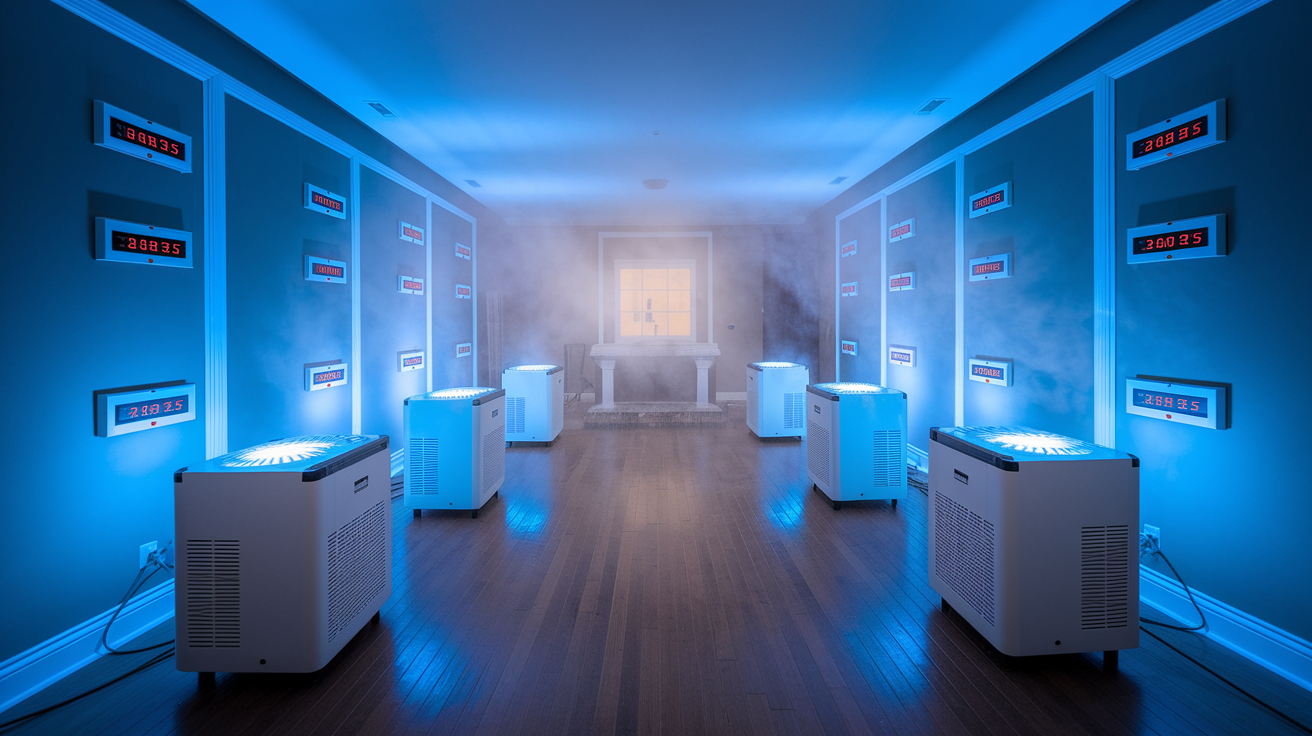
The clock starts ticking the moment water touches your floors. According to the U.S. Centers for Disease Control and Prevention, mold spores can begin forming within 24 to 48 hours after a water event. That’s your window to get things dry.
Start with the obvious. Remove all standing water first. Wet/dry vacuum, mops, towels, whatever works. Once the surface water’s gone, set up fans and dehumidifiers. Point fans directly at wet surfaces to increase air circulation. If you own a dehumidifier, run it continuously in the affected area with doors and windows closed so it can pull moisture out of the air. If the weather’s dry and warm, opening windows helps. If it’s humid outside, keep them closed and rely on mechanical dehumidification.
Here’s the tricky part. Moisture doesn’t just sit on surfaces where you can see it. It enters air pockets inside your walls, soaks into subflooring under your carpet or tile, and gets trapped in insulation. You can dry the surface of your drywall and still have wet material behind it. Professional water damage restoration services use industrial dehumidifiers, air movers, and moisture meters to track hidden dampness that homeowners can’t detect or reach. They’ll drill small holes in baseboards to insert drying equipment into wall cavities. They’ll pull up sections of carpet to dry the padding underneath. They’ll run equipment for days or even weeks until moisture readings return to normal. This isn’t work you can replicate with a box fan from the garage.
If your burst pipe caused significant flooding, soaked drywall, or saturated flooring, call a water restoration company. If water spread to multiple rooms or you can see ceiling stains above the burst pipe, call a water restoration company. The cost of professional drying is far less than the cost of mold remediation and structural repairs six months from now. They’ll bring the right equipment, and most insurance policies cover professional water damage restoration when the cause is a covered peril like a burst pipe.
Cost Considerations for Burst Pipe Repairs

Let’s talk about money. Burst pipe repairs come with two separate bills. The plumber who fixes the pipe, and the restoration company that dries out your home. Both costs vary widely based on location, severity, and timing. Emergency service calls in the middle of the night cost more than scheduled repairs on a Tuesday afternoon. But waiting until Tuesday to save money often means you’ll spend far more on mold remediation and reconstruction.
| Repair Type | Typical Cost Range | Timeline |
|---|---|---|
| Emergency plumber service call | $150–$500 for arrival and assessment | 1–4 hours response time |
| Pipe repair/replacement | $200–$1,000+ depending on accessibility and extent | 1–4 hours for simple repairs, more for wall access |
| Water extraction | $500–$3,000 depending on water volume | 1–3 days |
| Structural drying | $1,500–$5,000 for equipment and monitoring | 3–7 days of continuous drying |
| Restoration/reconstruction | $2,000–$15,000+ for drywall, flooring, painting | 1–3 weeks depending on scope |
Homeowner insurance typically covers the cost of sudden burst pipe damage, including the plumbing repair, water extraction, drying, and restoration. Check your specific policy for coverage details and your deductible amount. Some policies exclude certain causes like frozen pipes if the home was left unheated, so read the fine print. If your claim’s approved, the insurance company will usually send an adjuster to assess damage before authorizing repairs.
Emergency plumbing rates are higher than regular rates, sometimes 50 to 100 percent more for after hours calls. But here’s the reality. Delaying the repair to avoid emergency pricing usually costs more in the end. Every hour that water sits in your floors and walls increases the damage. Subfloors that could’ve been saved in the first six hours might need replacement after 24 hours. Drywall that could’ve been dried might need to be torn out and replaced. The emergency plumber fee’s almost always cheaper than the additional structural damage that happens while you wait.
What Causes Pipes to Burst

Understanding why pipes burst helps you prevent the next one. Most burst pipes fall into a few predictable categories, and most are preventable with the right preparation.
Freezing Temperatures and Ice Expansion
This is the most common cause. Water expands when it freezes. If water inside a pipe freezes solid, the ice takes up more space than the liquid water did, creating pressure inside the pipe walls. That pressure cracks the pipe. The burst usually doesn’t happen while the water’s frozen. It happens when the ice melts and water starts flowing through the cracked section. Pipes in unheated areas face the highest risk. Attics, crawlspaces, exterior walls, and any plumbing that runs through uninsulated spaces. Outdoor hose bibs and pipes in unheated garages are especially vulnerable.
Pipe Corrosion and Age
Metal pipes corrode over time. Copper pipes develop pinhole leaks. Galvanized steel pipes rust from the inside out. The pipe walls get thinner and weaker until normal water pressure’s enough to cause a rupture. If your home’s plumbing is over 50 years old, you’re living with pipes that have been corroding for decades. Small leaks often appear first. Drips under sinks, stains on ceilings. But a full burst can happen without much warning once the corrosion reaches a critical point.
High Water Pressure and Clogs
Excessive water pressure stresses your pipes constantly. Most residential plumbing is designed for 40 to 60 psi. If your home’s pressure runs higher, pipes wear out faster. Clogs create localized pressure spikes. When a drain clogs completely, water has nowhere to go. The pressure builds until something gives. Fats, oils, and grease solidify in drains and create stubborn blockages. Tree roots infiltrate underground sewer lines and crush or crack pipes from the outside. Both scenarios can lead to sudden pipe failure.
Physical Damage and Shifting
Construction work, digging, and ground movement can damage pipes. If you’re putting in a fence post or planting a tree and you hit a water line, the damage might not show up immediately. The pipe could develop a weak spot that fails weeks later. Soil shifting, foundation settling, and even earthquakes can stress pipes enough to crack them. Accidental impacts inside the home, like driving a nail through a pipe in the wall, cause immediate failures.
Preventing Future Pipe Bursts in Your Home
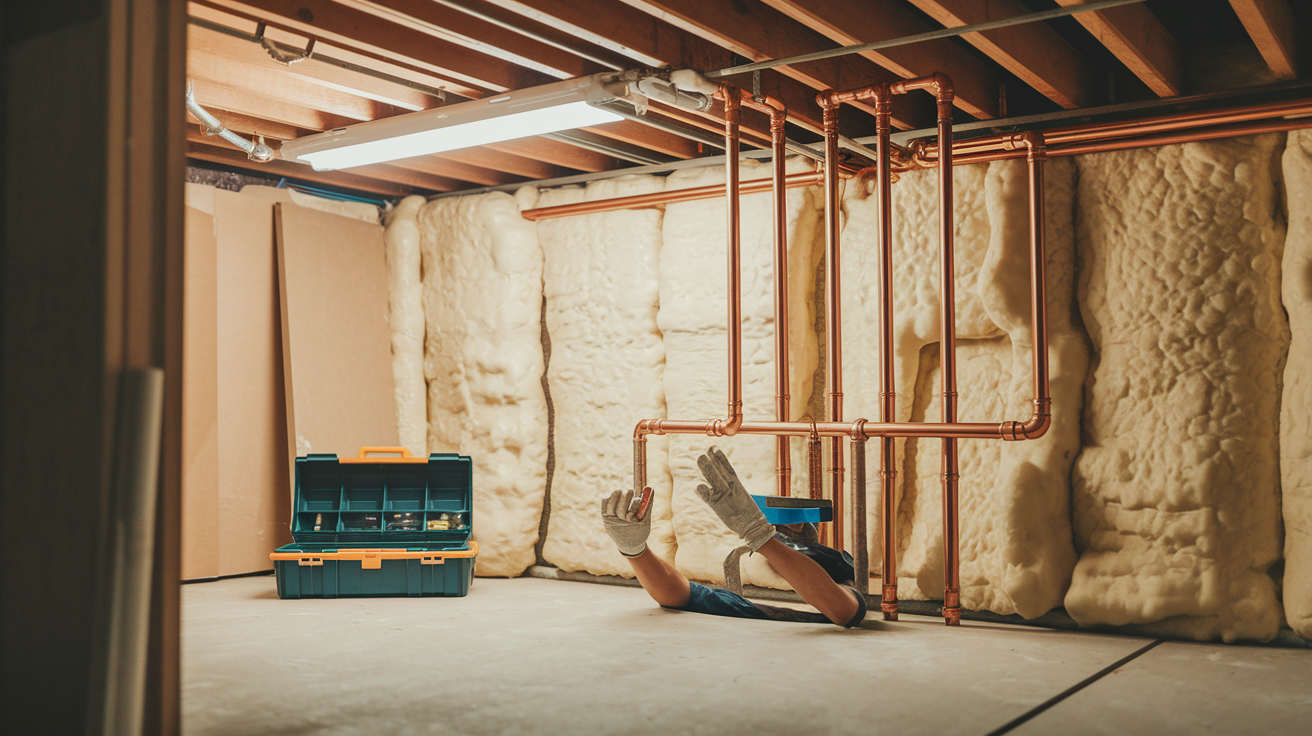
Prevention costs less than emergency repairs. A lot less. Most burst pipes are preventable if you take a few straightforward steps before cold weather hits or before your plumbing reaches a critical age.
Preventing problems always beats fixing them.
Here’s your prevention plan:
-
Insulate pipes in unheated areas. Foam pipe insulation costs a few dollars per length and takes minutes to install. Wrap every exposed pipe in your basement, crawlspace, attic, and garage. Pay special attention to pipes on exterior walls.
-
Apply heat tape to vulnerable exterior wall pipes. Heat tape is an electrical heating element that wraps around pipes and keeps them above freezing. Plug it in before the first hard freeze and leave it running until spring.
-
Keep cabinet doors open during cold weather. If you have plumbing under sinks along exterior walls, open the cabinet doors. This allows warm air from your heated home to circulate around the pipes.
-
Maintain consistent thermostat settings. Don’t let your home drop below 55 degrees Fahrenheit, even when you’re away. Saving a few bucks on heating can cost you thousands in burst pipe repairs.
-
Allow faucets to drip during extreme cold. A small trickle of water keeps the system moving and prevents ice formation. It doesn’t take much. Just enough flow to keep water from sitting still in vulnerable sections.
-
Seal gaps in exterior walls and foundation. Cold air infiltration through cracks and gaps brings freezing temperatures directly to your pipes. Use caulk and spray foam to seal openings where pipes, wires, or vents penetrate exterior walls.
-
Schedule annual professional plumbing inspections. A plumber can identify corroding pipes, high water pressure, and weak spots before they fail. Catching a problem early, before you’re standing in a flood, gives you time to plan repairs and avoid emergency pricing.
Start your prevention routine before the first freeze warning. If you live in an area with cold winters, winterize your plumbing every fall. Drain and disconnect outdoor hoses. Shut off water to exterior hose bibs if your system has dedicated shutoff valves. Insulate any new pipes before winter arrives. If you’re planning to be away from home during cold months, consider shutting off your main water supply and draining the system completely. That’s the only way to guarantee you won’t come home to a flooded house.
One more thing. Know where your main water shutoff valve is right now. Don’t wait until water’s spraying across your floor to start looking for it. Test it once a year to make sure it still turns freely. Shutoff valves can seize up from lack of use. If yours is stuck, have a plumber replace it before you need it in an emergency. That five minute test might be the most valuable thing you do all year. HomeRecoveryPro provides preventive maintenance visits to help you identify and address these vulnerabilities before they turn into middle of the night emergencies.
Final Words
A burst pipe demands immediate action. Shut off your water, cut power to affected areas, and contain the flooding fast. Those first minutes determine whether you’re mopping up a mess or replacing subfloors.
Once the water stops, focus shifts to thorough drying, professional repairs, and insurance documentation. The 24-48 hour window matters for mold prevention.
Most burst pipe emergencies are preventable. Insulate vulnerable pipes, maintain consistent heat, and know where your shutoff valve is before you need it. When the unexpected happens anyway, you’ll know exactly what to do.
FAQ
What should I do if a pipe bursts in my home?
If a pipe bursts in your home, shut off the main water supply immediately at the shut-off valve, turn off electricity to affected areas at the circuit breaker, open all faucets to drain remaining water, and place buckets under active leaks to contain water damage.
What should I do if I have a burst water pipe?
If you have a burst water pipe, locate and close your main water valve right away, turn off power to circuits near the leak, note the exact location of the break, and call an emergency plumber while mopping up pooling water with towels and buckets.
At what temperature do I need to worry about my pipes bursting?
You need to worry about your pipes bursting when temperatures drop below freezing (32°F), especially if your home thermostat is set below 55°F or if you have exposed pipes in unheated areas like basements, crawlspaces, attics, or along exterior walls.
How do plumbers fix a burst pipe?
Plumbers fix a burst pipe by cutting out the damaged section with a pipe cutter and installing a new piece of pipe with secure connections. For long-term repairs, they may replace entire sections of compromised piping to prevent future failures.
Can I temporarily fix a burst pipe myself?
You can temporarily fix a burst pipe yourself using pipe clamps with rubber patches, epoxy putty, or waterproof tape to slow the leak until a plumber arrives. These DIY methods are short-term solutions only and buy you 2 to 24 hours depending on water pressure.
Does homeowners insurance cover burst pipe damage?
Homeowners insurance typically covers burst pipe damage from sudden failures like freezing or corrosion. However, most policies exclude gradual leak damage or frozen pipe damage if the home was left unheated, so check your specific policy and deductible.
How long does it take for mold to grow after a pipe bursts?
Mold can start growing within 24 to 48 hours after a pipe bursts according to the CDC. This tight window makes immediate water removal and thorough drying with fans, dehumidifiers, and open windows critical for preventing mold in walls and building materials.
When should I call an emergency plumber for a burst pipe?
You should call an emergency plumber immediately after shutting off your water, even if the leak is controlled. Professional repair is required for permanent fixes, and most water restoration companies will not start cleanup work until plumbing repairs are completed.
How much does it cost to fix a burst pipe?
The cost to fix a burst pipe varies widely based on location, damage extent, and emergency service rates. Expect separate costs for emergency plumber service calls, pipe repair or replacement, water extraction, structural drying, and any restoration or reconstruction work.
How do I prevent pipes from bursting in winter?
You prevent pipes from bursting in winter by insulating vulnerable pipes in unheated areas, applying heat tape to exterior wall pipes, keeping cabinet doors open during cold snaps, maintaining thermostats at minimum 55°F, and allowing faucets to drip during extreme cold.