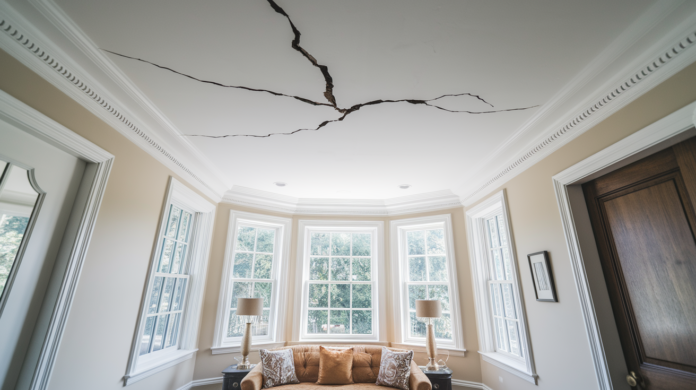

You’ve probably walked past that ceiling crack for months thinking “I should fix that,” right? Here’s the truth: putting it off doesn’t just leave an eyesore overhead, it can actually cost you more down the line if the crack signals a bigger problem or spreads into a harder repair. The good news is most ceiling cracks are straightforward fixes you can handle in a weekend with basic tools and about $30 in materials. We’ll walk you through exactly how to identify what’s causing your crack, repair it properly so it doesn’t come back, and match your ceiling texture so nobody can tell it was ever there.
Identifying Different Types of Ceiling Cracks and Their Causes

Knowing what kind of crack you’re looking at helps you understand whether you’re dealing with a quick fix or a bigger problem that needs professional attention. Not all cracks mean the same thing, and treating them all the same way can lead to wasted time and repeat repairs.
Hairline and Minor Surface Cracks
Hairline cracks are thin lines that typically measure less than 1/16 inch wide and appear gradually over time. These surface level cracks usually develop from normal settling as a house adjusts to seasonal temperature changes and minor shifts in the foundation. You’ll often see them running along drywall seams where panels meet, or branching out from corners where walls meet the ceiling.
Most hairline cracks are cosmetic issues rather than structural concerns. They happen when the joint compound between drywall sheets dries out slightly or when temperature fluctuations cause the framing lumber to expand and contract. If the crack hasn’t changed in months and there’s no discoloration or sagging around it, you’re probably looking at a straightforward repair.
Wide or Growing Cracks
Cracks wider than ¼ inch demand closer attention because they often signal movement beyond normal settling. When you notice a crack that’s getting longer or wider over weeks or months, something in the structure is shifting. The drywall is just showing you the symptoms.
Foundation issues, improper framing support, or significant structural movement can cause these larger cracks. Pay attention to the direction. Vertical cracks near corners might indicate foundation settling on one side of the house, while horizontal cracks running across the ceiling could point to inadequate support for the ceiling joists. Diagonal cracks that run at angles often appear near doorways and windows where stress concentrates during structural movement.
Water Damage Cracks
Water damage cracks come with telltale signs beyond just the crack itself. Discoloration, brown or yellow staining, soft spots when you press gently on the ceiling, or visible sagging. These cracks develop when moisture weakens the drywall’s paper facing and gypsum core, causing the material to lose its structural integrity.
Pattern Based Cracks
Spider web cracks create a network of small cracks radiating from a central point, usually indicating impact damage or a concentrated stress point. You might see this pattern where something heavy was stored in the attic directly above, or where someone stepped between joists and put weight on unsupported drywall. The cracks spread outward as the force distributed through the brittle joint compound.
Corner cracks appear where walls meet ceilings and often result from truss uplift, a seasonal phenomenon where temperature differences between the attic and living space cause roof trusses to arch slightly upward in winter. Seam separation happens along the joints between drywall panels when the tape fails or the joint compound cracks due to movement. These cracks follow straight lines because they’re literally following the seams where panels were installed.
When cracks indicate serious structural damage requiring professional assessment, you’ll usually see multiple warning signs together. Cracks that keep reopening after repair, sagging or bulging sections, cracks wider than ½ inch, or cracks accompanied by sticking doors and windows throughout the house. If your ceiling cracks come with uneven floors, gaps between walls and ceilings that weren’t there before, or visible foundation cracks in the basement, you’re looking at foundation issues that need an engineer’s evaluation before any cosmetic repairs make sense.
Complete Step by Step Repair Process for Ceiling Cracks
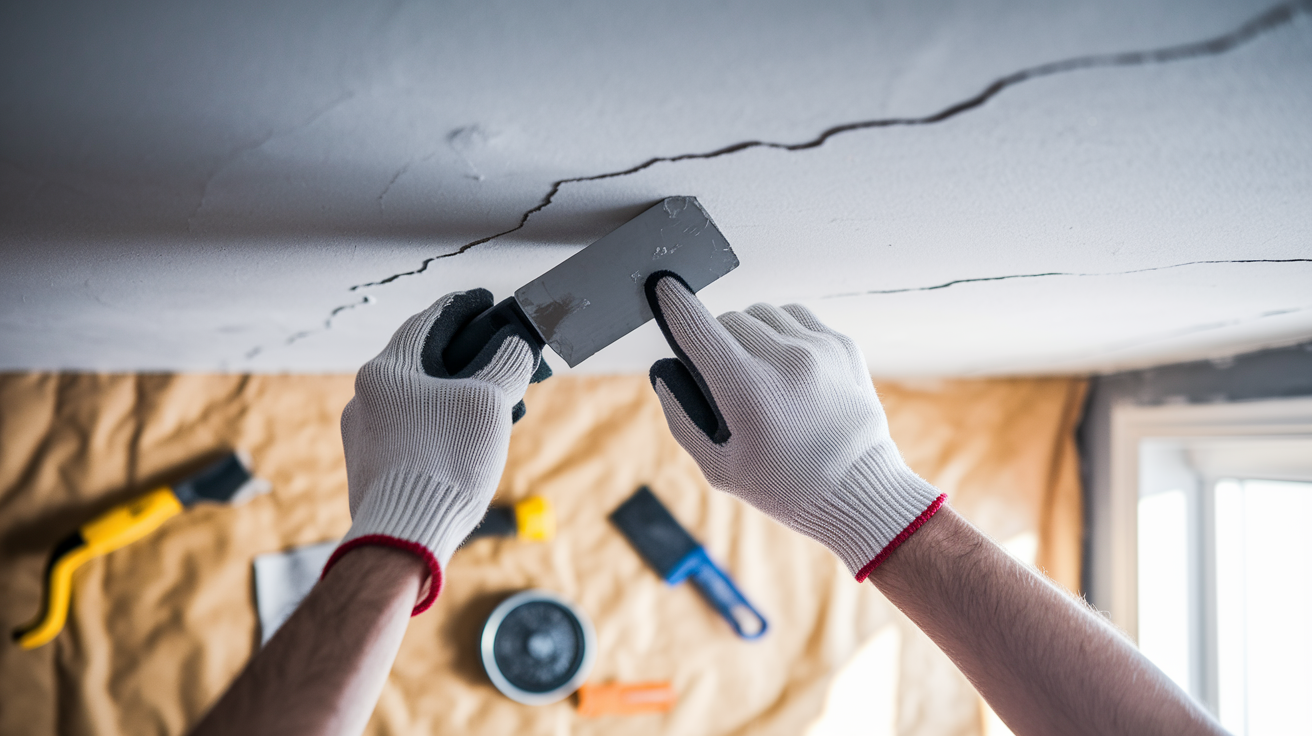
The full repair process typically takes one to three days from start to finish, though you’ll only spend two to four hours actually working. The rest is waiting for compound to dry between coats, which you can’t rush without compromising the quality of your repair.
Required Tools and Materials:
Joint compound (lightweight, pre-mixed works best for ceiling repairs), 4 inch putty knife for initial application, 6 inch taping knife for feathering and smoothing, 5 in 1 painter’s tool for widening and cleaning cracks, mesh tape for cracks wider than ⅛ inch, 100 grit sandpaper for initial debris removal and between coat smoothing, 220 grit sandpaper for final finish sanding, sanding block or sponge for even pressure, water dampened rag for dust removal, drop cloths to protect floors and furniture, safety glasses for overhead work, dust mask to avoid breathing fine particles, vinyl gloves to keep hands clean.
Before climbing up to start the repair, protect your work area properly since you’ll be working overhead where dust and debris fall straight down. Spread drop cloths over furniture and floors directly below the crack, extending at least three feet beyond the repair area on all sides. Position your ladder on stable, level ground and make sure you can reach the crack comfortably without overreaching, which compromises both your balance and your ability to apply smooth, even pressure with your tools. Put on safety glasses before you start, because even small bits of dried compound can irritate your eyes when they fall during sanding.
Sequential Repair Steps:
-
Assess the crack’s width and depth by running your finger along it, checking for any soft or crumbling areas that indicate water damage or loose material.
-
Use the 5 in 1 painter’s tool to widen cracks narrower than ¼ inch, creating a small V shaped groove that gives the patching compound more surface area to grip.
-
Remove all loose debris, old caulking, and flaking paint from inside the crack using the pointed end of your 5 in 1 tool, working carefully to avoid enlarging the crack more than necessary.
-
Sand the crack and surrounding area lightly with 100 grit sandpaper to remove any remaining loose material and rough up the surface for better compound adhesion.
-
Wipe away all dust and debris with a water dampened rag, wringing it out well so you’re not adding moisture to the drywall, then let the area dry for 10 to 15 minutes.
-
For cracks wider than ⅛ inch, press mesh tape along the length of the crack, centering it over the opening to provide reinforcement that prevents the crack from reopening.
-
Load your 4 inch putty knife with a small amount of joint compound and apply the first thin coat, pressing firmly to fill the crack and embed the tape if you’re using it, holding the knife at about a 45 degree angle to the ceiling.
-
Feather the compound one to two inches beyond the crack edges on both sides by gradually reducing pressure as you move the knife outward, creating a smooth transition that won’t be visible after painting.
-
Allow the first coat to dry completely, which typically takes four to eight hours in normal conditions but can take up to 24 hours in humid weather or with thicker applications.
-
Apply a second thin coat if the first coat shrunk or if you can still see the crack outline, feathering even wider this time (two to three inches beyond the crack) and smoothing carefully with your 6 inch knife.
-
After the final coat dries completely, sand the repair area with 220 grit sandpaper using light, circular motions, checking frequently by running your hand over the surface to feel for any ridges or depressions.
-
Remove all sanding dust with a clean, water dampened rag and inspect the repair from different angles under good lighting to make sure the patched area is flush with the surrounding ceiling.
Patience between coats makes the difference between a repair that lasts and one that cracks again in a few months. Multiple thin layers prevent the shrinking and cracking that happens when thick applications dry, because the outer surface dries faster than the interior, creating tension that pulls the compound apart. Each thin coat dries more evenly and bonds better to the previous layer. Drying time varies with temperature and humidity. In a climate controlled room at 70 degrees with moderate humidity, expect four to six hours between coats, but in a damp basement or during humid summer weather, wait a full 24 hours. Press the repair gently with your finger. If the compound feels cool to the touch or if pressing leaves a slight impression, it’s not ready for the next coat.
Matching Ceiling Texture After Drywall Repair

The smoothest compound application in the world still stands out like a spotlight if your ceiling has texture and you don’t recreate it over the repair. Ceiling texture types range from completely smooth to heavy popcorn, with several common variations in between that each require different matching approaches.
| Texture Type | Application Method | Difficulty Level |
|---|---|---|
| Smooth | No texture needed, just sand to perfectly flush finish | Easy (but requires patience) |
| Knockdown | Spray texture then lightly flatten peaks with trowel | Moderate |
| Orange Peel | Aerosol spray with medium splatter pattern | Easy to moderate |
| Popcorn | Aerosol or pump sprayer with coarse texture | Moderate to difficult |
| Skip Trowel | Hand applied compound with random trowel patterns | Difficult |
Aerosol texture spray cans offer the easiest path to matching most ceiling textures. Hold the can 18 to 24 inches from the ceiling and test your spray pattern on a piece of cardboard first, adjusting the distance and hand movement until you create a pattern that matches the surrounding texture. Apply texture in light passes rather than one heavy coat, building up gradually so you don’t overshoot and create texture that’s too heavy. The key is in your hand movement. Steady, even motion creates orange peel texture, while a slight circular motion creates finer splatter patterns.
Practice on cardboard or scrap drywall positioned horizontally at the same angle as your ceiling before applying texture to the actual repair. Match not just the texture pattern but also the density, checking from several angles and distances because texture looks different depending on lighting and viewing position. Let each test spray dry for 10 to 15 minutes since wet texture appears heavier than it will when dry. Once you’re confident in your technique, work quickly and decisively on the ceiling because hesitation creates uneven patterns.
Testing texture on cardboard first saves you from the frustration of applying the wrong texture pattern to your carefully prepared repair and having to sand it all off to start over. Position your cardboard test piece vertically or mount it overhead to simulate how gravity affects the texture as it’s sprayed upward onto a ceiling, since the spray pattern behaves differently when applied overhead versus horizontally.
Primer Application and Paint Touch Up for Repaired Ceiling Cracks

Primer is essential before painting because bare joint compound absorbs paint at a different rate than the sealed drywall around it, creating a visible patch even when the surface is perfectly smooth. Without primer, you’ll see a dull spot where the repair is, or you’ll need four or five paint coats to even out the sheen, and even then the patch might still show under certain lighting.
Stain blocking primer works best for ceiling repairs because it seals the joint compound completely and prevents any discoloration from bleeding through your finish paint. Apply primer with a small roller for the main patch area and a brush for feathering the edges, extending the primer three to four inches beyond the repaired area. Use smooth, even strokes and don’t overwork the primer by going over the same spot repeatedly, which can pull up the compound underneath or create roller marks that show through your paint.
Allow the primer to dry according to the manufacturer’s instructions, usually one to two hours, before applying paint. The primed area should look uniform in color and sheen when it’s ready for paint.
Paint matching strategies start with identifying your existing ceiling paint. If you have leftover paint from the original job, you’re set, but most people don’t. Bring a small sample to a paint store by cutting out a 2 inch square of ceiling drywall from an inconspicuous area like inside a closet, or scrape off a chip of paint if the ceiling has multiple layers. Paint stores can scan the sample and mix a match, though ceiling paint fades over time from sunlight and age, so an exact match to the original color might look too bright against the aged surrounding paint.
Blend the touch up paint beyond the primed area by 6 to 12 inches using a technique called feathering, where you gradually reduce the paint thickness as you move away from the patch. Apply two thin coats rather than one heavy coat, allowing proper drying time between applications (check the paint can for specific times, usually two to four hours). Thin coats level out better and are less likely to show brush or roller marks.
When to Attempt DIY Ceiling Crack Repair vs. Hiring a Contractor

The DIY appropriate threshold sits at hairline cracks up to about ¼ inch wide that aren’t actively growing and don’t come with other warning signs like water stains or sagging.
DIY Friendly Situations:
Hairline cracks less than ⅛ inch wide with no discoloration. Stable cracks that haven’t changed in six months or more. Cracks along drywall seams from normal settling. Cosmetic cracks with no soft spots or sagging nearby. Ceiling height under 10 feet (safely reachable with standard ladder). Smooth or simple texture that’s easy to match.
Call a Professional:
Cracks wider than ½ inch or actively growing. Any crack accompanied by sagging, bulging, or soft spots. Water stains, discoloration, or signs of active moisture. Cracks that reopen shortly after repair. Multiple cracks appearing throughout the house simultaneously. Popcorn ceiling repairs requiring asbestos testing (pre 1980s homes).
Safety concerns with large ceiling repairs go beyond just the difficulty of the work. When you’re dealing with sagging sections or large damaged areas, there’s a real risk of additional material coming down while you’re working underneath it. Professional contractors have the proper safety equipment, structural knowledge to identify load bearing issues, and insurance coverage if something goes wrong during the repair.
Cost benefit analysis for DIY versus professional repair usually favors DIY for small, straightforward cracks where materials cost $30 to $80 and your time investment is minimal. Professional repairs typically run $200 to $600 depending on crack size and complexity, but that price includes expertise in identifying underlying problems, proper structural repairs if needed, insurance coverage, and a finished result that’s guaranteed. For a single hairline crack, DIY makes financial sense. For multiple cracks, recurring problems, or anything involving water damage or structural concerns, the professional’s diagnostic skills alone are worth the cost because fixing the symptom without addressing the cause just means you’ll be repairing the same crack again in six months.
Estimated Costs and Time Requirements for Ceiling Crack Repair

Cost variables include crack size, ceiling height, texture complexity, and whether you’re doing the work yourself or hiring a professional.
| Repair Scope | DIY Materials Cost | DIY Time Required | Professional Cost |
|---|---|---|---|
| Small hairline crack (under 12 inches) | $30-50 | 2-3 days (3 hours active work) | $150-250 |
| Medium crack with mesh tape (12-36 inches) | $45-70 | 2-3 days (4 hours active work) | $250-400 |
| Large crack requiring multiple coats (36+ inches) | $60-90 | 3-4 days (5-6 hours active work) | $400-600 |
| Extensive damage with structural repair needs | Not recommended for DIY | N/A | $600-2,000+ |
Time investment for DIY repairs spans two to three days total because of the necessary drying periods between compound coats, but your actual hands on work time is only two to four hours for typical repairs. Day one involves crack preparation, first compound coat, and cleanup (one to one and a half hours). Day two covers the second coat after the first dried overnight (30 to 45 minutes). Day three includes final sanding, priming, and often the first paint coat (one to one and a half hours). If you’re matching texture, add another 30 minutes for practice and application.
Crack size, ceiling height, and texture complexity significantly affect both time and cost. Popcorn ceiling repairs cost 30 to 50% more professionally because matching the texture requires specialized equipment and technique, and removal of old popcorn texture before patching often involves asbestos testing in older homes. High ceilings (over 10 feet) add difficulty and time because you need scaffolding or extended ladder work, and holding your arms overhead for extended periods is tiring, which affects the quality of your work. Simple smooth or orange peel textures add minimal time and cost, while complex skip trowel or custom textures can double the finishing time.
Common Mistakes to Avoid During Drywall Ceiling Repair
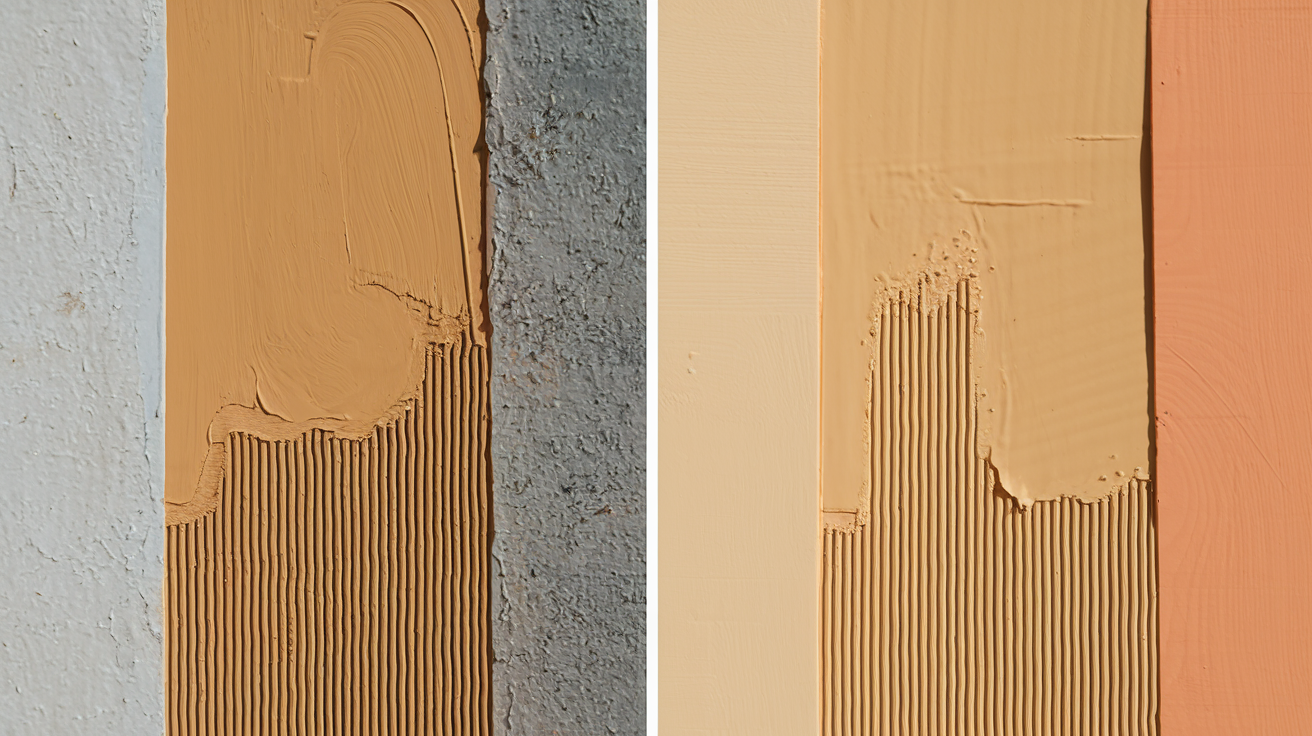
Learning from common pitfalls saves time, materials, and the frustration of having to redo repairs that failed or show up as obvious patches.
Common Mistakes and Their Consequences:
Applying compound too thick in single coats creates shrinkage cracks as the outer surface dries faster than the interior, and the resulting tension pulls the compound apart, leaving you right back where you started.
Insufficient drying time between coats traps moisture under subsequent layers, causing the repair to crack, sag, or fail completely as trapped moisture eventually escapes.
Skipping primer before painting creates “flashing” where the patched area shows as a dull or discolored spot because bare joint compound absorbs paint differently than sealed drywall.
Poor surface preparation and inadequate cleaning leaves dust, debris, or loose material that prevents proper bonding, causing the new compound to detach or crack along the edges of the repair.
Over sanding the repair area creates depressions or “valleys” in the ceiling surface around the repair by removing too much of the surrounding drywall, making the patch even more visible.
Neglecting texture matching on textured ceilings leaves a smooth, shiny patch that catches light differently than the surrounding texture, announcing the repair location to anyone who looks up.
Using paper tape instead of mesh tape for wider cracks requires more skill to apply without bubbles or wrinkles, and paper tape tends to show through thin compound coats, creating ridges.
Rushing the entire process to finish in one day leads to wet sanding, premature paint application, and compromised adhesion that causes the repair to fail within weeks or months.
Inadequate feathering at patch edges creates a visible “halo effect” where the repair’s edge is noticeable as a slight ridge or color difference, outlining the patch perfectly.
Using the wrong consistency of joint compound means compound that’s too thick doesn’t spread smoothly or feather properly, while compound that’s too thin runs and sags, especially on overhead applications.
The “fix it right” mentality versus quick temporary patches comes down to understanding that ceiling repairs are visible from everywhere in the room, and a patch that shows up as an obvious repair diminishes the room’s appearance more than the original crack did. Taking the extra day to let coats dry properly, spending fifteen minutes practicing texture technique, and applying proper primer might feel like unnecessary delays when you just want the crack gone, but these steps are what separate a repair that disappears completely from a patch that draws your eye every time you’re in the room. Temporary fixes typically fail within a year, requiring you to redo the entire repair plus fix any additional damage caused by the failed patch, which means you end up spending twice the time and money you would have invested in doing it properly the first time.
Preventing Future Ceiling Cracks: Maintenance and Moisture Control

Prevention versus repair cost benefit strongly favors proactive maintenance because addressing the conditions that cause cracks costs far less than repeatedly patching the same problems.
Humidity management involves maintaining indoor relative humidity between 30 to 50% year round to minimize the expansion and contraction cycles that stress drywall and joint compound. Extreme humidity swings are particularly damaging. When humidity drops below 20% in winter, drywall contracts and joint compound becomes brittle, while humidity above 60% causes expansion and promotes mold growth that weakens drywall’s paper facing. Use a whole house humidifier during heating season in dry climates, and run dehumidifiers in basements or during humid summer months in regions with high moisture levels. You can track humidity with an inexpensive hygrometer placed in main living areas, checking it weekly and adjusting your humidity control equipment accordingly.
Proper attic ventilation prevents temperature related movement by allowing hot air to escape in summer and reducing the temperature differential between living spaces and attic spaces in winter. Truss uplift happens in winter months when roof trusses in a cold attic arch upward slightly because the bottom chord (ceiling side) stays warm while the top chord (roof side) contracts in cold temperatures, and this movement pulls the ceiling drywall up with it, causing cracks where walls meet ceilings. Adequate insulation between the living space and attic, combined with proper attic ventilation through soffit and ridge vents, reduces the temperature extremes that cause this seasonal movement.
Preventive Maintenance Actions:
Monitor indoor humidity levels with a hygrometer and maintain 30 to 50% relative humidity year round. Check attic ventilation and insulation annually before winter to reduce temperature related movement. Inspect ceiling and roof for water stains or soft spots every six months, especially after heavy rain. Address roof leaks immediately when spotted to prevent water damage that weakens drywall. Fix plumbing leaks above ceilings promptly, including slow drips that cause gradual damage. Schedule annual home inspections focusing on foundation settlement and structural movement indicators.
Annual ceiling inspections catch small cracks while they’re still easy to repair and help you identify patterns that might indicate developing structural issues. Walk through your home twice yearly, in spring and fall, looking up at ceilings in good lighting conditions and noting any new cracks or changes to existing ones. Take photos of any cracks you find and date them so you can track whether they’re stable or growing over time, which helps you decide whether they need immediate repair or just monitoring.
Final Words
Ceiling cracks won’t fix themselves, but drywall ceiling crack repair doesn’t have to be complicated either.
Widen the crack. Clean it. Apply thin coats. Let each layer dry. Sand smooth. Match the texture. Prime and paint.
If the crack keeps coming back or there’s water damage behind it, call someone who can check what’s happening in the structure.
Most hairline and surface cracks? You can handle those yourself with a weekend, some basic materials, and a little patience between coats.
Your ceiling will look normal again. And you’ll know exactly what to watch for next time.
FAQ
How to repair a small crack in ceiling drywall?
To repair a small crack in ceiling drywall, first widen the crack slightly using a painter’s tool, clean out all loose debris, then apply joint compound in thin layers using a putty knife, feathering the edges 1-2 inches beyond the crack for a smooth blend.
What to use to fill a crack in a ceiling?
To fill a crack in a ceiling, use joint compound (also called drywall mud) applied with a putty knife. For cracks wider than 1/4 inch, apply mesh tape before the compound to prevent the crack from reopening as the material dries.
Can I fix drywall cracks myself?
You can fix drywall cracks yourself if they’re hairline to 1/4 inch wide, show no active movement, and aren’t accompanied by water stains or sagging. The process takes 2-3 days for drying but requires only 2-4 hours of actual work.
Is it normal for ceiling drywall to crack?
Ceiling drywall cracks are normal when caused by minor settling, temperature changes, or humidity fluctuations, especially in new construction during the first year. However, cracks wider than 1/2 inch, recurring cracks, or those with water stains may indicate structural issues requiring professional assessment.
How long does ceiling crack repair take to dry?
Ceiling crack repair typically takes 4-24 hours to dry between coats, depending on humidity, temperature, and compound thickness. The complete repair process spans 2-3 days to allow proper drying, though you’ll only spend 2-4 hours on active work.
Do I need to prime a ceiling after repairing cracks?
You need to prime a ceiling after repairing cracks because bare joint compound absorbs paint differently than sealed drywall, which creates visible patches called flashing. Stain-blocking primer ensures the repair blends invisibly with the surrounding ceiling once painted.
What grit sandpaper should I use for ceiling crack repair?
For ceiling crack repair, start with 100-grit sandpaper to remove loose debris from the cracked area, then use 220-grit sandpaper for final smoothing after the compound dries. Light sanding between coats with 220-grit creates an even surface that blends with surrounding drywall.
How far should I feather joint compound on ceiling cracks?
You should feather joint compound 1-2 inches beyond the crack edges when repairing ceiling cracks. This blending technique creates a gradual transition that makes the repair invisible once sanded, primed, and painted to match the surrounding surface.
Can ceiling cracks indicate structural problems?
Ceiling cracks can indicate structural problems when they’re wider than 1/2 inch, accompanied by sagging, recurring after repair, or forming in diagonal or horizontal patterns. Foundation settlement, roof issues, or water damage may require professional assessment beyond cosmetic repair.
How many coats of joint compound do ceiling cracks need?
Ceiling cracks typically need 2-3 thin coats of joint compound rather than one thick application. Multiple thin layers prevent shrinkage and cracking as the compound dries, creating a stronger, longer-lasting repair with a smoother finish.