
Most people pick up the cheapest roll of drywall tape at the store and wonder why their crack repair looks lumpy or cracks again six months later. The tape you choose actually matters more than the compound for repairs that hold up. Paper tape creates the strongest bond when applied right, mesh tape handles wider gaps without tearing, and self-adhesive versions save time but sacrifice some durability. This guide breaks down which tape works for different crack types and explains the application methods that actually prevent those cracks from coming back.
Essential Tape Selection for Different Crack Types
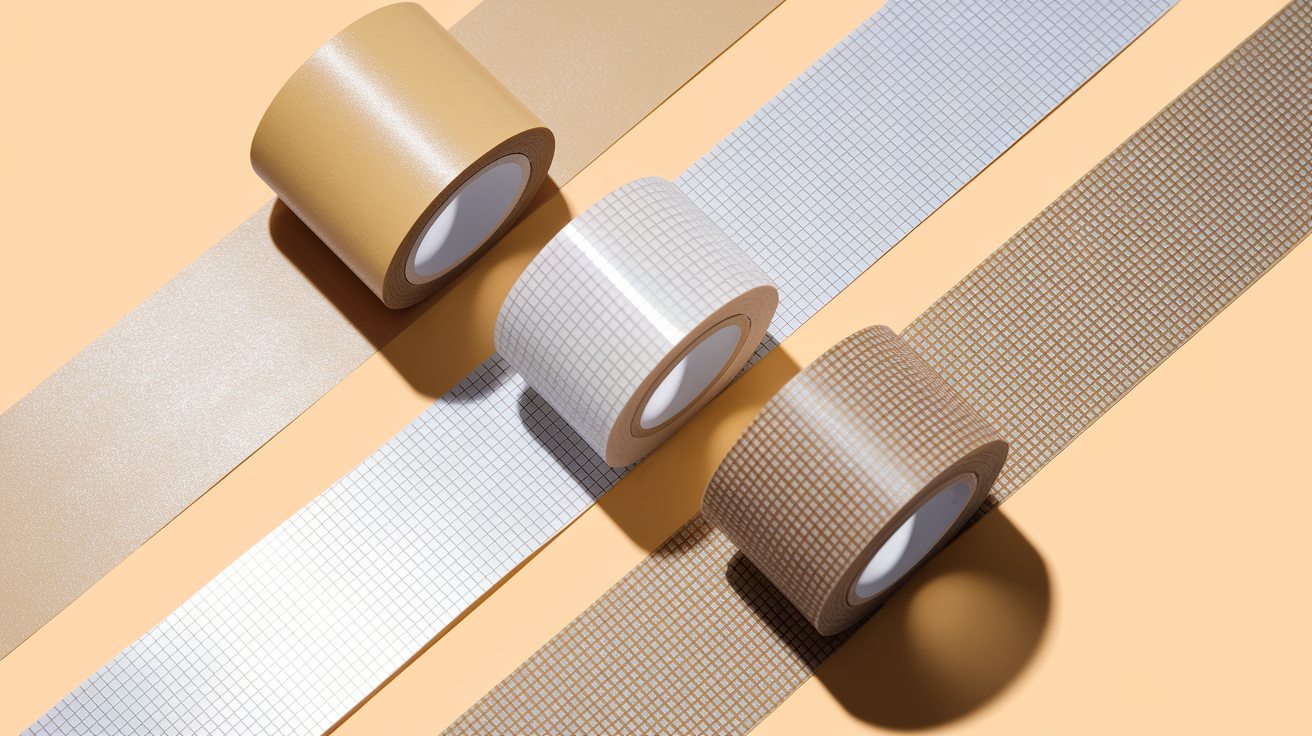
You’ve got three main tape options when repairing drywall cracks: paper tape, fiberglass mesh tape, and self-adhesive mesh tape. Each one works differently depending on the crack’s size, location, and how much that wall moves. Paper tape’s been the go-to for decades and handles joints that shift a bit, while mesh tape grabs onto setting compound and spans wider gaps. Self-adhesive mesh speeds things up since you skip the wet-bed step entirely, but that convenience has some downsides.
| Tape Type | Best For | Key Advantage | Limitation |
|---|---|---|---|
| Paper Tape | Standard cracks, seams, moving joints | Strong bond when embedded properly, tear resistant | Requires wet bed application with compound underneath |
| Fiberglass Mesh Tape | Wider gaps, areas needing extra reinforcement | Bridges gaps without tearing, holds setting compound well | Forces thicker compound layers, slightly more visible |
| Self-Adhesive Mesh Tape | Quick DIY repairs, straight runs on flat walls | Fast application, no embedding step needed | Weaker adhesion than embedded paper tape |
For most standard crack repairs, paper tape gives you the best results. It forms a tight bond with joint compound and creates a thin, strong layer that disappears under finish coats. Switch to mesh tape when you’re dealing with gaps wider than an eighth of an inch or spots where the drywall edges aren’t perfectly flush. Very shallow hairline cracks sometimes don’t need tape at all, just compound worked into the crack and smoothed out.
Joint Compound Selection: Setting Type vs Pre-Mixed for Crack Applications
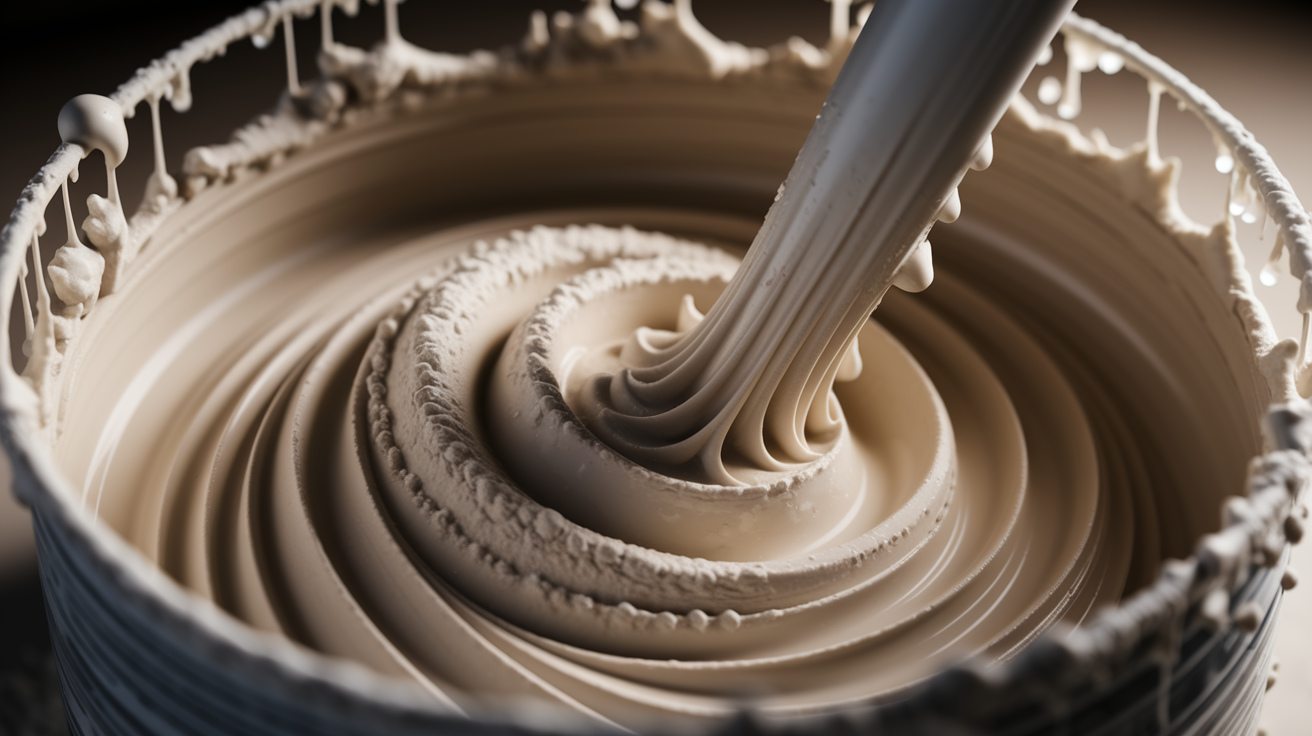
Joint compound comes in two categories, and knowing the difference helps you build repairs that actually last. Setting compound arrives as powder you mix with water, and it hardens through a chemical reaction rather than just drying. Pre-mixed compound comes ready to use in buckets and dries through moisture evaporation. Most solid crack repairs use both types in sequence.
Setting compound, often sold under the Easy Sand brand name, comes in 20, 45, and 90 minute versions. Those numbers tell you how long you’ve got to work before the compound starts to harden. The 20 minute version sets fast, which works when you want multiple coats in one day, but it doesn’t give you much time to smooth things out. The 90 minute formula lets you take your time getting it right, especially helpful when you’re working overhead on ceiling cracks or learning the process. Setting compound bonds hard to drywall, creating a stable base that won’t shrink or crack as it cures.
Pre-mixed all purpose compound grabs onto drywall surfaces really well. It’s what most people picture when they think of drywall mud. This compound works for bonding, taping, and finishing, though it takes longer to dry than setting types. The convenience of opening a bucket and getting to work makes it popular for DIY repairs. You’ll also see topping compound, which has a finer texture for smooth final coats but less bonding strength.
The best approach layers both compound types. Use setting compound for the first fill, especially when you’re working into a V groove or reinforcing a crack that opened from settling. Let it cure, then switch to pre-mixed topping compound for your second and third coats. Setting compound provides the structural fix, while pre-mixed topping compound gives you that smooth, sandable finish that blends into the surrounding wall.
Complete Application Process: From Surface Prep to Tape Installation

The repair happens in three stages: preparing the surface so tape actually sticks, installing the tape using the right method for your tape type, and applying that critical first coat of compound. Skip or rush the prep work and you’re just covering up a crack that’ll come back.
Surface Preparation Steps
Preparation determines whether your repair holds for years or cracks again in months. The crack needs a clean channel that gives compound something to grab onto.
Cut a V shaped groove along the entire crack length using a utility knife. The goal is creating a shallow channel, not cutting through the drywall. Angle the blade to widen the crack slightly as you go deeper. Keep your cutting depth shallow, especially on ceilings where you’re working with plaster over drywall. You want to open the crack, not create a hole.
Clear all debris from the V shaped cut with a shop vacuum before you start taping. Dust and loose bits prevent proper compound adhesion. For more detail on selecting the right cutting tools for surface prep, check out our guide on drywall repair tools.
Protect nearby woodwork or trim by running painter’s tape along the edges. Joint compound wipes off painted surfaces when wet, but why create extra cleanup work? For ceiling cracks showing movement, add drywall screws on both sides of the crack as a precaution. This stiffens the area and reduces future shifting.
Paper Tape Installation Method
Paper tape requires the wet bed method, which means compound goes on before the tape.
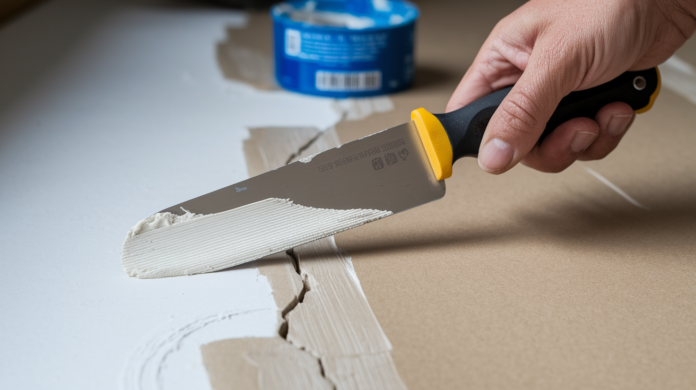
Apply about 1/8 inch of joint compound directly over the prepared crack using a 6 inch putty knife. Spread it a couple inches wider than your tape on each side. Center a strip of paper tape over the crack while the compound’s still wet. Press it lightly into place with your fingers, but don’t squeeze out all the compound yet.
Run your 6 inch putty knife along the tape, applying firm pressure to squeeze out excess compound and force the tape tight against the wall. Work from the center toward the ends. Focus on getting rid of air bubbles as you go. Any bubbles left under the tape create weak spots. You’ll feel them as soft spots under the knife. Keep working those areas until the tape lies completely flat.
Extend your first coat a few inches on each side of the tape strip. This coat doesn’t need to be perfect, it just needs to secure the tape and fill the area. Let this first coat dry completely before you touch it again. Depending on humidity and temperature, that’s usually 12 to 24 hours. Press your finger against it. If it feels cool or gives at all, it’s not ready.
Mesh Tape Installation Method
Mesh tape works differently because of its open weave structure and self-adhesive backing. It bridges wider gaps where paper tape might tear and works especially well with setting compound that grabs into the mesh pattern. The application process is faster than paper tape but creates a slightly thicker repair.
Apply mesh tape directly to a clean, dry surface. Peel the backing and press the tape firmly over the crack, smoothing from center to ends to avoid wrinkles. Unlike paper tape, you’re not embedding it in compound. The compound comes next, applied over the mesh rather than under it.
Because compound sits on top of the mesh instead of underneath, you’ll need thicker layers to completely fill the weave and build up to the surrounding surface level. Plan on an extra coat compared to paper tape repairs. The mesh structure does grab setting compound really well, creating strong mechanical bonding once it cures. That makes mesh tape your better choice when cracks have opened up enough that paper tape would bridge the gap instead of laying flat.
Crack Type Analysis: Hairline vs Settling Crack Repair Approaches
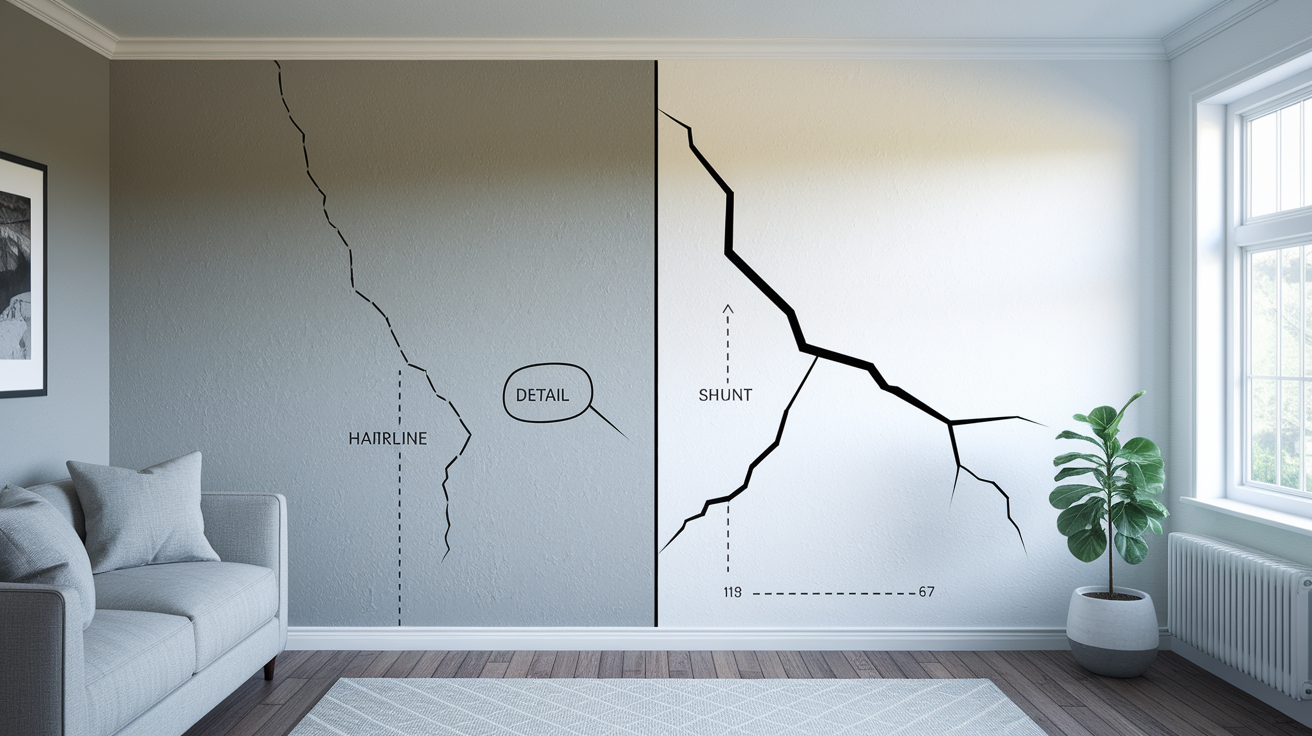
Crack width and location tell you what caused the problem and how extensive your repair needs to be. Most drywall cracks show up at seams where two drywall sections meet, since that’s the weakest point in the wall system. You’ll also spot cracks running vertically along corners, circling door jambs and window frames, or tracking across ceilings near load bearing walls. Temperature swings and house settling create different crack patterns that need different approaches.
Hairline cracks, especially the ones barely visible unless light hits them right, often come from minor settling or temperature changes. Houses move slightly as seasons change, and vacation homes without consistent climate control see this more than year round residences. Very shallow hairline cracks sometimes need only compound worked into the crack and smoothed out, no tape required. If the crack hasn’t moved in years and feels stable when you press on both sides, you might get away with just filling and finishing it.
Settling cracks run deeper and wider, particularly the vertical ones at corners or around openings. New construction settles during the first year or two, and older homes settle as foundation and framing materials shift over decades. These cracks need full tape reinforcement because they represent structural movement. Even after the major settling stops, these areas remain stress points that’ll crack again if you only fill them with compound.
Several warning signs indicate problems beyond what tape and compound can fix. Cracks wider than ¼ inch suggest movement significant enough to require panel replacement rather than surface repair. Cracks that reappear in the same spot after previous repairs point to ongoing structural issues. Horizontal cracks near the foundation level or where walls meet ceilings may indicate foundation problems. Cracks accompanied by doors or windows that stick suggest frame shifting beyond cosmetic repair.
Temperature and humidity swings speed up crack formation, especially in spaces without climate control. A crack that opens in winter when heat dries out the house might close up in summer humidity, then reopen the following winter. That cycle eventually defeats even proper tape repairs.
Multi-Coat Application and Finishing for Professional Results

You’ll need at least two coats after the tape, sometimes three, to make the repair disappear into the surrounding wall.
The second coat starts after your first coat’s dried completely and you’ve scraped off any ridges or bumps. Switch to a 12 inch taping knife for this coat. Load compound onto the blade and apply it in long, smooth strokes, extending 5 to 6 inches beyond the tape edges on each side. This wider coverage starts the feathering process that blends the repair into the undamaged drywall. Long strokes create smoother results than short choppy ones.
Let that second coat dry, then check it with your hand and a work light held at an angle. You’re looking for ridges, high spots, or any area where the repair edge is still noticeable. Scrape off rough spots with your taping knife held at a steep angle. If the repair still shows a visible hump or the edges aren’t feathered enough, you’ll need a third coat. Apply it the same way, extending even slightly beyond your second coat edges.
Final sanding happens after the last coat dries completely. Use fine grit sandpaper, 150 or 220 grit, and sand lightly in circular motions. The goal is blending the feathered edges so you can’t feel any transition when you run your hand over the area. Be careful not to sand through the tape or create a depression. The repair should feel dead flat against the surrounding surface.
Primer goes on before paint, no exceptions. Joint compound is porous and absorbs paint differently than the paper face of drywall. Without primer, your repair will show as a dull spot even after multiple paint coats. A coat of drywall primer seals the compound and creates a uniform surface for paint. It dries fast, usually in an hour or two.
Paint application takes patience if you want the repair to disappear. One thick coat of paint creates texture differences that catch light and give away the repair location. Instead, apply two or three thin coats, letting each dry before adding the next. If you’re trying to match existing wall color, the multiple thin coats blend better than one heavy one. Feather your paint strokes at the repair edges the same way you feathered the compound.
Textured walls and ceilings add another step. After priming but before final painting, you’ll need to match the texture. Orange peel texture comes from thinned compound in a spray bottle. Knockdown texture requires applying thicker compound with a brush or roller, then lightly flattening the peaks with a taping knife once it starts to set.
Essential Tools and Materials Needed for Tape Based Crack Repairs
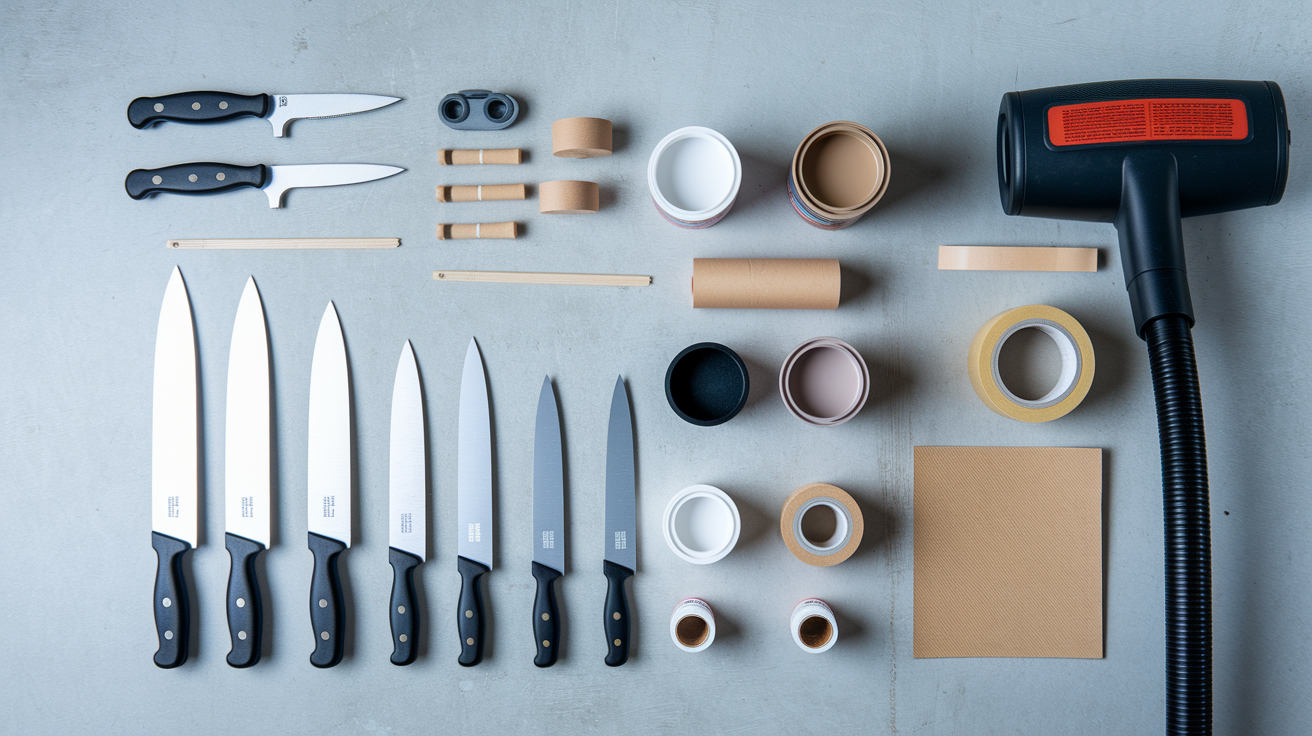
Gathering your supplies before you start keeps the job moving and prevents the frustration of stopping mid repair to make a store run.
| Item Type | Specific Tool/Material | Purpose |
|---|---|---|
| Tool | Utility knife | Cut V groove along crack length during preparation |
| Tool | 6 inch putty knife | Embed tape and apply first compound coat |
| Tool | 12 inch taping knife | Apply second and third coats with proper feathering |
| Tool | Mud pan | Hold working amount of compound while applying |
| Material | Paper drywall tape | Reinforce crack and prevent future separation |
| Material | Pre-mix joint compound | Final finishing coats with smooth sandable texture |
| Material | Setting compound (powder) | First coat bonding with fast cure and no shrinkage |
| Material | Drywall primer | Seal compound before painting for uniform finish |
| Supply | Painter’s tape | Protect trim and adjacent surfaces during repair |
| Tool | Shop vacuum | Clear dust and debris from crack before taping |
Optional tools improve your results and make the work easier. A sanding sponge gives you better control than sandpaper sheets, especially on edges and corners. A spray bottle filled with water helps you mist compound between coats for smoother blending. A bright work light positioned at an angle to the wall shows imperfections your overhead light misses. A 10 inch taping knife splits the difference if you find the 12 inch knife awkward to control.
A basic crack repair kit runs $20 to $50 if you’re buying everything new. That includes a small bucket of pre-mix compound, a bag of setting compound, a roll of paper tape, two taping knives, primer, and sandpaper. If you’ve already got painting supplies and basic hand tools, you might spend $15 on just the compound and tape.
Preventing Future Cracks: Addressing Root Causes Beyond Tape

Tape and compound fix the symptom, not the cause. If something in your house structure or environment keeps stressing that section of wall, the crack will come back no matter how well you apply the tape.
Before you repair a crack, look at what caused it. Press on the wall on both sides of the crack. Does it flex? That suggests inadequate framing or studs spaced too far apart. Check whether doors nearby stick in their frames or if windows don’t close smoothly anymore. Those are signs of settling or shifting that’s still happening. Look for patterns. Multiple cracks all running the same direction or all concentrated in one area point to specific structural issues rather than random settling.
Structural problems like inadequate framing stiffness show up most often in ceilings. If ceiling cracks keep reappearing in the same spots, the joists above might be undersized for the span or you might have a leak that’s weakening the drywall. Adding screws or even blocking between joists to stiffen the ceiling solves the root problem. Foundation settlement in new homes is normal during the first year or two, but ongoing settlement in older homes can signal soil issues, water drainage problems near the foundation, or deteriorating foundation materials.
Environmental factors stress drywall systems constantly. Temperature swings make building materials expand and contract at different rates. Wood framing moves more than drywall. Vacation homes or seasonal properties without consistent heating and cooling see more cracks because temperature swings are larger. Humidity matters too. Very dry conditions make drywall brittle and more prone to cracking, while excess moisture softens it and allows more movement.
When cracks indicate framing, foundation, or moisture issues, address those before you spend time on cosmetic repairs. Adding blocking to stiffen a ceiling takes an hour and prevents repeated cracking. Improving drainage around your foundation stops the settling that’s causing corner cracks. Running a humidifier or dehumidifier to maintain moderate humidity levels reduces stress on the drywall. Sometimes the crack itself is the least of your problems. It’s just the visible evidence of something bigger that needs fixing.
Common Mistakes to Avoid When Taping Drywall Cracks
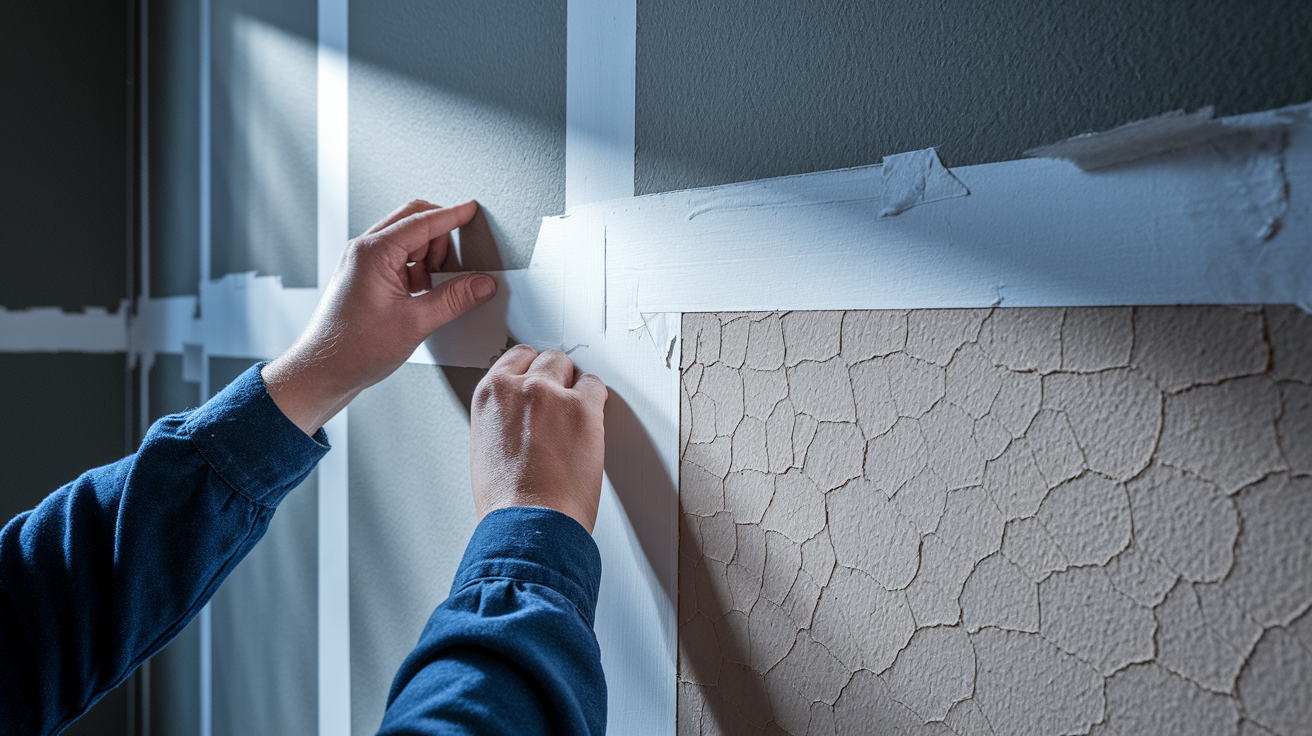
Most repair failures come from rushing through steps or skipping parts of the process that seem unnecessary until the repair fails.
Skipping surface preparation and applying tape directly over a dusty, unprepared crack creates weak bonding from the start. Insufficient compound under paper tape leaves voids that allow the tape to bubble or separate as it dries. Not removing air bubbles during tape embedding creates weak spots that crack under stress. Applying the second coat before the first coat dries completely reactivates the underlying compound and creates a mess. Inadequate feathering leaves visible ridges and bumps that remain obvious even after painting. Over sanding cuts through tape edges or creates depressions that show through paint. Skipping primer before painting causes the repair to appear as a dull patch that never matches the surrounding wall.
Air bubbles are the silent killer of tape repairs. They happen when you don’t press firmly enough while embedding paper tape or when you work too fast and trap air underneath. The 6 inch putty knife should flex slightly as you run it along the tape, applying enough pressure to squeeze excess compound out the sides. You’ll feel bubbles as soft spots under the knife. Keep working those areas with firm pressure until the tape lies completely flat and you can’t feel any give when you press on it.
Rushing between coats causes more do overs than any other mistake. That first coat might look dry on the surface but still be soft underneath, especially in humid weather or when you’ve applied it thick. Press your finger firmly against the compound. If it feels cool to the touch, moisture’s still evaporating. If it gives at all under pressure, it’s not ready. Applying a second coat over damp compound turns both layers into a gummy mess that takes days to dry and often cracks as it finally cures.
Let the final coat dry completely before you prime and paint. Compound that feels dry might still be releasing moisture, and that moisture will create problems under primer and paint. When you’re certain it’s dry, prime it. That step matters more than people think because it prevents the repair from showing through your paint.
Cost Comparison: DIY Tape Repair vs Professional Service

Deciding between fixing the crack yourself or calling someone in comes down to cost, time, and whether you want to learn the skill or just want it done.
| Repair Approach | Material Cost | Time Investment | Skill Level Required | Best For |
|---|---|---|---|---|
| DIY Repair | $20-50 for materials | 4-6 hours spread over 3-4 days (drying time) | Beginner to intermediate, patience required | Single cracks, learning the skill, budget projects |
| Professional Service | $150-400 depending on crack extent | 2-3 site visits over 2-3 days (contractor’s schedule) | No homeowner skill needed | Multiple cracks, guaranteed finish, ceiling work, time constraints |
DIY material costs stay low if you’re fixing one or two cracks. A small bucket of pre-mix compound runs $8 to $15, a bag of setting compound costs $10 to $18, and paper tape is $3 to $6 per roll. If you don’t already own taping knives, add another $15 to $25 for a 6 inch and 12 inch knife. Primer, sandpaper, and painter’s tape add maybe $10. Total outlay for someone starting from scratch hits about $50.
Tool investment matters if you don’t own the basics. Good taping knives last for years and work for future repairs, so that’s money well spent if you’ll use them again. For a deep dive into selecting quality tools that make the job easier, see our full breakdown at drywall repair tools. A mud pan and utility knife add another $10 to $20. If this is truly a one time repair, borrowing tools from a neighbor makes sense.
Professional service costs vary by location and crack severity but generally run $150 to $250 for a single crack repair including materials, labor, and paint matching. Multiple cracks in the same room often get bundled at a lower per crack rate. Ceiling repairs cost slightly more than wall repairs because of the overhead work difficulty. Complex jobs involving structural assessment or extensive prep work can reach $400 or more.
Professional help makes sense when you’re dealing with multiple cracks, ceiling work where overhead application gets tiring, or situations where you need guaranteed results for a home sale. Contractors work faster because they do this every day. They know exactly how thick to apply compound and can feel when tape’s properly embedded. The time you save might be worth the cost if you’re busy or the crack’s in a prominent location where you want perfect results.
Final Words
The right drywall tape for crack repair depends on what you’re fixing. Paper tape handles most standard cracks and moving joints. Mesh tape bridges wider gaps when you need it.
Get the surface prep right, eliminate air bubbles, and don’t rush the drying time between coats. Those three things prevent most repair failures.
If the crack keeps coming back, the tape isn’t the problem. Something underneath needs attention first.
But for typical settling cracks and seam separations, you’ve got a clear path forward. Gather your supplies, work through the steps, and give each coat time to dry completely.
Your walls can look normal again.
FAQ
What drywall tape is best for cracks?
Paper drywall tape is best for most crack repairs because it bonds well to joint compound and provides strong reinforcement on moving joints. If the crack is wider than a hairline, paper tape embedded in a wet bed of compound gives reliable, durable results that hold up over time.
Should you tape drywall cracks?
You should tape drywall cracks in most cases, especially for cracks caused by settling or movement. Taping reinforces the repair and prevents the crack from reopening. For very shallow hairline cracks with no movement, you might only need compound without tape.
What is best to fill cracks in drywall?
Setting-type joint compound is best for the initial fill layer on drywall cracks because it hardens chemically and bonds tightly to the surface. Follow the first coat with pre-mixed all-purpose compound for a smooth finish. This two-compound method creates a durable repair that lasts.
What is the best tape for cracked walls?
Paper tape is the best choice for most cracked walls because it works reliably on interior surfaces and stays bonded when properly embedded in joint compound. For wider gaps or faster DIY repairs, fiberglass mesh tape can bridge the crack, but it requires thicker compound layers.
How do you prepare a crack before taping?
You prepare a crack before taping by cutting a shallow V-groove along the entire crack length with a utility knife and removing all loose debris with a shop vacuum. This preparation step ensures the tape and compound have clean, solid surfaces to bond to for a lasting repair.
Can you use mesh tape on hairline cracks?
You can use mesh tape on hairline cracks, but it’s usually not necessary. Very shallow cracks with no movement often need only compound without any tape reinforcement. If the crack shows slight width or movement, paper tape embedded in compound provides better bonding than mesh.
How many coats of compound do you need over drywall tape?
You typically need two to three coats of compound over drywall tape to achieve a seamless repair. The first coat embeds the tape, the second coat feathers wider to blend the edges, and a final coat smooths any remaining imperfections before sanding and painting.
Why do some drywall crack repairs fail?
Drywall crack repairs fail when air bubbles are left under the tape, when second coats are applied before the first coat dries completely, or when surface preparation is skipped. Rushing the process or not addressing the underlying cause of recurring cracks also leads to repair failure.
When should you call a professional for drywall cracks?
You should call a professional for drywall cracks wider than a quarter inch, cracks that keep coming back after repair, or cracks caused by foundation settlement or structural movement. Professionals can assess whether framing reinforcement or other structural fixes are needed before cosmetic repair.
Does temperature affect drywall cracking?
Temperature affects drywall cracking significantly because expansion and contraction from temperature changes stress the material and create cracks. Vacation homes or properties without consistent climate control see more cracking. Maintaining stable indoor temperature and humidity helps prevent future cracks from forming.
What tools do you need for taping drywall cracks?
You need a utility knife for surface prep, a six-inch putty knife for embedding tape, a twelve-inch taping knife for feathering wider coats, and a mud pan for holding compound. Add a shop vacuum for debris cleanup and painter’s tape to protect trim during the repair process.
How long does drywall tape repair take to complete?
A drywall tape repair takes three to five days from start to finish because each coat of compound must dry completely before the next application. The actual working time is only a few hours spread across multiple days, with most time spent waiting for compound to dry.