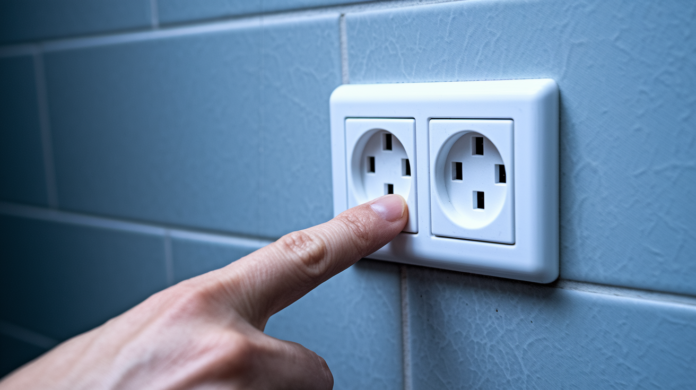

You’ve been plugging chargers and appliances into that outlet for years, and now, suddenly, nothing. No power, no charging light, no response. It’s frustrating, especially when you’re in a hurry and need that outlet to work. The good news is most dead outlets come from simple issues you can fix yourself in five minutes or less. In this guide, we’ll walk you through quick diagnostic steps, how to reset your breakers and GFCI outlets, and when it’s time to call a licensed electrician.
Check Your Circuit Breaker and GFCI Outlets First

A tripped circuit breaker or GFCI outlet causes most dead outlet situations. Like, 70 to 80 percent of them. Before you start removing wall plates or calling for help, check these two systems first. Most of the time, one quick reset gets your outlet working again.
Resetting a Tripped Circuit Breaker
Your electrical panel controls power to different areas of your home through individual circuit breakers. When a breaker trips, it moves to a middle position between ON and OFF, or it flips to the opposite side compared to the other switches. That’s your visual cue something interrupted the circuit.
Here’s how to reset it:
- Open electrical panel door and scan all breaker switches
- Identify tripped breaker in middle position or opposite other switches
- Push breaker firmly to OFF until hearing distinct click
- Push breaker to ON position to restore power
If the breaker trips again right after you reset it, stop. That’s a sign of a serious overload or a short circuit somewhere in the wiring. Repeated reset attempts won’t fix the underlying problem and can create safety risks. At that point, a licensed electrician needs to diagnose what’s causing the breaker to trip.
Resetting GFCI Outlets
Ground fault circuit interrupter outlets are required by electrical code in areas where water and electricity might meet. You’ll find them in kitchens, bathrooms, garages, and outdoor areas. They’ve got two buttons in the center: a test button and a reset button.
One GFCI can control multiple standard outlets downstream. If you have three outlets in your kitchen and the GFCI trips, all three might go dead even though only one has the reset button. So when you’re troubleshooting a dead outlet, check every GFCI in the kitchen, bathroom, garage, and outside areas.
Here’s the reset process:
- Locate GFCI outlet with two center buttons (test and reset)
- Press the raised reset button firmly until you hear a click
- Plug in a device to confirm power is restored
If the GFCI trips again immediately after you press reset, stop trying. That indicates a fault somewhere in the circuit. Maybe a damaged wire, maybe moisture in the outlet, maybe a problem with a connected device. Repeated reset attempts create safety risks. Let a licensed electrician trace the problem.
One more thing: if your GFCI got soaked during a storm or from pressure washing, it might need one to two days to dry out completely before it’ll reset successfully.
Simple Diagnostic Tests to Identify the Problem

If resetting your breakers and GFCI outlets didn’t solve the problem, these diagnostic tests will help you figure out whether the issue is your device, the outlet itself, a wall switch, or the circuit wiring. Work through them in order.
Here’s your diagnostic checklist:
- Test your device in a different outlet to rule out appliance issue
- Check if nearby outlets in the same room are also dead
- Look for wall switches that might control the outlet
- Verify you’re using the correct half of a half hot outlet
- Test both top and bottom outlet receptacles separately
- Use a non contact voltage tester to check for power at the outlet
Start by plugging your device into an outlet you know works. If your phone charger works fine in the kitchen but not in the bedroom, the bedroom outlet is the problem. If the charger doesn’t work anywhere, you’ve been troubleshooting a faulty charger.
Next, test the outlets near your dead one. If multiple outlets in the same area are dead, you’re dealing with a circuit problem, not a single failed outlet. That pattern tells you to focus on the breaker panel or upstream wiring.
When Only Half Your Outlet Works
Outlets have two separate receptacles. Top and bottom. They can function independently. Sometimes only one half works.
Half hot outlets are common in bedrooms and living rooms that don’t have overhead lighting. One receptacle (usually the bottom) gets controlled by a wall switch so you can turn a lamp on and off from the door. The other half stays powered all the time. If you’re plugging into the switched half and wondering why nothing works, flip the wall switch. That’s it.
If only one half works and it’s not switch controlled, the outlet has internal damage. The metal contacts or internal wiring have failed. That outlet needs replacement.
Using a Voltage Tester Safely
A non contact voltage tester detects electrical current without touching any wires. It’s the safest diagnostic tool for homeowners.
Hold the tester near the outlet slots. If voltage is present, the tester beeps or lights up. You don’t have to insert anything or make contact with metal parts.
Here’s what the results mean: if the tester shows power at the outlet but your devices still don’t work, the receptacle itself is faulty. The internal contacts are worn or damaged. If the tester shows no power, the problem is upstream in the breaker or wiring.
Identifying Wiring Problems and Loose Connections
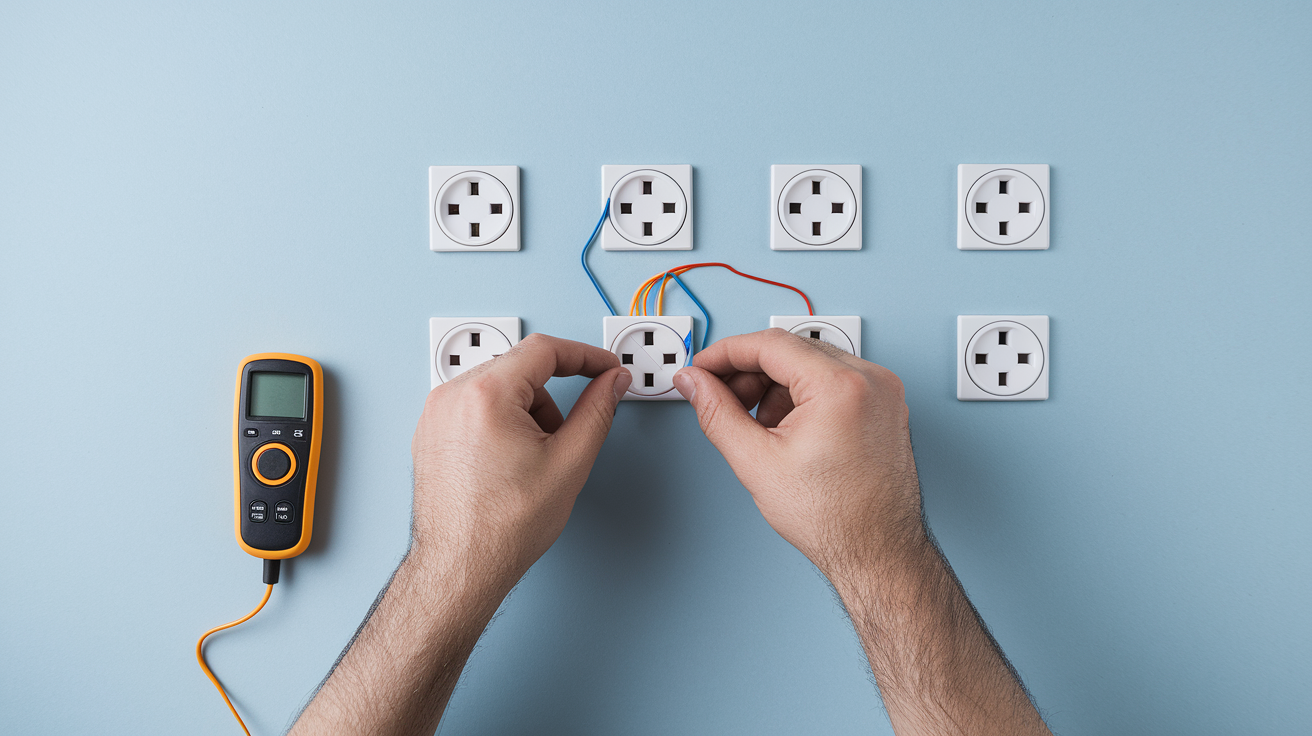
Loose connections are one of the leading causes of dead outlets, especially in older homes or outlets installed using the backstabbing technique. When wires aren’t secured properly, they can work loose over time, interrupting the circuit.
Proper wire connections follow a color coded system. The black wire (hot) attaches to the gold screw. The white wire (neutral) attaches to the silver screw. The copper or green wire (ground) attaches to the bottom green screw. When these connections loosen, the outlet stops working.
If you’re comfortable turning off the breaker and removing the wall plate, here are the wiring problems you can visually identify:
- Terminal screws that appear loose or incompletely tightened
- Wires inserted into rear stab in slots instead of wrapped around screws
- Cracked, melted, or missing wire insulation
- Black, brown, or discolored wiring indicating heat damage
- Green corrosion on copper wires or connections
The backstabbing method (where wires get pushed into rear slots instead of wrapped around screws) is a known weak point. Those connections loosen over time. Professional electricians avoid that technique and use screw terminals for secure, lasting connections.
If you see loose terminal screws and feel confident, you can tighten them after turning off the breaker at the panel. Make sure the power is completely off before touching anything inside the outlet box. But if you see damaged insulation, burned wiring, or you’re uncertain about any connection, stop. Those conditions require a licensed electrician.
Old wiring in older homes sometimes fails without any obvious cause. The insulation degrades, connections corrode, or the wire itself develops problems inside the walls. A professional assessment tells you whether the outlet is fixable or if you’re looking at a larger wiring issue.
Understanding Circuit Overloads and Amp Capacity
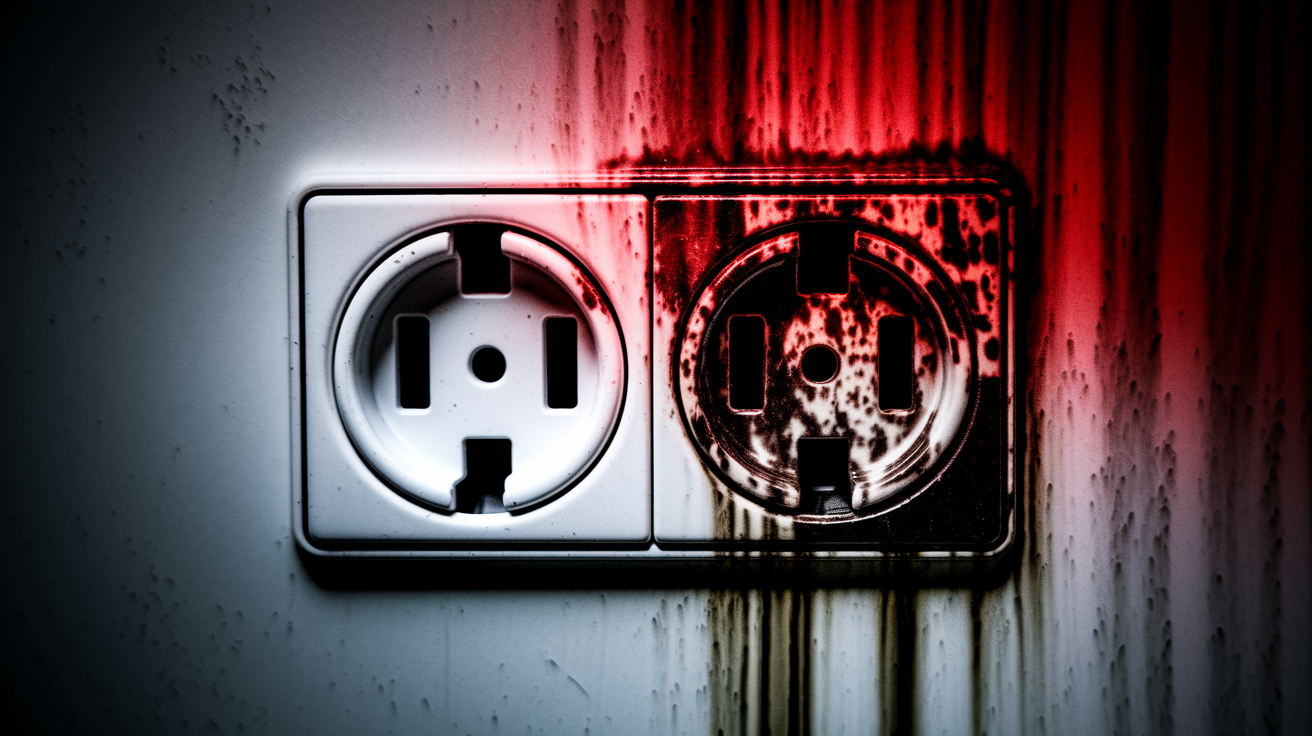
Circuit overload happens when connected devices draw more amperage than the circuit breaker rating allows. Most household circuits are rated for 15 or 20 amps. When you exceed that limit, the breaker trips to prevent wire overheating and fire risk.
Multiple outlets share the same circuit. You might have six outlets in your kitchen all running on the same 20 amp breaker. If you run a microwave, coffee maker, and toaster at the same time, you can hit that 20 amp limit and trip the breaker. The outlets stop working not because they’re damaged, but because the circuit is protecting itself from overload.
If a breaker trips immediately after you reset it, that’s a sign of either severe overload or a short circuit somewhere in the wiring.
| Appliance | Typical Amp Draw |
|---|---|
| Microwave | 10-15 amps |
| Hair Dryer | 12-15 amps |
| Space Heater | 12-15 amps |
| Window AC | 8-13 amps |
| Coffee Maker | 5-8 amps |
| Laptop Charger | 2-3 amps |
| LED TV | 1-3 amps |
Frequent breaker trips indicate overloaded conditions. You’re asking the circuit to handle more than it was designed for. The solution might be redistributing appliances to different circuits, or installing dedicated circuits for high draw appliances like microwaves, space heaters, or window air conditioners.
Electrical panel upgrades cost 522 to 2,082 dollars when your system can’t handle your electrical load anymore. Dedicated circuit installation and panel work require a licensed electrician to assess your needs, calculate loads, and perform the installation safely and to code. Those aren’t DIY projects.
Damaged breakers create problems too. A breaker can appear fine (not flipped to the OFF position) but still fail to deliver power. Touch the breaker carefully. If it feels hot, loose, or wobbly, or if it refuses to reset cleanly, the breaker itself is worn out and needs replacement. That’s another job for a professional.
Safe DIY Outlet Replacement Steps
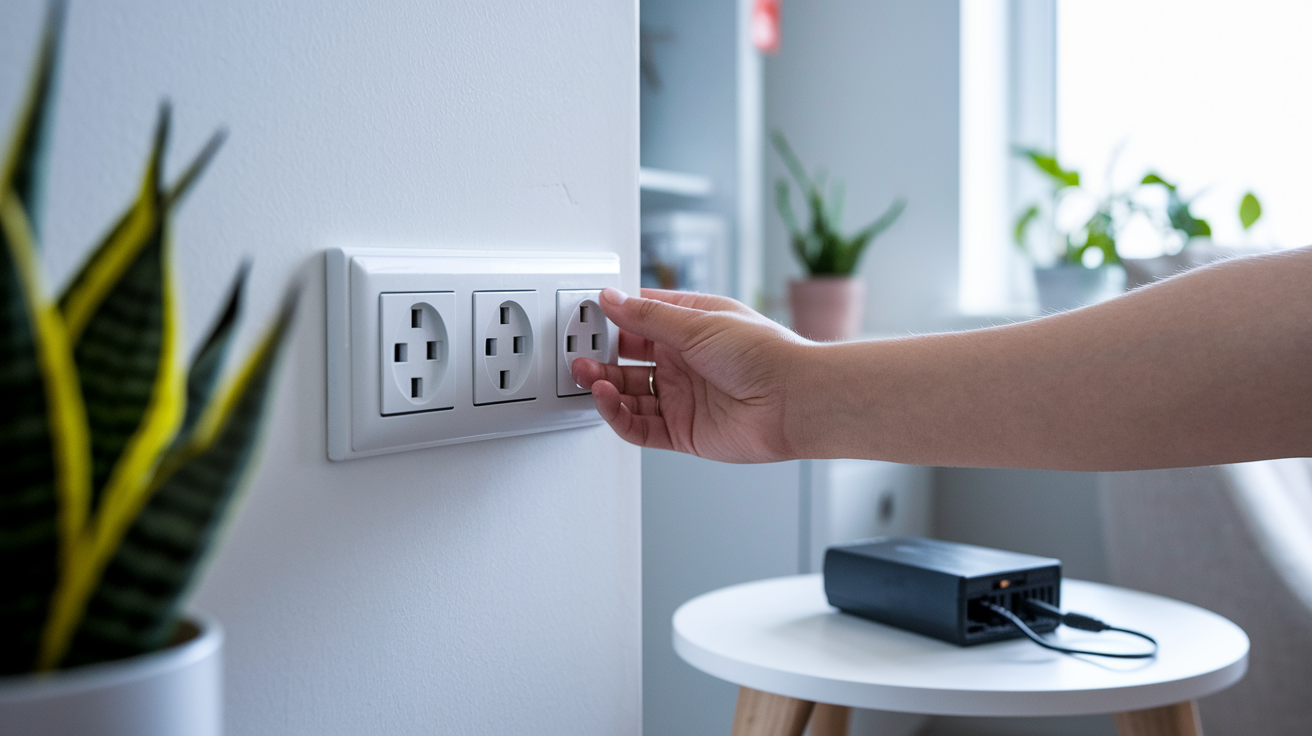
This section is only for simple receptacle replacement. Swapping a worn or damaged outlet for a new one when you’re confident about the wire connections. If you’re troubleshooting unknown wiring problems, multiple dead outlets, or anything that feels uncertain, call a licensed electrician instead.
Here’s the complete replacement process:
- Turn off circuit breaker controlling the outlet
- Use voltage tester to confirm power is completely off
- Remove outlet wall plate by unscrewing cover screws
- Unscrew outlet mounting screws and gently pull from box
- Take photo of existing wire connections before disconnecting
- Disconnect wires and attach to new outlet (black to gold, white to silver, ground to green)
- Push outlet back into electrical box and secure with mounting screws
- Replace wall plate, restore breaker, and test with a device
Always verify power is off with a voltage tester before touching any wires. Never work on live circuits. Even if you’re confident you turned off the right breaker, test first. Breakers get mislabeled, and you don’t want to find out the hard way.
Take a photo before you disconnect anything. That picture is your reference if you forget which wire goes where. It saves confusion and reduces mistakes.
Match wire colors to screw colors: black wire to gold screw, white wire to silver screw, green or bare copper wire to the green ground screw at the bottom of the outlet. Wrap each wire clockwise around the screw so it tightens under the screw head instead of pushing out.
If you’re uncertain about any wire configuration (multiple wires on one screw, unusual colors, unlabeled wires), stop and call a professional. Don’t guess.
Tamper resistant outlets are now code required for most residential installations. They have internal shutters that prevent kids from inserting objects into the slots. Weather resistant models are required for outdoor locations. Make sure you’re buying the right outlet for the location.
Dangerous Warning Signs Requiring Immediate Professional Help
(((alt-img6)))
Certain warning signs indicate serious electrical hazards. Fire risk or shock risk. When you see these conditions, stop all use immediately and call a licensed electrician. Don’t attempt DIY repairs or even reset attempts.
Here are the critical warning signs:
- Burning smell near the outlet or wall
- Black or brown scorch marks on wall plate
- Discoloration or darkening around outlet slots
- Melted, deformed, or cracked plastic housing
- Warm or hot feeling when touching faceplate
- Visible sparking when inserting or removing plugs
- GFCI repeatedly trips immediately after reset attempts
- Multiple dead outlets indicating circuit wide problem
A burnt smell or scorch marks mean something overheated. Maybe a loose connection arced, maybe the outlet couldn’t handle the load, maybe damaged wiring created resistance and heat. Whatever the cause, that outlet is a fire hazard. Turn off the circuit breaker controlling it, do not attempt to use the outlet, and contact a licensed electrician the same day.
Warm or hot faceplates indicate the same problem. Excess resistance creating heat. That’s shock and fire risk territory. Stop using the outlet immediately.
If a GFCI trips immediately every time you press reset, there’s a fault in the circuit. Maybe moisture got into the wiring, maybe insulation is damaged, maybe a downstream outlet has a short. Don’t keep trying to reset it. Each attempt risks damage to the GFCI or could mask a dangerous condition.
Some situations go beyond simple outlet replacement and require professional help: multiple outlets affected on the same circuit, no power detected at the outlet with a voltage tester but the breaker hasn’t tripped, aluminum wiring or knob and tube systems, reversed polarity or open ground readings, uncertain wire configurations or unlabeled wires, need for dedicated circuit installation, and any work requiring a building permit or inspection.
Professional electricians have specialized testing equipment to trace wiring problems through walls and identify issues that aren’t visible. They understand National Electrical Code standards and local regulations. Their work is guaranteed, inspected, and insured. That protects your home value and prevents complications with your homeowner’s insurance if something goes wrong with DIY electrical work.
Basic outlet replacement typically costs around 210 dollars for GFCI installation. Panel upgrades range from 522 to 2,082 dollars depending on your system’s capacity and what needs updating. Annual electrical system inspections are recommended as preventive maintenance, especially for older homes. For immediate help with outlet problems or any electrical issue that feels beyond your comfort level, check out our Home Repair Services.
Preventing Future Outlet Problems
(((alt-img7)))
Outlets typically last 15 to 25 years, but they can fail sooner with heavy use, poor installation, or overloading. A few simple habits extend their life and prevent failures.
Develop a visual inspection routine. Check for loose fitting plugs. When plugs slide out easily or don’t grip firmly, the internal contacts are wearing out. Feel faceplates occasionally. If one feels warm, that’s an early warning sign. Look for discoloration around the slots or on the wall plate. Test GFCI reset buttons monthly to make sure they’re functioning properly.
Here are the prevention best practices:
- Avoid plugging high draw appliances into same circuit simultaneously
- Use quality surge protectors for computers and electronics
- Replace extension cords with permanent outlet installations
- Schedule annual electrical system inspection for older homes
- Replace outlets showing wear before they fail completely
Overloading circuits shortens outlet life and stresses the wiring. If you’re running a space heater, hair dryer, and curling iron in the same bathroom every morning, that’s 30 to 40 amps on a 20 amp circuit. Spread those loads out or install a dedicated circuit.
Surge protectors absorb voltage spikes that damage sensitive electronics. They also prevent one failed device from damaging your outlet. But replace surge protectors every few years. They wear out after absorbing multiple surges.
Extension cords are temporary solutions, not permanent wiring. If you’ve been running an extension cord to the same spot for months, install a permanent outlet instead. Extension cords create resistance, heat, and fire risk when used long term. They’re also trip hazards.
Catching problems early (loose connections, worn contacts, minor discoloration) prevents dangerous failures and costly emergency repairs. A loose terminal screw is a 10 minute fix. A burnt outlet with damaged wiring is a bigger job.
Schedule a professional electrical inspection when you buy a home, after major storms, and annually if your home is over 25 years old. Especially if it still has original outlets and wiring. An electrician can identify problems you’d never see: loose connections inside walls, aluminum wiring issues, undersized circuits, panel problems, and code violations. For comprehensive preventive maintenance that catches small issues before they become emergencies, visit our Preventive Home Maintenance services.
Final Words
An electrical outlet not working usually comes down to a tripped breaker or GFCI reset. Check those first.
If the outlet still doesn’t work, run through the simple diagnostic tests—swap devices, test nearby outlets, look for wall switches. Most problems surface pretty quickly.
For worn receptacles and loose connections, replacing the outlet yourself is manageable if you’re comfortable turning off power and following the steps.
But if you see scorch marks, smell burning, or deal with repeated breaker trips, stop. Those are safety issues that need a licensed electrician right away.
Catch small problems early, schedule inspections for older homes, and your outlets will keep working without drama.
FAQ
Why is my outlet not working but the breaker is not tripped?
An outlet can stop working even when the breaker is not tripped because of a tripped GFCI outlet upstream, a loose wire connection inside the outlet, or a half-hot outlet controlled by a wall switch that’s turned off.
Why would my electrical outlet stop working?
An electrical outlet stops working most commonly from a tripped GFCI controlling that outlet, loose wire connections at the terminal screws, a tripped circuit breaker, internal outlet wear from age, or a wall switch controlling the receptacle.
How do you reset an electrical outlet?
You reset an electrical outlet by locating the GFCI outlet with two center buttons, pressing the raised reset button firmly until you hear a click, and then testing with a device to confirm power is restored to downstream outlets.
Do I need an electrician to replace an electrical outlet?
You need an electrician to replace an electrical outlet if you see scorch marks, smell burning, notice multiple outlets affected, or feel uncertain about wire connections. Simple receptacle replacement is DIY-friendly if you’re comfortable turning off breakers and following proper wire color connections.
What does it mean when a circuit breaker is in the middle position?
A circuit breaker in the middle position means the breaker has tripped due to overload, short circuit, or ground fault. Reset it by pushing firmly to OFF until hearing a click, then switching to ON to restore power.
Can one GFCI outlet control multiple other outlets?
One GFCI outlet can control multiple downstream outlets in kitchens, bathrooms, garages, and outdoor areas. When the GFCI trips, all outlets connected downstream lose power until you press the reset button on the GFCI.
What causes only half of an outlet to work?
Half of an outlet stops working either because it’s a switched outlet where one receptacle is controlled by a wall switch, or because of internal damage to one side of the outlet requiring replacement.
How do I know if my outlet has loose wiring?
You know your outlet has loose wiring by turning off the breaker, removing the wall plate, and checking for loose terminal screws, wires in rear stab-in slots instead of screws, or visible wire movement when gently tugged.
What appliances cause circuit overloads?
Appliances that cause circuit overloads include space heaters, hair dryers, microwaves, and window AC units drawing 10 to 15 amps each. Running multiple high-draw devices simultaneously on a 15 or 20 amp circuit trips the breaker.
When should I call an electrician for a dead outlet?
You should call an electrician for a dead outlet when you see scorch marks, smell burning, feel warmth at the faceplate, notice sparking, have multiple dead outlets, or feel uncertain about wire connections during inspection.
How often should outlets be replaced?
Outlets should be replaced every 15 to 25 years or sooner if they no longer grip plugs firmly, show discoloration, feel warm, or repeatedly cause devices to lose connection when plugged in.
What are backstabbed wires in an outlet?
Backstabbed wires are connections where wires are pushed into rear slots of an outlet instead of being wrapped around terminal screws. This installation method is prone to loosening over time and causing outlet failure.