

Have you been adjusting that faucet every time you turn it on, hoping for more than a trickle? If temperatures dropped last night and your pipes are barely flowing, you’re likely dealing with frozen water inside the line. Catching it early and thawing carefully can prevent a burst that floods your home. But skip a step or use the wrong heat source and you’re looking at cracked pipes, water damage, and an emergency plumber bill. Here’s how to thaw safely, when to stop, and when to call for help.
Immediate Actions and Safe Thawing Methods
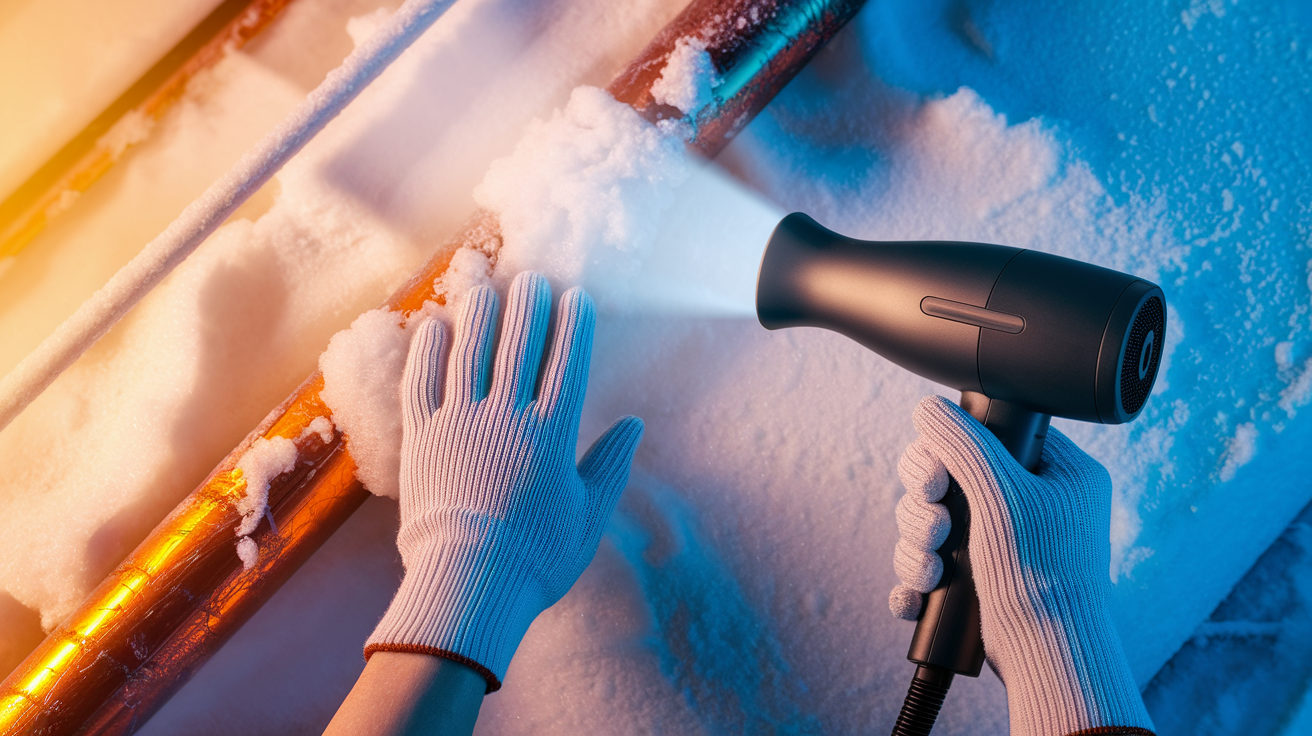
When you discover frozen pipes, the next few minutes matter. A burst pipe leaks up to 10 gallons of water every minute. Wait just 20 minutes and you’re looking at 200 gallons dumped into your home. Fast, deliberate action protects your property and stops a manageable problem from turning into a disaster.
Stay calm and work through the steps in order. Rushing or skipping a safety measure increases the chance of a burst, electrical hazard, or structural damage. Here’s what to do right now.
-
Locate your main water shut-off valve before anything else. Check near your water meter, in the basement, or where the main line enters your home.
-
Shut off the main water supply to stop the flow if a pipe cracks or bursts during thawing.
-
Open the faucets connected to the frozen pipe slightly to relieve pressure as ice melts and allow water to escape safely.
-
Keep cabinet doors open under sinks and vanities so warmer air can reach pipes tucked against exterior walls.
-
Avoid using toilets, showers, or appliances connected to frozen sections until water flows normally again.
-
Assess the situation by checking for visible bulging, cracks, or frost before you begin applying any heat.
Starting the Thawing Process
Clear the area around the frozen pipe so you’ve got safe access and room to work. Keep the faucet open throughout the entire process. This lets melting ice drain out and reduces the pressure inside the pipe that leads to cracking.
Start applying heat at the faucet end and work your way back toward the frozen section. Never begin in the middle of the blockage. If you trap melting water between ice and the faucet, the pressure buildup can split the pipe. The full thaw usually takes around an hour with steady, gentle heat. Wait for the pipe to thaw naturally without intervention and you’re looking at 24 hours or more. By then the damage risk climbs.
Recommended Heat Sources and Tools
A hairdryer set on low is one of the safest and most controlled options. Hold it a few inches from the pipe and move it back and forth slowly along the frozen section. Don’t stay in one spot too long. This method gives you precision without overheating.
Heating pads work well for accessible pipes under sinks or along basement walls. Wrap the pad around the pipe, secure it with a towel or tape if needed, and set it to medium. Check every 10 minutes to see if water starts moving.
A space heater placed at least three feet away from the pipe in an enclosed area like a basement or crawl space raises the overall temperature. It helps thaw pipes you can’t reach directly. Never leave it unattended, and keep it away from anything flammable.
Warm water soaked towels wrapped around the pipe provide gradual, even heat. Re-soak the towels every few minutes as they cool. This method takes patience but it’s effective and safe for exposed sections.
Electric heating tape designed for plumbing can be applied directly to the pipe following the manufacturer’s instructions. Wrap it in a spiral, plug it in, and monitor the thawing progress. Some types have built-in thermostats to prevent overheating.
Critical Safety Warnings
Never use an open flame. No candles, blowtorches, propane torches, or lighters anywhere near plumbing. The intense heat damages pipes, weakens joints, and creates serious fire hazards. Pipes can crack from rapid temperature changes, and nearby insulation or wood framing can ignite.
Avoid propane heaters in confined spaces. They produce carbon monoxide and other toxic fumes that build up quickly without proper ventilation.
Don’t pour boiling water directly on frozen pipes. The sudden temperature shock causes metal to expand too fast, which leads to cracks and splits you won’t see until water starts spraying.
Never focus excessive heat from a single source on one spot for more than a few seconds. Rotate your heat application to distribute warmth evenly across the frozen section.
You’ll know the thaw is working when you start hearing gurgling or trickling sounds inside the pipe. That’s melting ice beginning to move. Watch for drips or small leaks around joints and fittings as water flow returns. If you see water pooling or spraying, shut the main valve immediately and assess the damage before continuing. These combined steps give you the best chance of restoring water flow without worsening the situation.
How to Identify Signs of Frozen Pipes
Catching a frozen pipe early gives you time to thaw it before it bursts and floods your home. The faster you spot the problem, the less damage you’ll deal with.
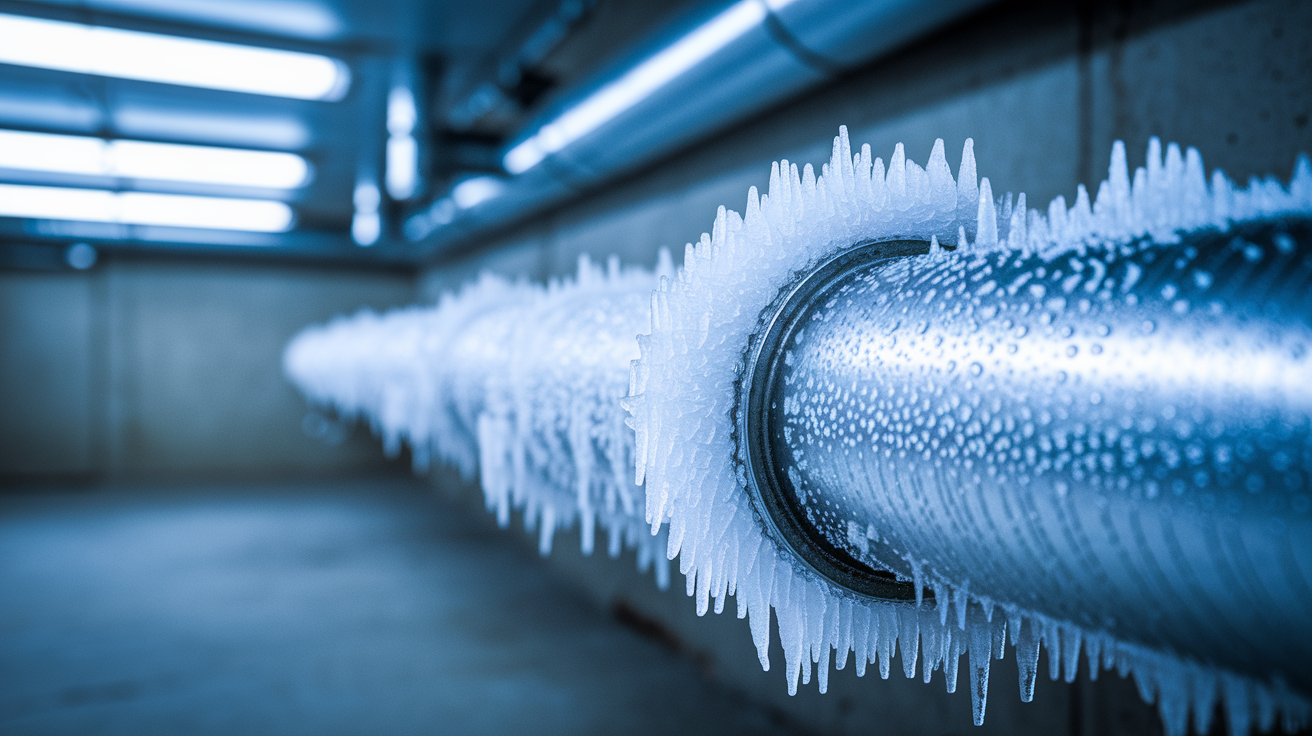
The most obvious sign is little to no water coming from a faucet when you turn it on. If one tap works fine but another in a colder part of the house barely trickles, that’s your frozen pipe. Look for visible frost or a layer of condensation on exposed pipes in basements, crawl spaces, or along exterior walls. If you see bulging sections or hairline cracks, you’re looking at a pipe that’s already under pressure from expanding ice and close to bursting.
Cold spots near plumbing are another clue. Run your hand along walls or ceilings near bathrooms and kitchens. If one area feels noticeably colder than the rest, there’s a good chance a frozen pipe sits just behind it. Sometimes you’ll notice a temperature difference between rooms that share a wall with plumbing.
- Banging, clanking, or whistling noises when you turn on faucets, caused by ice forcing water through narrower openings
- Gurgling sounds coming from drains or inside walls, which means air pockets are forming as water flow gets restricted
- Reduced water pressure across multiple fixtures, signaling a blockage somewhere in the line
- Strange odors coming from drains, since blocked pipes can trap smells that normally wash away
- Uneven heating in rooms above or near plumbing, especially if certain areas stay cold despite the furnace running
Temporary Repair Solutions for Damaged Pipes

If you find a crack or small leak after thawing, you’ll need a quick fix to hold things together until a plumber can make a permanent repair. These solutions buy you time, usually a few days to a couple of weeks depending on water pressure and usage. They’re not meant to last, and you should schedule a proper repair as soon as possible.
Keep in mind that even a solid looking temporary patch can fail without warning, especially if you’re running water normally or the temperature drops again. Stay alert for new leaks or wet spots.
| Temporary Fix | Materials Needed | Application Time | Effectiveness Duration |
|---|---|---|---|
| Pipe clamps | Metal clamp, rubber pad or gasket, screwdriver | 5 to 10 minutes | 1 to 2 weeks |
| Rubber sleeves with duct tape | Rubber sheet or sleeve, heavy-duty duct tape | 10 to 15 minutes | 3 to 7 days |
| Epoxy putty | Two-part epoxy putty, gloves, dry cloth | 15 to 20 minutes plus curing time | 1 to 3 weeks |
| Self-fusing silicone tape | Roll of self-fusing silicone tape | 5 to 10 minutes | 1 to 2 weeks |
Burst Pipe Emergency Protocol
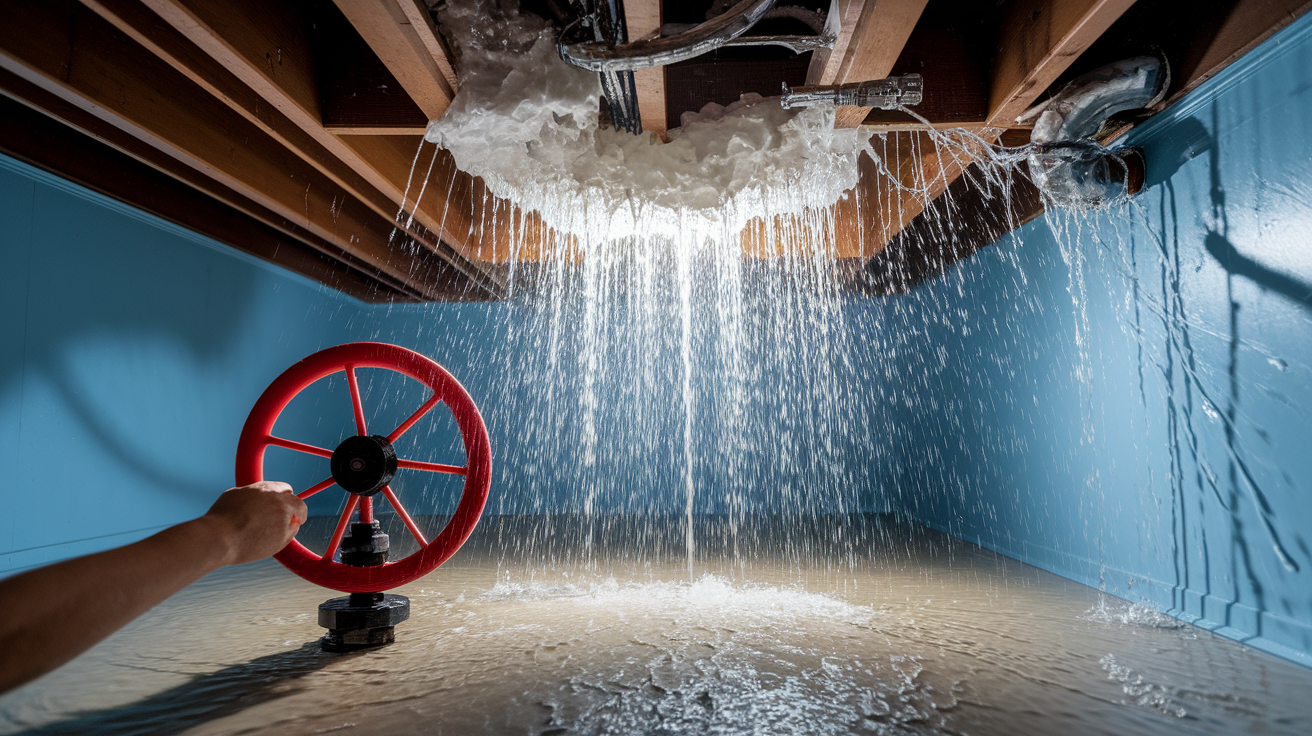
A burst pipe dumps 10 gallons of water every minute into your home. In five minutes, that’s 50 gallons spreading across floors, soaking into drywall, and pooling under appliances. The faster you respond, the less you’ll pay in repairs and restoration.
Your first goal is stopping the water. Your second is protecting what you can and documenting what you can’t. Every minute counts.
-
Shut off the main water valve immediately, even if you’re not sure where the burst is located.
-
Turn off electricity at the breaker if water is near outlets, light fixtures, or any electrical panel.
-
Remove valuables and electronics from wet areas first, starting with items that can’t be replaced or are expensive to repair.
-
Document the damage with photos and video before you move anything else, capturing water levels, affected areas, and damaged belongings for insurance.
-
Contain the water flow with towels, buckets, or a wet vacuum if you have one, focusing on stopping the spread rather than cleaning up.
-
Begin the drying process immediately by opening windows (if it’s not freezing outside), running fans, and setting up a dehumidifier if available.
-
Contact your insurance company as soon as the water is under control to start a claim and ask about emergency mitigation coverage.
-
Call an emergency plumber to assess the damage, make temporary repairs if needed, and schedule the permanent fix.
The average homeowner insurance claim for frozen pipe damage and related water issues comes in around $10,849. That’s the total after you factor in pipe repair, drywall replacement, flooring, and any belongings that couldn’t be saved. Keep every receipt for emergency repairs, temporary housing, and restoration work. Insurers need documentation, and missing paperwork can delay or reduce your payout. Be aware that some claims get denied if the company determines you didn’t maintain adequate heat or take basic winterization steps. Most burst pipes happen at the end of winter and into early spring when ice starts thawing inside the pipe, so stay alert during temperature swings even after the worst cold has passed.
When to Call a Professional for Pipe Repair
Some frozen pipe situations fall outside the range of safe DIY work. If you’ve been applying heat for an hour without water flow improving, the blockage might be deeper or more complex than surface ice. Forcing the issue with more heat or trying to access hidden pipes by cutting into walls usually makes things worse.
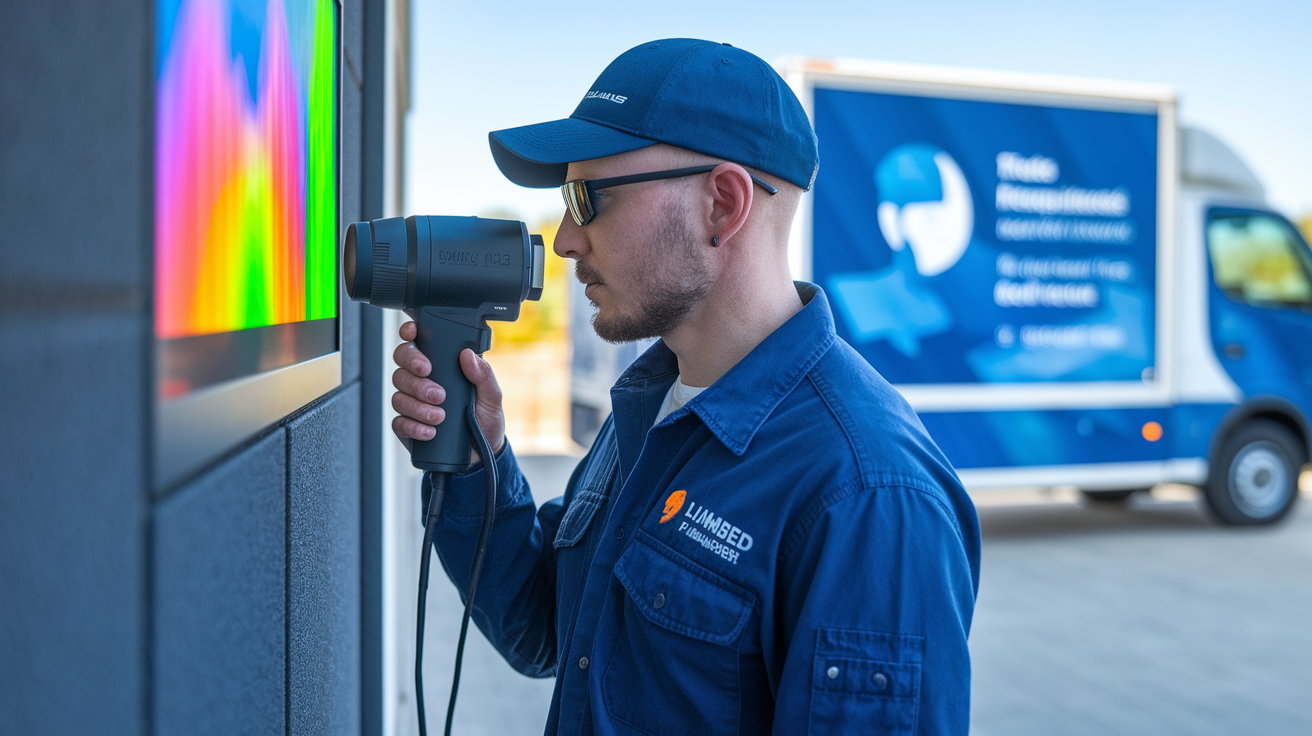
Professional plumbers have specialized equipment that works faster and safer than household tools. Pipe cameras locate blockages without guesswork. Infrared thermometers pinpoint frozen sections behind walls. High capacity thawing machines apply controlled heat to large sections of pipe at once. When you’re dealing with commercial grade ice blockages or pipes tucked into tight spaces, that equipment saves hours and prevents accidental damage to surrounding materials.
Cost depends on the scope of work and how quickly you need help. Simple frozen pipe thawing services start around $150 if the pipe is accessible and there’s no damage. A burst pipe replacement in an easy to reach location might run $500 to $1,000. If the pipe is inside a wall or ceiling, add another $500 to $1,000 for access and drywall repair. Extensive water damage, multiple burst locations, or emergency after hours calls push the total toward $2,000 or more. Get a clear estimate before work starts, and ask what’s included so you’re not surprised by add-ons.
- Multiple pipes frozen at once, which usually means a systemic issue like failed heating or widespread insulation problems
- Pipes located inside walls, ceilings, or under concrete slabs where you can’t reach them safely without demolition
- Visible cracks, splits, or active leaks that need immediate professional sealing or replacement
- DIY thawing that fails after a full hour of steady heat application, indicating a stubborn or deep blockage
- Extensive water damage already present in floors, walls, or ceilings that requires coordinated plumbing and restoration work
- No accessible shut-off valve, which means you can’t isolate the problem area or stop water flow in an emergency
- Commercial properties or multi-unit buildings where a single frozen pipe can affect multiple tenants and requires licensed contractors for insurance and code compliance
Comprehensive Winter Prevention and Winterization Strategies
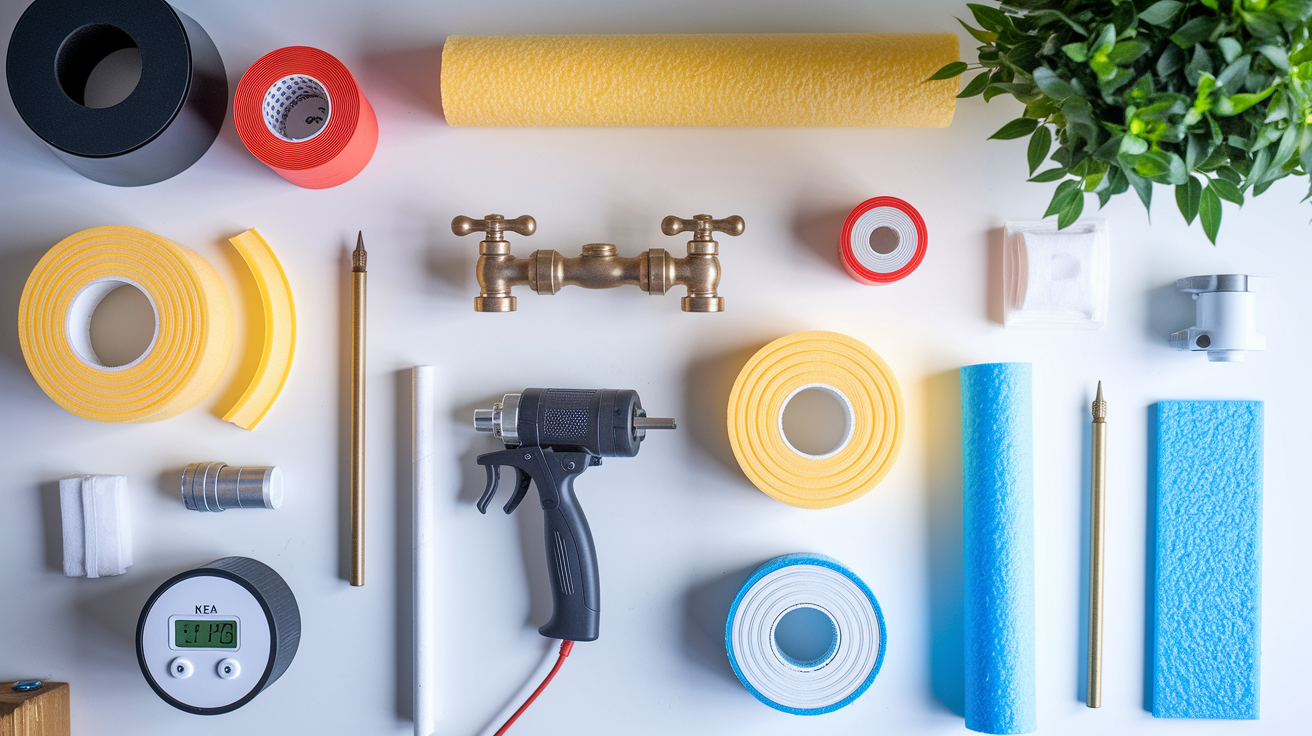
Preventing frozen pipes costs a fraction of the $10,849 average insurance claim for freeze damage. Spending a weekend and a few hundred dollars on insulation and winterization keeps water flowing all season and protects your home from flooding. Water starts freezing at 39.2°F, well before you see ice forming outside. Once temperatures drop to 32°F, water turns solid and expands by about 9%. That expansion creates enough pressure to split metal or crack plastic. Pipes exposed to below freezing air can burst in less than five hours.
Identifying High-Risk Pipe Locations
Exterior walls are the first place to check, especially in older homes where insulation is thin or missing. Pipes running along those walls get cold fast because they’re only separated from freezing air by a few inches of drywall and studs. Attics and basements come next. Attics rarely get heated, and basements often have foundation cracks or vents that let cold air in. Crawl spaces are just as vulnerable, particularly if they’re vented or poorly sealed.
Unheated garages are easy to overlook until a pipe bursts. If you have plumbing running through the garage to an upstairs bathroom or laundry room, those pipes sit in near outdoor temperatures all winter. Outdoor faucets, hose bibs, and frost proof spigots freeze quickly because they’re directly exposed to the elements.
Copper pipes conduct cold faster than PVC or galvanized steel, so they freeze sooner. PVC can handle some flexing as ice expands, but it still cracks under enough pressure. Galvanized steel is thicker and more resistant, but it’s not immune.
Insulation and Physical Protection Methods
Foam sleeve covers slip over exposed pipes and provide an affordable layer of protection. Cut them to length, wrap them around the pipe, and secure the seam with tape. Polyethylene foam and rubber pipe insulation both work well and cost around $1 to $3 per linear foot. Focus on pipes in unheated areas first, then move to pipes along exterior walls inside the home.
Fiberglass pipe wrap adds another layer if you’re dealing with extreme cold or pipes that have frozen before. Wrap it around the foam sleeve in a spiral, overlapping slightly, and secure it with zip ties or tape.
Heating tape installs directly on the pipe and plugs into a standard outlet. Some types turn on automatically when temperatures drop, others stay on continuously. Follow the manufacturer’s instructions exactly. Never overlap heating tape or cover it with insulation unless the label says it’s safe, since some types can overheat and create a fire risk.
Disconnect garden hoses before the first freeze and store them indoors. Drain outdoor faucets by shutting off the interior valve, opening the exterior spigot, and letting any remaining water run out. Insulated faucet covers fit over outdoor spigots and cost a few dollars each. They’re worth it.
Sprinkler systems need to be blown out with compressed air before winter. Any water left in the lines will freeze and crack the pipes or damage sprinkler heads. If you’re not comfortable doing this yourself, hire a sprinkler service in the fall.
Frost proof spigots have a long stem that shuts off water inside the house where it’s warm, so the exterior section stays dry and can’t freeze. If you’re replacing an old outdoor faucet, upgrade to a frost proof model.
Temperature and Airflow Management
Set your thermostat to at least 55°F if you’re leaving the house for an extended period during winter. Programmable thermostats should still run heating cycles every few hours, even when you’re away. Letting the house drop below 50°F puts every pipe at risk.
Open cabinet doors under sinks, especially those on exterior walls, so warm air from the room can circulate around the plumbing. Leave interior doors open between rooms to balance temperatures and prevent cold pockets from forming.
Keep garage doors closed as much as possible during freezing weather. Every time you open them, cold air floods in and chills any pipes running through the space.
During extreme cold, let faucets drip slightly, about the thickness of a pencil lead. Moving water is much harder to freeze than standing water, and a small drip keeps the flow going inside the pipe.
| Location/Feature | Winterization Action | Timing | Materials Needed |
|---|---|---|---|
| Basement pipes | Wrap with foam insulation, seal foundation cracks, close vents | Before first freeze | Foam sleeves, caulk or spray foam, vent covers |
| Attic pipes | Wrap with foam and fiberglass, increase attic insulation | Before first freeze | Foam sleeves, fiberglass wrap, bulk attic insulation |
| Exterior faucets | Disconnect hoses, drain faucets, install insulated covers | Before first freeze | Insulated faucet covers |
| Garden hoses | Disconnect, drain, and store indoors | Before first freeze | Indoor storage space |
| Garage pipes | Wrap with foam insulation, keep garage doors closed | Before first freeze | Foam sleeves, heating tape if needed |
| Crawl space pipes | Wrap with foam, seal vents, add heating tape to high-risk sections | Before first freeze | Foam sleeves, vent covers, heating tape |
Walk through your home in late fall before the first freeze and check every vulnerable area. Test outdoor faucets to make sure they’re drained. Confirm that heating tape is plugged in and working. Look for gaps around pipe entry points in walls or foundations and seal them with caulk or spray foam. An annual pre-winter inspection catches problems before they turn into emergencies and keeps both your interior plumbing and exterior fixtures protected all season.
Cost Breakdown and Repair Investment Planning

Frozen pipe repair costs vary widely depending on where the pipe is, how bad the damage is, what material you’re working with, and when you call for help. A simple thawing service on an accessible pipe might cost $150 to $300 if there’s no damage and the plumber can reach it easily. If the pipe cracked but didn’t fully burst, a minor leak repair runs $200 to $500, including parts and labor.
Single pipe replacement in an easy location like a basement or crawl space typically costs $500 to $1,000. If the pipe is behind drywall or in a ceiling, add demolition and repair costs, which push the total to $1,000 to $2,000 or more. Multiple pipe replacements, especially in older homes where freezing exposed weaknesses across the system, can hit $2,000 to $5,000 depending on scope. Water damage restoration after a burst adds another layer of expense, often running $1,000 to $10,000 depending on how much flooring, drywall, and insulation needs replacing. Emergency service calls outside normal business hours come with premium rates, sometimes 1.5 to 2 times the standard cost.
Insurance helps with some of this, but it depends on your policy and deductible. If your deductible is $1,000 and the repair costs $1,200, you’re only getting $200 from the claim, and it might not be worth filing. Larger claims make sense, especially when water damage exceeds several thousand dollars. Check with your insurer before starting repairs to see what’s covered and whether they require certain documentation or approved contractors.
| Repair Type | Cost Range | Timeframe |
|---|---|---|
| Simple thawing service | $150 to $300 | 1 to 2 hours |
| Minor leak repair | $200 to $500 | 2 to 4 hours |
| Single pipe replacement | $500 to $1,000 | 3 to 6 hours |
| Multiple pipe replacement | $2,000 to $5,000 | 1 to 3 days |
| Water damage restoration | $1,000 to $10,000 | 3 to 10 days |
| Full system winterization | $300 to $800 | Half day to full day |
Final Words
Frozen pipe repair becomes manageable when you know the warning signs and act fast.
Start with your shut-off valve. Apply heat gradually using safe tools like hairdryers or heating pads. Never rush the process with open flames or boiling water.
If you catch frost on exposed pipes early, gentle thawing can restore flow in about an hour. But if multiple pipes freeze, cracks appear, or water damage spreads, that’s when a pro with the right equipment makes sense.
The real win? Winterizing before the first freeze hits. A little foam insulation and a dripping faucet during cold snaps beats dealing with a burst pipe leaking 10 gallons per minute.
FAQ
Can frozen pipes be fixed?
Frozen pipes can be fixed using gradual thawing methods like hairdryers, heating pads, or space heaters positioned near the blockage. The key is applying gentle heat while keeping faucets open to allow water flow as ice melts, typically taking up to an hour.
How much will a plumber charge to unfreeze pipes?
A plumber will typically charge between $150 and $2,000 to unfreeze pipes, depending on the location accessibility, number of frozen sections, and whether damage has already occurred. Simple thawing services cost less than repairs requiring pipe replacement.
How long can pipes be frozen before bursting?
Pipes can remain frozen before bursting for less than 5 hours when exposed to below-freezing temperatures. The actual timeframe depends on pipe material, insulation level, and how far temperatures drop, since water expands 9% as it freezes and creates pressure.
What do plumbers use to unfreeze pipes?
Plumbers use professional-grade equipment including electric heating blankets, infrared heat lamps, high-output space heaters, and specialized thawing machines that are more effective than DIY approaches. They also use thermal imaging cameras to locate frozen sections inside walls quickly.
When should I call a professional instead of trying DIY thawing?
You should call a professional when multiple pipes are frozen, you see visible cracks or water damage, pipes are located inside walls or ceilings, or DIY thawing hasn’t worked after one hour. Inaccessible locations and extensive damage always require expert help.
What are the first emergency steps when pipes freeze?
The first emergency steps when pipes freeze include shutting off the main water valve, opening affected faucets slightly to relieve pressure, and keeping cabinet doors open to allow warm air circulation. Avoid using plumbing fixtures until you’ve assessed the situation completely.
What temperature causes pipes to start freezing?
Pipes start the freezing process at 39.2 degrees Fahrenheit, though water becomes solid ice at 32 degrees. Pipes in unheated spaces like basements, attics, and exterior walls are most vulnerable and can freeze faster than interior plumbing.
Which pipes in my home are most likely to freeze?
Pipes most likely to freeze include those in basements, attics, crawl spaces, exterior walls, and unheated garages. Outdoor faucets and pipes near exterior walls facing north or in shaded areas face the highest risk during cold weather conditions.
Is it safe to use a blowtorch or open flame to thaw frozen pipes?
It is never safe to use a blowtorch or open flame to thaw frozen pipes due to serious fire hazards and pipe cracking risks from rapid temperature changes. Stick to gentle heat sources like hairdryers, heating pads, or space heaters positioned safely.
How can I tell if my pipes have frozen?
You can tell pipes have frozen when there’s no water flow from faucets, you see visible frost or condensation on exposed pipes, you hear banging or whistling noises, or you notice bulging sections. Cold spots near walls also indicate potential freezing.
What temporary fixes work for a cracked frozen pipe?
Temporary fixes for cracked frozen pipes include pipe clamps, rubber sleeves secured with duct tape, epoxy putty applied per manufacturer instructions, and self-fusing silicone tape. These are stopgap measures requiring professional follow-up for permanent repairs.
Should I leave faucets dripping during freezing weather?
You should leave faucets dripping during extreme cold to keep water moving inside pipes, which prevents ice blockage formation. This simple technique is especially important for faucets on exterior walls or in unheated spaces.
What insulation materials work best for preventing frozen pipes?
The best insulation materials for preventing frozen pipes include polyethylene foam sleeves, rubber pipe insulation, fiberglass wrap, and electric heating tape for vulnerable sections. Outdoor faucets need special foam covers, and exposed sections benefit from multiple insulation layers.
How do I winterize outdoor faucets and sprinkler systems?
To winterize outdoor faucets and sprinkler systems, disconnect and store garden hoses indoors, drain exterior faucets completely, install foam faucet covers, and blow out sprinkler lines before the first freeze. Frost-proof spigots provide added protection.
Will my homeowner’s insurance cover frozen pipe damage?
Homeowner’s insurance typically covers frozen pipe damage, with average claims totaling $10,849, but may deny coverage if you didn’t take adequate maintenance steps like maintaining heat during freezing temperatures. Document all damage with photos immediately.