

You’ve probably been working around that dead garage outlet for weeks now, plugging tools in somewhere else or running an extension cord from inside the house. Most garage outlets quit working for simple reasons you can fix yourself in under ten minutes. Tripped breakers, GFCI resets, and overloaded circuits cause almost every case. This guide walks you through the exact troubleshooting steps that restore power without guessing, plus the warning signs that mean it’s time to call a professional instead.
Quick Diagnosis Steps for Dead Garage Outlets

Most garage outlets stop working for reasons you can spot in under five minutes.
- Check your breaker panel for any tripped switches sitting in the off position or somewhere in the middle
- Find GFCI outlets in the garage, basement, exterior walls, or bathrooms and look for raised reset buttons
- Test the outlet with something you know works, like a phone charger or lamp
- Look at the outlet faceplate for discoloration, cracks, or visible damage
- Notice any burning smell or signs of smoke around the outlet
Circuit breakers and GFCI protection cause most garage outlet failures. A tripped breaker cuts power to everything on that circuit. A tripped GFCI shuts down the outlet where it’s installed and sometimes several others connected to it. Both situations look identical from the outlet. No power. But they reset in different spots.
Garages usually run multiple outlets on the same circuit. When one outlet develops a problem, or when the circuit breaker trips, you’ll lose power to several outlets at once. This is normal wiring practice and actually helps narrow things down. If all your garage outlets are dead, you’re probably dealing with a breaker or upstream GFCI issue rather than individual outlet failure.
Stop right away and call a professional if you see sparks, smell smoke or burning plastic, notice scorch marks around any outlet, or feel warmth on the faceplate. These signs point to serious problems that create fire hazards. Don’t try to reset outlets with burn marks or charring. Don’t work on any electrical system while power is on unless you have proper training and equipment.
Circuit Breakers and Overloaded Circuits in Garage Systems
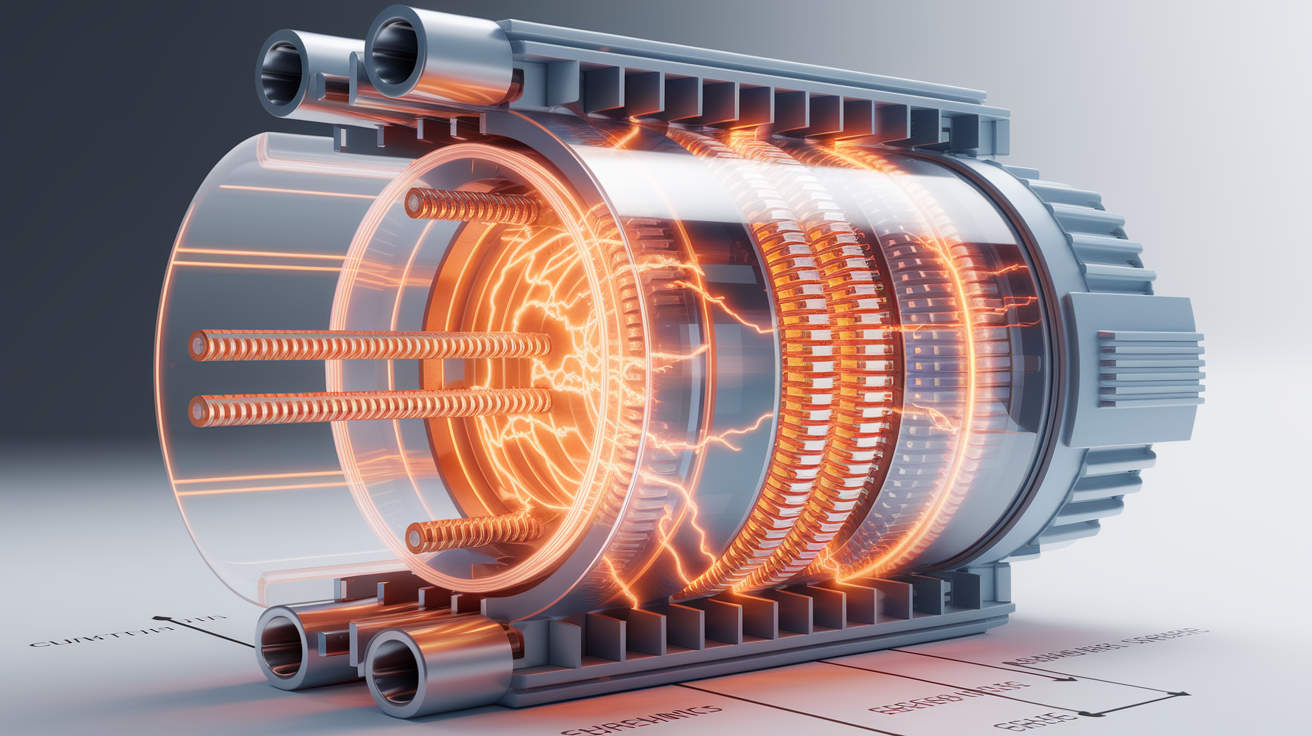
Circuit breakers work as safety switches that interrupt power flow when they detect overloads, short circuits, or ground faults. The breaker monitors current flowing through the circuit and trips when that current exceeds the breaker’s rating. A 15 amp breaker trips if you try to pull more than 15 amps through it. A 20 amp breaker allows more current before it disconnects power. This automatic shutoff prevents wires from overheating and causing fires.
Sometimes your garage outlet stops working even when the breaker hasn’t tripped. This happens when the problem’s in the outlet itself. Worn contacts, loose wiring, or damaged connections. The breaker only trips when it sees current overload or fault conditions. An outlet can fail from age or damage without creating the electrical conditions that trigger a breaker. If you check your panel and find all switches in the on position, the outlet failure is downstream from the breaker.
Calculating your circuit’s electrical load helps you spot overload situations before they trip breakers repeatedly. Add up the amperage draw of everything plugged into the circuit. Most tools and devices list their amp rating on a label or in the manual. If the total gets close to or exceeds your breaker rating, you’re overloading the circuit. Watch for dimming lights when you start large tools, breakers that feel warm to the touch, or a burning smell near the panel. These symptoms show up before a breaker trips.
Garage equipment demands more power than household appliances. A table saw pulls 12 to 15 amps during startup. An air compressor draws 10 to 15 amps. A space heater runs at 12.5 amps on high. An electric vehicle charger can demand 30 to 50 amps on a dedicated circuit. A garage door opener typically uses 5 to 7 amps during operation. When you run multiple high draw devices at the same time, you either trip breakers or stress the circuit even if it doesn’t trip. Some equipment needs dedicated circuits that power only that single device.
15 amp general use outlets support lighting, phone chargers, fans, and light duty power tools. 20 amp general use outlets handle heavier power tools and multiple devices with combined loads under 16 amps for continuous use. Dedicated 20 amp circuits work for large stationary tools like table saws or band saws that draw near their circuit rating. Garage door opener circuits sometimes run on dedicated circuits, especially in newer installations. EV charging station circuits require dedicated 240 volt circuits with amperage matched to charger specifications, typically 40 to 60 amps. You need dedicated circuits for workshop equipment when multiple high draw tools operate in the same space. Lighting circuits separate from outlets prevent losing workspace light when an outlet circuit trips.
How to Reset Circuit Breakers and GFCI Outlets
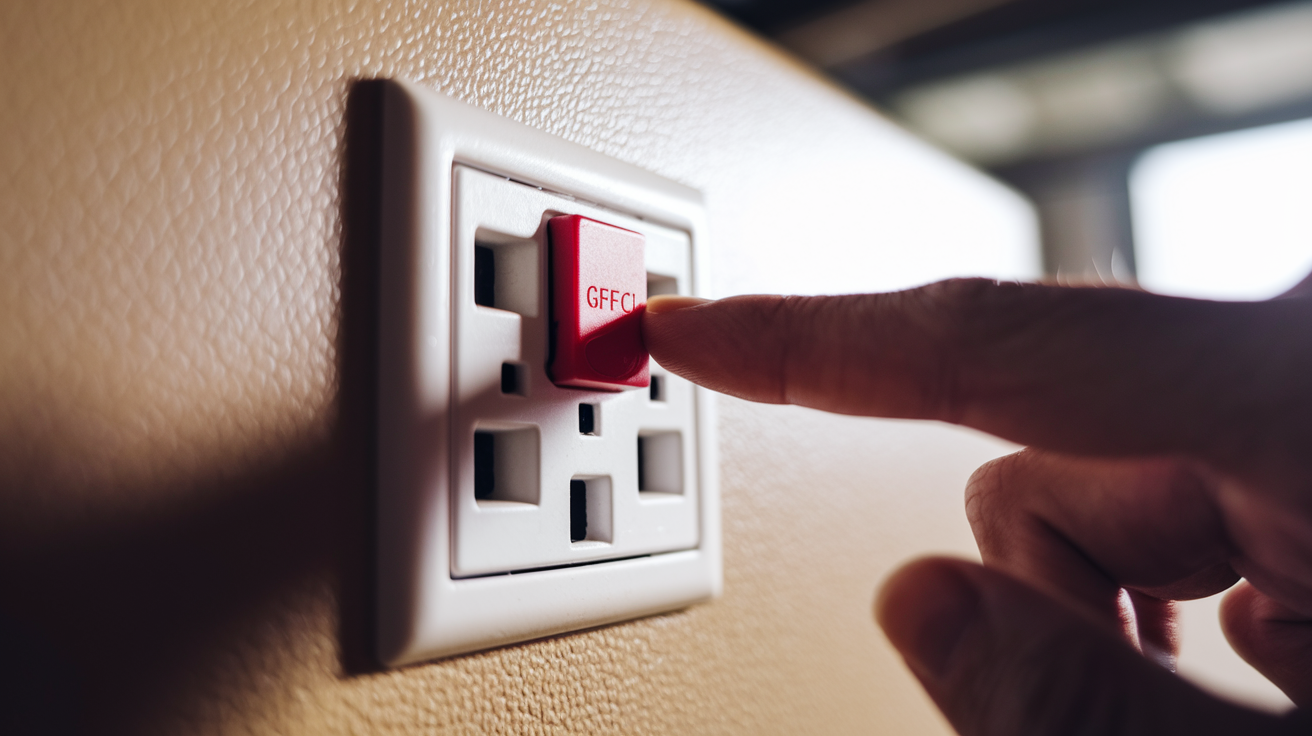
Breaker reset solves most garage outlet problems when nothing has damaged the circuit. Look for the circuit labeled for your garage at your main electrical panel. Some panels use unclear labels like “garage outlets” or “garage receptacles.” Others just say “garage” or use a number with no description. If your panel isn’t labeled, you’ll need to identify the correct breaker by testing after each reset attempt.
GFCI outlets protect circuits in moisture prone areas, and they can be installed anywhere along the circuit, not just in the garage itself. Check garage walls first, then your basement, exterior outlet boxes, and in older homes built before the 1990s, sometimes in a nearby bathroom. These outlets have test and reset buttons on their face, usually rectangular buttons in the center between the two plug receptacles. A single GFCI can protect multiple standard outlets downstream from it, so the dead garage outlet might be controlled by a GFCI installed somewhere else entirely.
-
Find your home’s main electrical panel, usually in the garage, basement, or exterior wall
-
Locate the circuit breaker labeled for your garage outlets, checking the panel door label or diagram
-
Move the breaker switch all the way to the off position. You should feel it click
-
Move the breaker switch all the way to the on position, pushing it firmly until it clicks and stays
-
Listen for a solid click sound showing the breaker has reset properly and is making contact
-
Test a garage outlet with a device you know works, like a phone charger, to confirm power’s back
-
Check all garage wall outlets for test and reset buttons that indicate GFCI installation
-
Expand your search to basement outlets, exterior outlets, and bathrooms if no garage GFCI exists
-
Press the reset button firmly on any GFCI outlet you find, pushing until it clicks and stays down
-
Test your garage outlet with a working device to confirm power’s restored
-
If the reset button pops back out right away or won’t stay pressed, unplug everything from garage outlets, basement outlets on the same side of the house, and exterior outlets
-
Wait two minutes for any leftover current to clear out, then press the reset button again
-
If reset holds, plug devices back in one at a time, testing the outlet after each device. The device that trips the GFCI is faulty and shouldn’t be used on any circuit
Understanding GFCI Outlets in Garage Electrical Systems

Ground fault circuit interrupter outlets monitor the flow of electricity through the hot and neutral wires. When current flow becomes unbalanced, even by a few milliamps, the GFCI detects a ground fault and cuts power in milliseconds. This protection prevents electrical shock when current leaks to ground through a person, damaged tool, or wet surface.
Electrical code requires GFCI protection for all garage outlets. This requirement exists because garages combine electricity with moisture, concrete floors, metal tools, and occasional standing water. The concrete and moisture create excellent paths to ground, raising shock risk way more than interior living spaces. Modern homes install GFCI outlets throughout the garage. Older homes sometimes meet code by installing one GFCI outlet at the beginning of the circuit, protecting all standard outlets downstream.
One GFCI outlet can protect multiple standard outlets through daisy chain wiring. Electricians connect the GFCI outlet to your circuit breaker, then wire additional standard outlets to the load terminals on the GFCI. Power flows from the panel, through the GFCI, then through all the downstream outlets. When the GFCI trips, it cuts power to itself and everything connected to its load side. This explains why a single tripped GFCI in your basement might kill power to six garage outlets that look completely normal.
Moisture trips garage GFCIs more than any other cause. Rain or snow melts on your car and drips near outlets. Humidity condenses on cold concrete. You set a wet extension cord down while moving equipment. Winter temperature swings create condensation inside junction boxes. The GFCI detects these ground faults and trips to protect you. Power tools with damaged cords or internal shorts also trip GFCIs immediately. Temperature extremes stress GFCI components over time, causing nuisance trips even when no actual ground fault exists.
Testing Garage Outlets with Proper Tools and Techniques

Non contact voltage testers offer the safest first test for any outlet problem. Hold the tester near the outlet faceplate or insert it into one slot. The tester beeps or lights up if voltage is present. You don’t touch any metal parts or insert plugs. This confirms whether power reaches the outlet or stops somewhere upstream. A negative result tells you the circuit is completely dead, often meaning a tripped breaker or upstream problem. Testing takes ten seconds and gets rid of the risk of shock from damaged outlets.
Three light plug in testers identify wiring problems the moment you insert them. Three lights on the tester face light up in different patterns based on how the outlet is wired. Two yellow lights and one red light means correct wiring. Other patterns show open grounds, reversed polarity, or other dangerous conditions. These testers cost less than fifteen bucks and fit in your pocket. They show you right away whether an outlet is safe to use or needs professional attention. Some patterns point to problems that work fine for some devices but create shock hazards with others.
Multimeter testing confirms actual voltage levels when you need specific numbers. Set the meter to AC voltage, insert the probes into the outlet slots, and read the display. Proper garage outlets show 110 to 120 volts. Readings below 100 volts suggest voltage drop from loose connections or undersized wiring. No reading confirms the outlet is completely dead. Multimeter testing helps when outlets partially work, delivering enough power for lights but not for power tools. This happens with loose neutral connections that still make enough contact for low current devices.
Professional diagnostic equipment goes way beyond homeowner tools. Electricians use thermal imaging cameras that show hot spots in walls pointing to loose connections behind drywall. Circuit analyzers test all aspects of electrical flow at once, measuring voltage, amperage, frequency, and ground quality. Advanced load testers simulate actual equipment demands to find intermittent problems. Professionals can access your electrical panel safely to test bus bars, check connections, and verify proper breaker operation. When your testing shows something’s wrong but you can’t pin down the specific problem, professional equipment and expertise become necessary.
| Tester Light Pattern | Outlet Condition | Action Needed |
|---|---|---|
| Two yellow, one red | Correct wiring | Outlet safe to use, problem is elsewhere |
| Two yellow lights only | Open ground | Outlet works but lacks proper grounding protection, needs rewiring |
| One red, one yellow (right side) | Reversed polarity | Hot and neutral swapped, creates shock hazard, requires immediate repair |
| One red light only (middle) | Hot and ground reversed | Dangerous wiring error, do not use outlet, call electrician immediately |
| No lights | Open neutral or no power | Circuit problem upstream, trace back to breaker panel |
Common Wiring Problems That Cause Garage Outlets to Fail
Backstab connections fail more often than any other wiring method, especially in garage outlets that see heavy use. These connections use spring loaded slots on the back of the outlet instead of screw terminals. You strip the wire and push it into a hole until it catches. The connection works at first but the spring tension weakens over time. Garage temperature swings make this worse, expanding and contracting the metal over and over. The wire works loose. Contact degrades. Eventually the outlet stops working even though nothing looks wrong from the outside. Outlets installed in the 1980s and 1990s commonly used backstab connections before electricians figured out how unreliable they are.
Vibration from garage door openers and frequent power tool use loosens screw terminal connections gradually. Each time the garage door opens, the motor creates vibration that travels through the wall structure. Run a circular saw or shop vacuum several times a week and that vibration reaches outlet boxes. The screws holding wires to outlet terminals work loose by fractions of turns over months or years. Eventually the connection becomes intermittent, heating up under load because contact area decreases. The outlet works sometimes, usually with light loads, then stops working entirely when the loose wire finally loses contact.
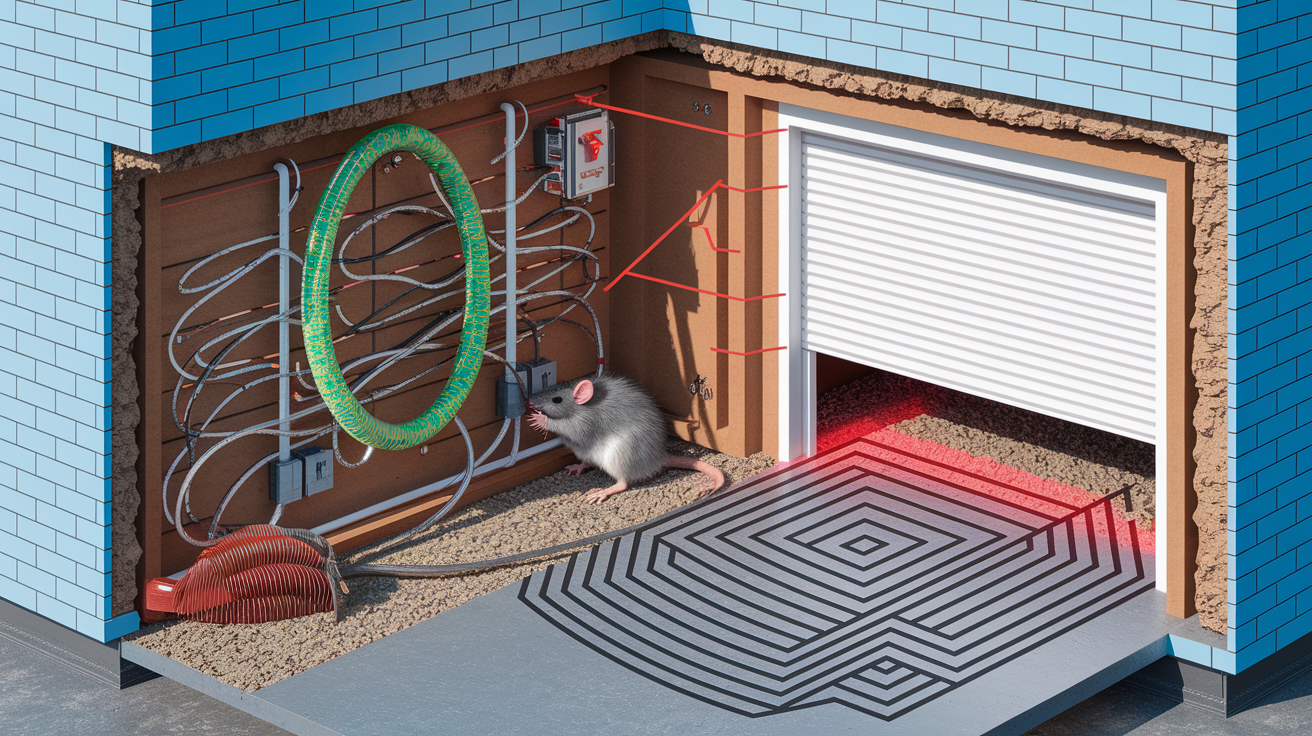
Rodents damage garage wiring way more often than in other parts of your home. Mice and rats enter through garage door gaps and nest in walls during winter. They chew wire insulation looking for nesting material or sharpening their teeth. Damaged insulation exposes copper conductors that can touch each other or contact metal boxes, creating shorts. Sometimes they chew completely through wires. You won’t see this damage without opening outlet boxes or looking inside walls. The outlet just stops working with no visible exterior signs. Pest damage explains sudden failures in outlets that were working fine yesterday.
Corrosion develops on wire connections in garage environments. Temperature changes create condensation in outlet boxes. Moisture reacts with copper wire and brass screw terminals, forming green or white corrosion at the connection point. This crusty buildup increases electrical resistance and decreases current flow. The connection overheats. Corrosion spreads. Eventually the connection fails entirely or creates enough heat to char the wire insulation. Coastal homes experience faster corrosion from salt air. Garages that house hot vehicles after winter drives with road salt track corrosive moisture inside.
Diagnosing Upstream and Downstream Outlet Issues

Electricians wire garage outlets in series to save wire and cut installation time. Power flows from your breaker panel to the first outlet box, then from that box to the next outlet, continuing until the circuit ends. This daisy chain approach means every outlet depends on solid connections at every outlet before it in the sequence. When the first outlet in the chain develops a wiring problem, everything downstream loses power while the breaker stays on and the outlet looks fine from outside.
Finding the upstream failure point takes systematic testing from the breaker panel outward. The outlet closest to your electrical panel is usually the first in the series. Test it first. If it works, the problem’s further along the circuit. If it’s dead, the problem’s either at that outlet or between the panel and that box. Move to the next outlet in sequence. Keep testing until you find the last outlet with power. The very next outlet in the series is probably where the connection failed. Sometimes the failure sits in the working outlet’s box, in the wires feeding the next outlet downstream rather than in the dead outlet itself.
Start at your electrical panel and identify which wall the garage circuit wiring enters. Test the outlet nearest to the entry point. This is likely first in the series. Move along the wall in the direction electricians typically wire, usually following the shortest path. Test each outlet in sequence until you find the last one with power. Focus your diagnosis on the next outlet box in the sequence. That’s where the connection failed or the upstream outlet’s load terminal connections.
Partial circuit failures show you exactly where to look. If two garage outlets work fine and three don’t, the problem sits between the last working outlet and the first dead one. Electricians call this an open circuit in the middle of the run. The fault is almost always a loose wire connection, damaged wire between boxes, or a failed backstab connection in the last working outlet’s load terminals. This type of failure proves the breaker and GFCI are fine because some outlets still work.
Outlet Replacement: When and How to Replace Faulty Garage Outlets

Replace outlets showing physical damage, burn marks, discoloration, loose faceplate fit, or outlets that feel warm during use. Cracks in the outlet body compromise safety even if the outlet still delivers power. Brown or black discoloration around the plug slots means overheating from loose connections or too much current draw. A faceplate that wobbles or doesn’t sit flush means the outlet has pulled forward in the box from repeated plug insertion and removal. Warm faceplates show the outlet is overheating internally. Any burning smell requires immediate replacement after investigating the cause.
- Turn off the circuit breaker for the garage outlet circuit at your main panel
- Verify power is off using a non contact voltage tester or plug in tester. Check all outlet slots
- Remove the outlet faceplate by unscrewing the single screw in the center
- Remove the two screws holding the outlet to the electrical box, top and bottom
- Gently pull the outlet forward to expose the wire connections. Don’t yank or stress the wires
- Take a photo of the wire connections showing which wires connect to which terminals before disconnecting anything
- Connect wires to the new outlet’s screw terminals, wrapping wire clockwise around screws. Never use backstab connections for reliable long term performance
- Secure the outlet in the box with mounting screws, making sure it sits straight and doesn’t pinch any wires behind it, then restore power and test with an outlet tester
Match your replacement outlet to your circuit specs and garage requirements. A 20 amp circuit requires 20 amp rated outlets. A 15 amp circuit can use either 15 amp or 20 amp outlets. GFCI protection is required for all garage outlets, either through a GFCI outlet at that location or a GFCI outlet upstream protecting the circuit. Weather resistant outlets are required for any outlet within six feet of your garage door or in areas subject to moisture. The outlet should be marked WR and feature a protective coating on the internal components.
Testing after installation confirms proper function and safe wiring. Restore power at the breaker once the outlet is secured and the faceplate is installed. Use a three light outlet tester to verify correct wiring right away. Plug in a high draw device like a shop vacuum or power tool to confirm the outlet handles load properly. If you installed a GFCI outlet, press the test button to verify it trips, then press reset to restore power. Check that the outlet doesn’t feel warm after running a device for several minutes. Any warmth points to a problem with the connection that needs correction before the outlet stays in service.
Special Considerations for Garage Electrical Outlets
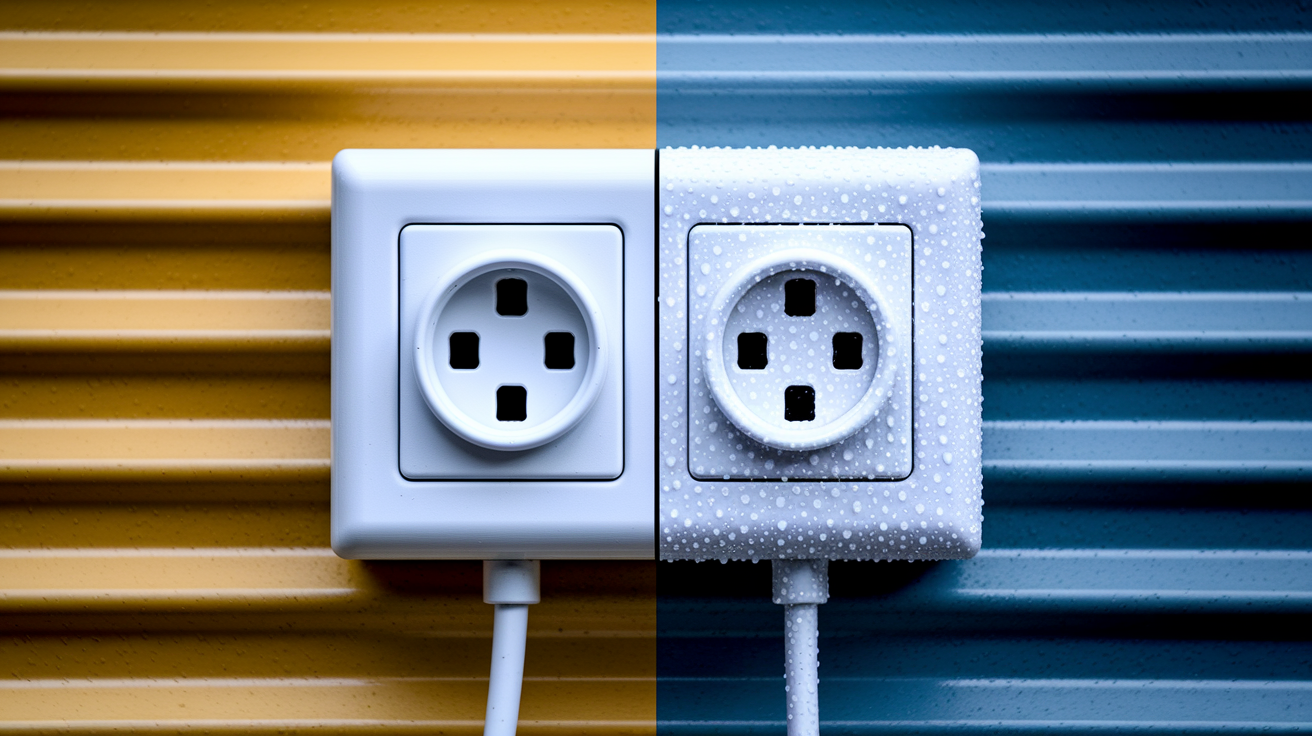
Weather resistant outlets are required within six feet of garage door openings and anywhere moisture might enter. These outlets feature gaskets and coatings that seal out moisture. Standard outlets allow moisture to reach connections through small gaps around the plug blades and through the faceplate openings. Weather resistant designs add layers of protection without changing the exterior appearance much. In use covers provide additional protection for outlets that stay in use during rain or snow, like those powering holiday lighting or outdoor tools. These covers seal around plugs and cords while allowing the outlet to remain energized.
Current electrical code requires GFCI protection for all garage outlets without exception. Older code allowed certain circuits to skip GFCI protection if they were dedicated to specific equipment. Modern code closed this loophole. Code also requires at least one outlet circuit in every garage, and that circuit must supply at least one outlet in every car bay. Outlets must be grounded using proper three wire connections with ground wire continuity back to the main panel. Garage outlets need 20 amp circuits if the garage contains workbenches, power tools, or equipment beyond basic vehicle storage.
Outlet height standards place receptacles between 15 and 48 inches above the floor for accessibility. Lower heights work better in garage workshop areas where you frequently plug and unplug tools. Higher placement suits garage door opener areas or locations where you want outlets out of the way of stored equipment. Outlets can’t be installed within 36 inches of a water source unless specifically designed for wet locations. Maintain at least six feet of distance between outlets and garage door mechanisms to prevent damage from door operation and hardware.
Tamper resistant outlets became required in newer construction, including garages built or remodeled after 2008. These outlets use spring loaded shutters that block the slots until equal pressure is applied to both at the same time. A plug slides in normally, but a single object like a screwdriver or nail can’t enter one slot alone. This feature prevents children from inserting objects into outlets. Some garage users don’t like tamper resistant outlets because damaged springs make plug insertion difficult. But code compliance requires them regardless of personal preference in new installations and during remodeling that requires permits.
When Professional Electricians Are Required for Garage Outlet Problems

Professional electricians use diagnostic equipment that measures electrical characteristics homeowners can’t safely access. They test actual current flow under load conditions to spot voltage drops showing resistance in connections. Thermal imaging reveals hot connections behind walls without opening boxes. Advanced circuit analyzers simultaneously measure voltage, current, frequency, harmonic distortion, and ground quality. Professionals can safely test at the breaker panel, checking bus bar connections, individual breaker performance under load, and whether panels show signs of overheating or corrosion. These capabilities identify problems that multimeters and outlet testers miss.
Panel level diagnostics determine whether the problem starts in your garage wiring or at the source. Electricians test the breaker itself by measuring voltage at its output terminals and comparing that to bus bar voltage. They check for proper breaker seating and contact with the bus bar. Loose breakers feel wobbly or require more force than normal to reset. Heat damage at the breaker connection point shows up as discoloration on the bus bar or breaker. Load testing confirms whether a breaker trips at its rated amperage or fails to trip when it should. These tests determine if you need a new breaker, panel repairs, or if the problem sits downstream in your garage circuits.
A GFCI outlet that keeps tripping right away after proper reset attempts shows a persistent ground fault that must be isolated and corrected. Burning smell from your electrical panel, specific breakers, or from outlet boxes means dangerous overheating that creates fire hazards. Breakers that trip frequently even after reducing circuit loads point to damaged breakers, loose connections, or circuit wiring problems. Outlets showing no power after you’ve completed all appropriate troubleshooting steps, including breaker reset, GFCI checks, and testing with known working devices. Any need to add new circuits, upgrade existing circuits to higher amperage, or rewire sections of your garage electrical system. Outlets connected with aluminum wiring, which requires special installation techniques and materials different from copper wiring. Any situation where you see sparks, smoke, or active arcing from outlets, breakers, or connections.
Permit and inspection requirements apply to most electrical work beyond simple device replacement. Adding circuits requires permits. Panel upgrades require permits. Rewiring requires permits. Most jurisdictions allow homeowners to replace outlets and breakers without permits as long as you’re replacing like with like. Same amperage, same type. But changing from standard outlets to GFCI, upgrading from 15 amp to 20 amp circuits, or adding outlets where none existed all typically require permits and inspections. Professional electricians handle permitting as part of their service and guarantee their work meets code. DIY electrical work without proper permits can create problems when selling your home or filing insurance claims after electrical fires.
Cost Estimates and Time Requirements for Garage Outlet Repairs
DIY garage outlet repairs involve only parts costs when you already own basic tools. A standard 15 amp outlet costs three to five bucks. A 20 amp outlet runs five to seven dollars. GFCI outlets cost fifteen to thirty five dollars depending on features and amperage rating. Weather resistant outlets add two to five dollars to standard outlet prices. A non contact voltage tester costs fifteen to thirty dollars. A plug in outlet tester runs five to fifteen dollars. A basic multimeter costs twenty to forty dollars. Wire nuts, electrical tape, and small supplies add another five to ten dollars. Your total investment for tools and parts typically runs under one hundred dollars if you’re starting from nothing.
Professional electrician rates vary by region but typically range from seventy five to one hundred fifty dollars per hour. Most electricians charge a service call fee of fifty to one hundred fifty dollars that covers the trip to your home plus the first hour or portion of work. Flat rate pricing is common for standard repairs. Simple outlet replacement might cost eighty to one hundred fifty dollars total. GFCI outlet installation typically runs one hundred twenty five to two hundred dollars per outlet. Circuit troubleshooting bills at hourly rates because electricians can’t predict how long diagnosis will take. Complex rewiring projects quote by the job based on scope. Emergency service calls during evenings or weekends typically add fifty to one hundred percent to standard rates.
| Repair Type | DIY Cost | Pro Cost | Time Required | Difficulty Level |
|---|---|---|---|---|
| Breaker reset | $0 | $75-$150 service call | 2 minutes | Very easy |
| GFCI reset | $0 | $75-$150 service call | 5 minutes | Very easy |
| Standard outlet replacement | $3-$10 | $80-$150 | 20-30 minutes | Easy to moderate |
| GFCI outlet replacement | $15-$35 | $125-$200 | 30-45 minutes | Moderate |
| Circuit breaker replacement | $10-$50 | $150-$300 | 30 minutes to 1 hour | Advanced, panel work required |
| Circuit troubleshooting and repair | $5-$50 parts | $200-$500 | 1-4 hours | Professional diagnosis needed |
| New dedicated circuit installation | $75-$200 materials | $400-$1,200 | 3-8 hours | Professional installation required |
Preventive Maintenance to Keep Garage Outlets Working
Test your garage GFCI outlets monthly using the test button built into each outlet. Press the test button and verify that power cuts off right away. The reset button should pop out. Any plugged in device should lose power. Press the reset button and confirm power’s back. This simple test verifies the GFCI mechanism still works properly. GFCIs can fail in ways that leave the outlet working normally but unable to protect against ground faults. Monthly testing catches these failures before they create shock hazards during actual fault conditions. Mark your calendar or test during a regular garage cleanup routine.
Visual inspections catch problems before they cause outlet failure. Check faceplates every few months for cracks, discoloration, or loose mounting. Look at the outlet slots for any signs of arcing or burning. Verify plugs fit snugly rather than loosely. A loose fit means worn contacts that should be replaced soon. Run your hand near outlets to check for warmth when devices are plugged in. Outlets should stay cool or barely warm. Significant heat means loose connections or too much current draw. Garage outlets collect dust that can absorb moisture and create slow ground faults over time. Wipe down outlets and faceplates occasionally with a dry cloth.
Test GFCI outlets using the test button monthly to verify proper ground fault protection function. Do visual inspection of all garage outlets quarterly, checking for damage, discoloration, or loose components. Schedule annual professional electrical inspection if you use high draw equipment regularly or if your home is over thirty years old. Avoid using extension cords as permanent wiring. They wear out faster than outlets and create fire hazards when overloaded or damaged. Store extension cords and power tool cords properly, coiled loosely and hung rather than tangled on the floor where they can be driven over. Check for moisture intrusion around outlets during heavy rain or when melting snow drips from vehicles, and increase ventilation or add weather resistant covers. Verify proper tool and equipment storage keeps items away from outlet areas so nothing bumps or stresses outlet boxes and connections. Maintain clear access to all outlets for easy inspection and quick unplugging during problems, avoiding storage directly in front of electrical devices.
Final Words
A garage outlet not working usually comes down to a tripped breaker or a GFCI that needs resetting. Both are quick checks you can handle yourself.
If the outlet still won’t work after you’ve reset things and tested with different devices, or if you see burn marks or smell smoke, stop there. That’s when you bring in a licensed electrician.
Most garage outlet problems are straightforward once you know where to look. And once it’s fixed, a little monthly testing keeps things running smoothly.
FAQ
How do I reset a garage outlet?
To reset a garage outlet, first locate any GFCI outlets in your garage, basement, or exterior walls. Press the reset button firmly until you hear a click sound. If the reset button doesn’t hold, unplug all devices from the garage circuit before trying again.
Why are my outlets not working but the breaker isn’t tripped?
Outlets can stop working without tripping the breaker when there’s a problem at the outlet itself, like loose wiring or worn contacts. A single failed outlet upstream in a daisy-chain configuration can also cut power to multiple downstream outlets without affecting the breaker.
Why is my garage power out but the breaker is not tripped?
Garage power can go out without a tripped breaker if a GFCI outlet somewhere in the circuit has tripped instead. Check for GFCI outlets in the garage, basement, bathrooms, or exterior walls and press their reset buttons. One GFCI often controls multiple standard outlets downstream.
Why would an outlet stop working all of a sudden?
An outlet stops working suddenly due to a tripped GFCI, loose wire connections that finally separate, internal component failure from wear, or moisture exposure causing a ground fault. Regular plug insertion and removal can also loosen connections over time, especially in frequently used garage outlets.
When should I call an electrician for a dead garage outlet?
You should call a licensed electrician immediately if you notice sparks, burning smells, scorch marks, or warm faceplates. Also contact a professional if the outlet remains dead after checking breakers and GFCIs, or if a breaker or GFCI keeps tripping repeatedly after reset.
Can I replace a garage outlet myself?
You can replace a garage outlet yourself if you’re comfortable working with electrical systems and follow proper safety procedures. Shut off the breaker, verify power is off with a tester, and match the replacement outlet specifications exactly. Any uncertainty or code compliance questions require a licensed electrician.
How much does it cost to fix a garage outlet?
A dead garage outlet costs nothing to fix if it’s just a tripped breaker or GFCI reset. DIY outlet replacement runs fifteen to thirty dollars for parts. Professional electrician service typically costs seventy-five to two hundred dollars depending on the problem complexity and your location.
How often should I test my garage GFCI outlets?
You should test garage GFCI outlets monthly by pressing the test button to verify proper function. This simple check confirms the GFCI will shut off power during a ground fault, protecting you from electrical shock. Press the reset button afterward to restore power.