
That slow, constant hiss from the bathroom is costing you around 200 gallons of water a day, which adds up fast on your bill. A running toilet usually comes down to three fixable parts: a flapper that won’t seal, a fill valve that won’t shut off, or a float set wrong. In this guide, we’ll walk you through the fastest way to diagnose which part is causing the problem, then show you exactly how to fix it with basic tools and under $20 in parts.
Quick-Start Diagnostic Flowchart: Identifying Your Running Toilet Problem
A running toilet usually comes down to three things: a flapper that won’t seal, a fill valve that won’t shut off, or a float set wrong. This section helps you figure out which one you’re dealing with so you can skip straight to the fix.
Here’s the fastest way to diagnose what’s happening:
-
Perform the food coloring test. Add 5 to 6 drops of food coloring to the tank water. Don’t flush. Wait 30 minutes, then check the bowl. If you see colored water, your flapper isn’t sealing properly.
-
Listen for a hissing sound. Put your ear near the tank. A steady hiss from inside the tank, especially near the fill valve, means the valve is leaking or won’t shut off completely.
-
Watch for continuous trickling. Look inside the tank. If you see a constant trickle of water running into the overflow tube (the tall pipe in the center), your float’s set too high or your fill valve won’t stop.
-
Check for phantom flushing. If the tank refills on its own every 10 to 20 minutes without anyone touching the handle, that’s a slow flapper leak sending water into the bowl.
Once you’ve identified the symptom, here’s where to go next. Food coloring in the bowl means you’ve got a flapper problem. Go to the section on testing and replacing the flapper. A hissing sound or water trickling into the overflow tube points to the fill valve or float. Head to the section on adjusting and repairing the fill valve. If you’re seeing multiple symptoms, start with the flapper since that’s the most common cause.
A running toilet wastes around 200 gallons of water per day. That’s 6,000 gallons a month going straight into your sewer line, which shows up on your water bill. Diagnosing it quickly stops the waste and gets your bathroom back to normal.
Essential Tools and Parts for Toilet Repairs

Before you start, gather everything you’ll need so you’re not making trips to the hardware store halfway through the job.
Here’s what to have on hand:
Adjustable wrench for supply line and locknut connections. Flathead or Phillips screwdriver for handle and some fill valve adjustments. Towels or a large sponge to soak up leftover tank water. Bucket to catch water when disconnecting supply lines. Replacement flapper (bring your old one to the store to match the size). Replacement fill valve if needed after testing. Emery cloth or fine grit sandpaper for smoothing rough flush valve seats. Measuring tape to check flush valve diameter before buying parts.
Most flappers and fill valves come in universal sizes, but you’ll want to measure before you buy. The flush valve opening (the hole at the bottom of the tank where the flapper sits) is usually 2 inches or 3 inches across. Measure it with a tape measure or bring your old flapper to the store to compare.
If you have a one-piece toilet (where the tank and bowl are molded together as a single unit), check the packaging carefully. Many universal repair kits are designed for two-piece toilets, which have a separate tank bolted to the bowl. Most repairs run $10 to $20 in parts and take under an hour, even if you’ve never done this before.
Testing and Replacing a Faulty Toilet Flapper
The flapper is a rubber seal at the bottom of the tank that lifts when you flush and drops back down to hold water in. It fails more often than any other part because it sits in water all the time, which breaks down the rubber.
Here’s how to test it and replace it if needed:
-
Test the seal with a stick. While the toilet is running, use a wooden stick or the handle of a plunger to press down on the flapper. If the water stops running, your flapper isn’t sealing properly and needs replacement.
-
Check the flapper condition. Turn off the water supply valve (the small valve on the wall behind the toilet), then flush to empty the tank. Feel the flapper. It should be soft and flexible. If it’s stiff, cracked, or feels slimy and deteriorated, it’s done.
-
Shut off the water supply. Turn the shutoff valve clockwise until it stops. This prevents water from refilling the tank while you work.
-
Drain the tank. Flush once, then use a sponge or towel to soak up the remaining water at the bottom of the tank.
-
Remove the old flapper. Most flappers hook onto two pegs on either side of the flush valve, or they slide onto the overflow tube. Unhook the flapper ears from the pegs, then disconnect the chain from the flush lever arm.
-
Install the new flapper. Hook the new flapper onto the pegs, making sure it sits flat over the flush valve opening. Attach the chain to the flush lever arm with about half an inch of slack when the flapper is closed.
Getting the chain length right matters. If the chain’s too long, it can fall between the flapper and the flush valve seat, holding the flapper open and causing a constant leak. If it’s too short, the flapper won’t close all the way after a flush. You want just a little slack. Enough that the flapper can settle completely, but not so much that the chain gets in the way.
Troubleshooting Flapper Issues When Replacement Doesn’t Work
Sometimes a new flapper still won’t seal properly. That usually means the flush valve seat (the rim where the flapper sits) has mineral buildup or rough spots that prevent a tight seal.
Turn off the water and drain the tank again. Run your finger around the edge of the flush valve opening. If you feel roughness, bumps, or mineral deposits, use emery cloth or fine grit sandpaper to smooth the surface. Wipe the area clean with a damp cloth to remove any debris.
If the seat is badly corroded or cracked, the whole flush valve may need replacement, which is a bigger job. But in most cases, a quick smoothing gets a new flapper sealing properly. Also double check that you bought the right size flapper for your flush valve. A 2 inch flapper on a 3 inch valve won’t seal no matter how smooth the seat is.
Adjusting and Repairing the Fill Valve and Float

The fill valve controls when water stops flowing into the tank. The float tells the fill valve when to shut off. If either one malfunctions, water keeps running.
Testing and Adjusting the Float
Here’s how to figure out if the float is the problem. While the tank is refilling after a flush, reach in and lift the float arm (the rod attached to the float ball) or push down on the float cup (the cylinder that slides up and down the fill valve). If the water stops running when you move the float, the issue is water level or float position, not the valve itself.
The water level in the tank should stop between half an inch and one inch below the top of the overflow tube. If it’s higher than that, water spills into the overflow tube and drains into the bowl continuously, which sounds like running water.
For float ball systems (the older style with an arm), bend the float arm down slightly to lower the water level. For float cup systems (the newer style), look for an adjustment clip or screw on the side of the fill valve. Pinch the clip and slide the float down the valve shaft, or turn the adjustment screw to lower the float.
Replacing a Faulty Fill Valve
If lifting the float doesn’t stop the water, or if you see water leaking from the top of the fill valve, the valve itself is shot and needs replacement.
-
Turn off the water supply. Rotate the shutoff valve clockwise until it’s fully closed.
-
Drain the tank. Flush the toilet and sponge out any remaining water at the bottom.
-
Disconnect the supply line. Use an adjustable wrench to loosen the coupling nut where the supply line connects to the bottom of the tank. Have a bucket ready to catch any water still in the line.
-
Remove the locknut. Under the tank, unscrew the large plastic locknut that holds the fill valve in place. Turn it counterclockwise.
-
Lift out the old valve. Pull the old fill valve straight up and out through the hole in the bottom of the tank.
-
Install the new fill valve. Insert the new valve through the same hole, making sure the rubber gasket sits flat against the bottom of the tank. Thread the locknut onto the valve from underneath.
-
Tighten the locknut. Hand tighten the locknut, then use a wrench to tighten it an additional half turn. Don’t overtighten. Porcelain cracks easily.
Once the new valve is in, reconnect the supply line and turn the water back on. The refill tube (the small flexible tube attached to the top of the fill valve) should aim into the overflow tube. Position it so the end of the tube sits at least half an inch above the waterline to prevent siphoning.
Addressing Sediment and Mineral Buildup in Fill Valves
Hard water leaves mineral deposits inside fill valves that interfere with the valve’s ability to shut off cleanly. If your water is hard (you see white buildup on faucets or in the toilet bowl), sediment might be clogging the valve inlet.
Turn off the water and remove the fill valve cap. Most newer valves have a cap that twists off or unclips. Rinse the cap and the valve opening under running water to flush out debris. Check for small particles or grit.
If cleaning doesn’t fix the problem, or if the valve body itself is crusted with minerals, replacement is the better option. Fill valves are inexpensive, and a new one eliminates buildup issues for another 5 to 7 years.
Connecting the Refill Tube and Overflow Pipe Properly
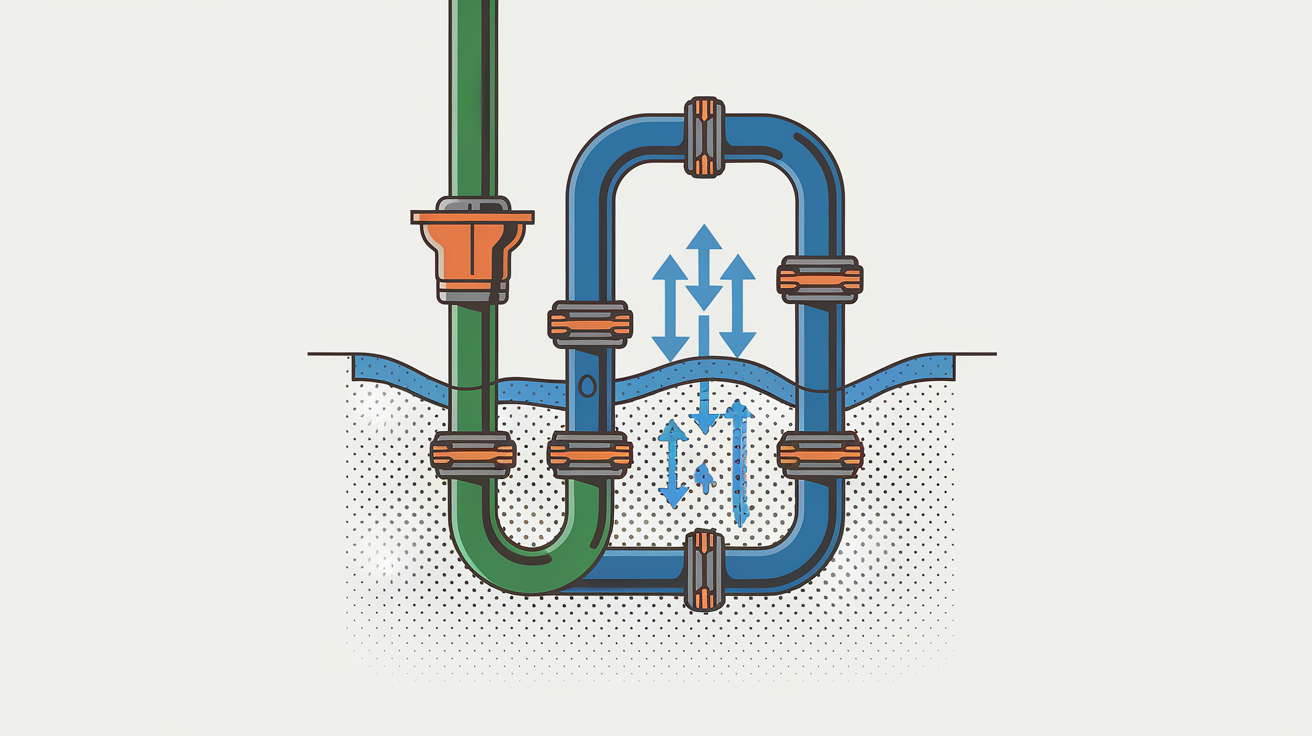
The refill tube is the small flexible tube that runs from the fill valve to the overflow pipe. It directs a small stream of water into the bowl during the tank refill, which restores the bowl’s water seal and prevents sewer gases from escaping.
Here’s how to connect it correctly:
-
Attach the tube to the fill valve. Push one end of the refill tube onto the nipple (the small protruding nub) at the top of the fill valve. It should fit snugly.
-
Position the angle adapter. The angle adapter is a small plastic clip that hooks onto the overflow tube. Slide the other end of the refill tube into the adapter.
-
Clip the adapter onto the overflow pipe. Attach the angle adapter to the rim of the overflow tube so the refill tube directs water down into the tube, not onto the tank floor.
-
Check the tube position. Make sure the end of the refill tube sits at least half an inch above the waterline when the tank is full. If it dips below the waterline, it can create a siphon that drains the tank slowly.
-
Trim excess tubing if needed. If the refill tube is too long and loops or kinks, cut it with scissors so it runs smoothly from the valve to the overflow tube without sagging.
If the refill tube isn’t positioned into the overflow tube, you’ll get a weak flush because not enough water returns to the bowl. If it’s below the waterline, you’ll hear continuous trickling as water siphons out of the tank. Both issues are easy fixes once you know what to look for. Test the setup by flushing and watching the refill tube. You should see a small stream of water flowing into the overflow tube during the refill cycle.
Common Toilet Tank Components and How They Work
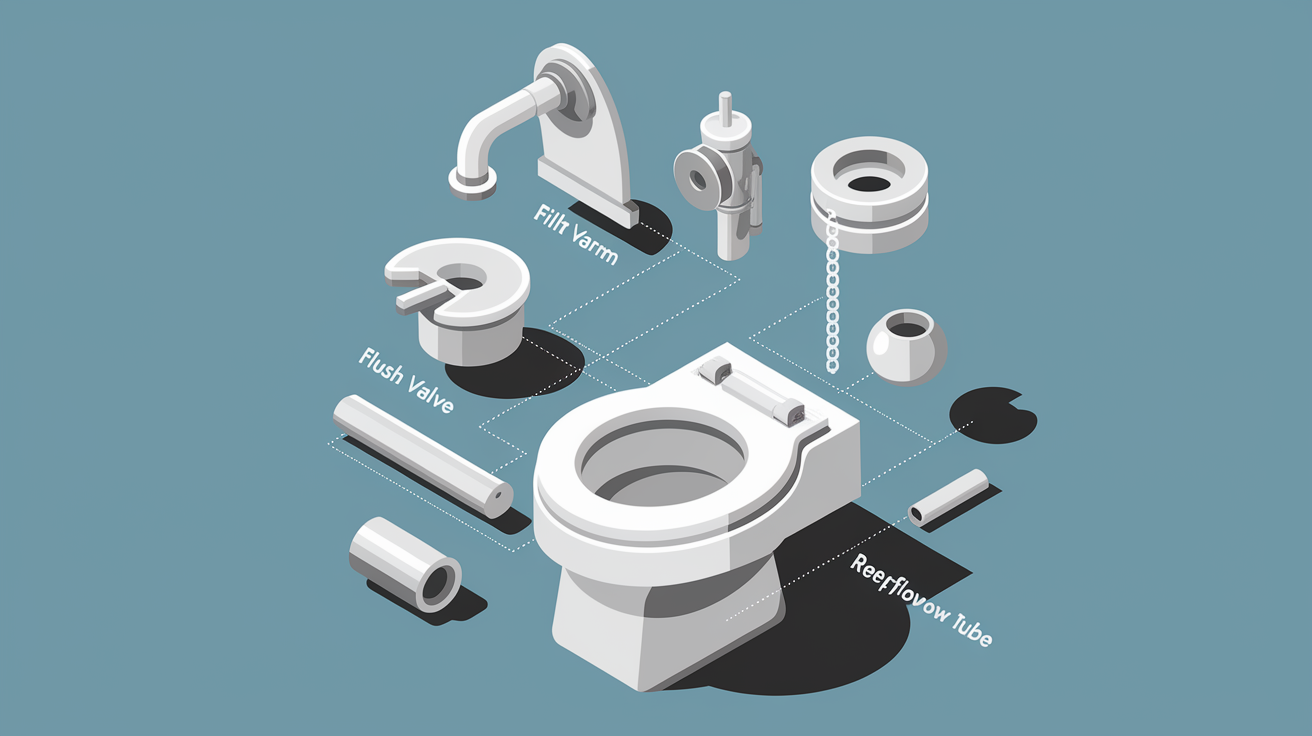
Understanding what’s inside the tank helps you diagnose problems faster and know which part you’re looking at when someone says “fill valve” or “flapper.”
Here’s the basic process every time you flush. You press the flush handle, which lifts the chain inside the tank. The chain pulls up the flapper, which uncovers the flush valve opening at the bottom of the tank. Water rushes out of the tank and into the bowl, creating the flush. As the tank empties, the float drops, which opens the fill valve. Water flows back into the tank through the fill valve and into the bowl through the refill tube. When the water level rises, the float rises with it, and once it reaches the correct height, the fill valve shuts off. The flapper drops back down over the flush valve, sealing the tank so it can fill.
Here are the main components you’ll see when you lift the tank lid:
Flush handle and lift arm (the external handle and the internal arm it’s attached to). Flapper and chain (rubber seal at the bottom and the chain connecting it to the lift arm). Flush valve and seat (the drain opening at the bottom of the tank and the rim the flapper seals against). Fill valve (the tall assembly on the left side of the tank that controls water flow). Float (either a ball on an arm or a cup that slides up and down the fill valve). Overflow tube (the vertical pipe in the center or back of the tank that prevents overfilling). Refill tube with angle adapter (the small tube directing water into the overflow tube). Shutoff valve (the valve on the wall behind the toilet that stops water flow to the tank).
Two-piece toilets have a separate tank bolted to the bowl, which is what you’ll find in most homes. One-piece toilets have the tank and bowl molded together as a single unit, which is more common in modern or high end bathrooms. The difference matters because many universal repair kits are designed for two-piece toilets and won’t fit one-piece models without modifications.
Most toilet parts last 5 to 7 years under normal use. Flappers wear out fastest because they’re submerged in water constantly, which breaks down the rubber. Fill valves and other components last longer but will eventually need replacement as seals harden and internal parts wear.
Preventing Future Running Toilet Issues Through Maintenance
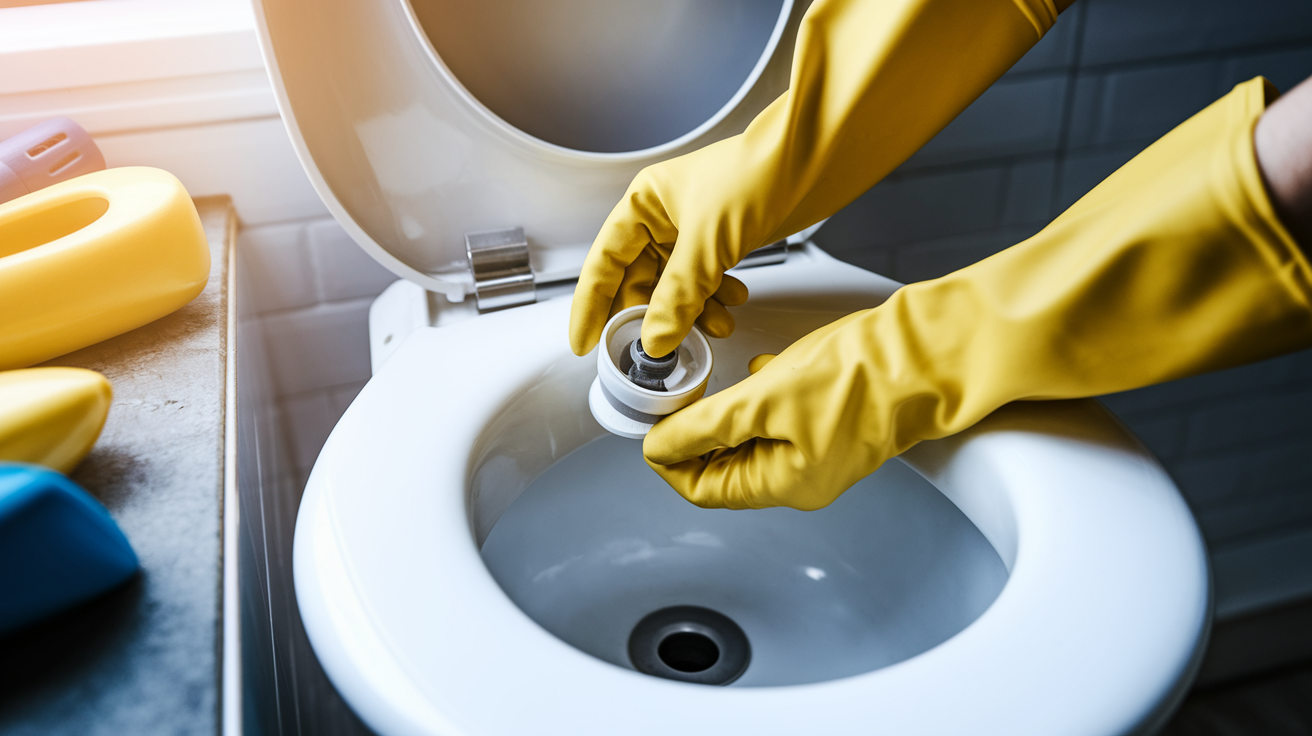
Replacing a flapper or fill valve fixes the immediate problem, but a little regular maintenance keeps those parts working longer and prevents the same issue from coming back in six months.
Here’s what to check and when:
Inspect the flapper every six months by lifting the tank lid and feeling the rubber. Replace it if it’s stiff, slimy, or shows cracks. Test for leaks once a year using the food coloring method (5 to 6 drops in the tank, wait 30 minutes, check the bowl). Avoid chemical drain cleaners in toilets. They damage rubber seals and can crack porcelain over time. Replace flappers every 5 to 7 years even if they seem fine. Rubber deteriorates with age, and a $5 flapper is cheaper than a $200 water bill. Clean mineral deposits around the flush valve seat and fill valve openings when you see buildup. Check chain length and float position during flapper inspections to catch small adjustments before they become leaks. Never overtighten bolts, nuts, or supply line connections. Porcelain cracks easily, and snug is always sufficient.
If you live in an area with hard water, you’ll see white mineral buildup faster. Inspect parts more frequently, every three to four months instead of six. You can slow buildup by wiping visible deposits off the flush valve seat and inside the tank with a damp cloth during regular cleaning.
Older toilets (especially pre-1994 models) need more frequent maintenance because seals and valves wear faster on older designs. If you’re replacing parts every year or two, it might be time to consider a full toilet replacement with a more efficient modern model. For help with annual inspections or professional maintenance support, check the resources available at Home Maintenance.
Understanding Repair Costs and Time Estimates

One of the biggest advantages of fixing a running toilet yourself is the cost. Most repairs run $10 to $20 in parts and take under an hour, even if you’re figuring it out as you go.
| Component | Typical Cost | Repair Time | Difficulty |
|---|---|---|---|
| Flapper | $5–$10 | 10–15 minutes | Easy |
| Fill valve | $12–$18 | 30–45 minutes | Moderate |
| Complete repair kit | $15–$25 | 45–60 minutes | Moderate |
| Chain and hardware | $3–$5 | 5–10 minutes | Easy |
| Flush valve seal | $8–$12 | 20–30 minutes | Easy |
A professional plumber charges $150 to $300 for a service call, and most of that cost is just showing up. The actual repair takes the same 10 to 45 minutes it would take you, but you’re paying for their time, truck, insurance, and business overhead. For a simple flapper replacement, that’s a significant difference.
When repair costs start adding up, though, replacement becomes the better option. If you’re fixing the same toilet every six months, or if you’ve replaced multiple components in the past year, you’re spending more than the toilet is worth. Pre-1994 toilets also use 3.5 to 7 gallons per flush compared to the modern 1.6 gallon standard, which means you’re wasting water and money every day even when everything works correctly. A new efficient toilet pays for itself in water savings within a few years.
When to Call a Professional Plumber for Toilet Repairs

Most running toilet fixes are straightforward DIY projects, but some situations are better left to someone with the right tools and experience.
Call a professional plumber if you’re dealing with any of these:
Cracked porcelain tank or bowl (cracks can’t be repaired reliably and mean replacement). Water pressure regulation issues (high pressure throughout the house affects multiple fixtures). Wax ring replacement and toilet removal (requires lifting and reseating the entire toilet). Tank to bowl gasket leaks (water leaking between the tank and bowl needs disassembly). Sewer line blockages (recurring clogs despite clearing the toilet trapway). Repeated repair failures (if you’ve replaced parts and the problem continues). Structural floor damage from leaks (soft or sagging floors around the toilet base). Full toilet replacement decisions (especially if plumbing configuration changes are needed).
Some of these jobs require specialized tools, like a toilet auger for deep clogs or a wrench large enough to handle toilet mounting bolts. Others involve risks that aren’t worth taking, like cracking a $400 toilet while trying to remove it, or dealing with sewer gases and waste when replacing a wax ring.
If you’ve tried the fixes in this guide and the toilet still runs, something else is going on. Maybe a hairline crack in the tank, a warped flush valve, or a problem with the toilet’s mounting that’s causing movement and breaking seals. At that point, a second set of experienced eyes catches issues that aren’t obvious to someone doing this for the first time. For scenarios requiring professional expertise and reliable contractor support, you can explore options at Professional Repair Services.
Water damage spreads fast, especially if a leak goes unnoticed behind the toilet or under the floor. If you see water pooling around the base of the toilet, or if the floor feels soft or spongy when you step near it, stop and call someone. Fixing the toilet is one thing. Replacing rotted subfloor, joists, or dealing with mold remediation costs a lot more than a service call.
Specific Repairs for Different Toilet System Types
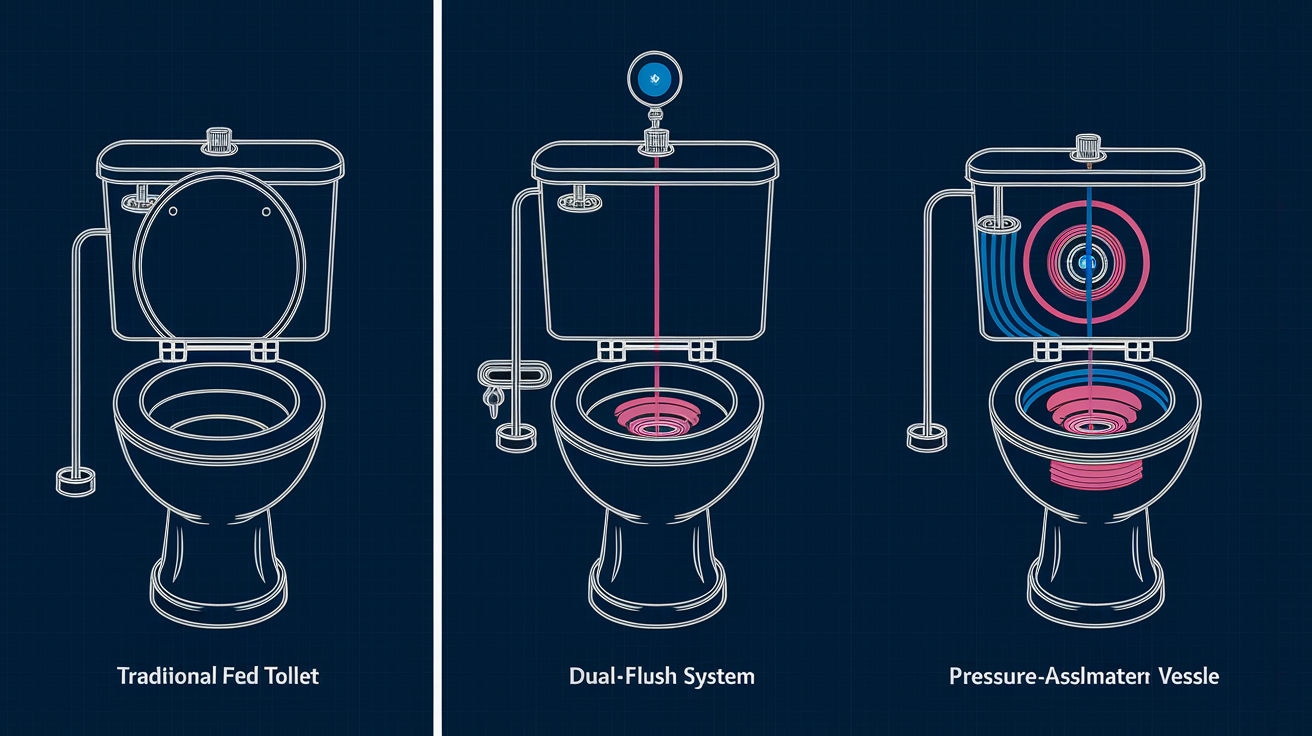
Not all toilets work the same way, and the type you have affects which parts you’ll need and how complicated the repair will be.
Gravity-Fed Toilet Repairs
These are the standard toilets found in most homes, and they’re what this guide has been covering. Gravity fed toilets rely on the weight of the water in the tank to create the flush. All the repair steps for flappers, fill valves, and floats apply to gravity fed systems without modification. If your toilet has a traditional handle on the side or front of the tank and a simple tank and bowl design, it’s gravity fed.
Dual-Flush System Considerations
Dual flush toilets have a push button mechanism on top of the tank instead of a side mounted handle. One button delivers a partial flush for liquid waste, and the other delivers a full flush for solid waste. The internal components are different. You’ll see a two part flush valve or a specialized canister style valve instead of a traditional flapper and chain.
Repairs for dual flush systems often require manufacturer specific parts because the valve designs vary widely between brands. A universal flapper won’t work. If your dual flush toilet is running, check the manufacturer’s website for parts diagrams and replacement component part numbers. Most home improvement stores carry some dual flush repair kits, but you may need to order directly from the manufacturer or a specialty plumbing supplier.
The diagnostic steps are the same. Food coloring test, checking for leaks, identifying which component isn’t sealing. But the replacement process follows the manufacturer’s instructions rather than the universal steps in this guide.
Pressure-Assisted Toilet Differences
Pressure assisted toilets use a pressure vessel inside the tank to force water into the bowl with extra power, creating a stronger flush with less water. You’ll recognize these by the loud, forceful flush sound and the black or blue pressure tank sitting inside the main tank.
These systems are more complex than gravity fed toilets. The fill valve works differently, the flush mechanism is sealed inside the pressure vessel, and internal pressure can make repairs risky if you’re not familiar with the system. If a pressure assisted toilet is running, the issue might be the pressure vessel itself, the fill valve, or a seal inside the pressure cartridge.
Because of the complexity and the specialized parts involved, pressure assisted toilet repairs are usually best handled by a professional unless you have experience with these systems. Attempting DIY repairs without understanding the pressure components can result in leaks, valve damage, or even injury if the pressure vessel is mishandled.
If you’re not sure which type of toilet you have, look inside the tank. A gravity fed toilet has a simple open tank with a flapper at the bottom. A dual flush toilet has buttons on top and a canister valve. A pressure assisted toilet has a large pressure vessel that takes up most of the tank space. Knowing your toilet type before you buy parts saves you a return trip to the store.
Final Words
If you’ve been asking yourself “how do I repair a running toilet,” you now have a clear path forward.
Start with the food coloring test to pinpoint the problem. Grab the right parts for your specific setup. Follow the step-by-step instructions for flapper or fill valve replacement.
Most of these fixes cost under twenty dollars and take less than an hour.
You’ll stop the water waste, quiet that constant hissing, and get your toilet back to normal. And you’ll have the confidence to handle it again when parts wear out down the road.
FAQ
How do I fix a toilet that keeps running?
A toilet that keeps running can be fixed by testing and replacing the flapper, adjusting the fill valve and float, or checking the refill tube position. Most repairs take under ten minutes and cost less than twenty dollars in parts.
What is the most common cause of a constantly running toilet?
The most common cause of a constantly running toilet is a worn or broken flapper that doesn’t seal properly against the flush valve. A faulty flapper allows water to continuously drain from the tank into the bowl, triggering constant refilling.
Why does my toilet randomly run at night?
A toilet randomly runs at night because slight water loss through a deteriorated flapper creates phantom flushing, where the tank refills itself without anyone pressing the handle. Temperature changes at night can also cause minor component shifts that trigger these phantom flushes.
Can I fix a running toilet without turning off the water?
You cannot safely fix a running toilet without turning off the water supply valve, because removing or adjusting tank components while water flows creates flooding risk and prevents proper part installation. Shutting off the supply takes seconds and drains the tank safely.
How much water does a running toilet waste?
A running toilet wastes up to 200 gallons of water per day or approximately 6,000 gallons per month. This continuous water loss significantly increases utility bills and represents substantial unnecessary water consumption that damages the environment.
How do I test if my toilet flapper is leaking?
You can test if your toilet flapper is leaking by adding five to six drops of food coloring to the tank and checking if the bowl water changes color after thirty minutes. Colored bowl water confirms the flapper isn’t sealing properly and needs replacement.
How long do toilet flappers typically last?
Toilet flappers typically last between five to seven years before needing replacement due to constant water submersion that causes rubber deterioration. Flappers wear out faster than other toilet components and should feel soft and pliable rather than stiff or brittle.
What is the correct water level in a toilet tank?
The correct water level in a toilet tank should sit one to two inches below the top of the overflow tube. Water levels above the overflow tube indicate float adjustment problems that cause constant refilling and water waste.
How do I know if my toilet needs a new fill valve?
Your toilet needs a new fill valve if lifting the float arm during filling doesn’t stop the water flow, if water leaks from the valve top, or if persistent hissing sounds occur near the valve. These symptoms indicate internal valve failure requiring complete replacement.
Can hard water damage toilet components?
Hard water can damage toilet components by creating mineral deposits and sediment buildup that interfere with flapper sealing and fill valve operation. Regular cleaning and more frequent part replacement help counteract hard water effects on toilet mechanics.
Should I replace my pre-1994 toilet?
You should replace your pre-1994 toilet because older models use more than 1.6 gallons per flush compared to modern efficient toilets. Upgrading to a WaterSense certified toilet reduces water waste and often costs less than repeated repairs on aging components.
What tools do I need to repair a running toilet?
You need an adjustable wrench, screwdriver, towels or sponge, bucket, and replacement parts like flappers or fill valves to repair a running toilet. Most repairs require basic household tools and cost between ten and twenty dollars in parts.
How tight should toilet tank bolts be?
Toilet tank bolts should be snug but not overtightened, as excessive force cracks porcelain tanks and bowls. Tighten bolts evenly until resistance is felt, then stop to avoid damaging the ceramic material or rubber gaskets.
When should I call a plumber for a running toilet?
You should call a plumber for a running toilet when you encounter cracked porcelain, water pressure issues, repeated repair failures, or leaks between the tank and bowl. Professional help prevents water damage and saves money when DIY attempts don’t resolve the problem.