
Ever realize you’ve been staring at that wall ding for six months like it’s part of the decor? Most holes take under 20 minutes to fix, but here’s the thing. The right technique depends entirely on size. Nail holes need different treatment than doorknob sized craters. We’ll walk you through small, medium, and large repairs with actual steps that work, the exact materials you need for each, and how to make the fix disappear completely when you paint. Let’s get your wall looking normal again.
Repairing Small Holes in Drywall Under Half an Inch
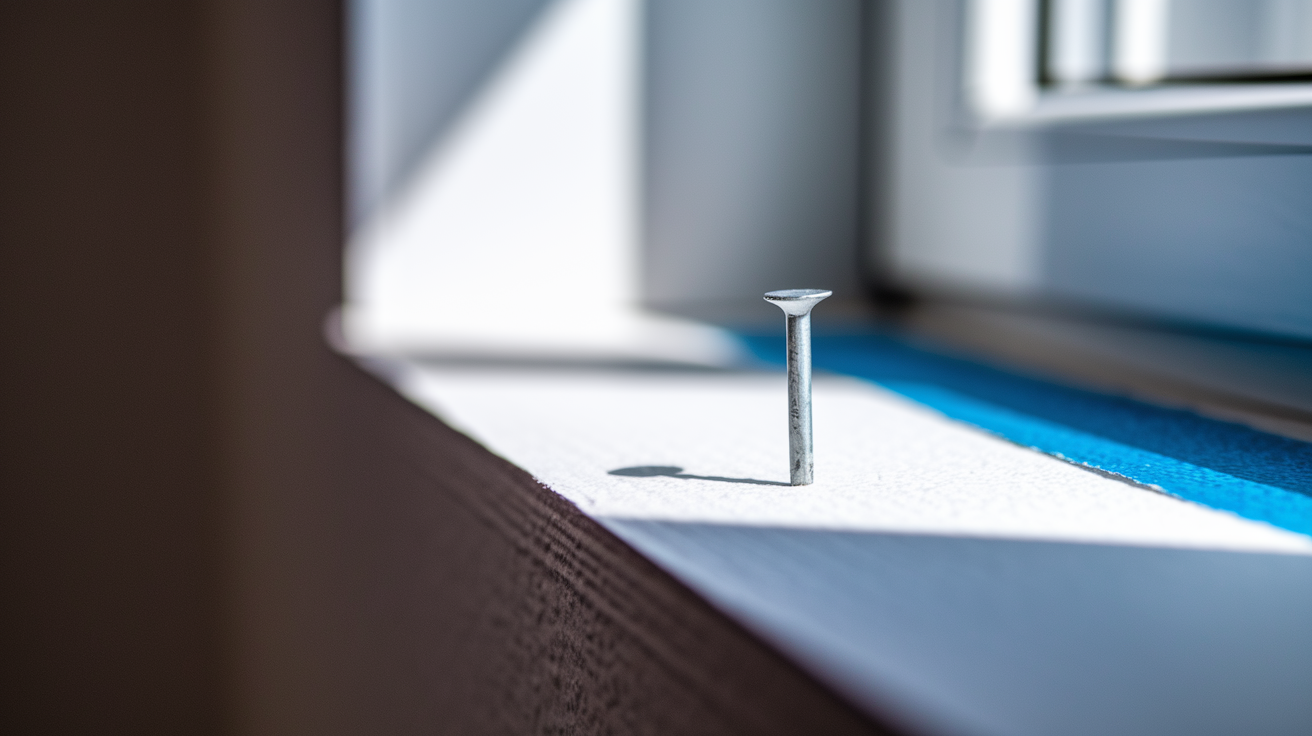
Small holes under half an inch are the easiest wall repairs you’ll tackle. We’re talking nail holes from picture hanging, screw holes from old fixtures, that kind of thing. If you’re fixing a bunch at once, stick painter’s tape next to each hole. Makes them way easier to spot when you’re walking around with your putty knife.
- Find each hole and mark it with painter’s tape right next to the damage
- Clean around the hole with a dry cloth, getting rid of loose debris, dust, or any bits of drywall paper sticking out
- Fill the hole with lightweight spackle using your putty knife, going slightly above the wall surface to account for shrinkage
- Feather the edges by spreading spackle in thin strokes outward from the hole, blending it into the wall around it
- Wait 30 to 60 minutes for drying, though this changes based on how humid it is in your house
- Make sure the surface feels totally dry and firm before moving on, not cool or tacky
- Sand smooth with 120 grit to 150 grit sandpaper using gentle circular motions, being careful not to sand a depression into the wall
Fill each hole just a bit proud of the surface. Spackle shrinks when it dries, so that extra bit you added settles nearly flush. Don’t pile it on thick though. Thick layers take forever to dry and they crack as they cure. You’re looking at maybe 5 minutes of actual work per repair.
Essential Tools and Materials Required for Wall Repair
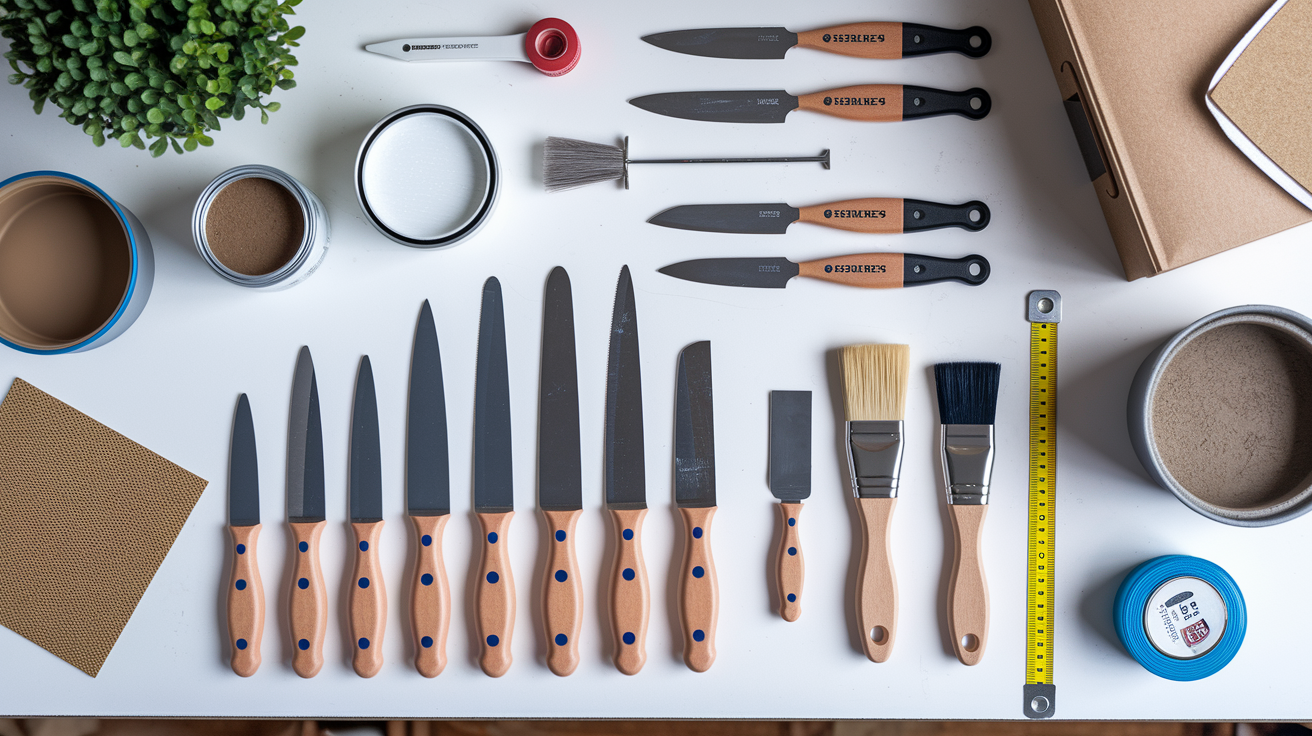
Having everything ready before you start makes all the difference. There’s nothing worse than getting halfway through and realizing you’re missing the right sandpaper or a putty knife.
What you need changes based on hole size. Small dimples need different stuff than a fist sized puncture. Most of this is available at any hardware store, and if it’s a straightforward repair, you probably already have some of these things lying around.
| Hole Size | Required Materials | Optional Items |
|---|---|---|
| Small (under ½ inch) | Lightweight spackle, putty knife, 120 grit to 150 grit sandpaper, primer, matching paint, painter’s tape | All in one spackle applicator with built in sanding pad, drop cloth |
| Medium (½ to 3 inches) | Self adhesive mesh patch, joint compound, 4 inch to 6 inch putty knife, 120 grit to 150 grit sandpaper or sanding sponge, primer, matching paint | Drywall patch kit with included tools, dust mask |
| Large (over 3 inches) | Drywall piece, 1×3 backing boards, utility knife, drywall saw, framing square, drill with screws, joint compound, 6 inch drywall knife, 120 grit to 150 grit sandpaper, primer, matching paint | Drywall rasp for smoothing cut edges, corner bead for edge repairs |
DIY wall repair is budget friendly even if you’re starting from scratch. Small hole repairs typically run under $15 for everything. Large hole repairs, even with backing boards and a drywall piece, usually stay under $50. You’ll have leftover compound and paint for future touch ups too, which makes the value even better.
Fixing Medium Sized Holes Using Mesh Patch Methods
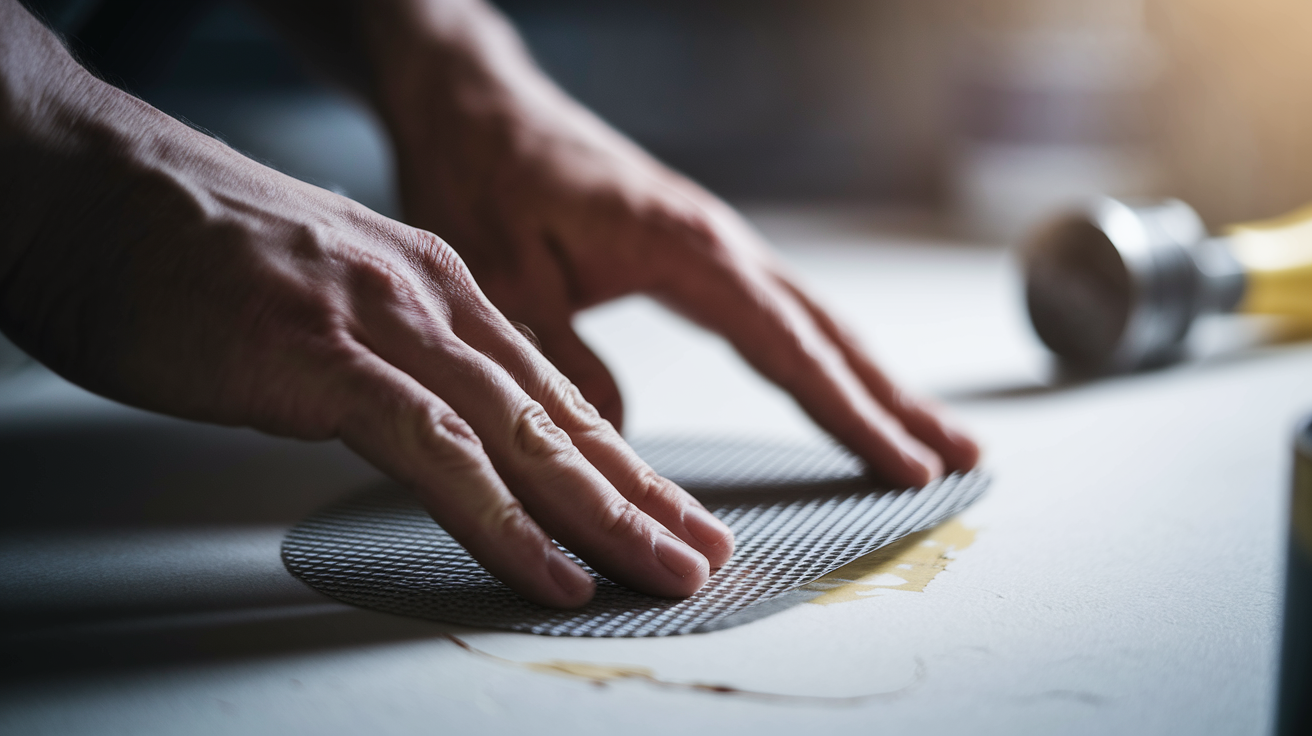
Medium holes fall between half an inch and 3 inches. Too big for spackle alone but don’t need full drywall replacement with backing boards.
Prep matters here. Clean the damaged area first, pulling away any loose drywall paper or crumbling edges. If there’s a raised lip or rough spots around the edge, grab your 120 grit to 150 grit sandpaper and knock them down until the surface around the hole feels fairly smooth. This helps with adhesion when you apply your mesh patch and makes sure the compound actually grabs instead of just sitting on dust.
Cut your self adhesive mesh patch one inch larger than the hole on all sides. So a 2 inch hole gets a 4 inch patch. Peel the backing, center it over the hole, and press firmly from the middle outward to avoid air bubbles. The mesh provides reinforcement, basically creating a scaffold for the joint compound to grab onto.
Apply joint compound in a crisscross pattern with your putty knife. Start from the center and work outward, spreading the compound over the mesh and feathering the edges so they blend into the wall. You’re not trying to bury the patch in one pass. Spread it thin enough that you can still see a hint of the mesh texture through the compound on your first coat.
You’ll need two or three thin coats with sanding between each. Let each application dry 30 to 60 minutes until the surface feels completely dry and firm, not cool to touch. Sand gently with 120 grit to 150 grit sandpaper between coats to get rid of ridges or bumps. Thin coats create a smoother final surface than trying to do it all at once, and they dry faster without cracking.
Large Hole Repair with Backing Board and Drywall Patch
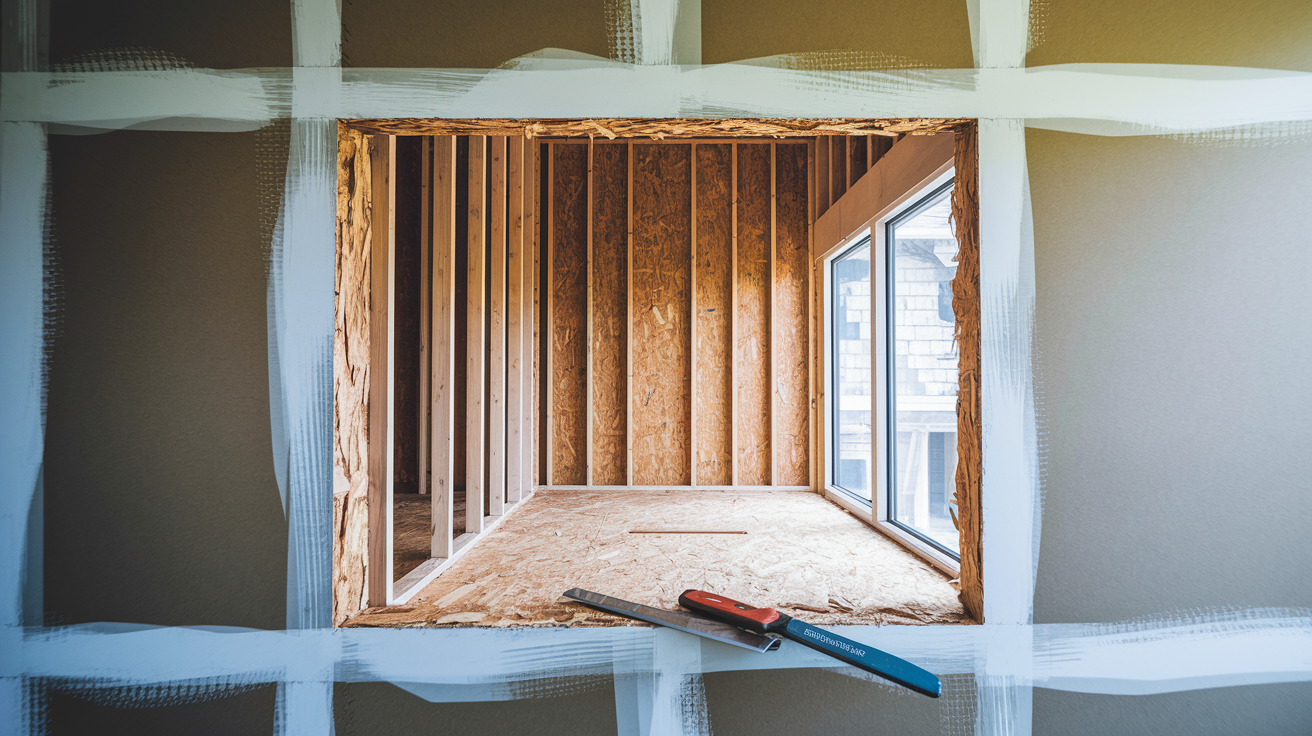
Large holes over 3 inches need actual drywall replacement and backing support. You can’t just slap compound over a gap that big and expect it to hold.
Start by cleaning up the damaged area and getting rid of loose debris or torn drywall paper. Then use your utility knife and a framing square to square off the damaged section. Turn that irregular hole into a clean rectangle or square with straight edges. This makes measuring and cutting your patch way easier and gives you clean edges for the compound to grip.
- Clean the damaged area and remove loose debris, torn paper, or crumbling drywall
- Square off the damaged area using a utility knife guided by a framing square to create straight, clean edges
- Measure the hole carefully using a tape measure for height and width
- Cut a replacement drywall patch to the exact same size as your newly squared hole using a utility knife and straight edge
- Cut two backing boards from 1×3 lumber, making them a few inches longer than the hole’s height so they extend beyond the opening
- Insert the backing strips into the hole, positioning them centered over the drywall edge so half the board sits behind the existing wall and half stays exposed
- Secure the backing strips to the existing drywall with screws placed about 1 inch from the edges, driving them just until the heads sit slightly below the surface
- Attach the drywall patch to the exposed portion of the backing strips using countersunk screws placed about 1 inch from the patch edges
- Apply joint compound over all seams and screw holes in multiple thin layers, allowing complete drying and sanding with 120 grit to 150 grit sandpaper between each coat
Counter sink your screws so the heads sit just below the drywall surface where they can be filled with compound. Don’t crank them down too hard though. Overtightening breaks through the drywall paper face and weakens the hold. You want minimal gap between your patch and the existing wall. If you’ve measured and cut accurately, the patch should fit snug but not require force. Large repairs like this benefit from overnight drying between compound applications, especially that final coat before sanding and painting.
Priming and Painting for Invisible Wall Repairs
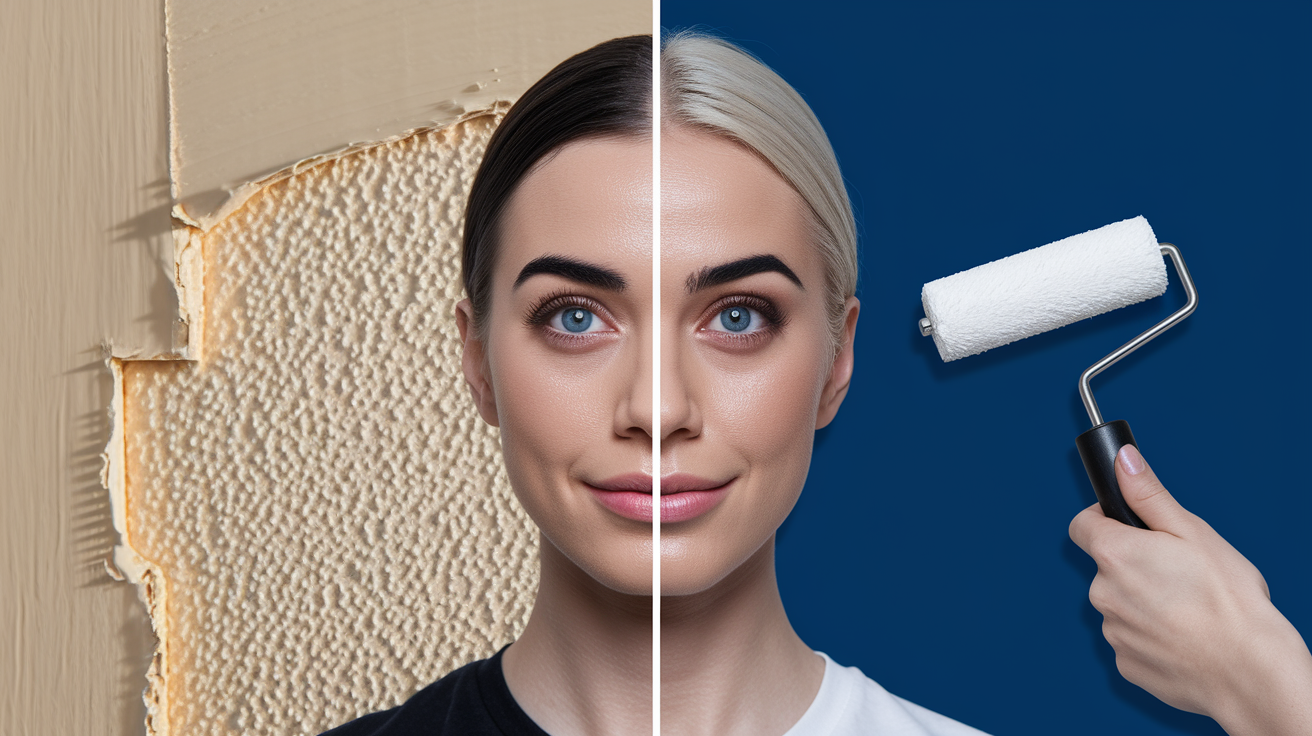
Primer prevents flashing, those shiny spots that show up on patched areas even after you paint. Apply primer over the entire repaired section, even if you used primer enhanced spackle or compound.
Color matching presents the real challenge. Paint fades over time, especially in rooms with lots of sunlight. The “Navajo White” you bought three years ago probably doesn’t look quite the same anymore. If you still have the original paint can, bring it to the store. If not, take a paint chip from somewhere hidden, like inside a closet or behind a door, and ask the paint desk to match it. Testing your matched paint on a hidden spot before tackling the visible repair saves you from discovering a mismatch when it’s too late.
Use the same application method as the original wall. If the rest was rollered, use a roller on your repair. Apply thin coats and feather the edges well beyond the repair area. Start your paint strokes a few inches away from the patch and work inward, then extend back out again. This gradual blending gets rid of visible edges where the new paint meets the old. Allow complete drying between coats, usually 2 to 4 hours depending on humidity and paint type.
If your walls have texture, you’ll need to match that too. Texture spray products are available for common patterns like orange peel or knockdown. Practice on cardboard first to get the technique down.
Let your final coat dry completely, then inspect the repair under different lighting. Use an angled work light or flashlight held at a low angle to the wall. This reveals any remaining imperfections, high spots, or low spots you might have missed under overhead lighting. If you spot issues, you can sand and add another thin coat of compound, or in minor cases, a light sand and additional paint might be all you need.
Wall Type Variations: Plaster Wall Repair Differences
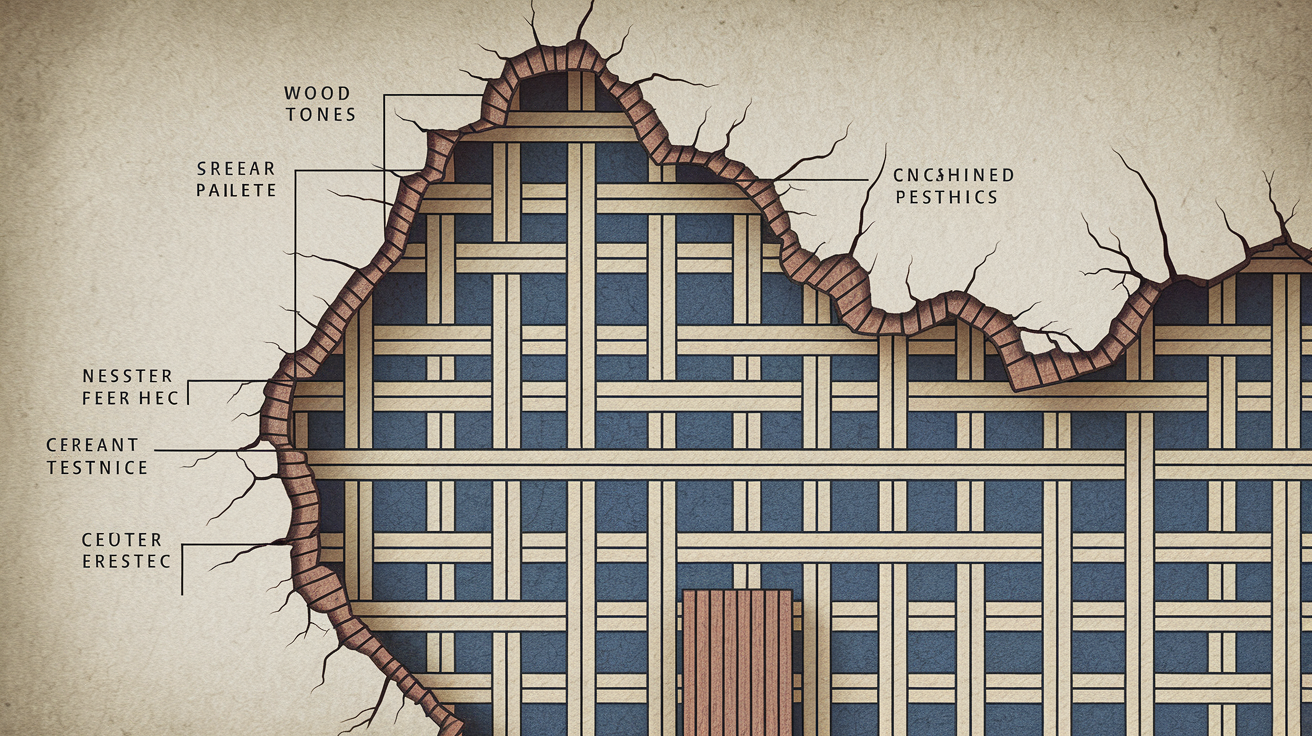
Plaster walls are common in homes built before the 1950s and they need modified repair techniques compared to modern drywall.
Plaster wall construction uses a hard plaster coating applied over wood lath strips or metal mesh. It’s a completely different system from drywall’s gypsum board with paper facing. Plaster is harder and more brittle than modern gypsum board, which affects how it cracks, how it holds fasteners, and what materials bond to it.
Plaster repairs call for setting type joint compound instead of standard drywall mud. Setting compound bonds better to old plaster and provides better adhesion. You’ll need to make sure the compound keys properly into the lath behind the plaster. If the edges around your hole are crumbling, carefully remove loose material until you reach sound plaster. Sometimes you’ll find damaged lath that needs addressing before you can patch the plaster surface.
The general repair process stays similar whether you’re working with plaster or drywall. Preparation, filling, sanding, finishing. The difference comes down to material selection and application techniques adjusted for plaster’s harder, more brittle nature. Deep plaster repairs often need multiple layers with adequate drying time between each, as plaster doesn’t absorb moisture the same way drywall paper does.
Common Wall Repair Mistakes and How to Avoid Them

Knowing what not to do is just as important as knowing the correct techniques. A single mistake can turn a simple fix into a multi day project that looks worse than when you started.
- Rushing the drying process and sanding before compound is firm leads to caving, gouging, and tearing, forcing you to start over with fresh compound
- Applying compound too thick causes cracking during drying and excessive shrinkage that leaves a depression requiring more coats
- Skipping primer leads to flashing where repaired areas show up as shiny spots or darker patches that show through the paint
- Poor surface prep with loose debris, dust, or oil remaining prevents proper adhesion and causes the repair to fail within weeks
- Over sanding exposes the mesh tape or drywall paper underneath, creating a visible texture difference and weakening the repair
- Bad color matching with new paint that doesn’t account for faded existing paint creates repair spots that stand out in normal lighting
- Not feathering edges properly leaves noticeable transitions and ridges where the repair meets the original wall
- Overtightening screws on drywall patches breaks through the paper face, destroying the screw’s holding power and requiring new fastener locations
Most errors can be corrected without completely starting over. If you’ve applied compound too thick and it’s cracking, sand it down once fully dry and reapply in thinner layers. If your paint match is off, you can often improve the blend by extending your touch up area wider or applying another coat. The surface should always feel dry and firm, not cool or tacky, before you move to the next step. That cool feeling means moisture is still evaporating.
Cost Breakdown for DIY Wall Hole Repairs

Wall hole repair ranks among the most budget friendly home improvement projects with an excellent cost to impact ratio. It’s straightforward work similar to other basic maintenance tasks like minor plumbing repairs that deliver immediate visible improvement.
| Hole Size | Material Cost | Tool Investment | Total DIY Cost | Professional Cost (Estimate) |
|---|---|---|---|---|
| Small (under ½ inch) | $8 to $12 | $10 to $15 (if needed) | $10 to $25 | $75 to $150 |
| Medium (½ to 3 inches) | $15 to $25 | $15 to $25 (if needed) | $20 to $45 | $125 to $250 |
| Large (over 3 inches) | $30 to $45 | $25 to $40 (if needed) | $40 to $75 | $200 to $400 |
Basic tools like putty knives, sandpaper, and brushes represent a one time investment that becomes reusable for future repairs. You’ll likely save 70% to 85% compared to professional services for straightforward repairs. The materials you buy often provide enough compound and paint for multiple repairs, improving cost effectiveness even more. A quart of spackle can handle dozens of nail holes. A small bucket of joint compound covers several medium patches. These supplies sit on your shelf ready for the next repair, spreading that initial investment across multiple projects over time.
When to Call a Professional for Wall Damage
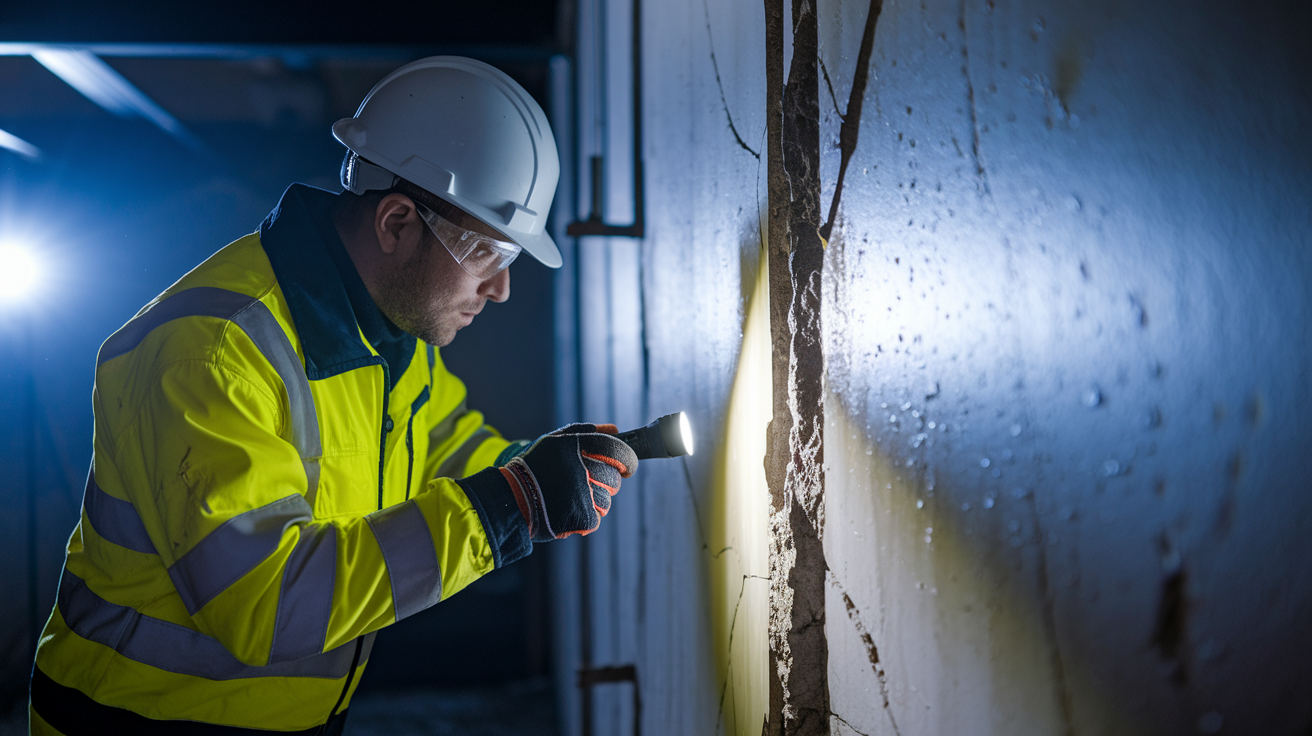
Most holes are DIY friendly, but certain situations call for professional assessment and repair rather than a weekend project.
- Extensive damage spanning multiple wall studs indicates structural impact that needs evaluation beyond surface patching
- Signs of moisture damage or mold including soft drywall, discoloration, or musty odors require proper remediation to prevent health issues
- Structural cracks, especially diagonal ones near corners or doors, can indicate foundation settling or framing issues
- Damage near electrical wiring or plumbing where cutting into the wall might expose you to hazards you can’t see
- Holes in ceilings with unknown causes that might signal roof leaks, plumbing problems, or pest activity above
- Damage to load bearing walls where improper repair could compromise your home’s structural integrity
- Repairs needed to meet building code requirements for insurance claims or home sale inspections
Moisture damage deserves special attention. If the drywall feels soft when you press on it, if you see brown or yellow discoloration spreading beyond the damaged area, or if there’s a musty smell, don’t just patch over it. Hidden water damage can harbor mold growth between the drywall and insulation. The source of the moisture needs to be identified and corrected, and any affected materials need proper drying or replacement. Simple surface patching traps the problem inside your wall where it continues to spread.
Knowing when to bring in professional drywall repair services protects your home’s structural integrity and prevents small problems from becoming major issues. There’s no shame in recognizing when a project moves beyond typical surface repair into territory requiring specialized expertise, proper tools, and the experience to spot problems that aren’t obvious to homeowners. Professionals can assess damage quickly, identify underlying causes, and provide solutions that address both the visible damage and any hidden issues contributing to it.
Final Words
Knowing how to fix a hole in the wall gives you control over those annoying little damages that pop up in every home.
Small nail holes take just minutes with spackle. Medium holes need mesh patches and a bit more patience. Large holes require backing boards and actual drywall, but you can handle it with the right approach.
The key is matching your method to the hole size, using thin coats, and letting things dry completely before moving to the next step.
Once you’ve done it once, you’ll wonder why you waited so long to tackle it.
FAQ
Can I fix a hole in the wall myself?
You can fix a hole in the wall yourself for most common situations including nail holes, screw holes, and impact damage up to several inches across. Small holes under half an inch require only spackle and a putty knife, while larger holes need mesh patches or backing boards with replacement drywall. The process is straightforward with basic materials available at any hardware store.
What do I use to fix a hole in a wall?
To fix a hole in a wall, you use different materials depending on hole size: lightweight spackle and a putty knife for holes under half an inch, self-adhesive mesh patches with joint compound for holes between half an inch and three inches, and backing boards with replacement drywall for larger damage. All repairs require sandpaper, primer, and matching paint to finish.
How to fix a large drywall hole?
To fix a large drywall hole over three inches, square off the damaged area with a utility knife, install backing boards behind the opening, cut a replacement drywall patch to exact size, screw the patch to the backing boards, then apply joint compound over seams in thin layers. Allow compound to dry completely between coats before sanding smooth and painting.
How to patch a 2 inch hole in a wall?
To patch a 2 inch hole in a wall, clean the damaged area and sand the edges, apply a self-adhesive mesh patch cut one inch larger than the hole on all sides, then spread joint compound over the patch using a crisscross pattern from center outward. Apply two to three thin coats with sanding between layers, then prime and paint to match the surrounding wall.