
That running sound coming from your bathroom toilet isn’t just annoying. It’s literally flushing money down the drain, wasting up to 200 gallons of water every single day. The good news? That constant trickle usually comes from one simple part, the flapper, and you can replace it yourself in about 15 minutes with zero plumbing experience. We’ll walk you through the exact steps to stop the leak, lower your water bill, and finally get some quiet back in your house.
Complete Step-by-Step Flapper Replacement Guide
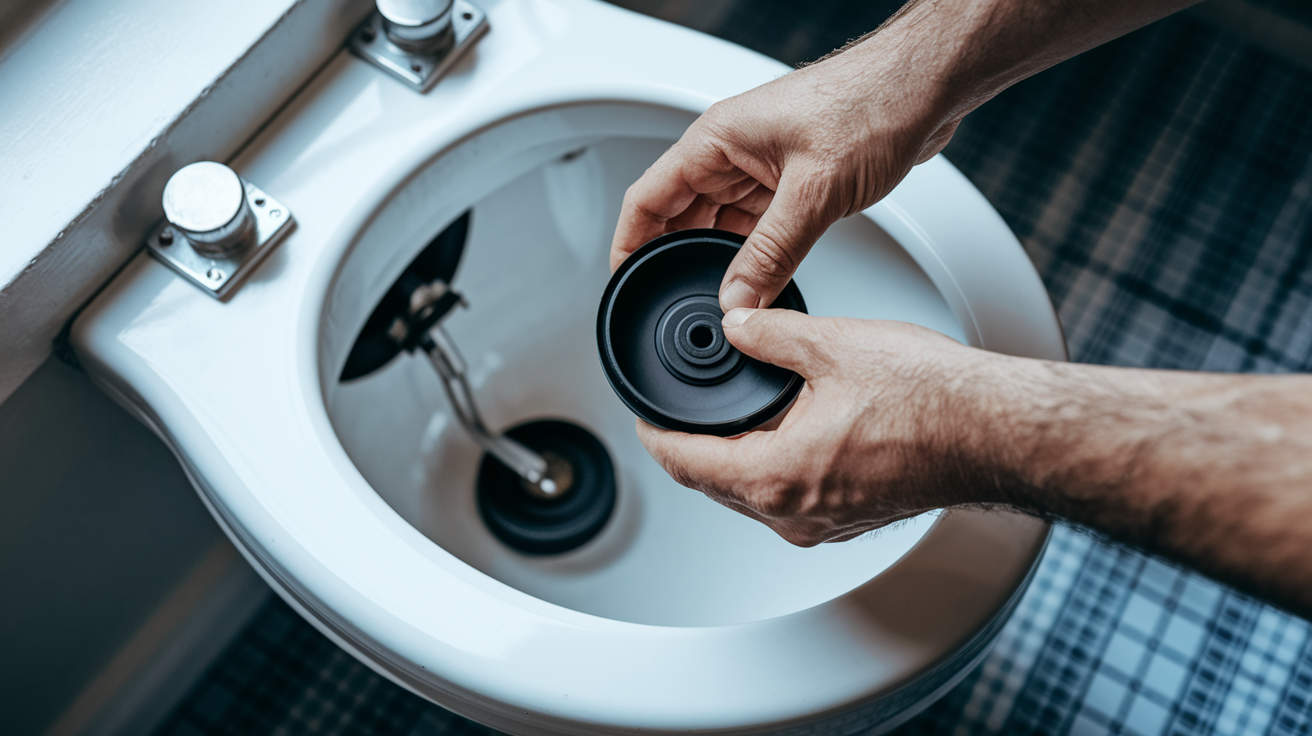
Replacing a toilet flapper takes about 15 to 20 minutes and immediately stops water waste that could be costing you $50 to $100 extra each month on your water bill. You don’t need plumbing experience to fix this problem, just the right steps in the right order.
Here’s exactly how to replace your toilet flapper:
-
Locate and turn off the shut-off valve. Find the water supply valve on the wall behind the toilet near floor level and turn it clockwise until it stops. You’ll feel some resistance when it’s fully closed.
-
Flush the toilet to drain the tank completely. Hold the flush handle down until most water drains from the tank. You’ll hear the water stop flowing after a few seconds.
-
Remove the tank lid and set it aside safely. Lift straight up to remove the ceramic lid and place it on a towel on the floor or counter where it won’t get knocked over or chipped.
-
Unhook the flapper chain from the flush handle lever. The chain connects to a small arm inside the tank. Pinch the clip or unhook the chain from the hole in the lever arm.
-
Remove the old flapper from the flush valve. Most flappers slide off the overflow tube or unhook from two small pegs on either side of the flush valve opening at the tank bottom. Gently pull to release.
-
Clean the flush valve seat surface with a cloth. Wipe around the valve opening where the flapper seals. Remove any mineral deposits, grit, or slime that could prevent a good seal.
-
Attach the new flapper to the mounting pegs. Hook the flapper arms onto the pegs or slide it over the overflow tube, depending on your flapper design. Make sure it sits evenly over the valve opening.
-
Reconnect the chain with slight slack and turn the water back on. Attach the chain to the flush handle lever, leaving about ½ inch of slack when the flapper is closed. Turn the shut-off valve counterclockwise to restore water flow.
After the tank refills completely, test your repair by flushing several times. Watch to make sure the flapper lifts fully and then drops to create a complete seal against the valve seat. Listen carefully for any hissing or running water sounds that would indicate the flapper isn’t sealing properly. If water continues running into the overflow tube, you may need to adjust the chain length or double check that the flapper is positioned correctly over the valve opening.
Essential Tools and Materials for Flapper Repair
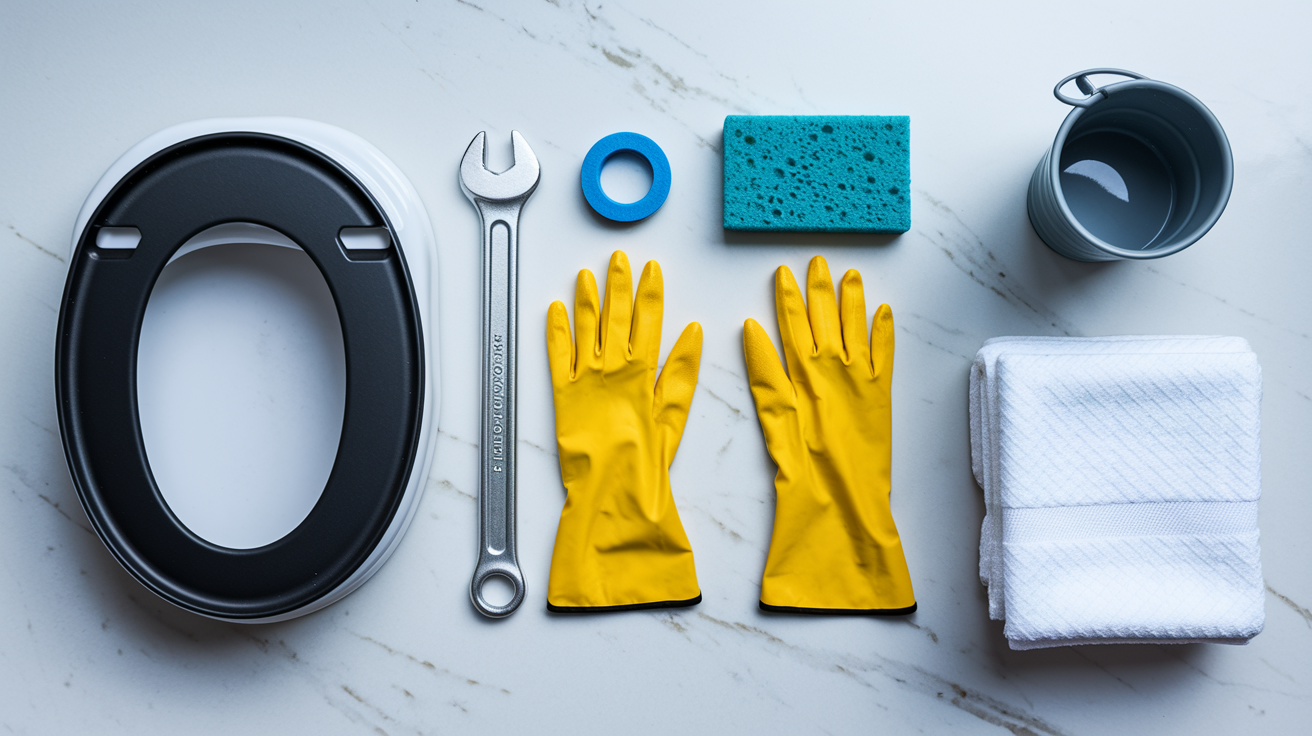
Toilet flapper repair requires minimal tools and typically costs between $5 and $15 for parts, making it one of the most affordable home fixes you can do yourself.
Supplies you’ll need:
- Replacement toilet flapper ($4 to $12 depending on quality and type)
- Towels or rags for water cleanup and drying tank surfaces
- Bucket or container to catch excess water when disconnecting components
- Sponge for cleaning inside the tank and around the valve seat
- Your old flapper as a size and style reference when shopping
- Optional: rubber gloves if you prefer to keep hands dry
- Optional: flashlight for inspecting inside the tank more clearly
Selecting the correct replacement flapper matters more than most people realize. The easiest approach is to bring your old flapper to the hardware store and match it exactly, both in size and attachment style. If you don’t have the old one or want to shop ahead of time, check your toilet brand and model number, which is usually stamped inside the tank or under the lid. When you’re not sure about the exact match, a universal adjustable flapper fits most standard toilets with 2 inch flush valves and gives you flexibility during installation.
Flappers come in several categories that affect how well they’ll work in your specific toilet. Universal adjustable flappers fit most 2 inch flush valves and work with nearly any toilet brand. Brand specific flappers designed for Kohler, American Standard, or Toto toilets provide the most precise fit and longest lasting seal. Adjustable flappers with settable buoyancy help water saving toilets flush properly by controlling how quickly the flapper closes. Solid frame flappers work best in standard gravity flush toilets where weight helps create a tight seal. Chlorine resistant flappers last longer if you use bleach tablets or have treated water.
Measuring your flush valve size helps narrow your options. Most residential toilets have a 2 inch flush valve, but some newer high efficiency models use a 3 inch valve for faster flushing. Just measure across the valve opening at the bottom of your tank. Budget flappers ($4 to $6) might last 2 to 3 years, while premium options ($10 to $15) often include better rubber compounds, reinforced frames, and resistance to chemicals, potentially lasting 5 years or more before needing replacement.
Trusted brands like Fluidmaster and Korky offer reliable replacement parts that professional plumbers stock on their trucks. These manufacturers design flappers specifically for different toilet types and water conditions, so you’re getting a part that’s been tested across thousands of installations rather than a generic option that might work.
Diagnosing Flapper Problems and Identifying Failure Causes
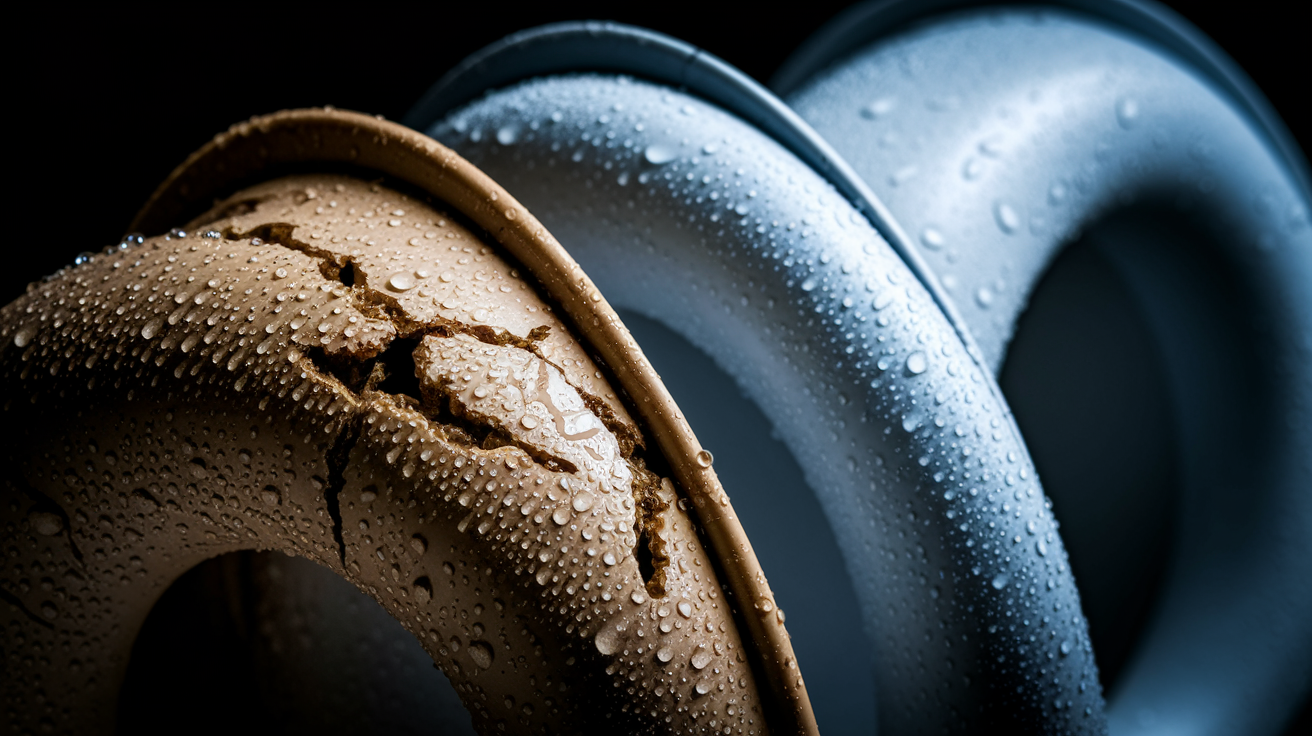
Proper diagnosis prevents you from replacing parts that don’t actually need fixing and wasting time on repairs that won’t solve the problem. Confirming that the flapper is truly the culprit takes just a few minutes and could save you from buying unnecessary components.
Follow this diagnostic checklist to pinpoint flapper failure:
-
Remove the tank lid and observe water level movement. Watch the water surface for 2 to 3 minutes. If you see ripples or movement, water is flowing when it shouldn’t be.
-
Perform the food coloring test. Add 5 to 6 drops of food coloring to the tank water and wait 30 to 60 minutes without flushing. If colored water appears in the bowl, the flapper is leaking.
-
Inspect the flapper for visible cracks or warping. Look closely at the rubber edges and surface. Cracks, folds, or bent areas prevent proper sealing.
-
Feel the flapper texture for stiffness or brittleness. Gently squeeze the rubber. A good flapper feels soft and pliable, like fresh rubber. A failing flapper feels hard, stiff, or crumbly.
-
Run your finger around the flush valve seat. Check for rough spots, mineral buildup, or uneven surfaces where the flapper makes contact with the valve opening.
Positive test results mean water is escaping past the flapper seal even when the toilet hasn’t been flushed. The food coloring test is particularly reliable because it shows even minor leaks that waste water without making obvious sounds. If the bowl water stays clear after an hour, your flapper is sealing properly and the problem is somewhere else in the tank.
The flush valve seat surface deserves just as much attention as the flapper itself. A rough, corroded, or mineral covered seat prevents even a new flapper from sealing completely. Run your finger all the way around the valve opening. You should feel smooth porcelain without bumps, pits, or crusty buildup.
Toilet flappers are rubber components constantly submerged in water, which means they have a limited lifespan no matter how well made they are.
Primary causes of flapper failure include:
- Rubber aging and becoming brittle from continuous water exposure and temperature changes
- Mineral deposits from hard water creating rough, uneven surfaces that prevent tight sealing
- Chlorine and bleach tablet damage breaking down rubber compounds and causing premature cracking
- Warping from constant submersion, especially when water chemistry is harsh
- Sediment and debris preventing the flapper from sitting flush against the valve seat
- Manufacturing defects in cheaper flappers that fail within months instead of years
Physical warning signs you can observe tell you when replacement is overdue. Discoloration from the original black color to gray, brown, or even pale white indicates chemical breakdown. Stiffness when you touch or bend the flapper means the rubber has lost its flexibility. Visible cracks, tears, or pieces breaking off are obvious failure signs. Rough, chalky, or slimy texture on the flapper surface shows deterioration.
Audible indicators include the constant sound of water running in the tank, a hissing noise coming from inside the toilet, and “phantom flushing” where the toilet refills itself every few minutes without anyone touching the handle.
Troubleshooting Persistent Running After Flapper Replacement

Even with a brand new flapper, improper installation or other failing components can cause your toilet to keep running, wasting just as much water as before you attempted the repair.
Common installation mistakes that cause continued running include:
- Failing to clean the flush valve seat before installing the new flapper, leaving mineral deposits or debris that prevent sealing
- Not aligning the flapper hinges correctly on mounting pegs, causing the flapper to sit crooked
- Installing the wrong flapper size or type for your toilet model, resulting in gaps around the seal
- Leaving protective packaging, stickers, or plastic film on the new flapper that blocks proper contact
- Setting chain length incorrectly so the flapper can’t close fully or gets pulled open by tension
- Not checking for debris on the valve seat that creates tiny gaps even with a perfect flapper
Cleaning the flush valve seat surface ranks as the most overlooked step in flapper replacement. Use a damp sponge or cloth to wipe away all mineral buildup, slime, and grit from the porcelain ring where the flapper makes contact. Even a grain of sand or a small piece of deteriorated rubber from the old flapper can prevent a watertight seal. After cleaning, run your finger around the entire seat to confirm it’s completely smooth.
Double check your hinge alignment before turning the water back on. The flapper should hang perfectly centered over the valve opening, not tilted to one side or twisted. When you press down gently on the flapper, it should compress evenly all the way around the seat. Test the seal by watching for several minutes after the tank refills. You shouldn’t see any water movement, ripples, or bubbles coming up through the flapper.
Flush valve seat damage creates persistent problems that a new flapper alone can’t fix. Mineral buildup from hard water creates a rough, crusty texture that prevents flexible rubber from conforming to the surface. Corrosion from acidic water or harsh cleaners pits the porcelain, creating tiny channels for water to escape. Grooves worn into the seat from years of flapper movement give water a path around the seal. For minor issues, you can smooth the surface using fine grit sandpaper (220 grit or higher) or emery cloth, working in a circular motion around the seat until it feels uniformly smooth.
Other culprits beyond the flapper that cause running toilets:
- Cracked or misaligned overflow tube allowing water to bypass the flapper entirely
- Malfunctioning fill valve continuously adding water faster than the flapper can drain it
- Incorrect water level setting causing water to flow into the overflow tube
- Damaged tank to bowl gasket leaking water at the connection between tank and bowl
- Sediment in the fill valve preventing it from shutting off completely
When the flush valve seat shows severe corrosion, deep pits, or extensive damage that sandpaper can’t smooth, replacing the entire flush valve assembly becomes necessary. This repair requires removing the toilet tank from the bowl and typically takes 1 to 2 hours, which is when most homeowners prefer calling a plumber.
If your flapper and chain look good but water keeps running, the fill valve deserves attention next. Remove the fill valve cap, flush out debris with water pressure, and clean internal components with a soft brush to restore proper function.
Adjusting Toilet Flapper Chain Length Properly
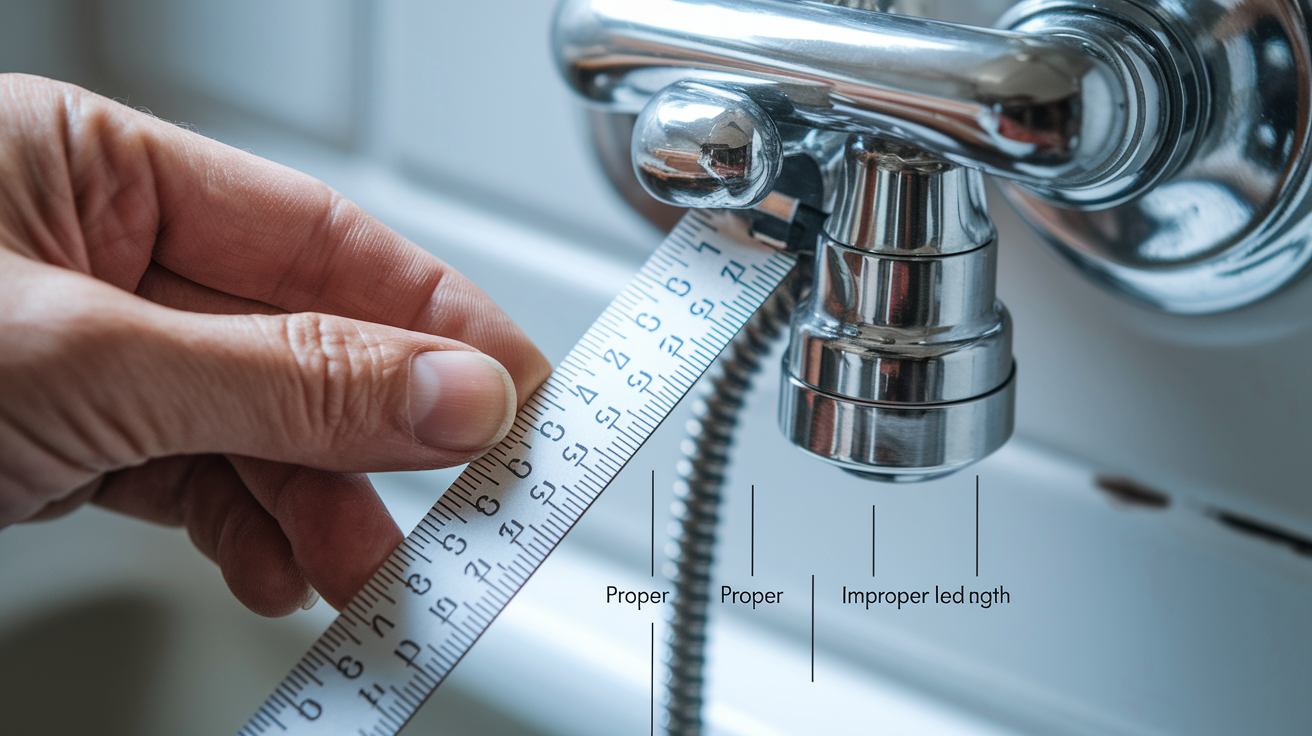
Incorrect chain length ranks as one of the most frequent reasons toilets continue running even after you’ve installed a new flapper that appears to be sealing correctly.
The ideal chain configuration gives you approximately ½ inch of slack when the flapper is fully closed and resting against the valve seat. This allows the flapper to drop completely and create a watertight seal without any upward tension from the chain. At the same time, the chain can’t be so loose that it tangles, kinks, or gets caught underneath the flapper as it tries to close.
Chain adjustment problems that prevent proper flushing and sealing:
- Chain too tight holds the flapper partially open, causing constant water drainage into the bowl
- Chain too loose causes tangling under the flapper or wrapping around the fill valve, blocking closure
- Chain caught between the flapper and valve seat creates a channel for water to escape
- Kinked or twisted chain restricts the flapper’s movement, preventing full lifting during flush or complete dropping during seal
To adjust your chain length correctly, disconnect it from the flush handle lever arm inside the tank. Most chains attach with a simple metal clip or hook through one of several holes in the lever arm. Choose a different hole to shorten or lengthen the chain, or remove excess links with pliers if the chain is too long overall. Some chains include a plastic float or weight that helps guide the flapper closed. Position this float near the waterline when the tank is full, or remove it completely if it interferes with the flapper’s operation.
Reconnect the chain and manually test the flush cycle by pressing the handle. Watch the flapper lift completely when you press down, allowing maximum water flow for a strong flush. When you release the handle, the flapper should drop smoothly back onto the valve seat without any hesitation, tangling, or chain interference.
Preventing Future Flapper Problems and Managing Water Costs
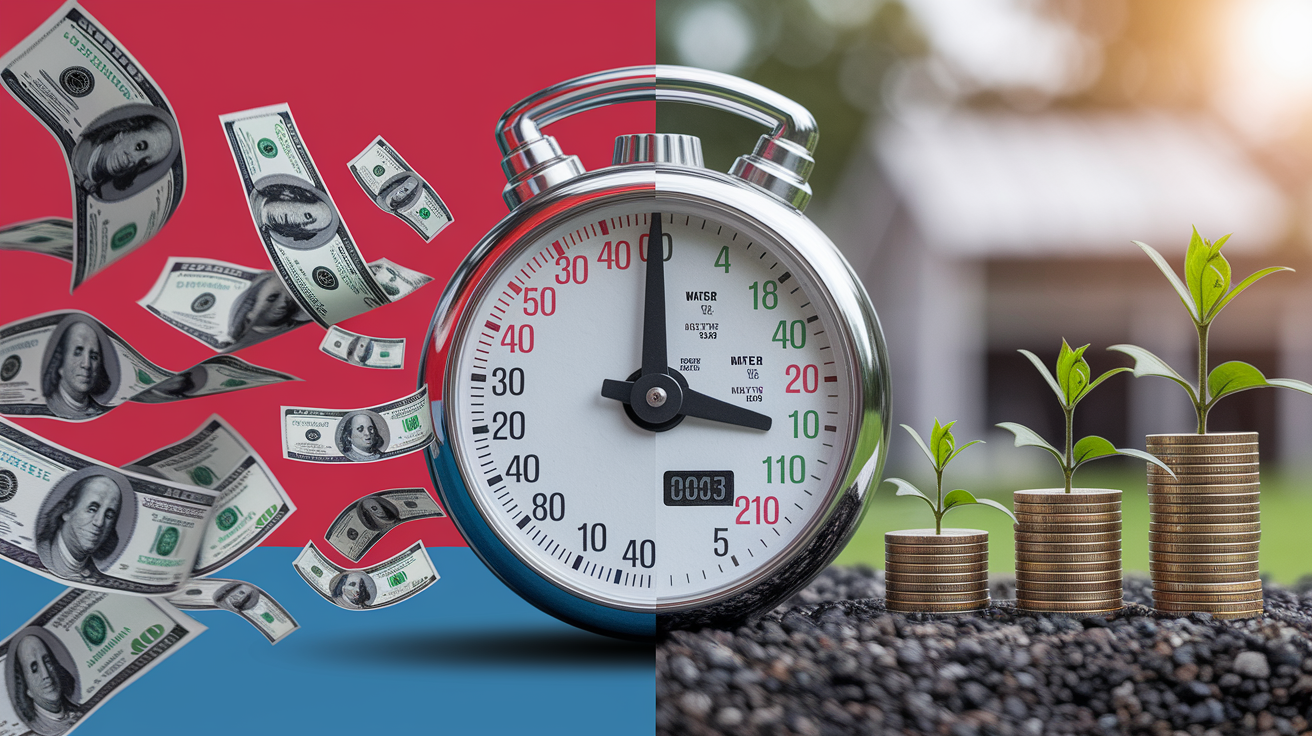
A running toilet from a faulty flapper wastes 200 gallons daily or 6,000 gallons monthly, which translates to $50 to $100+ in extra water bills depending on your local rates. That makes proper maintenance financially critical rather than optional.
| Leak Severity | Daily Water Waste | Monthly Cost Estimate |
|---|---|---|
| Minor leak | 30 gallons | $5 to $10 |
| Moderate leak | 100 gallons | $15 to $30 |
| Severe leak | 200 gallons | $30 to $60 |
| Continuous flow | 300+ gallons | $60 to $100+ |
Beyond your household budget, environmental impact matters. Toilet leaks strain municipal water systems, requiring unnecessary treatment and pumping of thousands of gallons that flow straight down the drain without serving any purpose. Water treatment facilities use energy and chemicals to purify water that a $10 flapper replacement could have saved. When you consider that a simple repair prevents hundreds of dollars in waste over just a few months, the return on investment is immediate.
Proper maintenance reduces how often you need to replace components and stops the gradual water waste that adds up without you noticing it on a day to day basis.
Preventive measures that extend flapper life and prevent future failures:
- Replace the flapper every 3 to 5 years regardless of visible wear, since deterioration happens gradually
- Avoid drop in bleach tablets that sit in the tank and continuously expose rubber parts to harsh chemicals
- Clean the tank annually with a vinegar solution to remove mineral deposits before they build up on valve seats
- Inspect the flapper and chain every 6 months during routine home maintenance checks
- Use chlorine resistant or silicone flappers if you have treated municipal water or use chemical cleaners
- Address hard water with whole house softening treatment to prevent mineral damage to all plumbing components
- Fix leaks promptly rather than waiting, since even small leaks waste water and allow damage to progress
Choosing higher quality, chlorine resistant flapper materials costs a few extra dollars upfront but delivers significantly longer service life. Silicone and chemical resistant rubber compounds maintain flexibility and sealing ability for 5+ years compared to 2 to 3 years for basic rubber flappers. The premium price difference is typically $4 to $6, which you’ll recover in extended lifespan and better water savings.
Regular inspection catches small issues before they become expensive water wasting problems. Every six months, take two minutes to remove the tank lid and check that the flapper feels soft and pliable, the chain has proper slack, and the valve seat looks clean and smooth. This simple habit prevents surprises on your water bill and extends the life of every component in your toilet tank.
Recognizing When Professional Plumbing Help Is Needed
While flapper replacement is genuinely DIY friendly for most homeowners, certain conditions require professional expertise and specialized tools that go beyond basic repairs.
Scenarios that warrant calling a licensed plumber include:
- Cracked toilet tank or bowl that’s leaking water onto the bathroom floor
- Flush valve assembly replacement requiring complete tank removal from the bowl
- Persistent leaking after you’ve replaced the flapper and confirmed the valve seat is smooth
- High water pressure issues causing recurring flapper problems and other plumbing damage throughout the house
- Pre 1994 toilets needing full replacement for water efficiency, since they use 3.5 to 7 gallons per flush compared to modern 1.6 gallon models
- Uncertainty about repair safety or procedures, especially if you’re uncomfortable working with water supply valves
Cost considerations help you decide between DIY and professional service. Professional flapper replacement typically costs $150 to $250 including the service call, trip charge, and labor, while the DIY approach costs $10 to $20 for parts and 20 minutes of your time. However, complex repairs like flush valve replacement, tank removal, or diagnosing multiple simultaneous failures justify professional service because the risk of damaging your toilet or causing water damage during amateur repair outweighs the labor cost.
When multiple components fail at the same time (flapper, fill valve, and flush valve all showing problems), a professional diagnostic visit identifies which repairs deliver the best value and whether full toilet replacement makes more sense than investing in aging components that will continue failing over the next few years.
Final Words
A worn toilet flapper wastes serious water and drives up your monthly bill, but you can fix a running toilet flapper in about 20 minutes with basic tools and a $10 part.
Turn off the water, drain the tank, swap the flapper, adjust the chain, and test for leaks.
If you’re dealing with mineral buildup on the flush valve seat or the running continues after replacement, take a few extra minutes to troubleshoot before calling for help.
Most flapper issues clear up fast once you get the right fit and proper chain slack.
FAQ
Will Vaseline help seal a toilet flapper?
Vaseline will not help seal a toilet flapper effectively because petroleum products break down rubber materials over time, causing faster deterioration. The flapper needs replacement, not temporary sealants, to stop water waste and restore a proper seal.
Why is my toilet still running after replacing the flapper?
Your toilet is still running after replacing the flapper because of improper chain adjustment, a rough or corroded flush valve seat, incorrect flapper installation, or a malfunctioning fill valve. Check that the chain has slight slack, clean the valve seat surface, and verify the flapper sits flush.
What is the most common cause of a constantly running toilet?
The most common cause of a constantly running toilet is a worn or damaged flapper that no longer creates a watertight seal against the flush valve seat. Deteriorated rubber allows water to continuously leak from the tank into the bowl, creating the running sound.
Can a bad flapper cause a toilet to run?
A bad flapper can cause a toilet to run because the deteriorated or warped rubber fails to seal the flush valve opening completely. This allows water to leak continuously from the tank into the bowl, triggering the fill valve to keep running as it tries to maintain water level.
How much water does a running toilet waste?
A running toilet wastes between 30 and 200 gallons of water per day depending on leak severity, potentially reaching 6,000 gallons monthly. This translates to $30-100 in additional water bills each month, making prompt flapper replacement financially important for most households.
How long does a toilet flapper typically last?
A toilet flapper typically lasts 3 to 5 years before requiring replacement, though chlorine exposure, hard water minerals, and bleach tablets accelerate deterioration. Regular inspection and timely replacement prevent water waste even before visible damage appears on the rubber component.
Can you replace a toilet flapper yourself?
You can replace a toilet flapper yourself in 15 to 20 minutes using basic tools like towels and a replacement flapper costing $5-15. The straightforward process involves turning off water, draining the tank, removing the old flapper, and installing the new one with proper chain adjustment.
What tools do you need to replace a toilet flapper?
To replace a toilet flapper, you need a replacement flapper ($4-12), towels for water cleanup, a bucket for excess water, and a sponge for tank cleaning. Optional items include rubber gloves and a flashlight, though most repairs require only the replacement part and basic supplies.
How do you know if your toilet flapper needs replacing?
You know your toilet flapper needs replacing when it feels stiff or brittle to touch, shows visible cracks or discoloration, or fails the food coloring test where dye added to the tank appears in the bowl within 30-60 minutes without flushing, indicating water leakage.
Should the flapper chain have slack?
The flapper chain should have approximately ½ inch of slack when the flapper is closed to allow complete sealing while preventing tangling. Too much slack causes the chain to catch under the flapper, while too little prevents the flapper from seating properly against the flush valve.