
That dripping sound you’re hearing in your bathroom isn’t white noise. It’s a running toilet wasting up to 200 gallons of water per day, which adds real dollars to your utility bill every month. Most homeowners don’t realize the problem can cost them hundreds per year until the water bill shows up. The good news is that fixing a running toilet is simpler than you think. Most repairs take less than an hour and require just a few basic tools and a replacement part that costs under $10. You’ll save money, stop the water waste, and finally get some peace and quiet.
Diagnosing and Stopping Your Running Toilet
A running toilet keeps water flowing from the tank into the bowl long after you’ve flushed. It might sound like a small annoyance, but it can waste up to 200 gallons of water per day or 6,000 gallons per month. That kind of water waste shows up quickly on your utility bills and puts unnecessary stress on your plumbing system.
The fix starts with understanding what’s happening inside the tank. Remove the tank lid and set it somewhere safe where it won’t crack. Flush the toilet and watch what happens as the tank refills. Pay attention to which parts move, how water flows, and whether everything stops when the tank is full. If water keeps running after the tank fills, or if you hear hissing or see ripples in the bowl between flushes, you’ve got a leak somewhere in the system.
Most running toilets are caused by one of these five issues:
- Worn flapper that doesn’t seal properly against the flush valve seat
- Incorrect chain length that prevents the flapper from closing completely or causes it to stick open
- Malfunctioning fill valve that doesn’t shut off when the tank reaches the proper level
- Misaligned float or float ball positioned too high or too low to control filling correctly
- Cracked overflow tube that allows water to drain continuously into the bowl
Water in the tank should sit 1 to 2 inches below the top of the overflow tube. That’s the tall pipe standing in the center of the tank. If the water reaches the top of this tube, it spills down into the bowl and the toilet runs constantly trying to refill.
For leaks that aren’t obvious, there’s a simple test using food coloring. The full testing process is covered later in this guide, but it’s worth knowing this method exists for detecting silent leaks that waste water without making noise.
Essential Tools and Replacement Parts for Toilet Repair
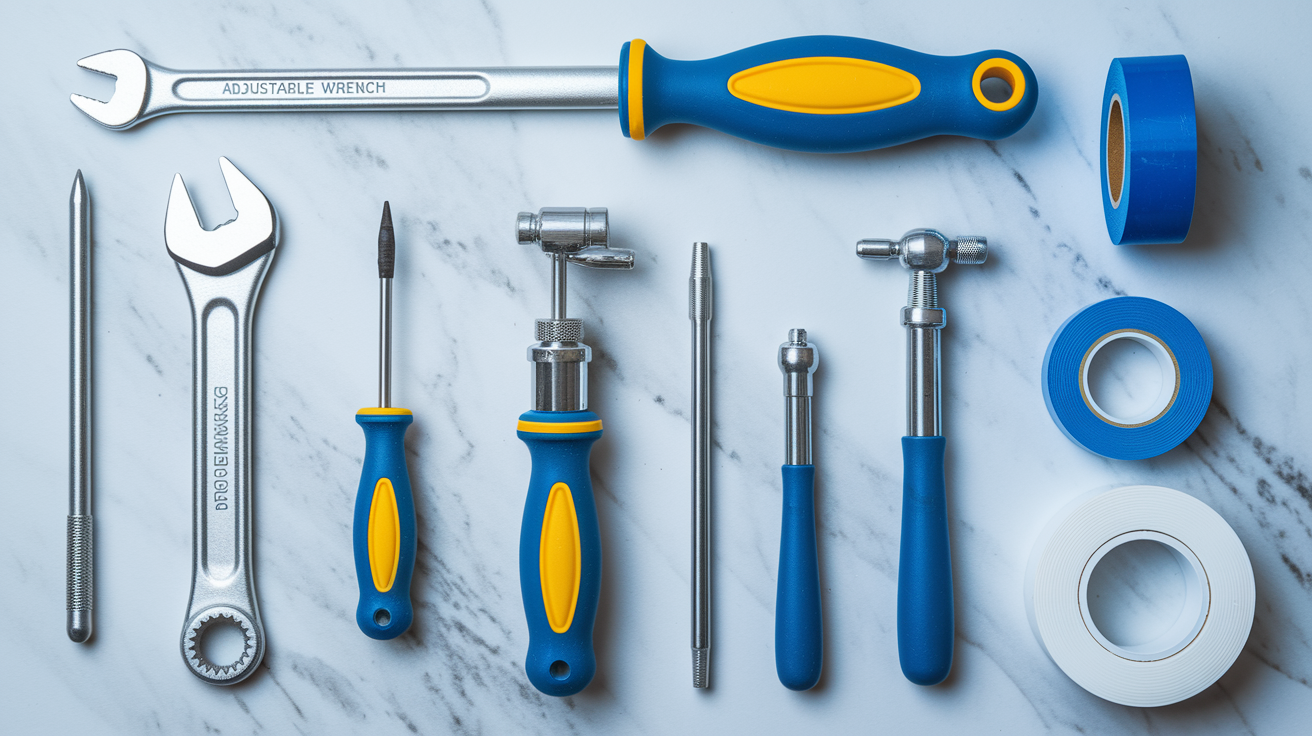
Having everything ready before you start makes the job smoother and keeps you from making extra trips to the hardware store with a drained tank sitting in your bathroom.
Before You Start: Locate the shutoff valve under the toilet where the supply line connects to the wall or floor. Turn it clockwise to close it completely. You’ll reference this procedure throughout the repair process whenever instructions say to shut off the water supply.
| Tool/Material | Purpose | Estimated Cost |
|---|---|---|
| Adjustable wrench | Tightening connections and removing mounting nuts | $8-15 |
| Screwdriver | Removing tank components and adjusting settings | $5-10 |
| Replacement flapper | Sealing the flush valve opening in the tank | $3-8 |
| Replacement fill valve | Controlling water supply and tank refilling | $8-15 |
| Towels | Absorbing spilled water during repairs | Use what you have |
| Silicone lubricant | Easing installation of rubber components | $4-7 |
| Teflon tape | Sealing threaded connections and preventing leaks | $2-4 |
| Bucket | Catching water when disconnecting supply lines | Use what you have |
Take the old flapper or fill valve with you to the hardware store. Toilet parts look similar but have different sizes and connection types. Bringing the worn part helps you find an exact match instead of guessing and buying the wrong piece. Some parts come in universal fit versions that work on most toilets, but model specific components always fit better and seal more reliably.
Most running toilet repairs cost less than $20 in parts and take an hour or less to complete. The time estimate assumes you’re working at a comfortable pace and includes a trip to the hardware store if needed.
Fixing a Faulty Toilet Flapper
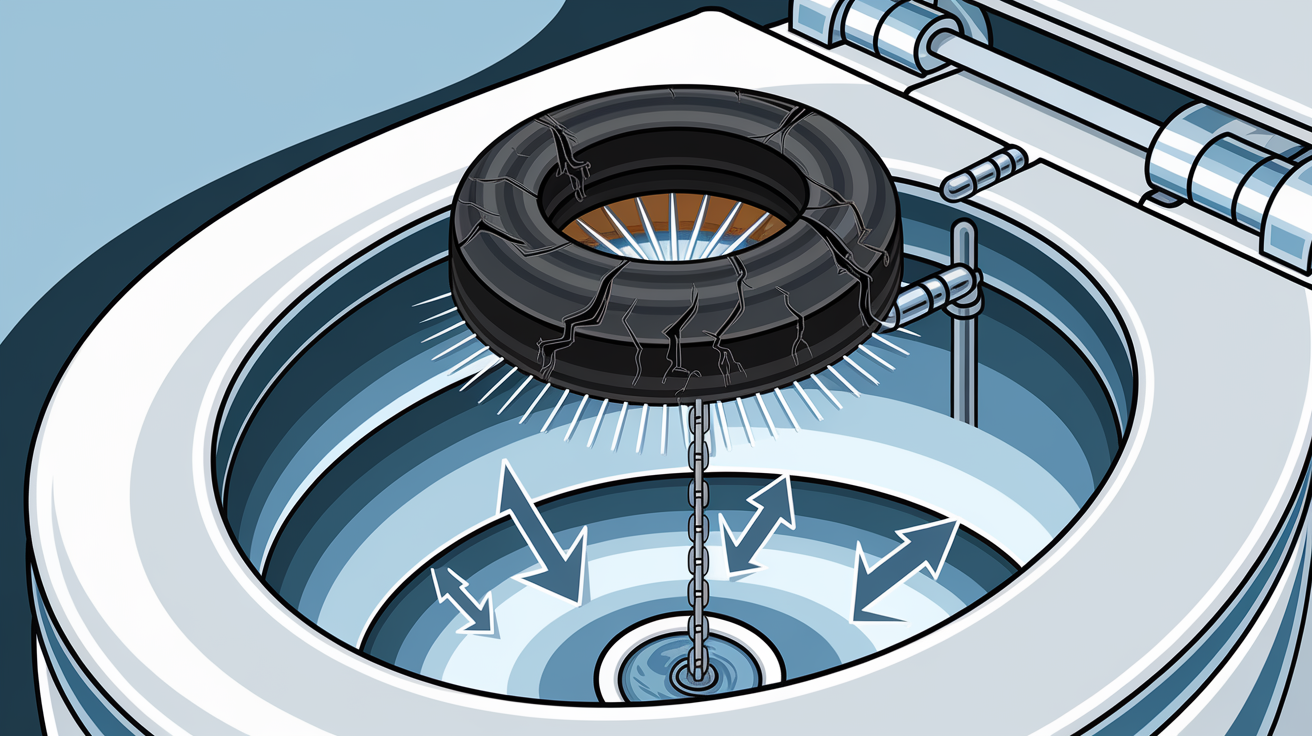
The flapper is a rubber seal that covers the opening at the bottom of the tank. When you press the toilet handle, the chain lifts the flapper and water rushes into the bowl. The flapper then drops back down to seal the opening so the tank can refill.
This is the most common cause of a running toilet. To test if your flapper is the problem, wait until you hear the toilet running, then push down on the flapper with a stick or the handle of a wooden spoon. If the running stops immediately, the flapper isn’t sealing properly and needs replacement.
Here’s how to replace it:
- Turn off the shutoff valve as detailed in the “Before You Start” section
- Flush the toilet to drain the tank completely, then use towels to soak up any remaining water in the bottom
- Unhook the flapper chain from the lift arm or trip lever at the top of the tank
- Remove the old flapper from the mounting pegs on either side of the overflow tube, usually by sliding it off or unhooking small tabs
- Inspect the flush valve seat where the flapper sits and clean it with a scouring pad to remove any calcium or sediment that prevents a good seal
- Install the new flapper onto the mounting pegs, making sure it sits centered over the flush valve opening with no gaps
- Reattach the chain to the lift arm, leaving proper slack as covered in the next section
Turn the water supply back on and let the tank refill completely. Flush the toilet and watch the flapper drop back into place. It should seal immediately with no water leaking around the edges. Check that the gasket alignment looks even all the way around the opening.
Flappers wear out every few years even without visible damage. Hard water and mineral deposits speed up deterioration. If the flapper feels stiff or brittle when you touch it instead of soft and pliable, it’s time for a new one regardless of whether you see obvious cracks or holes.
Adjusting Chain Length and Float Height in Your Toilet Tank
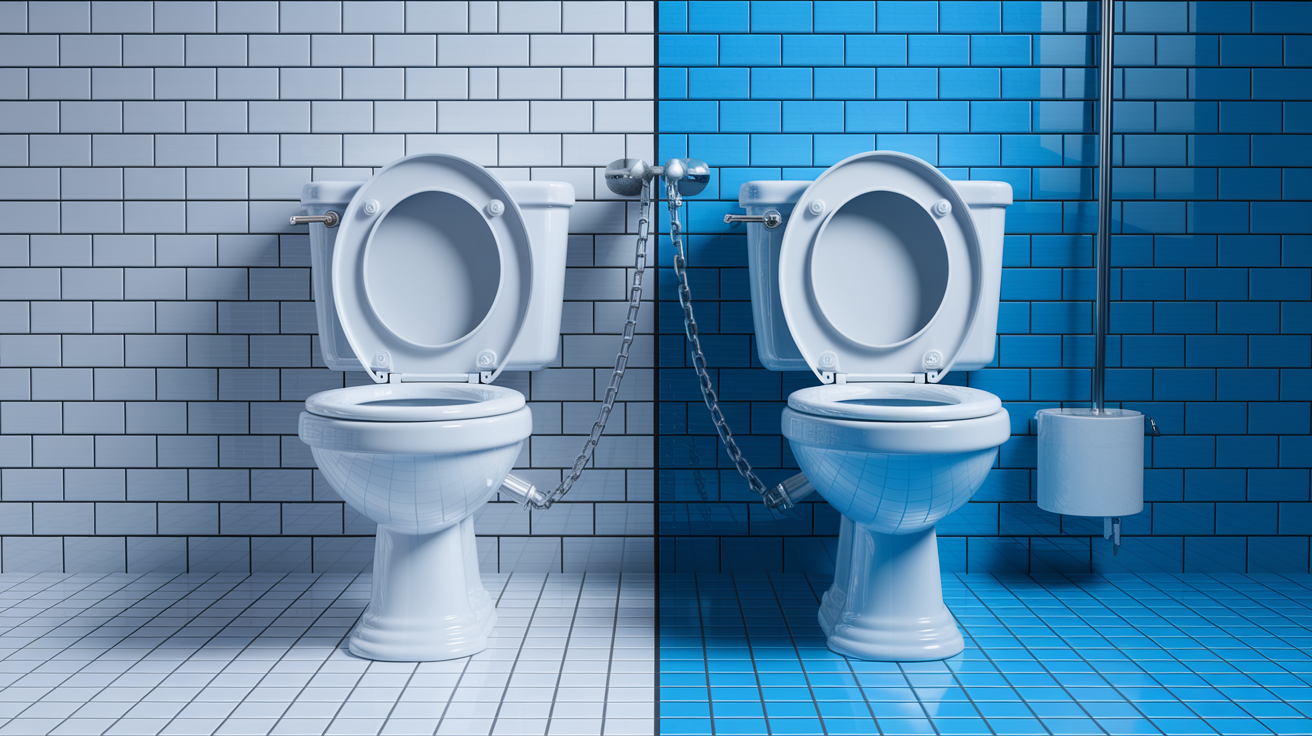
These two adjustments fix a surprising number of running toilet problems without requiring any new parts. They just take a few minutes and some careful observation.
Chain Adjustment
The chain connecting your flapper to the toilet handle needs about half an inch of slack when the flapper is closed. Too much slack and the chain gets caught under the flapper, preventing it from sealing. Too little slack and the chain holds the flapper slightly open even when you’re not flushing.
Unhook the chain from the toilet handle or trip lever at the top. Most chains have multiple small beads or links you can attach to. Move the connection point up or down to get the right length. When the flapper sits closed on the flush valve seat, the chain should droop slightly but not pile up. When you lift the handle, the chain should pull the flapper open without much resistance.
After adjusting, flush a few times and watch the flapper. It should lift cleanly when you press the handle and drop straight down when you release it, with the chain settling into a gentle curve above it.
Float Adjustment
The float tells the fill valve when to stop adding water to the tank. If it’s positioned too high, water keeps running past the point where it should stop. If it’s too low, the tank doesn’t fill enough and you get weak flushes.
For older ball float systems, bend the float arm gently downward to lower the water level or upward to raise it. The goal is to have the water stop filling when it reaches the standard from the diagnosis section, about 1 to 2 inches below the top of the overflow tube.
For newer cup style floats that slide up and down a shaft, look for an adjustment screw or pinch clip that lets you move the float to a different position.
Here’s a quick test. When the toilet is running, lift the float with your hand. If the water stops immediately, the fill valve works fine but the float just needs adjustment.
Repairing or Replacing Your Toilet Fill Valve
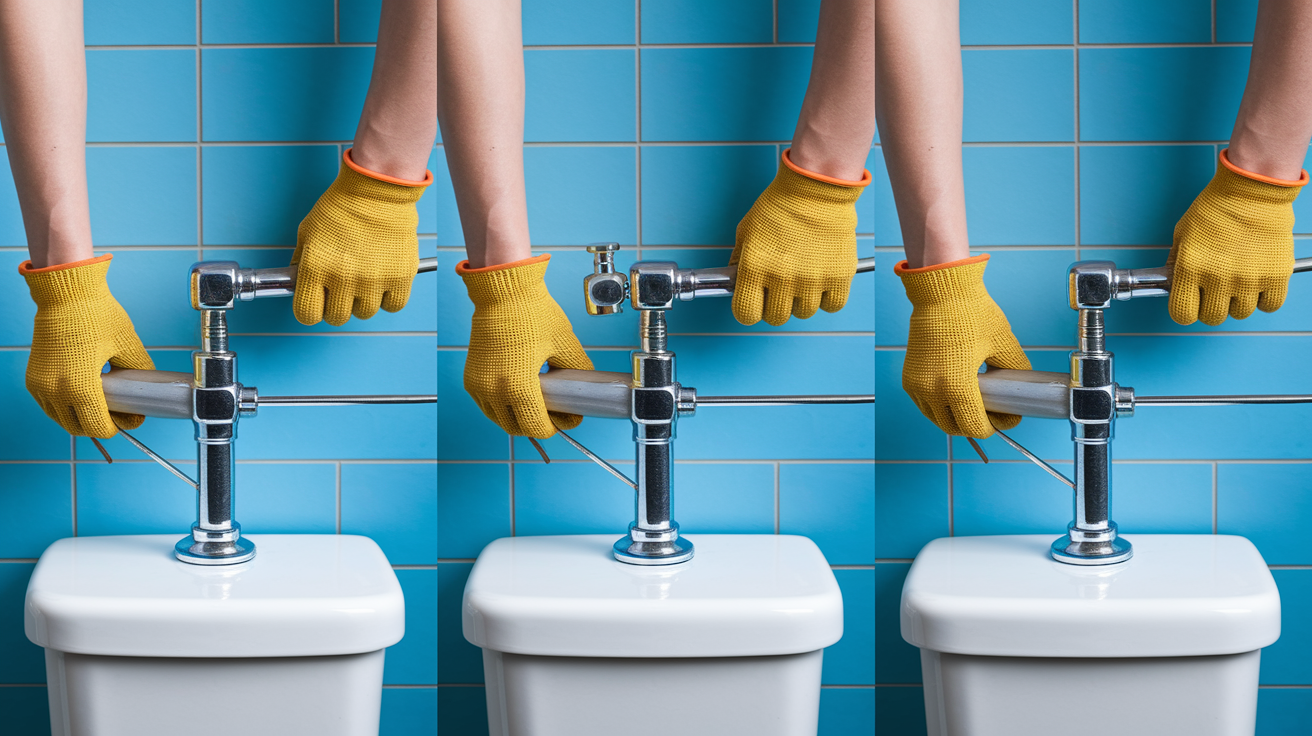
The fill valve controls water supply into the tank. It’s the assembly that stands tall on the left side of most toilet tanks, with the refill tube attached to it. When this part malfunctions, the toilet runs constantly because water never stops flowing.
Cleaning the Fill Valve
Sometimes debris or sediment inside the fill valve prevents it from closing properly. Try cleaning it before replacing the whole unit.
Remove the tank lid and locate the fill valve. Turn off the water supply using the shutoff valve procedure from the “Before You Start” section. Hold a cup upside down over the top of the fill valve to catch spray. Turn the water supply back on partway for just 5 to 10 seconds. The pressure flushes mineral deposits and debris out through the valve. Turn the water off again, remove the cup, and check if the problem is fixed. Repeat this process twice if needed to clear stubborn buildup.
Complete Fill Valve Replacement
If cleaning doesn’t solve the running, the fill valve needs replacement:
- Turn off the water supply and use the adjustable wrench to disconnect the supply line from the threaded connection under the tank
- Flush the toilet and use towels to absorb any remaining water in the bottom of the tank
- Reach under the tank and unscrew the mounting nut that holds the fill valve in place, turning it counterclockwise until it comes free
- Lift the old fill valve assembly straight up and out through the hole in the tank bottom
- Insert the new fill valve through the same hole, making sure the gasket or washer sits flat against the tank bottom, then thread the mounting nut on from underneath and tighten it half a turn past hand tight
- Attach the small refill tube to the nipple on top of the fill valve body, then clip the angle adapter onto the overflow tube so the tube sits at least 0.5 inches above the water line to prevent siphoning
If the refill tube is too long and creates kinks, cut it shorter with scissors. The tube just needs to aim into the overflow pipe without touching the water surface.
Reconnect the supply line to the threaded connection under the tank, using Teflon tape on the threads if the connection looks worn. Turn the water supply back on slowly and check for drips at both the supply line connection and the mounting nut. Adjust the water level if needed by following the float adjustment method covered earlier, making sure the final level matches the 1 to 2 inch standard below the overflow tube top.
Addressing Overflow Tube and Flush Valve Issues
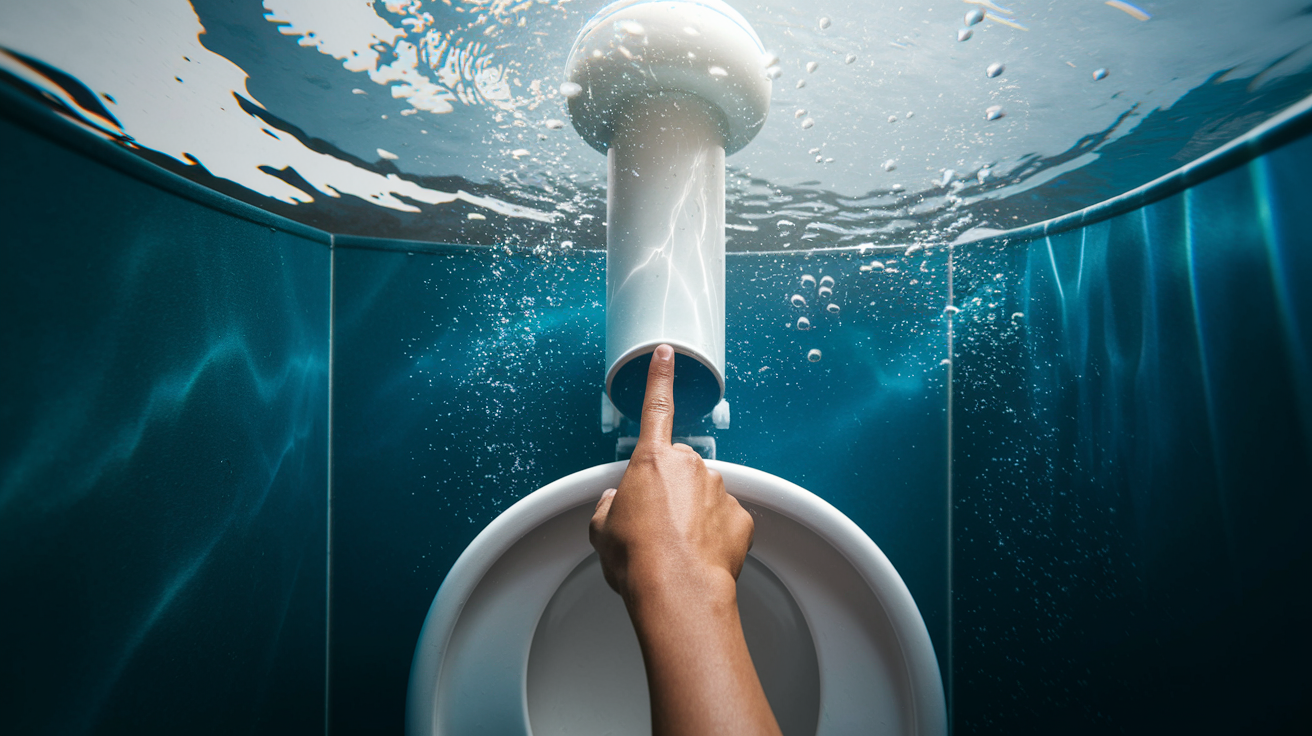
The overflow tube and flush valve seat don’t fail as often as flappers or fill valves, but when they do cause problems, the toilet runs constantly no matter what else you fix.
The overflow tube is the tall pipe standing in the middle of the tank. Its job is to prevent flooding by directing excess water into the bowl if something goes wrong with the fill valve. The flush valve seat is the hard surface at the bottom of the tank where the flapper seals.
Check the overflow tube for cracks by looking closely at the plastic along its full height. Even hairline cracks allow water to leak continuously into the bowl. Verify the tube height matches the standard established earlier, with water stopping 1 to 2 inches below the top. Some fill valves have a critical level mark stamped on the side. If your overflow tube extends above this mark, it needs shortening. Use a hacksaw to carefully cut the tube to sit 1 inch below the critical level mark, then smooth any rough edges with sandpaper so they don’t snag the refill tube.
Inspect the flush valve seat by running your finger around the rim where the flapper seals. It should feel smooth and even. Calcium creates bumps and ridges that prevent the flapper from making a complete seal. Clean minor buildup with a scouring pad, scrubbing in a circular motion around the entire rim. For roughness or small pits in the surface, use emery cloth or fine grit sandpaper to smooth it out. Work gently to avoid making the surface worse.
Severe corrosion or deep pitting means the flush valve seat is damaged beyond cleaning. Replacing it requires removing the entire tank from the bowl, which involves disconnecting the water supply, unbolting the tank, lifting it off, removing the old flush valve assembly from the tank bottom, and reversing the process with new parts. That’s a bigger job that might make more sense as a professional plumber task depending on your comfort level with plumbing work.
After any cleaning or adjustment to these components, fill the tank and let it sit for 10 minutes without flushing. Watch for any water movement or dropping water level. If everything stays still and quiet, the seal is holding properly.
Testing Your Toilet Repair and Preventing Water Waste
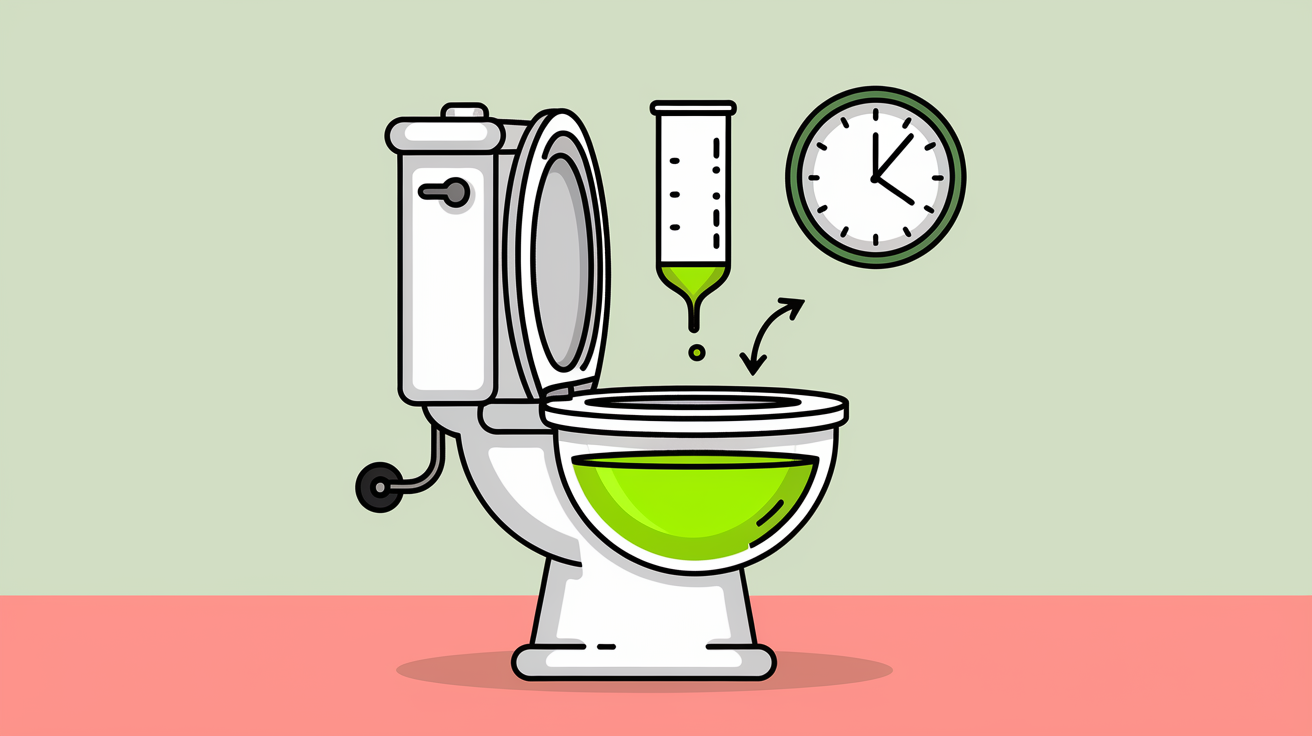
After completing any repair work, test thoroughly to make sure the problem is actually fixed. It’s frustrating to put everything back together only to find out the toilet still runs.
Two reliable testing methods confirm whether leaks persist. The food coloring test works for detecting subtle leaks that don’t make noise. Add 5 to 6 drops of food coloring to the full tank without flushing. Wait 30 minutes to 1 hour, then check the toilet bowl. If any color appears in the bowl water, you still have a leak through the flapper or flush valve seat. The water level test provides a different angle on the same problem. Use a pencil to mark the current water level on the inside of the tank. Turn off the water supply using the shutoff valve procedure from the “Before You Start” section. Wait 1 hour without flushing or disturbing the toilet. Check whether the water level dropped below your pencil mark. Any drop indicates water is leaking somewhere.
Watch for these signs that problems remain:
- Hissing sound coming from inside the tank
- Trickling water visible in the bowl between flushes
- Phantom flushing where the toilet flushes by itself every few minutes
- Visible ripples or movement in the tank water when everything should be still
A running toilet wastes up to 200 gallons of water per day. That’s 6,000 gallons monthly, which translates directly to water bill increase. Even small leaks waste dozens of gallons daily and add up quickly over time.
Fixing running toilets contributes meaningfully to water conservation in your home. If your toilet was manufactured before 1994, it uses more than 1.6 gallons per flush compared to modern efficient models that use 1.28 gallons or less. Older toilets that develop frequent problems might be worth replacing entirely rather than continually repairing worn out parts. For additional information on water conservation and leak prevention, check out these Water Conservation Tips.
Common Mistakes to Avoid During Toilet Repairs
Small errors during DIY repair work can create bigger problems than the original running toilet. Working carefully and following proper procedures prevents damage to toilet components and helps repairs last longer.
Seven mistakes that lead to trouble:
-
Overtightening connections when installing new parts. The fill valve locknut only needs half a turn past hand tight. More force than that cracks tanks, crushes gasket and washer components, and strips threads on plastic parts.
-
Using wrong replacement parts instead of bringing the old component to the hardware store for matching. Flappers and fill valves come in dozens of sizes and connection types. Guessing leads to poor fit and leaks.
-
Failing to turn off the shutoff valve before starting work. Follow the procedure from the “Before You Start” section every single time. Skipping this step floods your bathroom.
-
Installing a kinked refill tube instead of trimming it to the right length. Kinks restrict water flow and prevent proper tank filling.
-
Using harsh chemical cleaners in the tank that accelerate rubber seal deterioration. These products promise easy cleaning but destroy flappers and gaskets within months.
-
Forgetting to set the tank lid somewhere safe before testing. Lids crack easily and replacements are expensive and hard to find for older toilet models.
-
Setting chain length without checking it under actual flushing conditions. The chain needs proper slack when the flapper is closed, as detailed in the chain adjustment section, but you won’t know if it works until you test it through several complete flush cycles.
Take your time during installation. Rush jobs lead to loose connections, misaligned parts, and components that fail prematurely. Verify everything looks right before turning the water supply back on. Check all connection points for leaks during the first few flushes. If something doesn’t look right or feel solid, turn the water off and fix it immediately rather than hoping it holds.
Emergency Fixes and Temporary Solutions for Running Toilets
Sometimes you discover a running toilet late at night or when you don’t have time to complete a proper repair. These temporary solutions stop water waste until you can fix the problem correctly.
Quick temporary measures that reduce water waste:
- Turn off the shutoff valve between toilet uses following the procedure from the “Before You Start” section. This stops water flow completely but means you must turn water back on before each flush.
- Manually hold the flapper closed with a stick after flushing if it won’t seal on its own. Keep pressure on it until the tank fills and the fill valve shuts off.
- Bend or add a temporary weight to the chain if it’s stretched too long and won’t lift the flapper properly when you press the handle.
- Place a small object under the float ball to raise it artificially if it’s stuck too low and allows overfilling.
- Tighten or loosen the trip lever mounting nut if the toilet handle sticks in the up position after flushing.
These fixes are temporary measures only. They stop immediate water waste and prevent your water bill from climbing while you’re waiting for replacement parts or scheduling time for proper toilet repair. Don’t rely on them for more than a day or two.
Leaving the shutoff valve closed between uses prevents flushing unless you remember to turn water on first. That gets inconvenient fast, especially in a household with multiple people. Manually holding parts in place only works if you’re present for every flush. None of these solutions address the underlying worn components or misaligned parts causing the problem.
Schedule proper repair work as soon as possible. Running toilets waste water every hour you delay, and temporary fixes don’t prevent potential water damage from small leaks that worsen over time. If you can’t complete the repair yourself within a few days, it’s time to call a professional plumber.
When to Call a Professional Plumber for Toilet Problems
Some toilet problems exceed DIY capabilities or require specialized knowledge, tools, and experience. Knowing when to call for professional help saves you from making a problem worse or spending hours on a repair that doesn’t work.
These situations call for a professional plumber:
- Cracks in the tank or toilet bowl that leak water onto the floor and require full toilet replacement with proper sealing and installation
- Flush valve seat damage severe enough that it needs tank removal and complete flush valve assembly replacement involving bolts and connections under the tank
- Water pressure issues or water hammer throughout your plumbing system causing multiple toilets and fixtures to malfunction
- Problems that keep coming back after you’ve tried multiple DIY repair attempts following all the steps correctly
- Specialized toilet types like pressure assisted systems with components that differ significantly from standard gravity flush toilets
- Situations where warranty information indicates DIY work might void coverage on relatively new toilets or plumbing fixtures
- Physical limitations or lack of confidence that make it difficult to work safely in cramped spaces around toilet components
The cost of a plumber service call often makes sense when you factor in the time you’d spend trying repairs that might not work. Professionals complete complex installation work in less time because they’ve handled hundreds of similar jobs. They carry all the necessary tools and parts on their trucks. They guarantee their work, which means if something goes wrong after they leave, they come back and fix it at no additional cost.
For major work like replacing an old pre 1994 toilet with a modern efficient model, professional installation ensures everything meets local plumbing codes and works correctly from day one. The labor cost pays for expertise in handling heavy porcelain fixtures, making secure connections, and verifying proper function under various conditions.
If you’re unsure whether a job needs professional help, Find a Licensed Plumber in your area and describe the problem. Many plumbers provide free estimates and can tell you over the phone whether it’s something you could handle yourself.
Maintaining Your Toilet to Prevent Future Running Issues
Regular inspection and maintenance catch small problems before they turn into running toilets and emergency repair situations. A few minutes of attention twice a year keeps toilet components working properly for years.
| Maintenance Task | Frequency | Purpose |
|---|---|---|
| Clean tank with vinegar cleaning solution | Annually | Remove calcium and sediment from all surfaces |
| Check water level setting | Quarterly | Ensure proper clearance below overflow tube per diagnosis section standard |
| Test for silent leaks with dye test | Annually | Detect small leaks before they worsen and waste significant water |
| Inspect fill valve | Annually | Identify hard water damage or mineral deposits affecting performance |
| Inspect all gasket and rubber seal components | Annually | Catch deterioration early before components fail completely |
Avoid harsh chemical cleaners and in tank toilet bowl sanitizers. These products contain ingredients that attack rubber components. The flapper in particular deteriorates quickly when exposed to chemical additives. Use vinegar solutions instead for cleaning mineral deposits. Pour 2 cups of white vinegar into the tank, let it sit for a few hours, then scrub surfaces with a toilet brush and flush.
Hard water areas require more frequent maintenance because mineral deposits build up faster on all toilet components. If you notice white crusty buildup on the fill valve or around the flush valve seat, increase your cleaning schedule to every six months. Check rubber components like the flapper more often because hard water damage accelerates deterioration.
Spending a few minutes on regular inspection prevents water waste, reduces water bill increase, and keeps you from dealing with constantly running toilets when you have better things to do. Replacing worn components before they fail completely costs less than emergency repairs and reduces the stress of unexpected plumbing problems.
Final Words
A running toilet wastes thousands of gallons and drives up your water bill, but most fixes take less than an hour and cost under twenty bucks.
Whether you’re swapping a worn flapper, adjusting chain slack, or replacing a fill valve, the steps are straightforward once you know what to look for.
Test your work with the food coloring method to confirm the leak is gone. And if you stay on top of annual inspections, you’ll catch small issues before they turn into constant dripping.
Your toilet should run only when you flush it. Now you know how to fix a running toilet and keep it that way.
FAQ
How do you fix a toilet that keeps running?
To fix a toilet that keeps running, first turn off the water supply valve under the toilet, then remove the tank lid and check the flapper for wear, adjust the chain length to have slight slack, verify the float height stops water at the proper level, and clean or replace the fill valve if needed.
How to fix a running toilet without a plumber?
You can fix a running toilet without a plumber by following systematic troubleshooting steps: check and replace the flapper if it feels stiff or brittle, adjust the chain to have about half an inch of slack, set the float so water stops filling one to two inches below the overflow tube, and clean debris from the fill valve.
What is the most common cause of a constantly running toilet?
The most common cause of a constantly running toilet is a worn or damaged flapper that no longer creates a proper seal over the flush valve opening. A deteriorated flapper allows water to continuously leak from the tank into the bowl, triggering the fill valve to keep running.
Is it worth trying to fix a running toilet?
It is absolutely worth trying to fix a running toilet because the repair typically costs less than $20 in parts, takes an hour or less to complete, and stops water waste of up to 200 gallons per day. Fixing the issue prevents ongoing water bill increases and the repairs require only basic tools like a screwdriver and adjustable wrench.
How long does it take to replace a toilet flapper?
Replacing a toilet flapper takes about 15 to 20 minutes and involves turning off the water supply, draining the tank with one flush, unhooking the old flapper from the mounting pegs, cleaning the flush valve seat, and installing the new flapper with proper chain attachment.
Can I adjust my toilet float myself?
You can adjust your toilet float yourself by either bending the float ball arm downward for ball-style floats or turning the adjustment screw on cup-style floats. The goal is positioning the float so water stops filling when the level reaches one to two inches below the overflow tube top.
How do you test if a toilet is leaking internally?
You test if a toilet is leaking internally by adding five to six drops of food coloring to the tank, waiting 30 minutes to one hour without flushing, and checking if any color appears in the bowl. Color in the bowl indicates water is leaking past the flapper even when the toilet isn’t being used.
When should I replace my toilet fill valve?
You should replace your toilet fill valve when cleaning debris from it doesn’t stop the running, when you hear constant hissing from the tank, when the valve fails to shut off water at the proper level despite float adjustment, or as preventive maintenance every few years in hard water areas.
What tools do I need to fix a running toilet?
To fix a running toilet, you need basic tools including an adjustable wrench for tightening connections, a screwdriver for removing tank components, towels for absorbing spilled water, and a bucket for catching water. Replacement parts like flappers or fill valves typically cost under $20 at hardware stores.
How can I tell if my toilet chain is too long or too short?
You can tell if your toilet chain is too long if it gets caught under the flapper and prevents sealing, or too short if it holds the flapper slightly open even when the handle is released. The correct chain length has about half an inch of slack when the flapper is fully closed against the flush valve seat.