

That constant whooshing sound from your bathroom isn’t just annoying, it’s costing you real money. A running toilet wastes up to 200 gallons of water every single day, which shows up on your next utility bill. The good news? The most common fix costs $10 to $20 and takes under 10 minutes. We’ll walk you through exactly what’s causing the running, how to fix it yourself with basic tools, and what to check if the simple fixes don’t work.
Quick Fix: Replace the Flapper Valve to Stop Running

A running toilet wastes up to 200 gallons daily, but the most common fix costs $10 to $20 and takes under 10 minutes. The flapper valve is the rubber seal at the bottom of the tank that lifts during flushing and creates a watertight seal when closed.
Worn flappers are the #1 cause of constantly running toilets. This rubber component sits submerged in water continuously, which causes deterioration over time. A deteriorated flapper can’t seal properly against the flush valve, allowing water to leak from the tank into the bowl. Your fill valve senses the dropping water level and refills the tank, creating the running sound. This cycle repeats endlessly until you replace the flapper.
Here’s how to replace the flapper valve:
- Turn the shut-off valve clockwise to stop water flow to the toilet
- Flush once to empty the tank completely
- Remove the tank lid carefully and set it on a towel or soft surface
- Touch the flapper to check texture. Soft and pliable means it’s still good, stiff or brittle means it needs replacement
- Measure the flush valve opening diameter with a ruler or tape measure (typically 2 or 3 inches) to ensure proper flapper size
- Unhook the old flapper from the flush valve ears on each side and disconnect the chain from the handle arm
- Clean the flush valve opening with a damp cloth and smooth any rough areas with emery cloth or fine grit sandpaper
- Attach the new flapper to the valve ears, ensuring it sits flat and secure
- Connect the chain to the toilet handle arm with ½ inch of slack (count the chain links if needed)
- Turn the water back on and perform 3 to 4 test flushes to verify proper operation
Chain adjustment is critical for proper flapper function. Too much slack causes the chain to fall between the flapper and fill valve, preventing a complete seal. Make sure you have about half an inch of play, just enough so the flapper can close completely but the chain doesn’t get caught underneath. Too little slack prevents the flapper from opening fully during the flush.
If the chain length isn’t quite right, adjust by connecting to different holes on the handle arm. You can trim excess chain with wire cutters, but leave about 1 inch extra in case you need to readjust later. Watch a complete flush cycle to verify the flapper opens fully when you push the handle and closes completely afterward without the chain interfering.
Adjust Fill Valve, Float, and Water Level Settings
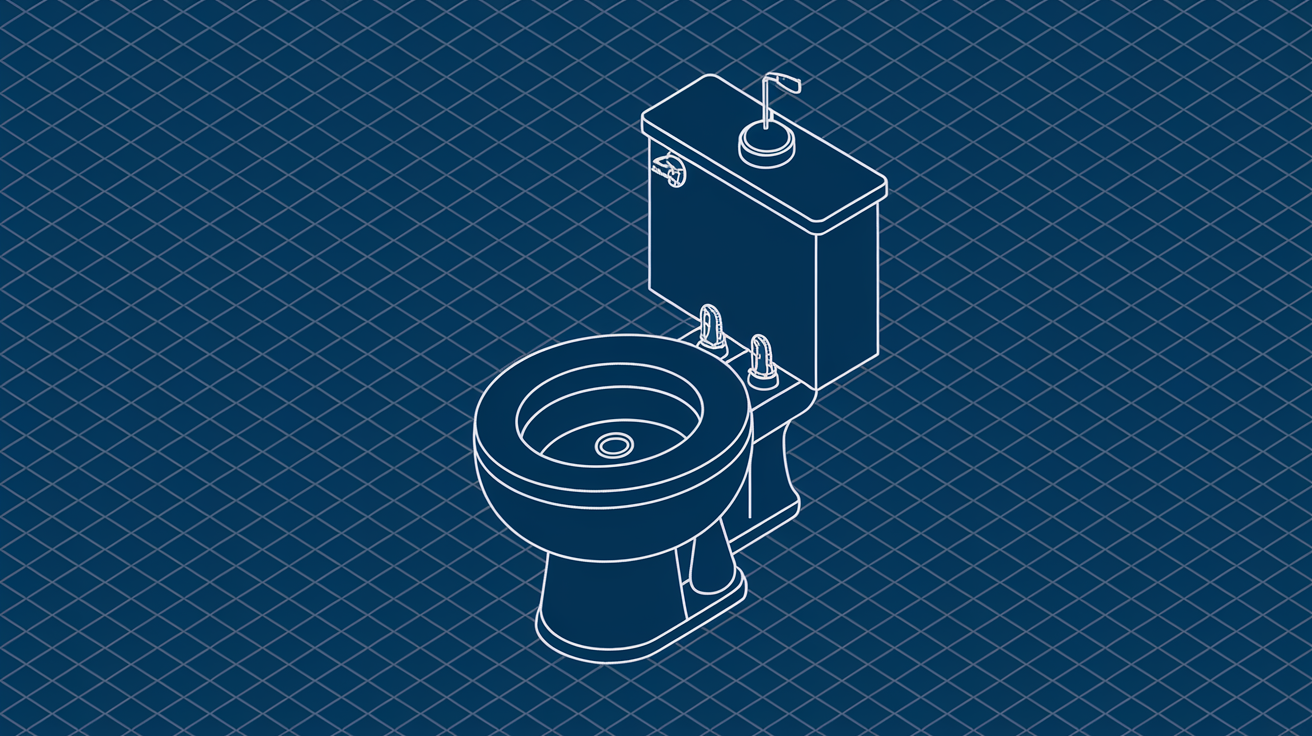
The fill valve and float work together as a system. The float rises with the water level and signals the fill valve to shut off when the tank is full. Improper settings cause either continuous running when water overflows into the overflow tube, or weak flushing when the water level sits too low.
Check your current settings before making adjustments. Water level should sit ½ to 1 inch below the overflow tube top. That’s the tall vertical tube in the tank center. Look at where the waterline hits the overflow tube. The refill tube is the small flexible tube that should clip onto the overflow tube and sit just above the opening, not inserted down inside it. If the refill tube has fallen off or pushed too far down, reposition it correctly.
Follow these steps to adjust the fill valve and float:
- Locate the fill valve on the left side of the tank with the float attached
- Identify your float type, either a ball float on a metal arm or a cup float around the valve body
- For ball floats, gently bend the metal arm downward to lower the water level or upward to raise it
- For cup floats, locate the adjustment mechanism (screw, clip, or pinch valve on the side)
- Turn the adjustment screw counterclockwise or squeeze the clip to lower the float position
- Make small adjustments. A quarter turn or small bend, and test between changes
- Turn the water supply back on and watch the refill cycle to verify water stops at the proper level
- Check that the refill tube is positioned correctly and reattach if necessary
For ball floats specifically, check if the ball sits unusually low in the water or feels heavy when you lift it. A waterlogged ball float has an internal crack allowing water inside, which prevents it from rising properly to shut off the fill valve. Replace waterlogged floats immediately.
Sometimes sediment buildup inside the fill valve prevents proper shutoff even when the float is positioned correctly. Shut off the water supply and remove the fill valve cap according to the manufacturer’s instructions printed on the valve body. Hold a cup over the exposed valve opening, turn the water on briefly to flush debris out, then reassemble and test. This quick cleaning often solves stubborn fill valve issues without requiring replacement.
Make sure the float moves freely without rubbing against the tank walls or other components. Physical obstructions prevent the float from rising to the shutoff position. Bend the float arm slightly or rotate the fill valve body if needed to create clearance. The float should travel smoothly up and down without catching on anything.
Essential Tools and Parts for Toilet Repair
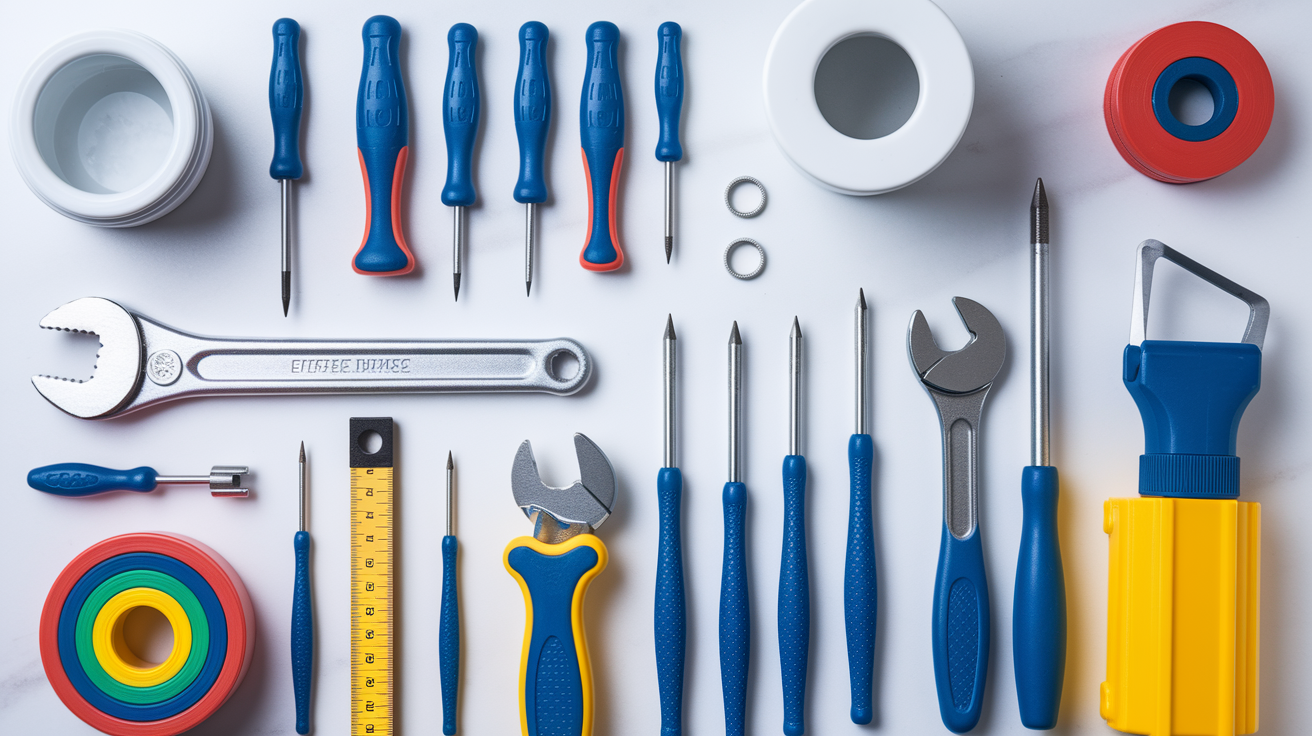
Gathering everything beforehand saves trips to the hardware store mid-repair. Take photos of the inside of your tank before you start. These photos help you match replacement parts and remember how everything connects.
Required tools and parts:
- Adjustable wrench for loosening nuts and connections
- Screwdriver set with both Philips and flat-head options
- Towels or sponge to soak up remaining water
- Bucket for catching water from supply line disconnection
- Replacement flapper sized for 2 inch or 3 inch flush valve opening
- Replacement fill valve (universal adjustable type works for most repairs)
- Optional: complete toilet repair kit with multiple components
You need to know whether you have a one piece or two piece toilet because it affects parts compatibility. Two piece toilets have a separate tank and bowl bolted together. You can see the seam and bolts where they connect. One piece toilets are a single molded unit from tank to bowl with no visible separation. Universal repair kits typically work only with two piece toilets, not one piece models, so check your toilet type before buying a kit.
Measure the flush valve opening before buying a replacement flapper. Remove the tank lid and look straight down at the opening where the flapper sits. Use a ruler or tape measure to determine if it’s 2 inches or 3 inches in diameter. Write this measurement down and bring your tank photos to the hardware store if you’re unsure which parts to purchase.
Troubleshooting Complex Running Toilet Issues

If basic flapper and fill valve repairs haven’t stopped the running, systematic diagnosis identifies the specific problem component. Some running toilet issues are intermittent or subtle, making them harder to diagnose than obvious constant running.
Phantom flushing or intermittent running happens when the flapper isn’t sealing completely. The tank gradually loses water through a slow leak, then the fill valve kicks on briefly to refill the tank. This cycle repeats every few minutes or hours, and each time wastes water even though you’re not actively using the toilet. You might notice the fill valve running for 10 to 20 seconds randomly throughout the day.
Use these diagnostic tests to confirm a slow leak:
-
Pencil line test: Draw a line at the current water level on the inside tank wall, turn off the supply valve completely, and check after 1 hour. If the water level dropped below your line, water is leaking from the tank into the bowl.
-
Food coloring test: Add 5 to 6 drops of food coloring to the tank water, wait 30 minutes to 1 hour without flushing, then check the bowl water. If the bowl water changed color, the flapper is leaking even if it looks fine.
Even after replacing the flapper, inspect the flush valve seat itself. Run your fingers around the flush valve opening to feel for rough spots, cracks, or pitting that prevent a proper seal. Mineral deposits create an uneven surface that stops the new flapper from sealing completely. Clean mineral buildup by placing a vinegar soaked cloth over the flush valve opening and letting it sit for 30 minutes, then scrub with a plastic brush. Smooth rough areas with emery cloth or fine grit sandpaper, working gently to avoid creating deeper scratches.
If the flapper and flush valve seat are both in good condition but the toilet still runs, check these remaining causes systematically:
- Flush valve damage or corrosion preventing flapper seal despite cleaning efforts
- Loose or damaged overflow tube allowing water to drain before reaching shutoff level
- High water pressure throughout the house affecting multiple fixtures
- Cracked porcelain tank allowing external leaks that aren’t immediately visible
- Worn gaskets between the tank and bowl (on two piece toilets) causing slow leaks
Internal toilet parts typically last 5 to 7 years, with flappers wearing out fastest due to constant water submersion. If your toilet is approaching this age and you’re experiencing multiple issues, several components may need simultaneous replacement rather than troubleshooting each problem individually.
Replacing Damaged Flush Valves and Overflow Tubes
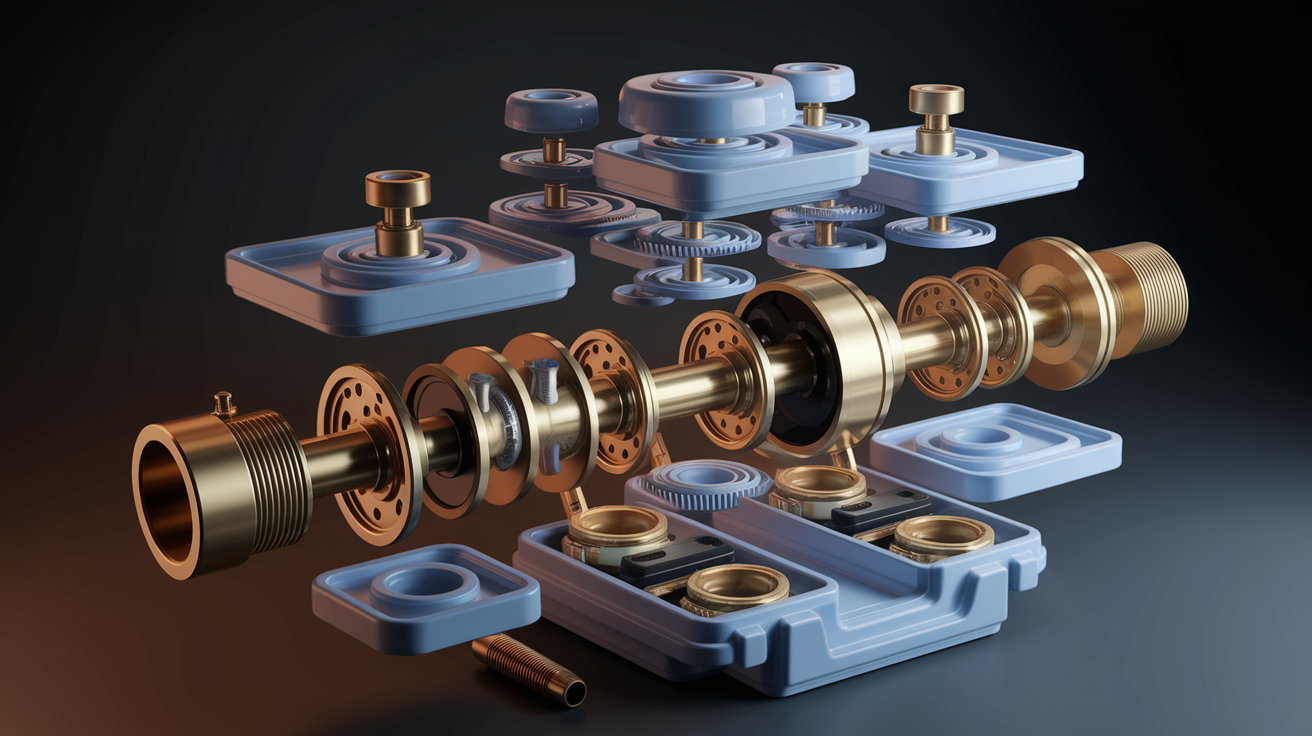
Complete flush valve replacement becomes necessary when severe corrosion, cracks in the valve assembly, damaged threads preventing secure flapper attachment, or a broken overflow tube make simple repairs impossible. These problems usually appear on older toilets where the plastic has deteriorated or mineral buildup has caused permanent damage.
This repair requires draining the tank, disconnecting the water supply line, and removing the tank from the bowl on two piece toilets. You’ll work from underneath the tank, making this more complex than simple component replacement. Set aside about an hour for the complete job.
Follow these steps to replace the flush valve assembly:
- Turn off the water supply valve and flush to empty the tank completely
- Disconnect the water supply line from the fill valve using an adjustable wrench
- Remove the tank bolts securing the tank to the bowl. You may need penetrating oil if the bolts are corroded
- Lift the tank off the bowl carefully and place it upside down on towels
- Unscrew the large locknut underneath the tank that holds the flush valve assembly in place
- Remove the old flush valve, gasket, and any deteriorated components
- Clean the mounting area thoroughly to remove old gasket material and buildup
- Install the new flush valve assembly from underneath with a new gasket, ensuring proper alignment
- Tighten the locknut securely but avoid over-tightening, which can crack the porcelain
- Reinstall the tank on the bowl using new tank bolts and rubber gaskets
- Reconnect the water supply line and turn the water back on
- Test thoroughly for leaks around all connections
Severely damaged flush valves or tanks with multiple failed repairs may indicate the toilet should be replaced rather than continuing repairs. This is especially true for toilets older than 15 to 20 years, where the cost of parts and labor for complex repairs approaches the cost of a new water efficient toilet. Modern toilets use significantly less water per flush and require less maintenance.
Testing Your Toilet Repair and Preventing Water Waste
Thorough testing before considering the job complete ensures your repair actually solved the problem. Some leaks only appear under specific conditions or after the tank has been full for a while.
Follow this testing procedure:
- Turn the water supply back on fully
- Let the tank fill completely and listen for the water to stop running. You shouldn’t hear any hissing or trickling sounds
- Perform 3 to 4 test flushes, observing the complete flush cycle each time
- Wait 10 to 15 minutes and listen carefully for any hissing or running sounds that indicate ongoing leaks
- Perform the pencil line test by marking the water level, turning off the supply valve, and checking after 1 hour for any drop
- Or use the food coloring test by adding 5 to 6 drops to the tank, waiting 30 to 60 minutes without flushing, and checking if the bowl water changes color
- Check all connections around the fill valve, flush valve, and supply line for visible leaks or moisture
- Verify the water level sits ½ to 1 inch below the overflow tube top
The water conservation impact of fixing a running toilet is significant. A constantly running toilet wastes 200 gallons per day or 6,000 gallons per month. That’s enough water to fill a small swimming pool every couple months. Fixing this leak immediately reduces your water bill and prevents unnecessary strain on municipal water systems. In drought prone areas, this conservation becomes even more critical.
Retest periodically using the food coloring method every 6 months to catch slow leaks early before they waste significant water. Small leaks often develop gradually as components age, so proactive testing identifies problems when they’re still easy and inexpensive to fix. Mark your calendar or set a phone reminder for these regular checks.
When to Call a Plumber for a Running Toilet
Most running toilet issues are straightforward DIY fixes that homeowners can complete with basic tools and patience. But certain situations warrant calling a professional rather than attempting the repair yourself.
Call a plumber for these scenarios:
- High water pressure issues causing multiple toilets or fixtures throughout the house to malfunction
- Cracked porcelain tank or bowl that can’t be repaired and requires full toilet replacement
- Persistent leaking after multiple repair attempts with correctly installed new parts
- Subfloor damage or soft, spongy flooring around the toilet base indicating long term leak damage
- Toilets manufactured before 1994 that should be replaced with modern water efficient models
- Complete flush valve replacement requiring tank removal if you’re uncomfortable with the process
- Recurring problems every few months indicating underlying plumbing issues beyond the toilet itself
Cost considerations help you decide between DIY and professional repair. DIY repairs typically cost $10 to $20 in parts and take 10 to 30 minutes of your time. Professional toilet repairs range from $150 to $350 depending on complexity and your location. The professional option becomes worthwhile for complex issues, older toilets needing full replacement, or situations where multiple DIY attempts have failed to solve the problem.
Home Recovery Pro provides professional diagnosis, proper parts selection, guaranteed repairs, and complete solutions for multiple toilet issues or whole home plumbing concerns. We’ve seen thousands of running toilet situations and can quickly identify whether you need a simple fix or a complete toilet replacement. Our technicians carry common replacement parts and can often complete repairs in a single visit.
Maintaining Your Toilet to Prevent Future Running Problems

Regular maintenance prevents emergency repairs and extends the lifespan of toilet components. A few minutes of inspection and cleaning every six months saves money and frustration compared to dealing with urgent leaks or failures.
Preventive maintenance tasks with recommended frequency:
- Inspect tank components every 6 months for signs of wear, mineral buildup, or deterioration
- Replace flappers every 5 to 7 years even without visible problems or active leaks
- Clean mineral deposits from rim holes and jets annually using white vinegar and a small brush
- Check the chain for tangles or excessive slack quarterly during regular bathroom cleaning
- Test for slow leaks using the food coloring method annually to catch problems early
- Inspect fill valve and float operation during routine checks, listening for proper shutoff
- Clean sediment from the tank bottom during annual maintenance by briefly draining the tank
- Check the water supply line and shut-off valve for corrosion, cracks, or small leaks
Areas with hard water experience faster mineral buildup on toilet components. The dissolved minerals in hard water leave deposits on the flapper, flush valve seat, rim holes, and inside the fill valve. These deposits prevent proper sealing and operation, requiring more frequent cleaning with vinegar solutions. You may need to replace flappers every 3 to 4 years instead of 5 to 7 years in hard water areas. Installing a whole house water softener reduces mineral buildup on all plumbing fixtures.
Keep spare parts on hand for immediate repairs when problems arise. Having a replacement flapper and fill valve in your maintenance supplies allows you to fix a running toilet within minutes rather than waiting for a hardware store trip or parts delivery. This prevents days or weeks of water waste while waiting to address the problem.
Recognize age related decline in toilet performance. Toilets older than 15 to 20 years require increasing maintenance as multiple components deteriorate simultaneously. Frequent repairs, persistent minor leaks, difficulty finding compatible replacement parts, and outdated water inefficient design all indicate replacement makes more sense than continued repairs. Modern toilets use 1.6 gallons per flush or less compared to 3.5 to 7 gallons in pre-1994 models, improving performance while reducing water consumption and utility costs significantly over the toilet’s lifespan.
Final Words
A running toilet wastes up to 200 gallons daily, but how to fix toilet that runs constantly usually comes down to a simple flapper replacement, float adjustment, or fill valve cleaning.
Most of these repairs take under 10 minutes with basic tools and parts that cost $10-$20.
Test your work with the food coloring method to confirm the leak is gone. If problems keep coming back or you’re dealing with cracked porcelain or damaged flush valves, we’ll handle the heavier work.
You’ve got a reliable fix, lower water bills, and one less thing to worry about.
FAQ
How do I stop my toilet from constantly running?
A toilet stops constantly running by replacing the flapper valve, adjusting the fill valve and float height, or fixing the chain length. Most running toilets have a worn flapper that no longer seals properly against the flush valve.
Why does my toilet sound like it’s constantly running?
A toilet sounds like it’s constantly running because water continuously flows from the tank into the bowl through a faulty flapper seal, or the fill valve keeps refilling the tank as water overflows into the overflow tube.
What is the most common cause of a constantly running toilet?
The most common cause of a constantly running toilet is a worn or warped flapper valve that no longer creates a watertight seal against the flush valve opening, allowing water to leak continuously from the tank into the bowl.
How do I fix a running toilet with a button flush?
A running toilet with a button flush is fixed by checking the flush valve seal and canister assembly beneath the button mechanism, ensuring the seal sits properly and the canister closes completely after each flush cycle.
How much water does a running toilet waste?
A running toilet wastes up to 200 gallons per day or approximately 6,000 gallons per month, significantly increasing water bills and environmental impact if left unrepaired.
What tools do I need to fix a running toilet?
Fixing a running toilet requires an adjustable wrench, screwdriver set, replacement flapper matched to your flush valve size, towels or sponge, and possibly a replacement fill valve for more complex repairs.
How do I know if my flapper needs replacing?
A flapper needs replacing if it feels stiff or brittle when touched instead of soft and pliable, or if the food coloring test shows colored water appearing in the bowl after 30 minutes to 1 hour.
Where should the water level be in my toilet tank?
The water level in your toilet tank should sit one-half to 1 inch below the top of the overflow tube to provide proper flush strength while preventing water from continuously overflowing into the tube.
How long do toilet flappers typically last?
Toilet flappers typically last 5 to 7 years under normal conditions, though constant submersion and hard water can cause earlier deterioration, making regular inspection and proactive replacement important for preventing leaks.
When should I call a plumber instead of fixing the toilet myself?
Call a plumber when you find cracked porcelain, persistent leaks after multiple repair attempts, high water pressure affecting multiple fixtures, subfloor damage around the toilet base, or when your toilet was manufactured before 1994 and needs replacement.
How do I test if my toilet repair worked?
Test your toilet repair by performing 3 to 4 test flushes, waiting 10 to 15 minutes to listen for running sounds, and conducting the food coloring test by adding drops to the tank and checking if bowl water changes color.
Can I prevent my toilet from running in the future?
You can prevent future toilet running by inspecting tank components every 6 months, replacing flappers every 5 to 7 years, cleaning mineral deposits annually with vinegar, and testing for slow leaks using the food coloring method.