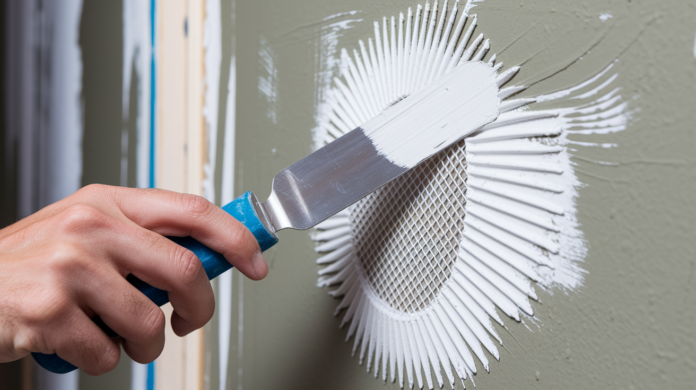

You’ve probably walked past that drywall hole for weeks telling yourself you’ll get to it eventually. Here’s the truth: patching drywall isn’t as hard as you think, and you don’t need years of experience to make it invisible. With the right method for your hole size and some patience between coats, you can fix it so well that even you’ll forget where it was. This guide walks you through every repair, from nail pops to fist-sized damage, using the same techniques professionals rely on.
Complete Drywall Patching Guide by Hole Size

The repair method depends on the size of the damage. You can’t fix a fist-sized hole the same way you’d handle a nail pop. We’ve broken this into three categories based on hole size so you can skip straight to what you’re dealing with.
Small Holes (Under 1/2 Inch)
These are the everyday marks from picture hooks, screws, or that time you backed into the wall with a chair. Anything from a quarter inch up to about half an inch falls here.
Tools and Materials Needed:
- Spackle or spackling paste
- Putty knife (2 to 3 inches wide)
- 120 to 150 grit sandpaper
- Damp cloth
Step-by-Step Instructions:
- Pick out any loose bits and sand the edges smooth. This gives the spackle something to grab onto.
- Load a little spackle on your putty knife and press it into the hole. Go slightly past the damaged spot.
- Dip your knife in water and run it over the patch in one clean pass. The wet blade keeps things smooth and prevents dragging.
- Wait 15 to 30 minutes. You’ll know it’s dry when the color shifts from dark to light.
- Sand it smooth with your fine grit paper using gentle circles. Wipe the dust off with a damp cloth.
Total time runs 30 to 60 minutes. If you’re patching multiple spots in one room, fill them all first, then sand everything in one go.
Medium Holes (1/2 Inch to 3 Inches)
Once you get past half an inch, spackle alone won’t cut it. You need something behind the repair to keep it from sinking or cracking later.
Tools and Materials Needed:
- Self-adhesive mesh patch
- Lightweight joint compound
- Putty knife (4 to 6 inches wide)
- 120 to 150 grit sandpaper
- Damp cloth
Step-by-Step Instructions:
- Sand around the hole to clear loose material and rough spots. Wipe it down.
- Cut your mesh patch one inch bigger than the hole on all sides. A 2 inch hole gets a 4 inch patch.
- Peel the backing and stick it on, working from center outward to push out air bubbles. Get all the edges flat against the wall.
- Spread a thin first coat of joint compound over the patch. Use crisscross strokes and feather the edges so the compound thins out as you move away from the center.
- Give it about an hour to dry. It’ll turn from dark gray to light gray or white when ready.
- Sand smooth. If you still see the mesh or any low spots, do a second thin coat and repeat.
The feathering part matters. You want the compound thicker right over the patch, then gradually thinner as you work toward the edges. This creates a smooth transition instead of a visible bump.
Large Holes (3+ Inches)
Anything over 3 inches means you’re rebuilding part of the wall. You need actual drywall with backing support.
Tools and Materials Needed:
- Backing boards (1x4s, 2x4s, or 2×2 furring strips)
- Replacement drywall (match thickness, usually 1/2 inch or 5/8 inch)
- 1 1/4 inch wood screws
- Utility knife
- Keyhole saw or drywall saw
- Joint compound
- Drywall tape (fiber mesh or paper)
Step-by-Step Instructions:
- Cut the damaged spot into a clean square or rectangle. Straight edges make fitting the new piece way easier.
- Stick backing boards behind the existing drywall on all four sides. Position each board so half goes behind the wall and half shows inside the opening. Drive screws through the existing drywall into these boards.
- Measure carefully and cut a replacement piece to fit. The tighter it fits, the better it’ll look.
- Drop the new piece in and screw it down every 6 inches around the edge and along any backing. Drive screws just deep enough to dimple the surface without breaking the paper.
- If there are gaps between old and new, fill those with compound before taping. Otherwise your tape bridges empty space.
- Apply drywall tape over all seams. Press hard to get rid of air bubbles.
- Spread your first coat of compound over the tape, covering it completely. Let it dry overnight.
- Second coat goes about 20 inches wide total, feathered at the edges. Third coat spreads about 30 inches. Sand lightly between coats.
This takes at least 3 hours spread over multiple days once drying time gets factored in. First coat needs overnight. Each additional coat needs an hour minimum, though longer is better.
Repairing Large Holes in Drywall
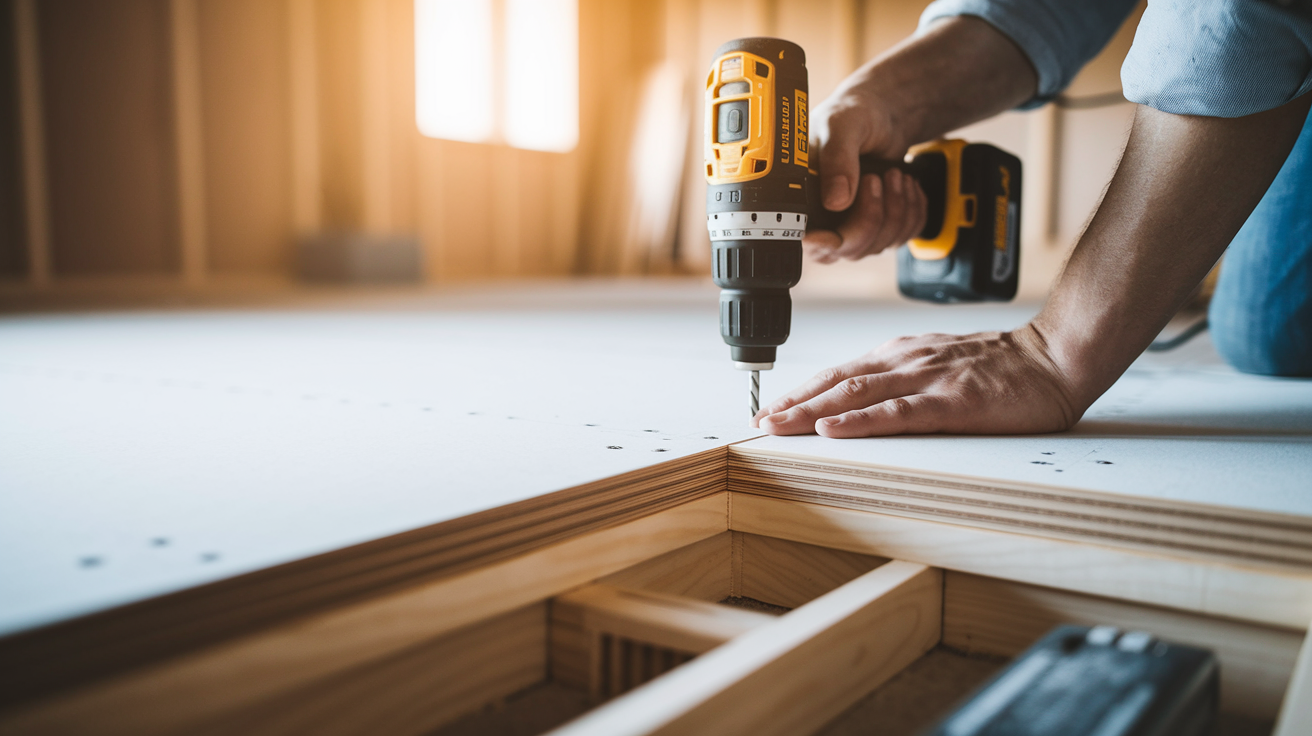
Backing boards are what make the difference between a weak patch and a solid repair. Without proper backing, your new drywall has nothing to grab. It’ll crack at the seams or fall into the wall eventually.
Cutting and Preparing the Patch
Mark a clean square or rectangle around the damage using a straight edge. You want straight lines and square corners. Use a keyhole saw to cut along your marks, being careful not to hit studs or wires. Feel around inside before cutting.
Check the thickness of your existing drywall. Most interior walls use 1/2 inch, but some use 5/8 inch, especially on ceilings or in fire rated spots. Match this exactly when buying replacement material. While you’re measuring the hole, cut your backing boards to length. Use 1x4s for most jobs, 2x4s if the hole’s near a stud, or 2×2 furring strips if space behind the wall is tight.
Installing Backing and Drywall Patch
Slide each backing board into the opening and position it so half sits behind the existing wall and half stays visible. This gives you attachment surface for both the old wall and the new patch. Drive screws through the existing drywall into the backing boards, spacing them about 6 inches apart. These screws lock down the backing and pull the existing drywall flat.
Cut your replacement piece to fit. Take your time here. A snug fit makes everything easier. Set the new piece in and drive screws into the backing every 6 inches around the edge. If backing boards cross the middle, add screws there too. Proper spacing reduces movement and makes seams last. Check that screws dimple the surface slightly without breaking through the paper. If you see gaps between new and old drywall, fill these with compound before taping. Gaps under tape create weak spots that crack.
Taping and Mudding the Repair
You’ve got two main options. For lasting repairs, use fiber mesh tape with quick set mud on the first coat. Quick set dries hard, which gives mesh the backing it needs. If you use regular pre-mixed mud with fiber mesh, the compound stays too soft and the tape shifts or cracks. If you prefer working with regular mud, use paper tape instead, and go with All Purpose compound for your tape coat and Light Weight for second and third coats.
Key Application Points:
- Fiber mesh sticks right over seams without a mud base
- Paper tape needs mud spread first, then you press the tape in and wipe it down
- Don’t use pre-mixed mud with fiber mesh on your first coat
- All Purpose for tape coats, Light Weight for finishing when using regular compound
- Press tape firmly while wiping to get rid of air bubbles
- Use smooth, even pressure for a flat finish
Plan on three coats minimum. First coat goes directly over the tape, covering it all. Use a 6 inch knife and apply enough pressure to squeeze out excess while keeping the tape embedded. After overnight drying, your second coat spreads about 20 inches wide, centered on the seam. Feather the edges by easing up on pressure as you move outward. Third coat extends about 30 inches and creates the final blend.
Apply thin, even layers instead of trying to fill everything at once. Load your knife and spread in crisscross patterns to avoid ridges. After each pass, wipe down the sides and middle with light pressure to remove excess and create a smooth surface. Quick set typically needs about an hour between coats. Pre-mixed needs longer, sometimes several hours depending on humidity. Run a fan to speed things up if you’re on a deadline.
Sanding Patched Drywall for a Smooth Finish

Match your sandpaper grit to what you used. Medium grit sanding sponges work on harder quick set mud, which needs more abrasion. Fine grit sponges are better for lightweight compound. Coarse paper on lightweight mud creates gouges. Fine paper on quick set just clogs without doing much.
Sand with gentle circles and light pressure. You’re leveling, not removing. Oversanding exposes the paper underneath, which creates a fuzzy texture that soaks up paint unevenly. If you’re new to this, you’ll probably need to sand between each coat to knock down ridges. With practice, you can skip to just the final coat. Keep a light touch near the edges where your feathering should’ve already smoothed things out. Heavy sanding there defeats the whole point.
Check your work by running your hand over it in different directions under good light. Your hand catches waves and bumps your eyes might miss. Shine a work light at an angle across the repair. Shadows highlight what’s left to fix. If you feel or see problems, sand more or consider another thin coat to fill low spots. After sanding, wipe everything clean with a slightly damp sponge or tack cloth before priming. Dust left on the wall stops paint from sticking properly.
Matching Texture on Patched Drywall
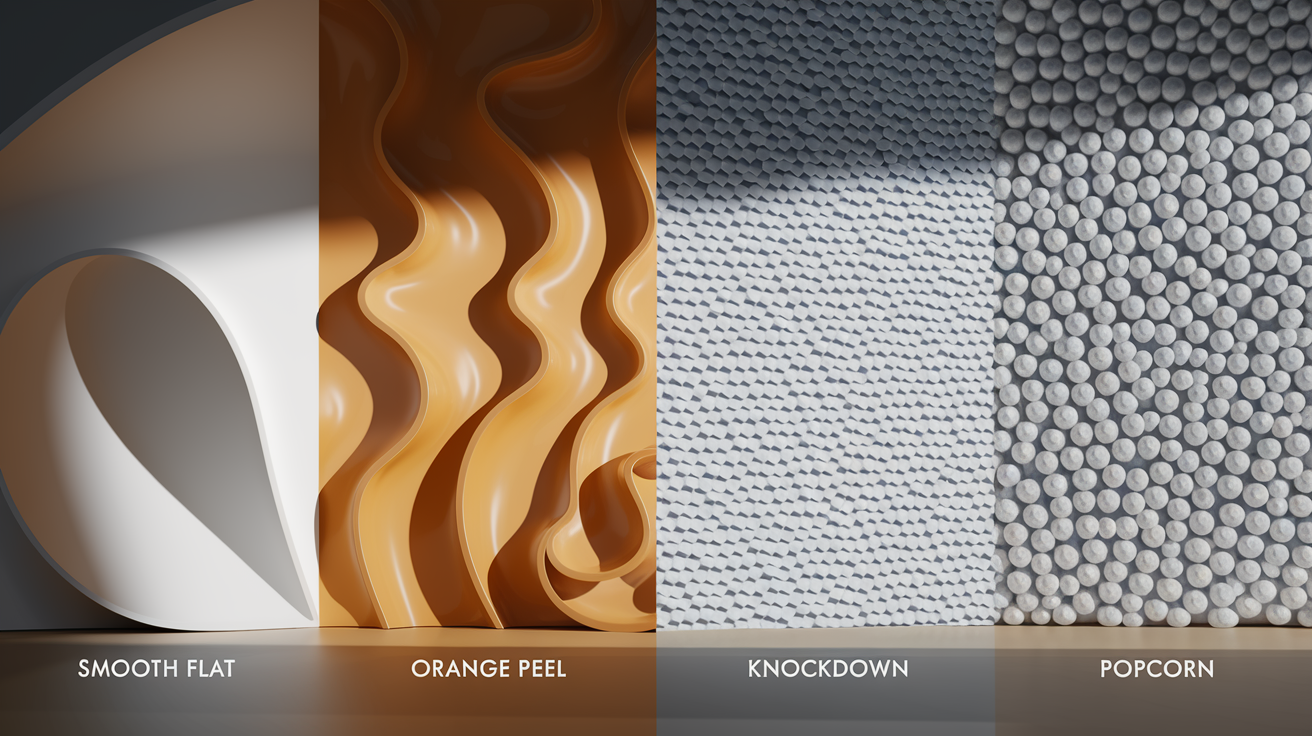
Lots of homes have textured walls instead of smooth flat surfaces. Orange peel, knockdown, popcorn… all need replicating over your patch, or the repair shows no matter how well you blended the compound.
Common Texture Types and Replication Methods:
- Smooth/flat finish: After your final coat dries and you sand it, you’re ready for primer and paint with no texture work
- Orange peel texture: Thin your compound slightly with water and apply with a texture roller or spray gun, creating that dimpled pattern
- Knockdown texture: Apply compound in raised splotches with a trowel or hopper gun, wait a few minutes for it to firm up, then lightly flatten the high points with a wide knife
- Popcorn ceiling: Needs special popcorn material (not compound) applied with a hopper gun, though matching old popcorn perfectly is tough because original material often had asbestos in older homes
Texture work takes practice to match existing patterns. The spacing, depth, randomness… all affect whether your patch blends or sticks out. Buy a sample board or use scrap drywall to practice before hitting the actual repair. Let practice samples dry completely, since texture looks different wet versus dry. Compare your dried practice to the wall under the same lighting. Keep adjusting technique, tool pressure, and compound consistency until you get close.
Priming and Painting Over Drywall Repairs
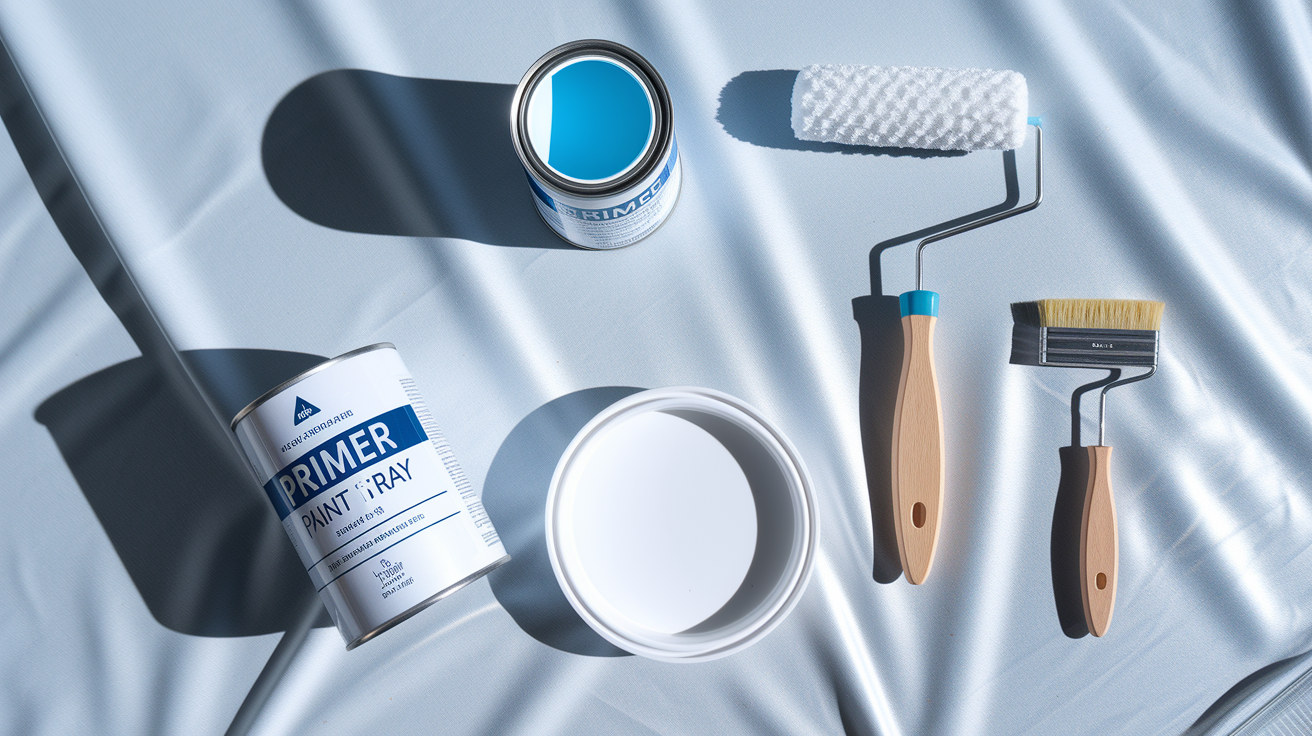
Primer isn’t optional, even with primer enhanced spackle. Patched areas absorb paint differently than surrounding wall, creating flashing where the repair shows through as a dull spot. A full coat of interior primer over the entire repaired area seals the new compound and creates uniform absorption.
Priming and Painting Steps:
- Apply interior primer to the whole repaired area, extending slightly past where you can see the patch. Use a brush around edges and a small roller for larger spots.
- Let the primer dry per manufacturer’s instructions, usually 1 to 4 hours depending on product and humidity.
- Apply your first paint coat slightly beyond the repair area, feathering edges so you don’t create a visible paint line. Use the same method (brush, roller, or sprayer) that was used on the rest of the wall.
- After the first coat dries, check whether the repair’s visible. Most need a second coat for complete coverage and proper blending.
Color matching takes attention if you’re touching up instead of repainting the full wall. If you still have paint from the original job, you’re good. Shake or stir thoroughly since pigments settle over time. If you don’t have original paint, you’ve got two options. Either repaint the entire wall corner to corner, guaranteeing a perfect match, or take a chip from an inconspicuous spot to a paint store for professional matching. Paint changes color as it ages from UV exposure and dust buildup, so even a perfect match of original color might not blend with the existing wall. When in doubt, painting the full wall eliminates guessing.
Repairing Cracks in Drywall
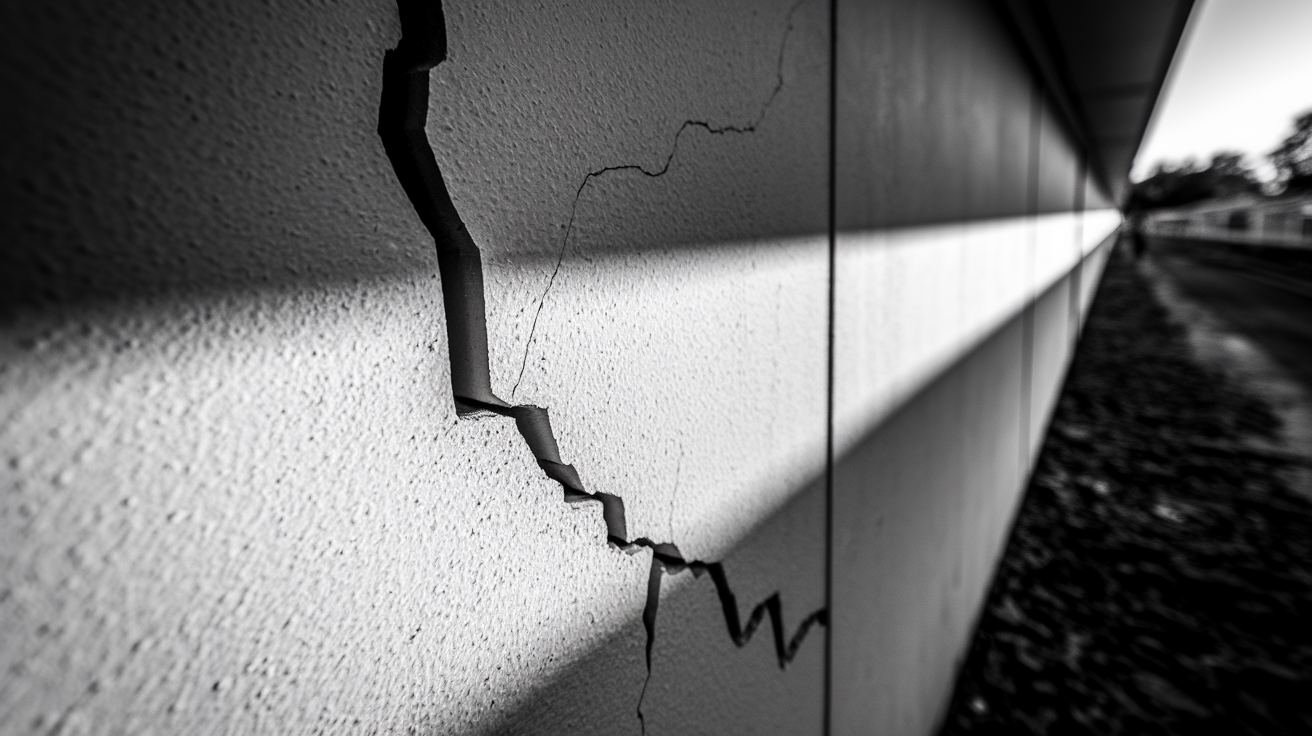
Cracks are different from holes. They often signal settling, foundation movement, or stress from temperature and humidity changes. Before patching any crack, try understanding why it formed. Cracks that come back after repair suggest an ongoing structural issue needing attention beyond cosmetic fixes.
Hairline cracks (thinner than 1/8 inch) usually fill with spackle alone. Clean out loose material from the crack using the corner of your putty knife or a utility knife blade. Load spackle on your knife and press it into the crack, forcing it deep. Run the knife along the crack to smooth the surface, then feather the edges. One coat typically handles hairline cracks, though you might need a second thin pass if the spackle shrinks as it dries.
Wider cracks (1/8 inch and larger) need reinforcement to keep them from reopening. Clean the crack thoroughly and widen it slightly with a utility knife to create a V shaped groove. This gives repair material more surface to grip. Cut fiber mesh tape long enough to cover the whole crack and press it firmly over the damaged area. For best results, use quick set mud over fiber mesh. Apply a first thin coat over the tape, pressing firmly to embed the mesh and eliminate air bubbles. Feather edges outward so compound gradually thins. After the first coat dries (about an hour for quick set, several hours for regular compound), apply a second wider coat. Sand smooth after the final coat dries. If the crack keeps coming back, that signals a problem beyond normal settling. Consider having a foundation specialist check things out before doing more cosmetic work.
Common Drywall Patching Mistakes and Troubleshooting

Your first patch probably won’t look perfect. That’s normal. Taping and finishing take practice. Most mistakes are fixable without starting over.
Common Mistakes and Solutions:
- Lumps in compound: Poor mixing leaves chunks that create bumps. Mix thoroughly, scraping bottom and sides. If lumps already hit the wall, sand them down or scrape them off before they fully harden.
- Air bubbles under tape: Pressing too hard while applying can trap air. Press firmly but steadily, working center outward to push air toward edges. Pop any bubbles with your knife and re-embed that section.
- Mounds and ridges: Not enough pressure when wiping down leaves excess on the wall. Use smooth, firm strokes with your knife angled at about 45 degrees. Each pass should remove material, not just spread it.
- Oversanding: Aggressive sanding exposes drywall paper, creating fuzzy texture. Use light pressure and fine grit paper. If you already exposed paper, seal it with primer before applying another compound coat.
- Gaps around patch piece: A replacement piece cut too small leaves large gaps that are hard to fill. Cut carefully and test fit before installing. If you’ve got large gaps already, fill them with compound before taping. Multiple thin layers beat one thick glob.
- Compound applied too thick: Heavy coats take forever to dry, crack as they shrink, and create more sanding work. Apply thin layers that just cover tape or previous coat. You can always add another. You can’t easily remove excess once it’s drying.
- Insufficient feathering at edges: A hard edge where compound stops creates a visible line even after painting. Feather by gradually reducing pressure as you move your knife outward from repair center. Compound should fade to nearly nothing at outer edges.
You can often fix mistakes by adding another thin coat after sanding. If the repair looks lumpy, uneven, or shows visible tape or mesh through compound, sand it reasonably smooth and apply one more thin coat. Sometimes you need to start over. If the patch piece moves when you press on it, if gaps are wider than a quarter inch, or if tape’s lifting away from the wall, scrape everything off and begin again with proper backing and technique.
When to Call a Professional for Drywall Repair

Taping and finishing are genuinely difficult skills that take practice to master. If you’ve got extensive damage covering large wall sections or multiple walls, the time investment and material cost of DIY might not make sense. Pros work faster and get better results because they do this every day. Consider professional help from Home Recovery Pro drywall repair services when the repair covers more than a few square feet or when you’re facing multiple repairs throughout your home.
Signs of structural problems, water damage, or mold growth require professional assessment before any cosmetic patching happens. If you see recurring cracks that reappear after repair, sagging areas, or soft spots, something beyond normal wear is going on. Water stains, persistent moisture, or visible mold mean you need to identify and fix the source before patching over damage. Covering up water damage or mold without addressing the cause creates health and safety problems that get worse over time. Pros can identify whether moisture’s coming from a roof leak, plumbing issue, or condensation problem, then coordinate proper repairs.
Aesthetic demands sometimes require perfect invisible repairs that exceed typical DIY results. If you’re selling your home, preparing for professional photos, or working on high visibility areas where imperfections will bother you, professional finishing ensures the repair completely disappears. Similarly, if your repair involves exposed electrical wiring, plumbing lines, or HVAC ducts behind the damaged area, hire licensed trades to address those systems before patching the drywall. Working around utilities requires expertise to avoid creating dangerous situations or code violations.
Cost of DIY Drywall Patching vs Professional Repair

Material costs for small to medium drywall repairs are minimal, usually under $20 for a complete repair kit. This makes DIY patching genuinely cost effective for minor damage. You’re mainly investing time rather than money.
| Repair Type | DIY Material Cost | Professional Cost Range |
|---|---|---|
| Small hole kit (spackle, putty knife, sandpaper) | $8 to $15 | $75 to $150 per visit |
| Medium hole patch (mesh, compound, tools) | $15 to $25 | $100 to $200 per patch |
| Large hole repair (drywall sheet, backing, screws, tape, compound) | $30 to $60 | $200 to $400+ depending on size |
| Crack repair (tape, compound, tools) | $10 to $20 | $75 to $175 per crack |
The numbers don’t tell the complete story. If you don’t already own basic tools like a putty knife, utility knife, sandpaper, and taping knives, add $20 to $50 for a starter set. These tools last for multiple repairs, so per repair cost drops quickly. Time’s the bigger consideration. A small hole might take you 30 minutes, but a large hole can consume several hours over multiple days when you account for drying time between coats. Pros complete the same work faster because they don’t need to stop and figure out the next step. They also get better results on the first attempt, especially with taping and finishing, which saves you from repairing your repair. Balance material savings against the value of your time and the importance of final appearance. If you’re comfortable with imperfect results that are good enough for a garage or basement, DIY makes complete sense. If you need invisible repairs in living areas or lack time for multi day projects, professional service is worth the cost.
Final Words
Learning how to patch drywall gets easier with practice, and you now have the complete method for every hole size.
Small holes take under an hour. Medium repairs need a mesh patch and a little patience. Large holes require backing boards and multiple coats, but the steps stay the same.
If your first patch doesn’t look perfect, that’s normal. Sand it smooth and add another thin coat.
Most repairs turn out fine when you match the method to the hole size, use the right materials, and feather those edges.
Your walls will look solid again.
FAQ
What is the easiest way to patch drywall?
The easiest way to patch drywall is using a putty knife and spackling paste for small holes under half an inch. Clean the hole, apply spackle slightly beyond the damaged area, smooth with a damp knife, let dry for 15 to 30 minutes, then sand smooth.
How big of a hole can you patch in drywall?
You can patch holes of any size in drywall, but the method changes based on size. Holes under half an inch use spackle, half inch to 3 inches need mesh patches, and holes 3 inches and larger require backing boards and replacement drywall pieces.
What is a common mistake people make when applying mud to drywall?
A common mistake people make when applying mud to drywall is applying it too thick or not wiping down with enough pressure, which creates mounds and bumps. Thin, feathered layers with firm wipe-down pressure create smooth, professional-looking results.
Is it better to use mesh tape or paper tape?
It is better to use fiber mesh tape with quick-set mud for stronger, longer-lasting repairs, especially on large patches. Paper tape works well with All-Purpose joint compound but requires spreading mud first, then placing the tape and wiping it down.