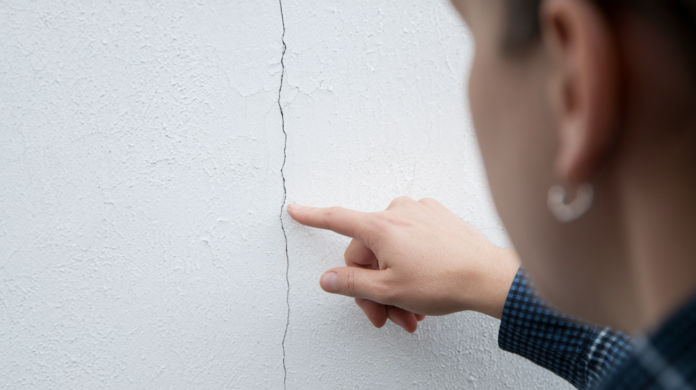

You’ve spotted that crack running up your wall and decided today’s the day you finally fix it instead of just walking past it again. Smart move, because most drywall cracks take about an hour to repair if you know what you’re doing, and the process is way more forgiving than you’d think. We’ll walk you through the exact steps to open the crack properly, reinforce it with tape, build up smooth layers of joint compound, and blend the repair so you can’t tell it was ever there.
Identifying Different Types of Drywall Cracks
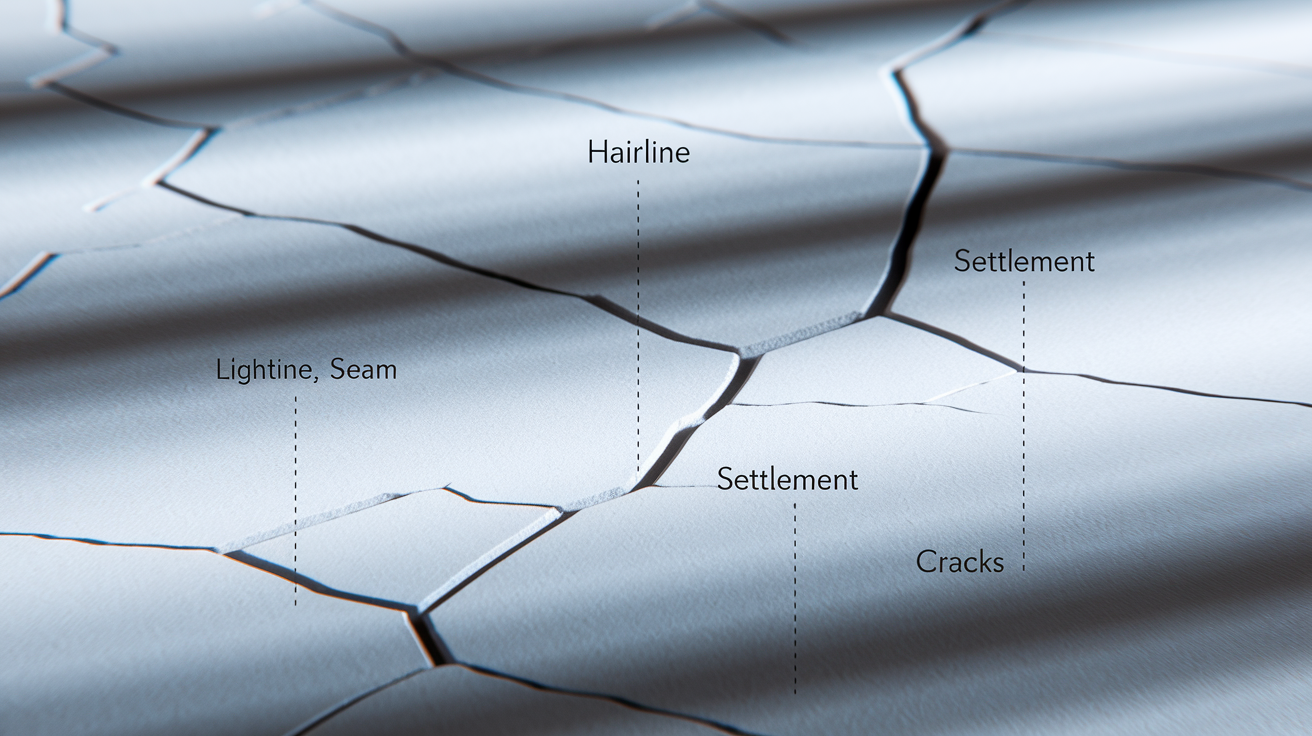
Knowing what kind of crack you’re looking at helps you choose the right fix and figure out if you’re dealing with something cosmetic or something that needs more attention.
Hairline cracks are those super thin surface lines that barely catch your fingernail. They’re cosmetic most of the time. Easiest thing you’ll fix, and they rarely mean anything serious is going on.
Seam cracks show up where drywall tape gave up or was never installed right to begin with. They run along where panels meet and you’ll need to reinforce them with tape to actually fix the problem.
Settlement cracks are the vertical ones near corners, doors, windows. Usually means your house is settling into its foundation. Normal for newer homes but worth keeping an eye on.
Stress cracks run diagonal and often point to structural movement. These matter because they can mean something’s still shifting.
Corner cracks appear at inside or outside corners from getting bumped or from the building moving around. You’ll see them a lot in high traffic spots.
Wide cracks are anything you can fit a quarter into. If it’s wider than 1/4 inch, you’re past simple patching.
Seam cracks are what you’ll run into most because seams are where drywall installations are weakest. Two separate panels meet there, and if whoever did the original tape job cut corners or didn’t use enough joint compound, those seams will eventually show through or split.
For gaps wider than 1/4 inch, you’re looking at panel replacement, not crack repair. The drywall itself has failed. These situations need you to cut out the damaged section and put in new drywall instead of trying to bridge a big gap with compound and tape.
Essential Tools and Materials for Drywall Crack Repair
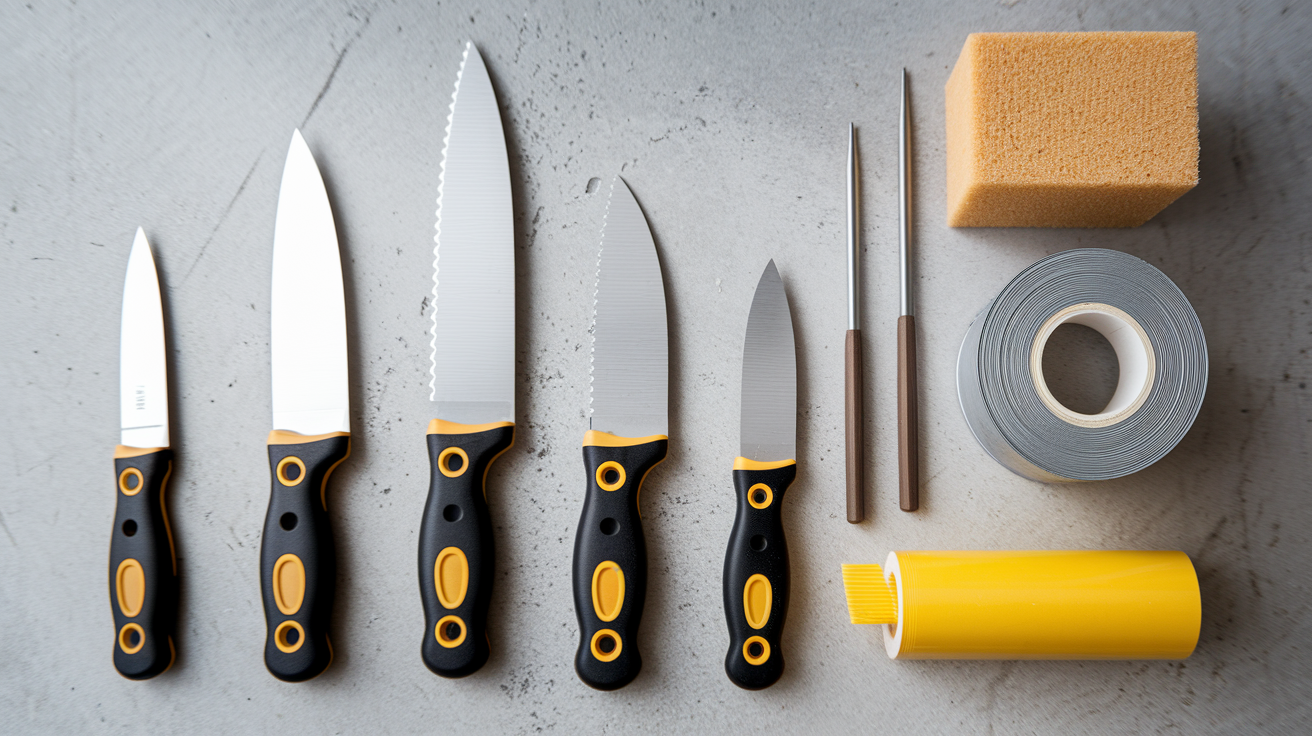
Getting everything together before you start saves you from making hardware store runs halfway through.
| Item Type | Specific Item | Purpose |
|---|---|---|
| Cutting Tool | Utility knife with fresh blade | Opens crack into v-groove and cuts away damaged tape |
| Application Tool | 6-inch putty knife | Applies first coat and embeds tape |
| Finishing Tool | 12-inch taping knife | Spreads wider coats and feathers edges |
| Container | Mud pan | Holds joint compound while you work |
| Smoothing Tool | Fine-grit sandpaper (120-220) or sanding sponge | Smooths dried compound between coats |
| Filler Material | Pre-mixed joint compound or setting compound | Fills crack and builds smooth surface |
| Reinforcement | Fiberglass mesh tape or paper drywall tape | Bridges crack to prevent it from reopening |
| Sealer | Drywall primer | Seals repair before painting |
| Finish | Wall paint matching existing color | Blends repair with surrounding wall |
Pre-mixed joint compound comes ready straight from the bucket and works fine for most small cracks. It stays workable for as long as you need, which helps when you’re still learning. Setting compound is different. You mix the powder with water, and it hardens chemically in 45 to 90 minutes depending on which type you buy. Once it sets, it’s rock hard and dries way stronger than pre-mixed. For larger repairs or cracks that keep coming back, setting compound gives you something more permanent. The tradeoff is you need to work faster and you can’t sand it as easily. For most people fixing a simple crack, pre-mixed compound is easier.
Complete Step-by-Step Drywall Crack Repair Process

Most cracks can be fixed if you follow a methodical process and don’t rush the drying between steps.
Preparation and Crack Opening
These first steps set up everything that follows.
Use your utility knife to cut a v-shaped groove along the entire crack. Angle the blade to widen it slightly as you go. This isn’t about making the crack worse. You’re creating more surface area inside for the joint compound to grip.
Remove all the loose drywall material, old tape that’s peeling, any crumbly joint compound. Cut the damaged section a few inches above and below where the crack ends using straight cuts. Pull away anything that isn’t solidly attached.
Clean the crack thoroughly with a dry brush or vacuum to get rid of all dust and small particles. You want clean drywall for good adhesion.
Cutting that v-notch gives the joint compound something to grab onto. Think of it like a dovetail joint in woodworking. The compound fills that angled space and locks in mechanically instead of just sitting on top of the surface. Without this step, your repair is covering the problem instead of filling it.
Tape Application and First Coat
The tape gives your repair structural strength that compound alone can’t provide.
If you’re using fiberglass mesh tape, center the sticky-backed strip directly over the crack. Press it down firmly so it sticks without any bubbles or loose spots. The mesh should bridge the crack completely. For paper tape, you need to lay down a really thin bed of compound first, then press the tape into that wet compound. Use your 6-inch putty knife to embed the tape, pressing firmly and smoothing from the center outward to squeeze out any air pockets.
Now apply your first coat of joint compound over the tape. Start in the center and work outward to keep the tape from wrinkling or shifting. Keep this coat thin, about 1/8 inch, and extend it several inches beyond the tape edges on each side. Hold your knife almost flat against the wall and use steady pressure. You’re not trying to make it perfect yet. Let this coat dry completely before moving on. Depending on humidity and how thick you applied it, that’s usually 2 to 3 hours.
Second and Third Coats
This is where you build up the surface and blend the repair into the surrounding wall.
The second coat goes on with your 12-inch taping knife. Load compound onto the knife and use long, smooth strokes that extend 5 to 6 inches beyond where your first coat ended. Hold the knife at a slight angle so the edge touching the bare wall presses harder than the edge over your repair. This creates a feathered edge that gradually tapers down to nothing. Apply this layer about 2 inches wider on each side than your first coat, and keep it thin. Long strokes work better than short ones because they create a smoother surface with fewer ridges.
Most repairs need a third coat, especially if you’re still learning the technique. Apply it the same way, extending even wider than the second coat. The goal is to have each layer blend gradually into the wall so you can’t feel a ridge where the repair ends. You should apply a minimum of 3 thin coats rather than trying to fill everything with one or two thick applications. Thin layers dry faster, sand easier, and they’re less likely to crack. Allow complete drying between each coat. Thin applications dry in a couple of hours. Thicker spots might need overnight.
Sanding and Finishing
This is where your repair becomes invisible.
Use fine-grit sandpaper (120 to 220 grit) or a sanding sponge with gentle circular motions. Apply light pressure to blend the feathered edges into the surrounding wall. Sand between each coat to knock down ridges and bumps before applying the next layer. After your final coat dries, sand until you can run your hand over the area and not feel where the repair starts or stops. Wipe the area clean with a slightly damp cloth to remove all the dust particles before priming. Don’t over-sand the center of your repair, which can expose the tape underneath and force you to add another coat. Use a work light held at an angle to the wall to cast shadows that reveal any imperfections you might miss under regular overhead lighting.
The complete process takes patience for proper drying between coats, but when you do each step carefully, you get professional results that last.
Understanding What Causes Cracks in Drywall

Understanding why cracks happen helps you figure out if you’re dealing with a quick cosmetic fix or something that might need more attention.
Temperature and humidity changes are huge factors. When your house heats up, materials expand slightly. When it cools down, they contract. This expansion and contraction cycle happens constantly, especially in vacation homes that aren’t kept at a consistent temperature year-round. The drywall itself, the wood framing behind it, and the joint compound all expand and contract at slightly different rates. Over time, this creates stress at the weakest points, which are usually the seams. Humidity works the same way. High moisture causes materials to swell, low moisture causes them to shrink. If you live somewhere with big seasonal humidity swings, you’ll see more cracks. Winter expansion and contraction can cause seasonal cracking in older homes without necessarily meaning you have foundation damage.
Foundation settling, building movement, and poor initial installation create structural cracks. All houses settle somewhat, especially newer construction in the first few years. As the foundation finds its final position and the lumber dries out and stabilizes, you’ll see some cracking. That’s normal. More concerning is ongoing movement from foundation problems, improper framing, or drywall panels that weren’t fastened correctly in the first place. If the installers didn’t hit studs with their screws, left gaps in the backing at seams, or didn’t secure the panels often enough, those weak spots will crack under normal stress.
If cracks keep coming back in the same location after you’ve repaired them, that’s telling you something. Check your foundation for new cracks or existing cracks that are getting wider. Look at your gutters and downspouts to make sure water is being directed away from your foundation rather than pooling next to it. Check that your drywall panels are properly secured to the studs or joists every 4 inches. If fasteners are missing or panels are loose, add screws to lock everything down tight. Recurring cracks usually mean the underlying cause hasn’t been addressed.
Repairing Ceiling Cracks and Corner Drywall Damage
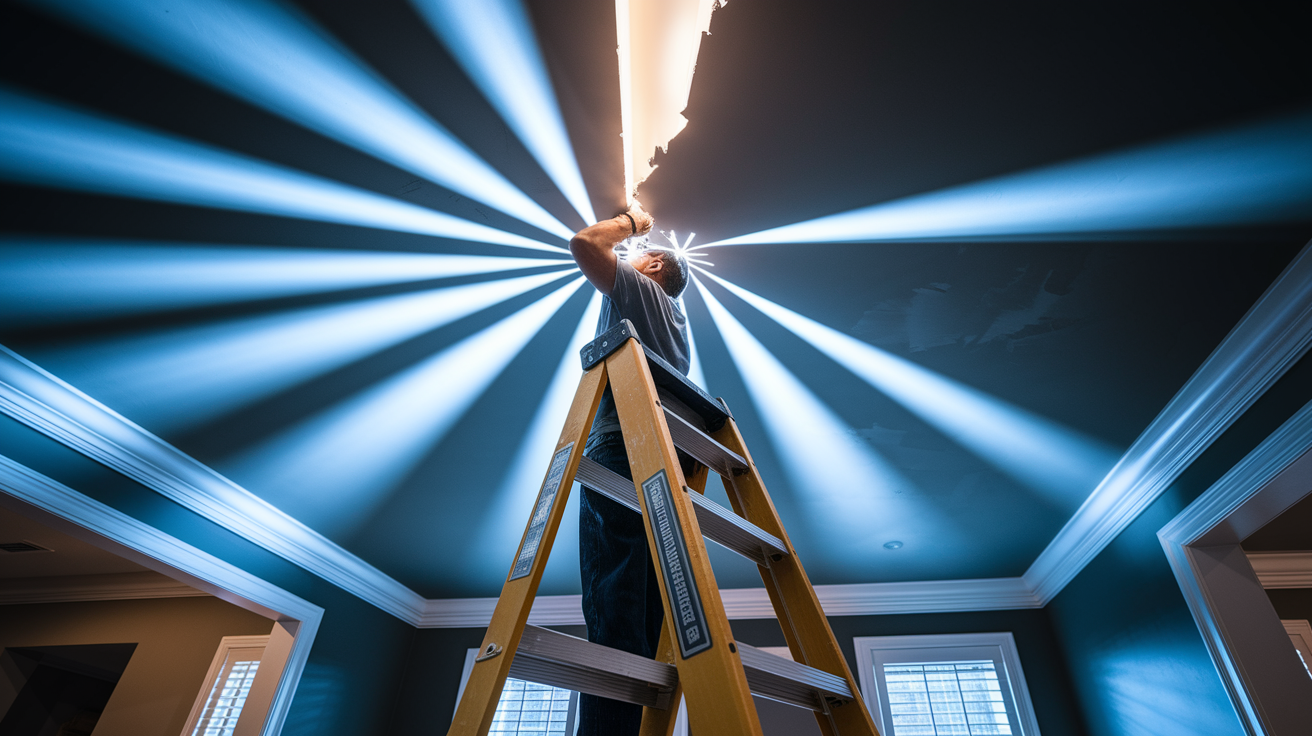
Ceiling and corner repairs follow the same basic steps as wall cracks but need some special attention.
For ceiling repairs, you’re using the same materials and following the same technique, but working overhead changes things. Gravity isn’t your friend anymore. Apply thinner coats than you would on a wall because thick compound will want to sag before it dries. Give each coat plenty of time to dry before adding the next one. Wear safety glasses because particles will drop on your face as you sand. A stable work platform is essential, whether that’s a solid stepladder or scaffolding. Hold a work light at an angle to the ceiling to check for smoothness, because overhead lighting hides imperfections you’ll see later. The same v-groove preparation, tape reinforcement, and feathering technique applies, just with more patience and thinner applications.
Corner cracks need different approaches depending on what type of corner you’re dealing with. For cracks where two drywall panels meet at an inside corner, use fiberglass mesh tape and joint compound the same way you would on a flat wall. The tape bridges the crack and the compound fills and smooths. For cracks at the ceiling to wall junction, flexible paintable caulk is often a better choice than rigid joint compound. That joint naturally flexes with temperature changes and building movement, so a flexible repair material moves with it instead of cracking again. Outside corners protected by metal corner bead are different. If the crack is in the compound but the bead is still solid, repair it normally. If the corner bead itself is damaged or loose, you’ll need to remove and replace that section of bead before patching the compound over it.
Corner cracks near doors and windows often indicate foundation settling and may come back even after you repair them properly. The house is shifting, and those corners are bearing some of that stress. Fix the crack using the standard process, but watch it over the next few months. If it reopens, you’re dealing with ongoing movement that needs professional assessment.
Common Mistakes When Repairing Drywall Cracks

Avoiding frequent errors saves time and makes sure your repair actually lasts.
Skipping reinforcement tape. Never repair cracks with only joint compound or spackling compound. Without tape to bridge the crack, it will reopen as soon as the house moves or temperatures change. The compound alone has no structural strength.
Applying compound too thick. Thick layers take forever to dry, often crack as they dry, and create a nightmare when it’s time to sand. Multiple thin coats always beat one thick coat.
Insufficient drying time between coats. If you add the next coat before the previous one has dried completely, you’ll get cracking, peeling, and soft spots that never harden properly.
Not feathering edges properly. If you don’t gradually taper your compound out to nothing at the edges, you’ll see and feel a ridge where the repair ends. That ridge will show through paint no matter how many coats you apply.
Over-sanding and exposing tape. Sanding too aggressively in the center of your repair can wear through the compound and expose the tape underneath. If that happens, you need to add another coat.
Skipping primer. Bare joint compound absorbs paint differently than drywall paper. Without primer, your repair will flash (show through as a different shade or texture) even with multiple paint coats.
Rushing the process. Quality repairs take patience. Trying to speed through by adding coats before the previous ones dry or skipping sanding between coats shows in the final result.
Thin layers of joint compound dry in 2 to 3 hours in normal conditions, while thick applications need overnight drying time or longer. Applying 3 or 4 thin coats produces better results than 1 or 2 thick coats because thin layers are much easier to sand smooth and they’re less prone to cracking as they dry. When you’re mixing compound in your mud pan, keep it workable but not soupy. If it’s too wet, it will sag and take longer to dry. If it’s too stiff, you’ll leave tool marks that are hard to smooth out.
Cost and Time Estimates for Drywall Crack Repair

Cost and time matter when you’re deciding whether to fix it yourself or call someone.
| Repair Scope | DIY Cost | DIY Time | Professional Cost |
|---|---|---|---|
| Small single crack | $10-25 | 45 minutes active work + drying time | $60-150 |
| Multiple cracks | $20-35 | 2-3 hours active work + drying time | $150-300 |
| Seam crack repair | $15-30 | 1 hour active work + drying time | $60-400 |
| Extensive damage | $30-50 | Half day active work + drying time | $400-600+ |
The active work time for a DIY repair is anywhere from 45 minutes for a single small crack up to a few hours for multiple cracks or larger damaged areas. But the total project time spans 2 to 3 days because you need to wait for each coat of joint compound to dry before applying the next one. You can’t rush this part. Professional repairs average around $600 for more extensive work, though simple seam cracks might run $60 to $400 depending on the contractor and your location. Professionals may need to make multiple trips because of the same drying time requirements, which increases their labor costs since they’re driving back and forth instead of completing everything in one visit.
DIY crack repair is cost effective for simple cracks, with significant savings compared to professional rates. Materials cost $25 or less for most repairs, and the only investment is your time waiting for coats to dry.
When to Call a Professional for Drywall Crack Repair
Knowing your DIY limitations and recognizing when you need an expert assessment prevents small problems from becoming expensive disasters.
Cracks wider than 1/4 inch. These gaps are too wide to bridge with tape and compound. You’re likely looking at panel replacement where a section of drywall needs to be cut out and a new piece installed.
Cracks that return repeatedly in the same location. If you’ve fixed the same crack twice and it keeps coming back, you have a structural issue causing movement. Patching it again won’t help.
Multiple cracks appearing suddenly. Several new cracks showing up at once, especially if they’re all in the same area, often means foundation movement or significant settling.
Horizontal cracks along load bearing walls. Horizontal cracks can indicate serious structural problems. These need professional evaluation, not DIY patching.
Cracks accompanied by doors or windows that suddenly stick. When cracks appear at the same time door and window frames start binding, that’s a sign of foundation settling or structural shifting.
Water damage or moisture around cracks. Staining, soft drywall, or damp areas near cracks signal a plumbing leak or exterior water intrusion that needs to be found and fixed before you repair the crack.
Foundation issues, structural movement, and extensive damage go beyond DIY repair scope and need professional diagnosis. A structural engineer or experienced contractor can tell you whether you’re dealing with normal settling or something that needs intervention. Catching foundation problems early prevents thousands of dollars in future repair costs. What starts as a crack can turn into major structural damage if water intrusion or ongoing movement isn’t addressed.
Professional repairs for simple cosmetic cracks typically cost $60 to $400, which might seem steep compared to $25 in DIY materials. But for complex problems involving structural issues, that professional assessment and proper repair protects your home’s value and safety. If you’re unsure whether your crack is simple or serious, having someone with experience take a look gives you peace of mind. You can learn more about Home Repair Services that handle everything from simple patches to extensive damage requiring structural work.
Preventing Future Cracks in Drywall

Prevention is cheaper and easier than repairing the same cracks over and over.
Environmental controls make a big difference in preventing stress cracks. Maintain consistent indoor temperature and humidity levels as much as possible. This is especially important in vacation homes or seasonal properties where the heat gets turned way down for months at a time. Those big temperature swings create expansion and contraction cycles that stress drywall joints. In damp climates, run a dehumidifier to keep moisture levels stable. Make sure your home has proper ventilation, especially in bathrooms and kitchens where humidity spikes. Address any moisture sources like plumbing leaks, poor exterior drainage, or condensation problems. These not only cause cracks but can lead to mold and rot.
Proper fastening prevents cracks caused by movement or vibration. Check that your drywall panels are secured to studs or joists with screws spaced no more than 4 inches apart along edges and 8 to 12 inches apart in the field (the center area of the panel). If you find sections where the screws missed the framing or where there aren’t enough fasteners, add more screws to lock the panels in place. Every seam should have solid backing where the two panel edges meet. If seams were installed without proper backing during construction, they’ll crack eventually no matter how well they were taped. Corner beads need to be fastened securely too. A loose corner bead will crack the compound covering it every time someone bumps the corner.
Deal with underlying problems before they create repeat damage. Walk around your home’s perimeter and check your foundation for cracks or areas where it’s settling unevenly. Make sure your gutters and downspouts carry water well away from the foundation rather than dumping it right next to the house. Poor drainage causes foundation movement as soil under the foundation gets saturated and shifts. Fix plumbing leaks as soon as you notice them, whether it’s a dripping pipe or a slow leak inside a wall. Even small leaks cause significant damage over time. If the same crack keeps reappearing after you’ve repaired it correctly, that recurring crack is telling you there’s movement happening. At that point you need professional assessment to find out if it’s foundation settling, structural shifting, or improper installation that’s causing the problem.
Safety Precautions for Drywall Repair Work
(((alt-img10)))
Simple repairs still need basic safety measures to protect yourself and keep your work area manageable.
Personal protective equipment doesn’t need to be elaborate for drywall work, but you do need the basics. Wear a dust mask or respirator when you’re sanding because that fine dust gets in your lungs and causes irritation. Safety glasses are essential for overhead ceiling work since particles fall directly into your eyes as you work. Regular prescription glasses don’t provide enough coverage. Work gloves protect your hands when you’re using utility knives and handling metal tools. Joint compound and primer are low odor, but working in a ventilated area makes the process more comfortable and helps everything dry faster. Open windows or run a fan to keep air moving.
Set up your workspace to prevent accidents and control the mess. Protect your flooring with drop cloths or plastic sheeting because joint compound drips and sanding creates dust that spreads everywhere. Make sure your ladder or work platform is stable before you climb up. A wobbly ladder while you’re trying to hold a taping knife loaded with compound is dangerous. Good lighting is critical, especially for spotting imperfections in your work. A work light that you can angle across the surface creates shadows that reveal ridges and low spots that overhead lighting hides. Keep your work area picked up as you go. Stepping on tools or tripping over compound buckets is an easy way to get hurt.
Joint compound and primer emit minimal odors compared to oil-based products, but proper ventilation improves your comfort and speeds drying. Opening windows creates airflow that carries away moisture from the drying compound. Controlling dust is about more than comfort. It’s about keeping fine particles from spreading through your HVAC system and settling on furniture throughout your house. Close doors to the work area and cover air vents with plastic if you’re doing a lot of sanding.
Priming and Painting Repaired Drywall Cracks
Priming is essential for even paint absorption and color matching that makes your repair invisible.
Bare joint compound is porous and absorbs paint very differently than the paper surface of drywall. If you skip primer and paint directly over your repair, that spot will flash, meaning it shows through as a different shade or texture even after multiple paint coats. Apply drywall primer to the entire repaired area, extending a few inches beyond where your compound ends. Some products like 3M Patch Plus Primer combine compound and primer in one step, which eliminates the need for a separate primer coat. Most standard primers need 30 minutes to an hour to dry before you can paint over them. Check the product instructions for exact timing.
When you’re ready to paint, use paint that matches your existing wall color. If you don’t have leftover paint from the original job, take a paint chip from an inconspicuous area to a paint store for color matching. Apply thin coats of paint rather than one thick coat, which can create drips and uneven coverage. Use a brush or roller to feather the paint beyond the repair area so there’s no visible line where the new paint stops. Matte and flat finishes hide imperfections much better than glossy or semi-gloss paints. If your walls are glossy and you’re having trouble hiding the repair, consider repainting the entire wall rather than just the patched spot.
For textured walls, you need to replicate the texture after the compound dries but before you prime and paint. Common textures include orange peel (fine spatter pattern), knockdown (flattened orange peel), and spray texture (heavier texture with peaks). Practice your texture pattern on a piece of cardboard first to get the technique right. You can buy spray cans of texture for small repairs or use a texture brush or sponge to create the pattern by hand. The texture needs to match not just in pattern but in depth and spacing. Getting it wrong makes the repair more obvious than if you’d left it smooth.
Lighting affects how well your color matches the existing wall. Check your repair in both natural daylight and artificial light at night. Some colors look perfect in one lighting condition and noticeably different in another. If you’re seeing a difference, you might need to adjust your paint formula or consider repainting a larger section to blend everything together.
Final Words
Knowing how to repair a crack in drywall saves money and stops small problems from growing. The process takes patience for proper drying between coats, but the steps are straightforward.
Most cracks just need mesh tape, joint compound, and a steady hand. Focus on thin layers, good feathering, and complete drying. That’s what makes repairs disappear.
If cracks keep coming back in the same spot, that’s your wall telling you something deeper is going on. Foundation movement or moisture issues need attention before you patch again.
For simple cracks, this is a solid weekend project that’ll get your walls looking normal again.
FAQ
Q: What is the best filler for drywall cracks?
A: The best filler for drywall cracks is joint compound (also called drywall mud) combined with fiberglass mesh tape or paper tape for reinforcement. Setting-type joint compound dries harder than pre-mixed and works well for larger repairs, while pre-mixed compound is sufficient for small hairline cracks. Using filler alone without tape reinforcement will result in cracks returning as the house settles.
Q: How do you fix a drywall crack without tape?
A: You can fix hairline drywall cracks without tape by applying thin coats of spackling compound or joint compound directly into the crack, but this approach only works for very narrow cosmetic cracks. For cracks wider than a hairline or cracks caused by movement, skipping the tape means the repair won’t last because there’s no structural reinforcement to prevent the crack from reopening.
Q: How do you fix cracked walls permanently?
A: You fix cracked walls permanently by cutting a v-shaped groove along the crack, embedding fiberglass mesh tape or paper tape in joint compound, and applying multiple thin coats of compound with proper drying time between each layer. Permanent repairs also require addressing the underlying cause, whether that’s foundation settling, moisture issues, or improperly secured drywall panels, because fixing only the surface crack won’t prevent it from returning.
Q: What’s the best way to hide drywall cracks?
A: The best way to hide drywall cracks is to feather joint compound 5-6 inches beyond the repair area using a wide taping knife, sand smooth with fine-grit sandpaper, prime the repaired area, and finish with matte paint that matches the existing wall color. Proper feathering blends the repair into the surrounding wall, and matte paint hides minor imperfections better than glossy finishes.
Q: Do all drywall cracks need mesh tape?
A: Drywall cracks wider than hairline thickness need mesh tape or paper tape for structural reinforcement to prevent the crack from returning. Very small hairline cracks in stable walls can be filled with compound alone, but seam cracks, settlement cracks, and any crack caused by movement will reopen without tape because joint compound by itself doesn’t provide the reinforcement needed to resist future stress.
Q: How long does drywall crack repair take to dry?
A: Drywall crack repair takes 2-3 hours for thin compound layers to dry and overnight for thicker applications, with the complete project spanning 2-3 days because you’ll apply a minimum of three coats with drying time between each. Active work time is about 45 minutes to a few hours depending on crack size, but rushing the drying process causes cracking and peeling in the repair.
Q: When should you call a professional for drywall cracks?
A: You should call a professional for drywall cracks wider than 1/4 inch, cracks that return repeatedly in the same location, multiple cracks appearing suddenly, or horizontal cracks along load-bearing walls. These situations often indicate foundation movement, structural issues, or extensive damage that exceeds DIY scope and requires professional diagnosis to prevent costly future problems.
Q: Can you paint over drywall crack repairs immediately?
A: You cannot paint over drywall crack repairs immediately because the joint compound must dry completely and be primed first to prevent flashing where the patch absorbs paint differently than the surrounding wall. Standard drywall primer requires 30 minutes to full drying before painting, though some products like 3M Patch Plus Primer combine patching and priming to eliminate the separate priming step.