
You’ve probably flushed your toilet a hundred times without thinking about what’s happening inside that tank. But when you start hearing water running long after you’ve left the bathroom, or notice your water bill creeping up for no obvious reason, there’s a good chance your toilet flapper has worn out. The good news is you don’t need a plumber to fix it. Replacing a toilet flapper takes about 10 minutes, costs less than $15, and stops those gallons of wasted water from draining your wallet every month.
Essential Tools and Complete Replacement Instructions
Replacing a toilet flapper is one of the simplest home repairs you can do yourself. Most people finish in 10 to 15 minutes with basic tools they already own. If your toilet runs constantly or you hear water trickling into the bowl long after flushing, the flapper’s usually the culprit.
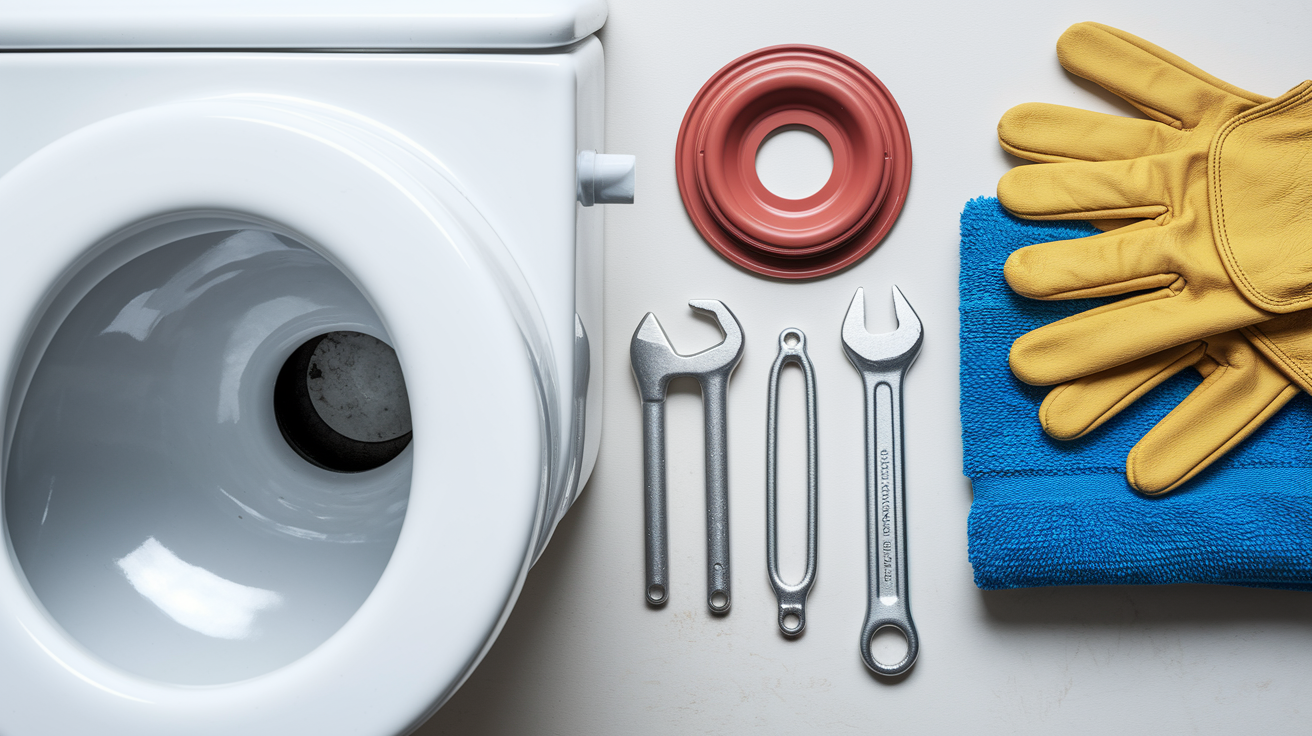
Materials and Tools You’ll Need:
- Replacement toilet flapper (universal flappers work for both 2 inch and 3 inch flush valves, so you don’t have to measure)
- Towel or sponge for soaking up remaining water
- Optional gloves if you’d rather keep your hands clean
- Optional bucket for collecting excess water
- Optional flashlight for seeing inside the tank
You can grab replacement flappers at any hardware store in the plumbing section. Most cost between $5 and $15, which beats the water you’re wasting with a leaky one. Brands like Fluidmaster and Korky make reliable universal flappers that fit most toilets.
Flappers attach to the flush valve in one of two ways. Most toilets have mounting pins or posts on either side of the flush valve where small clips on the flapper snap into place. If your flush valve doesn’t have these posts, the flapper slides directly over the overflow pipe (that tall tube in the center of the tank). Universal flappers come with both attachment options, so they work either way.
Step-by-Step Replacement Process:
-
Turn off the water supply. Look behind and below the toilet for the shut off valve (usually a small oval handle or round knob). Turn it clockwise until it stops.
-
Flush the toilet to drain the tank. Hold the handle down to let as much water as possible flow out. Use a towel or sponge to soak up any water left at the bottom.
-
Disconnect the chain from the tank lever. Unhook the small clip or hook where the chain connects to the flush lever arm inside the tank.
-
Remove the old flapper from the flush valve. If your flapper has side clips, pull them up and off the mounting posts. If it slides over the overflow pipe, just lift it straight up and off.
-
Position the new flapper onto the mounting posts. Line up the clips on each side with the mounting posts and push down firmly until you hear or feel them snap. If you’ve got the slide-on type, push the flapper all the way down the overflow pipe until it sits flat on the flush valve seat.
-
Attach the chain to the tank lever. Connect the chain clip to the hole in the flush lever arm that sits directly above the flapper. Leave just a tiny bit of slack, no more than one link of loose chain or about half an inch. Too much slack and the flapper won’t lift fully when you flush. Too tight and the flapper won’t seal properly after.
-
Turn the water supply back on. Rotate the shut off valve counterclockwise to let water flow back into the tank. Watch as it refills.
-
Test the flush and check for leaks. Once the tank fills completely, flush the toilet and watch how the flapper operates. It should lift easily when you push the handle, then drop back down and create a tight seal once the water drains. Listen for any hissing or trickling sounds that would indicate the flapper isn’t sealing right.
A working flapper prevents hundreds of gallons of water from running down the drain each month. That running water you’ve been ignoring can waste 200 gallons a day, which shows up as a noticeable jump in your water bill. Fixing it now means lower bills going forward and less strain on your local water supply.
Troubleshooting Common Toilet Flapper Problems
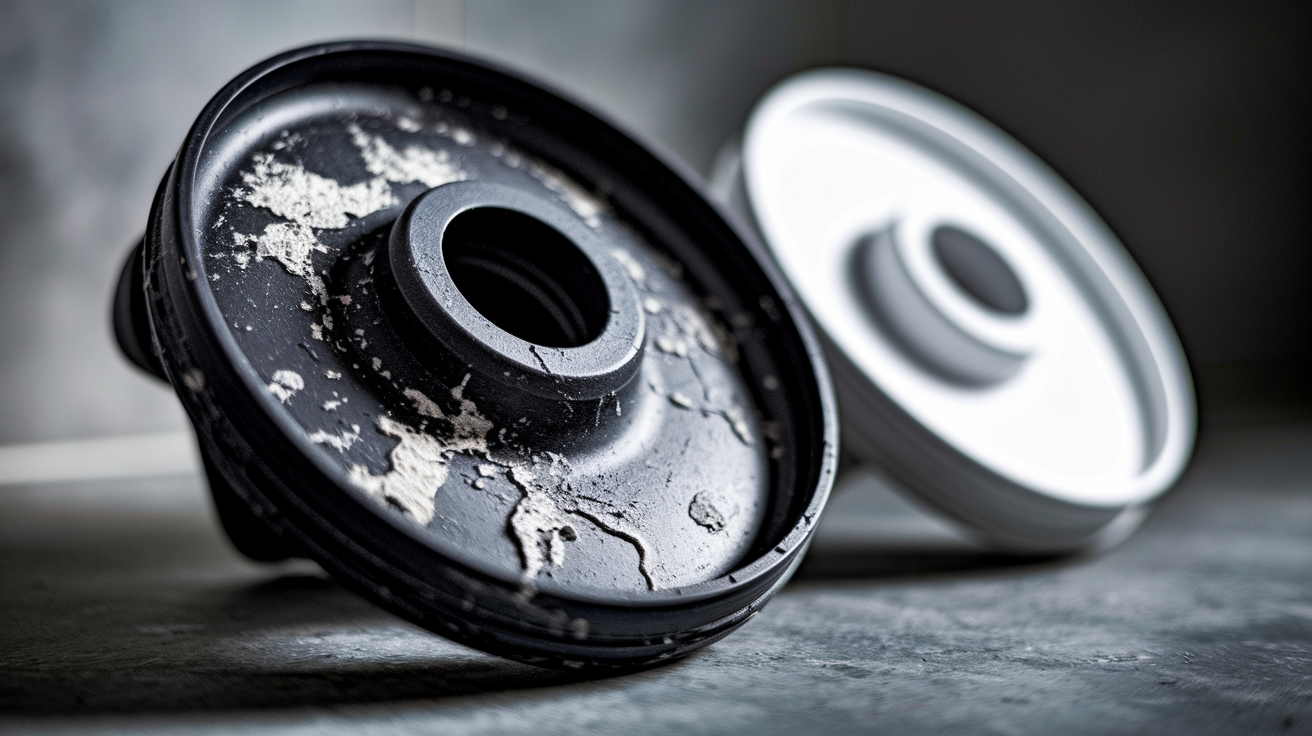
A faulty flapper causes most running toilet situations. When the rubber seal wears out or gets damaged, water constantly seeps from the tank into the bowl, making that familiar sound of water running even when nobody’s using the bathroom.
Signs Your Flapper Needs Replacement:
- Toilet keeps running for several minutes after you flush
- Hissing sound coming from inside the tank
- Toilet suddenly turns on by itself every few minutes (this is called “phantom flushing”)
- Visible cracks or tears in the rubber flapper material
- Flapper feels hard and inflexible instead of soft and pliable
- Mineral deposits or buildup covering the flapper surface
A leaking flapper wastes a surprising amount of water over time. Even a small leak that lets a thin stream trickle into the bowl can waste 50 to 100 gallons per day. Larger leaks from a badly worn flapper can waste 200 gallons or more, which translates to an extra $50 to $100 on your water bill each month. That’s money running straight into the sewer for no reason.
If you’re not sure whether your flapper’s leaking, try the food coloring test. Add a few drops of food coloring into the tank water (don’t flush). Wait about 15 minutes without using the toilet. Then check the bowl water. If you see colored water in the bowl, your flapper isn’t sealing and water is leaking past it. That confirms you need a new flapper.
Preventing Future Flapper Wear and Maintenance Tips
Most toilet flappers last between 3 and 5 years before they need replacement. How long yours lasts depends on your water quality, how often the toilet gets used, and what chemicals come into contact with the rubber.
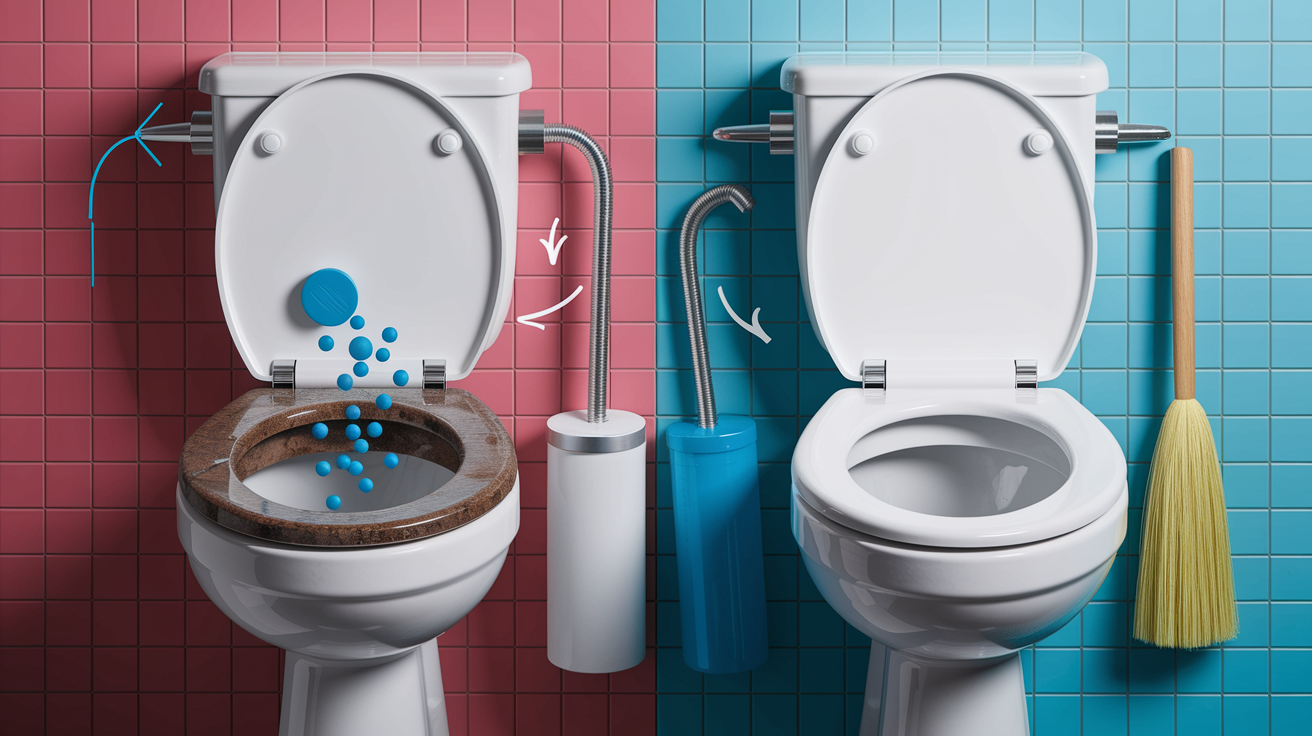
Drop-in bleach tablets that sit in your tank are one of the worst things for flapper longevity. Those tablets release concentrated chlorine directly onto the rubber flapper, which breaks down the material and causes it to crack and harden way faster than normal. If you’ve been using those blue tablets and wondering why you’re replacing flappers every year, that’s why. Clean your toilet bowl with regular cleaner instead, or use in-bowl tablets that hang on the rim and don’t touch tank components.
Simple Maintenance Practices to Extend Flapper Life:
- Skip the drop-in chlorine tablets in the tank
- Wipe mineral deposits off the flapper surface every few months with a damp cloth
- Check the pull chain once a year for rust or corrosion and replace if needed
- Look at the rubber seal every 6 months for small cracks before they become major leaks
- Clean sediment from the bottom of the tank once a year by shutting off water, flushing, and wiping with a sponge
- Consider a water softener if you have very hard water that leaves heavy mineral buildup
Catching flapper wear early prevents bigger problems down the line. If you notice your toilet starting to run occasionally or the flapper feels a little less flexible than it used to, replace it before it fails completely. That prevents water damage to bathroom floors and keeps your water bill under control.
When to Call a Professional for Toilet Repair
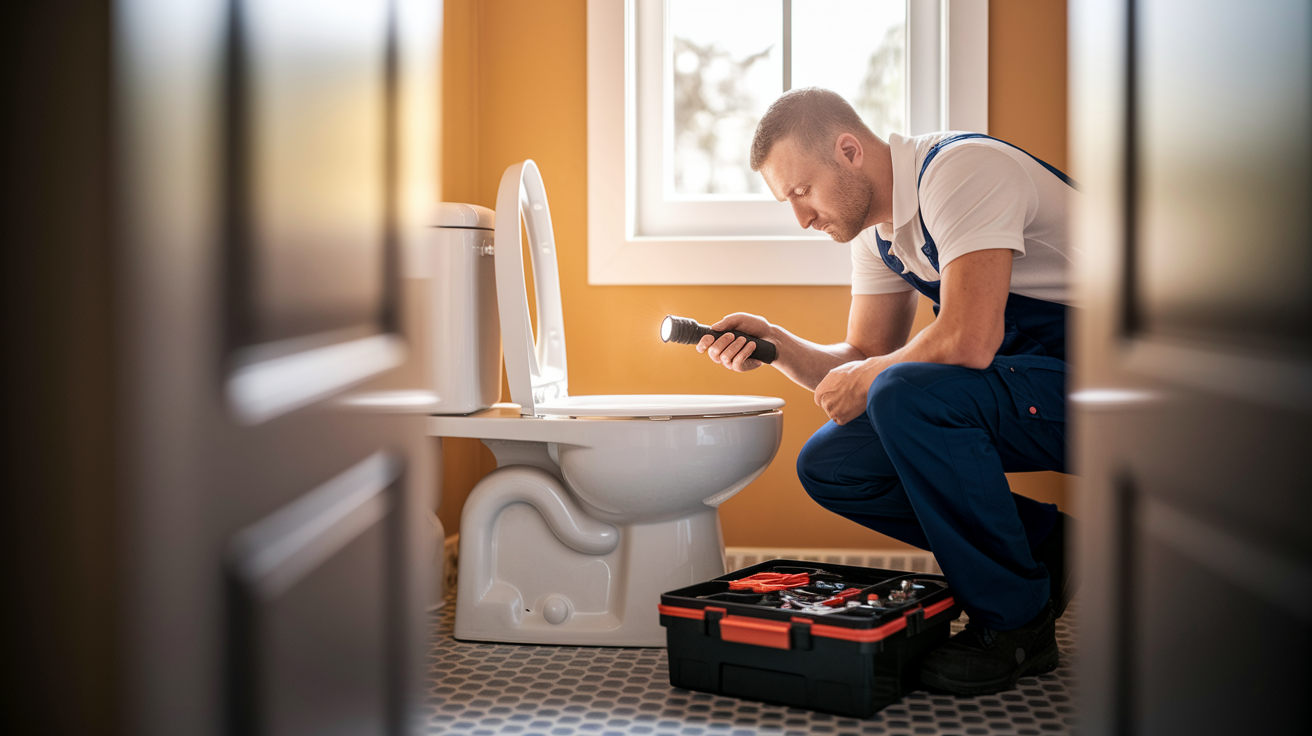
While replacing a flapper is straightforward enough for most homeowners, some situations go beyond a simple swap and need professional attention. Recognizing when you’re dealing with something more complicated saves you time and frustration.
Situations That Require a Professional Plumber:
- The flush valve seat (the plastic or porcelain ring the flapper seals against) is cracked or damaged, preventing any flapper from sealing properly
- The overflow tube is broken or disconnected from the fill valve
- Mounting posts on the flush valve are broken off, leaving no way to attach a standard flapper
- You’ve replaced the flapper but the toilet still leaks or runs constantly
- Cracks in the toilet tank itself that are allowing water to escape
- The shut off valve behind the toilet won’t turn, is frozen in place, or leaks when you try to close it
Home Recovery Pro handles toilet repairs for homeowners who’d rather have a professional take care of the diagnosis and fix, or who’ve tried replacing the flapper and are still dealing with problems. We can identify whether you’re dealing with a simple flapper issue or something more involved like flush valve damage or internal tank component failures. Share a couple photos of what’s going on and we’ll point you in the right direction. https://homerecoverypro.com.
Persistent leaks shouldn’t be ignored, even if they seem minor. That constant water flow can damage flooring, encourage mold growth behind walls, and rack up utility costs month after month. If you’ve replaced the flapper and things still aren’t working right, getting a professional assessment prevents small problems from turning into expensive repairs later.
Final Words
A running toilet usually means it’s time to replace the flapper, and now you’ve got the complete picture.
The repair takes about 15 minutes, costs less than $15, and stops water waste immediately. Check the chain tension and test for leaks after installation.
If the new flapper doesn’t stop the running or you spot cracks around the flush valve, that’s when professional help makes sense. Otherwise, you just saved yourself a service call and a higher water bill.
Your toilet’s back to normal, and you caught the problem before it turned into real money down the drain.
FAQ
Can you replace a toilet flapper yourself?
You can replace a toilet flapper yourself in about 10-15 minutes with minimal tools. The process involves turning off the water supply, draining the tank, removing the old flapper from the mounting posts, snapping the new flapper into place, reconnecting the chain, and testing for leaks. It’s one of the simplest toilet repairs with no specialized plumbing skills required.
How do I know if my toilet flapper is bad?
A bad toilet flapper typically causes a continuous running sound after flushing, a hissing noise from the tank, or the toilet cycling on periodically without being used. You might also notice visible cracks or hardened rubber on the flapper seal, mineral buildup on the surface, or a simple food coloring test showing dye leaking from the tank into the bowl.
How do I know what toilet flapper I need?
Universal flappers work for both 2-inch and 3-inch flush valves, eliminating sizing guesswork for most homeowners. Brands like Fluidmaster and Korky offer universal models that attach either via mounting pins or slide over the overflow pipe. Most flappers cost $5-15 at hardware stores and come with installation instructions showing which attachment method fits your toilet.
What are the common problems with American Standard toilets?
Common American Standard toilet problems include worn flappers causing running or leaking, which is the leading cause of toilet issues across all brands. You might also encounter chain problems with too much or too little slack, deteriorated rubber seals from chlorine tablet damage, or mineral buildup affecting the flush valve. Most issues are resolved by replacing the flapper with a compatible universal model.