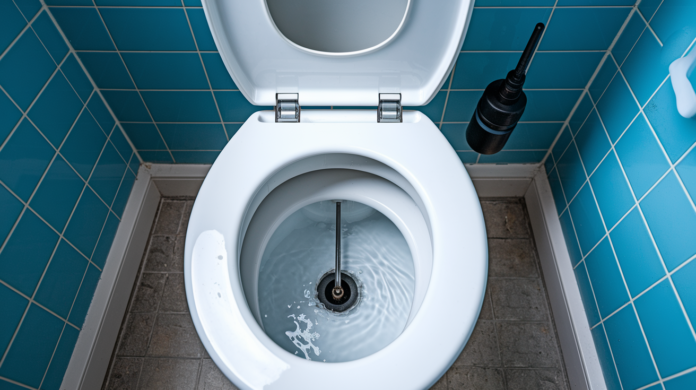

That running sound coming from your toilet might seem like background noise, but it’s draining up to 6,000 gallons of water every month straight into your utility bill. The good news is fixing a running toilet takes about 20 minutes and costs $10 to $40 in basic parts. Most running toilets come down to one of three culprits inside the tank: a worn flapper that won’t seal, a fill valve that doesn’t know when to quit, or a float that’s out of position. We’ll walk you through simple tests to pinpoint exactly what’s causing your problem and show you how to fix it yourself.
Understanding Why Your Toilet Runs
A running toilet means water keeps flowing from the tank into the bowl even when nobody’s using it. That constant trickle can waste up to 6,000 gallons every month, which adds serious dollars to your utility bill and puts unnecessary strain on your plumbing.
Three main parts inside the tank cause most running problems. The flapper is a rubber seal sitting at the bottom of the tank, covering the flush valve opening. When it wears out or doesn’t seal right, water leaks into the bowl constantly. The fill valve controls how water enters after a flush, and when it malfunctions, it can’t shut off at the right time. The float, either a ball on an arm or a cup that slides on the fill valve, tells the fill valve when to stop. If it’s positioned wrong, water just keeps flowing.
Here’s how these parts work during a normal flush. You press the handle, lifting the flapper off the flush valve. Water rushes into the bowl, creating that siphon effect that pulls waste down. As the tank empties, the flapper drops back to seal things up. The float drops with the water level, triggering the fill valve to start refilling. When water reaches the correct level, the rising float signals the valve to shut off. Any break in this sequence and your toilet runs.
How to Diagnose Your Running Toilet Fast
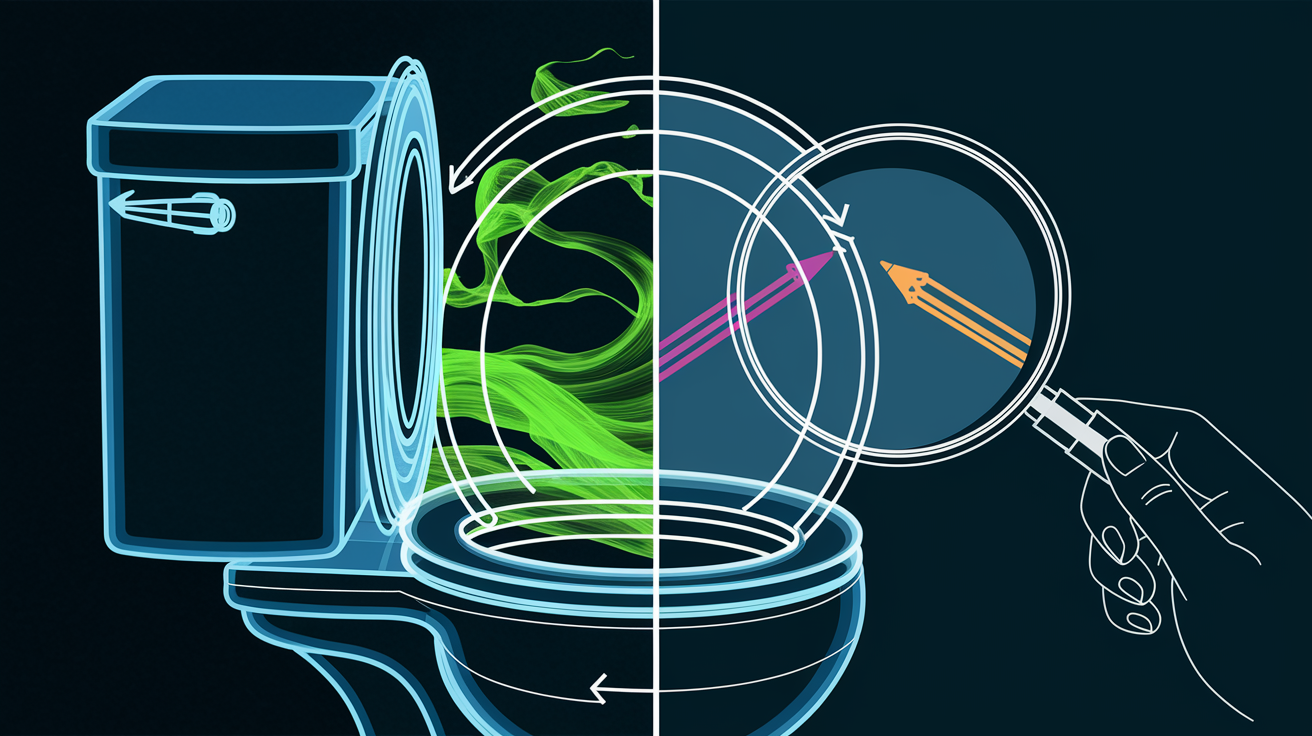
Ten minutes on proper diagnosis beats wasting an hour fixing the wrong part. These tests pinpoint exactly what’s going on.
Food coloring test. Remove the tank lid and add 5 or 6 drops of food coloring to the water. Don’t flush. Wait 30 to 60 minutes, then check the bowl. If the bowl water changed color, your flapper isn’t sealing properly and water’s leaking through the flush valve.
Water level pencil test. Mark the current water level on the inside of the tank with a pencil. Turn off the water supply valve at the wall behind your toilet by twisting clockwise. Wait one hour. If the water dropped below your pencil mark, you’ve got a leak somewhere in the tank. Most likely the flapper or flush valve seal.
Visual inspection. Look at each component with the tank lid off. Press down on the flapper with your finger. It should feel soft and pliable, not stiff or brittle. Check the chain connecting the flapper to the flush handle. Should have about half an inch of slack. Look at the float position. Water should sit 1 to 2 inches below the top of the overflow tube, that tall pipe in the center.
Sound identification. Listen carefully. Hissing usually means the fill valve is the problem. Trickling points to the flapper or an issue with the flush valve seat not sealing.
The test results tell you where to focus. Color in the bowl or dropping water level both mean the flapper isn’t sealing. Hissing indicates fill valve trouble. Water level too high means float adjustment. If you see mineral buildup around the flush valve opening or the flapper looks cracked and brittle, you’ll need replacement parts.
Before starting any repair, locate the water supply valve where the supply line connects to the wall or floor behind your toilet. Turn this valve clockwise until it stops to shut off water flow. This prevents flooding while you work inside the tank.
Tools and Materials Needed for Toilet Repair

Gather everything before you start so you’re not making multiple trips to the hardware store.
Basic tools you probably already have: Phillips or flat head screwdriver, adjustable wrench, old towels or rags, small bucket, sponge, rubber gloves, fine grit sandpaper or emery cloth, flashlight.
Replacement parts you may need to purchase: Universal flapper costs $3 to $8. Replacement fill valve assembly runs $10 to $25. Flush valve gasket is $4 to $10. Tank to bowl bolts and washers go for $5 to $12. Refill tube if damaged costs $2 to $5. Complete toilet repair kit, which includes flapper, fill valve, and hardware, runs $20 to $35.
Most hardware stores stock universal sized flappers and fill valves that fit the majority of toilets. Take a photo of your tank interior or bring the old part with you to ensure you get the right replacement. Total repair costs for most DIY fixes run between $10 and $40 depending on which components need replacing. That beats the $150 to $400 you’d spend on a plumber for the same work.
Fixing a Worn or Damaged Flapper
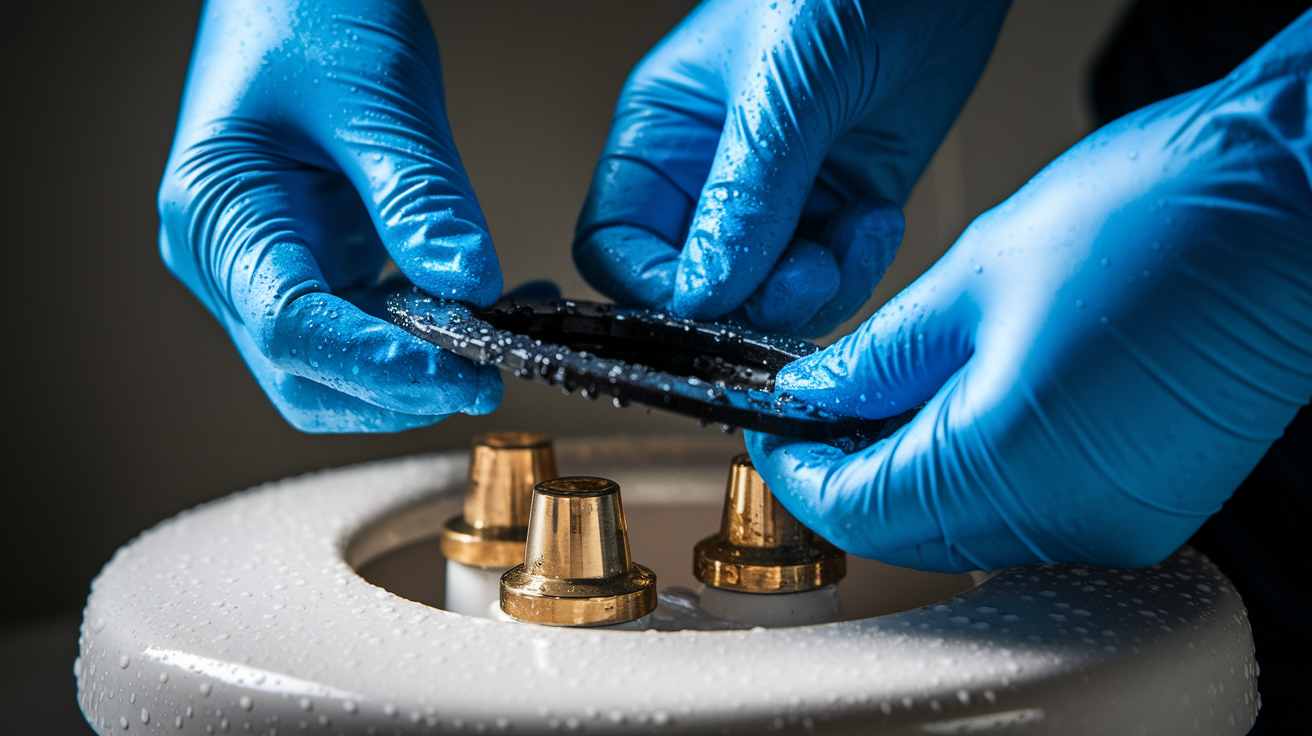
The flapper causes running toilets more often than any other component. Rubber deteriorates over time from constant exposure to water and chemicals in your tank.
Complete flapper replacement goes like this. Turn off the water supply valve and flush to drain the tank. Hold the handle down until most water empties out.
Use a sponge or towel to remove remaining water from the bottom so you can work in a dry area.
Unhook the chain from the flush handle arm. Most flappers attach to small posts on either side of the overflow tube. Slide the flapper ears off these posts or unclip them depending on your model.
Wipe the flush valve seat, that circular opening at the tank bottom, with a damp cloth to remove any mineral deposits or debris. Feel around the edge with your finger. The surface should be smooth.
Position the new flapper over the flush valve opening. Slide the flapper ears onto the mounting posts until they click or snap into place. Some universal flappers use a ring that slips over the overflow tube instead.
Attach the chain to the flush handle arm. Adjust chain length so there’s about half an inch of slack when the flapper rests in the closed position. Too much slack and the flapper won’t lift fully when you flush. Too little slack and the flapper can’t seal because the chain holds it partially open.
Turn the water supply back on and let the tank refill. Flush once to check operation.
Chain length makes a bigger difference than most people realize. With the flapper closed, you should be able to lift the chain slightly before it goes taut. If your chain has too many links, you can shorten it by reconnecting to a link closer to the handle arm or by cutting off excess links with wire cutters.
Test your repair by watching one complete flush and refill cycle. The flapper should lift completely when you press the handle, drop smoothly back into place as the tank drains, and seal tightly once it settles. Wait 30 minutes, then do the food coloring test again to confirm the leak stopped.
Adjusting the Fill Valve and Float Assembly
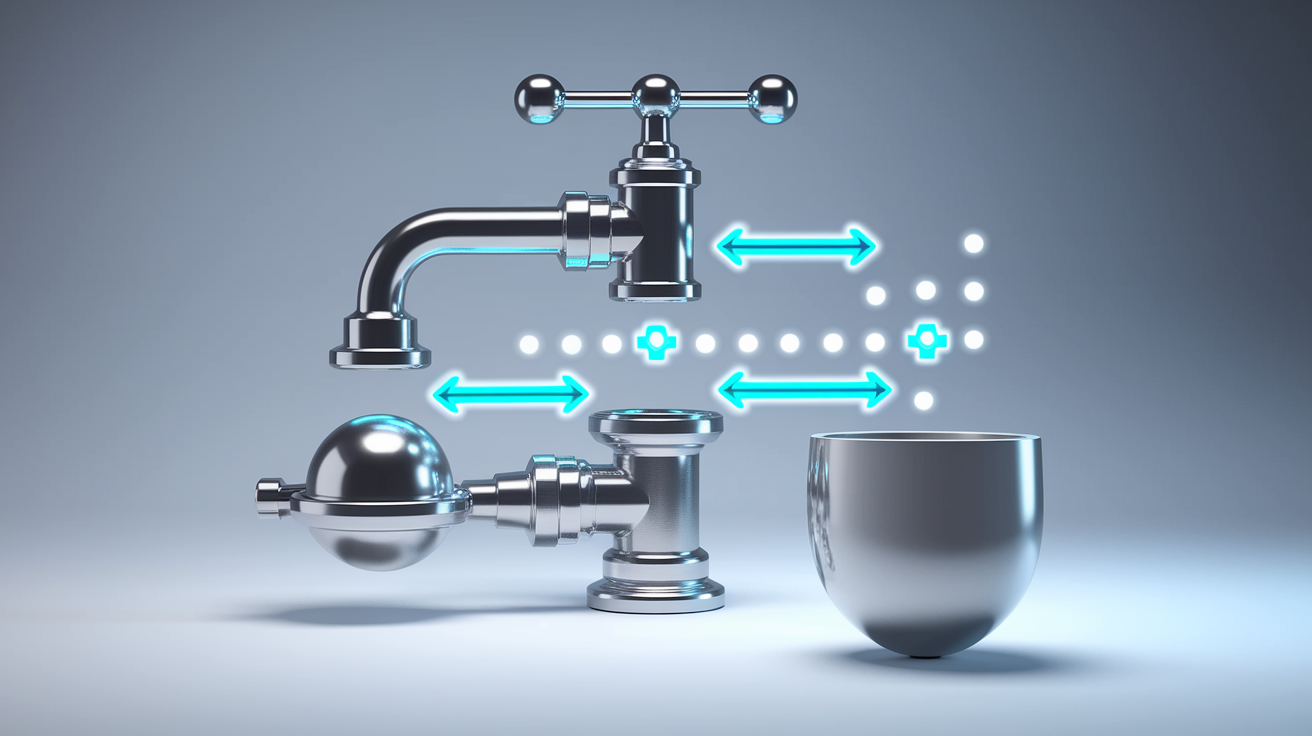
The float mechanism controls when your fill valve shuts off water flow to the tank. If water keeps running after the tank fills, the float probably needs adjustment.
Adjusting float ball systems. Older toilets use a ball attached to a metal arm. The ball floats on the water surface, and when it rises high enough, it triggers the fill valve to shut off. Locate the threaded adjustment rod where the float arm connects to the fill valve. Turn this rod clockwise to lower the float position or counterclockwise to raise it. Make small adjustments, about a quarter turn at a time. After each adjustment, turn the water supply on briefly to see where the tank fills to. Your target is 1 to 2 inches below the top of the overflow tube.
Adjusting float cup systems. Modern fill valves use a cylinder or cup that slides up and down on the valve shaft. Look for a spring clip or adjustment screw on the side of the float cup. Squeeze the clip or turn the screw, then slide the float cup down to lower the water level or up to raise it. Some models use a threaded rod similar to float ball systems. The principle stays the same. Position the float so water shuts off at the correct level.
If adjusting the float doesn’t solve your running problem, the fill valve itself might be worn out. Fill valves typically need replacement every 5 to 7 years. Signs of a failing valve include constant hissing even when the float is properly adjusted, water spraying sideways inside the tank instead of flowing smoothly, or visible cracks in the valve body. Replacing a fill valve takes about 30 minutes and costs $10 to $25 for the part.
Check inside your tank for visual markers. Many manufacturers stamp a fill line on the overflow tube or on the inside tank wall showing the correct water level. Use these marks as your target when adjusting the float. Once adjusted properly, do a test flush and watch the refill cycle. Water should stop flowing when the level reaches your target mark, with the float sitting stable on the water surface.
Repairing or Replacing the Flush Valve
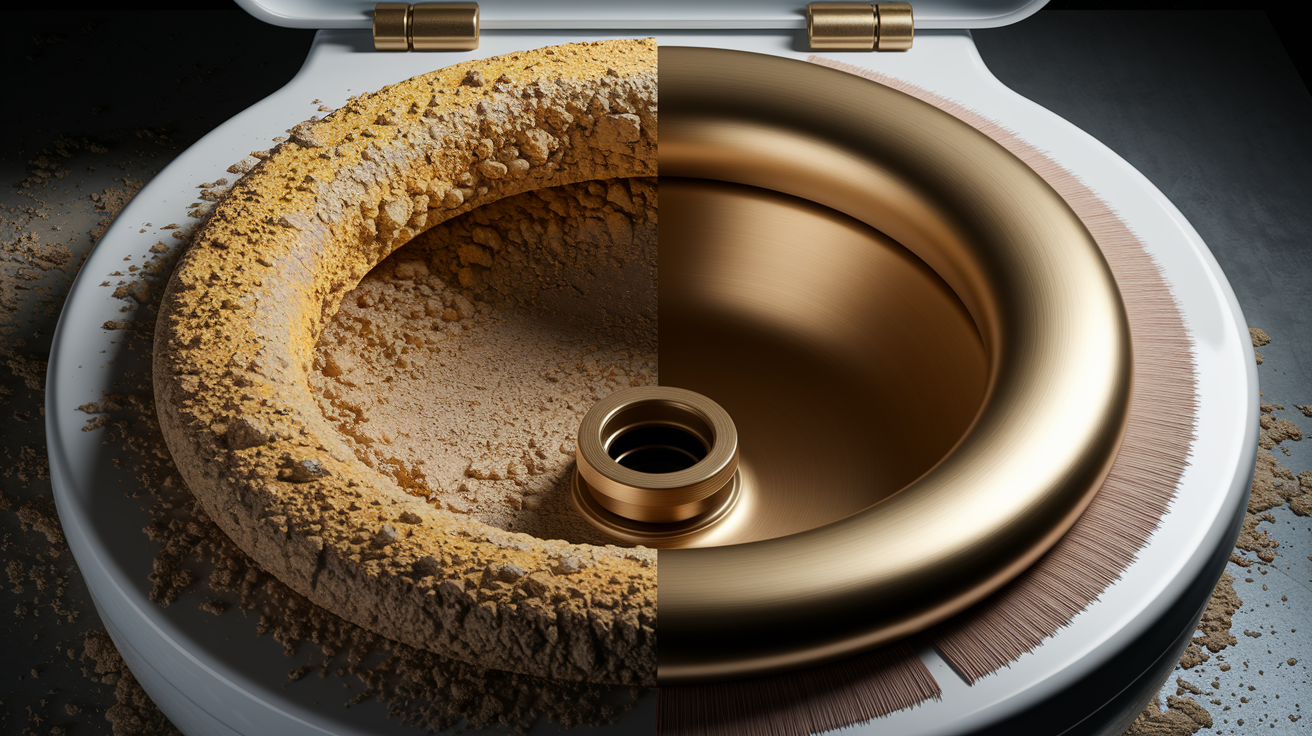
The flush valve is the large opening at the bottom of your tank that the flapper seals against. Even if your flapper is brand new, a damaged flush valve seat prevents a proper seal.
Drain the tank and feel around the flush valve opening with your finger. The surface should be perfectly smooth. Rough spots, burrs from manufacturing, or mineral deposits create tiny gaps that let water leak through even when the flapper looks like it’s sealing. Use fine grit sandpaper or emery cloth to gently smooth any rough areas. Work in a circular motion around the edge. Wipe away dust with a damp cloth, then dry the surface completely before reinstalling the flapper.
Calcium and mineral deposits build up over time, especially if you have hard water. These deposits feel rough and crusty. Soak stubborn buildup with white vinegar for 10 to 15 minutes to soften it, then scrub with an old toothbrush or plastic scrubber. You want the flush valve seat as smooth as you can get it so the rubber flapper can form a watertight seal.
Signs you need full flush valve replacement rather than cleaning: visible cracks in the valve body or seat, warped or uneven seating surface that can’t be smoothed, corrosion or deterioration around the valve opening, leaks between the tank and bowl at the flush valve connection, failed repair attempts after cleaning and new flapper installation.
Replacing the entire flush valve assembly requires removing the toilet tank from the bowl. This involves disconnecting the water supply, draining everything, removing the tank bolts, and lifting the tank off. This repair needs more time, patience, and mechanical confidence than most DIY fixes. If you’re not comfortable working with tank bolts and gaskets, or if you notice leaks at the tank to bowl connection, this is a good time to call someone who handles these repairs regularly.
Preventing Future Toilet Running Issues

Proactive maintenance catches small problems before they turn into 6,000 gallons of wasted water per month and utility bills that jump by hundreds of dollars. Regular checks take just a few minutes and save money long term.
Every 3 months, remove the tank lid and do a quick visual check. Look for visible wear on the flapper, verify proper water level, and listen for any hissing or trickling sounds.
Every 6 months, perform the food coloring test even if your toilet seems fine. Slow leaks start small and get worse over time.
Every year, manually test flapper flexibility. Lift it with your hand and feel the rubber. It should bend easily and spring back to shape. Inspect the chain for corrosion or kinks.
Every 3 to 5 years, replace the flapper regardless of whether it seems worn. Rubber deteriorates even if you don’t see obvious cracks. This small investment prevents surprise leaks.
Every 5 to 7 years, replace the fill valve assembly. Components wear out from constant use, and preventive replacement costs less than emergency repairs.
Annually, check tank bolts and washers for rust, corrosion, or looseness. Tighten gently if needed, but don’t overtighten, which can crack the porcelain.
Toilets built before 1994 use more than 1.6 gallons per flush and lack the efficiency standards required in modern fixtures. If your toilet is 20 or 30 years old and you’re replacing parts every couple years, the repair costs add up. Older toilets also lack the improved flush technology that prevents clogs and reduces water use. Consider replacement if you’re making frequent repairs on an aging fixture or if you notice cracks, persistent leaks, or wobbling that suggests structural problems.
Monitor your water bill month to month. A sudden unexplained increase often means a toilet leak started before you heard any running water. Catch it early through your bill and you’ll save hundreds of gallons. Some utility companies even offer free leak detection services or rebates for replacing old, inefficient toilets.
When to Call a Professional Plumber for a Running Toilet

Most running toilet fixes are straightforward DIY projects, but some situations need expert diagnosis and repair skills.
Call a professional when you’ve tried DIY repairs and the toilet still runs after replacing the flapper and adjusting the float. Or when high water pressure throughout your home causes multiple plumbing issues including toilet running, which requires pressure testing and possible regulator installation. If the toilet tank or bowl has visible cracks that leak water onto the floor, that’s not a DIY fix. Same goes for multiple leaks happening at once like tank to bowl connection, supply line, and internal components all failing together.
Tank bolts that are corroded, stripped, or won’t tighten properly need professional attention. You need complete flush valve replacement requiring tank removal. Your toilet was built before 1994 and you want to upgrade to a water efficient model. You’re not comfortable working with plumbing tools or don’t have the necessary equipment. The refill tube is damaged or disconnected inside the tank. Water continues trickling into the bowl after you’ve exhausted all common fixes.
Professional toilet repairs typically cost between $150 and $250 for straightforward component replacement. Full flush valve replacement runs $200 to $300 because of the extra labor involved in removing and reseating the tank. Complete toilet replacement, including hauling away the old fixture and installing a new water efficient model, ranges from $300 to $600 depending on the toilet you choose and local labor rates.
High water pressure deserves special attention because it affects your entire plumbing system, not just the toilet. If you notice toilets running, faucets spitting, or loud banging sounds when you shut off water, pressure might be the underlying issue. Professionals can test your home’s water pressure and install a pressure reducing valve if needed. This fix protects all your plumbing fixtures and appliances from stress and premature failure.
Home Recovery Pro handles all types of toilet repairs, from simple flapper replacement to complex flush valve work and full fixture upgrades. We’ll diagnose the problem, explain your options clearly, and complete the repair with minimal disruption to your day. Our techs carry common replacement parts and can usually fix your running toilet in one visit.
Upgrading to Water Efficient Toilet Models
Replacing an old, inefficient toilet sometimes makes more financial sense than continuing to repair one that’s using excessive water and needing frequent fixes.
| Toilet Type | Gallons Per Flush | Best For | Annual Water Savings vs. Old Toilet |
|---|---|---|---|
| Pre-1994 Models | 3.5 to 7 gallons | None, should be replaced | Baseline (no savings) |
| Standard Modern | 1.6 gallons | Meeting basic efficiency requirements | 12,000 to 20,000 gallons |
| High Efficiency (HET) | 1.28 gallons | Maximum water savings with strong performance | 15,000 to 25,000 gallons |
| Dual Flush | 0.8 (liquid) / 1.6 (solid) | Households wanting flush options for different waste types | 18,000 to 30,000 gallons |
Toilets with the EPA WaterSense label meet strict efficiency and performance standards. They use at least 20 percent less water than standard 1.6 gallon models while still providing effective waste removal. Many local utilities offer rebates ranging from $50 to $150 when you replace an old toilet with a WaterSense certified model. Check with your water utility or visit their website to see what programs are available in your area.
Calculate your potential savings by comparing your current toilet’s water use against a modern efficient model. A family of four flushing an old 5 gallon toilet 20 times per day uses 100 gallons daily just for toilet flushing. That’s 36,500 gallons per year. Switch to a 1.28 gallon high efficiency toilet and the same usage drops to 25,600 gallons annually. The difference, 10,900 gallons, translates to real money on your water and sewer bill. Often $50 to $150 in annual savings depending on your local utility rates.
Beyond the financial benefits, reducing water consumption by thousands of gallons per year helps your local water supply, especially in areas facing drought conditions or water restrictions. Modern efficient toilets also flush more reliably because they’re engineered with better bowl design and improved water flow patterns. If you’re already spending money on repeated flapper replacements, fill valve repairs, and higher water bills because of an aging inefficient toilet, putting that money toward a new fixture makes practical sense.
Final Words
A running toilet wastes up to 6,000 gallons of water every month, but now you know how to stop toilet from running with simple diagnostic tests and targeted repairs.
Most fixes involve replacing a worn flapper, adjusting the fill valve, or correcting the float position. These repairs typically cost $10-$40 and take less than an hour.
Check your toilet components every few months and replace flappers every 3-5 years to catch problems early.
If the issue persists after DIY attempts or you’re dealing with cracked components and high water pressure, Home Recovery Pro can diagnose and repair it quickly so you stop wasting water and money.
FAQ
How do you fix a toilet that keeps running?
You fix a toilet that keeps running by first diagnosing whether the flapper, fill valve, or float is causing the problem, then replacing or adjusting the faulty component. Most running toilet repairs involve replacing a worn flapper, adjusting the chain length for proper seal, or lowering the float to set the correct water level.
What is the most common cause of a constantly running toilet?
The most common cause of a constantly running toilet is a worn or damaged flapper that fails to seal the flush valve properly. Over time, the rubber flapper becomes stiff, cracked, or warped, allowing water to leak continuously from the tank into the bowl, which triggers the fill valve to keep running.
Why does my toilet randomly run for a few seconds?
Your toilet randomly runs for a few seconds, called a phantom flush, because a slow leak through the flapper causes the water level to gradually drop until the fill valve kicks on briefly to refill the tank. This intermittent running indicates the flapper isn’t sealing completely between flushes, though it’s not as severe as constant running.
Why does my toilet sound like it’s constantly running?
Your toilet sounds like it’s constantly running because water is flowing continuously into the overflow tube due to an improperly adjusted float or fill valve, or because water is leaking past a faulty flapper. The hissing sound usually indicates a fill valve issue, while a trickling sound points to a flapper or flush valve problem.
How much water does a running toilet waste per month?
A running toilet wastes approximately 6,000 gallons of water per month depending on the severity of the leak. This continuous water loss can add hundreds of dollars to your utility bills annually, making even small running toilet issues worth fixing promptly for both environmental and financial reasons.
Can I replace a toilet flapper myself?
You can replace a toilet flapper yourself as a straightforward DIY repair that typically takes 15-20 minutes and requires only basic tools like a towel and the replacement flapper. After turning off the water supply and draining the tank, you simply unhook the old flapper from the overflow tube and install the new one with proper chain adjustment.
How often should toilet flappers be replaced?
Toilet flappers should be replaced every 3-5 years as preventive maintenance, even if they haven’t started causing visible problems. The rubber material degrades over time from constant water exposure and chemical cleaners, eventually becoming stiff or warped and failing to create a watertight seal against the flush valve.
What tools do I need to fix a running toilet?
You need basic tools to fix a running toilet including an adjustable wrench, screwdriver, towels, and replacement parts like a new flapper or fill valve. Most running toilet repairs cost between $10-$40 for parts and can be completed with tools already in most homeowners’ toolboxes.
How do I adjust the water level in my toilet tank?
You adjust the water level in your toilet tank by turning the threaded adjustment rod on a float ball system or moving the clip on a float cup system until water sits 1-2 inches below the overflow tube. After making adjustments, flush the toilet and observe where the refill cycle stops to confirm the correct level.
When should I call a plumber for a running toilet?
You should call a plumber for a running toilet when DIY repairs haven’t solved the problem, when you discover cracked tank components, or when high water pressure is causing the issue. Professional help is also recommended for full flush valve replacements, corroded tank bolts, or upgrading pre-1994 toilets that require complete replacement.