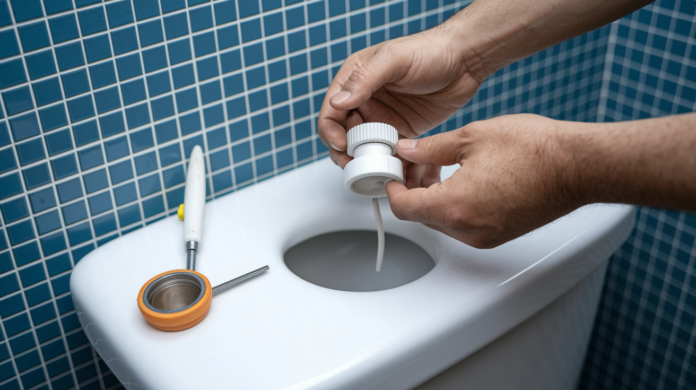

You’ve probably adjusted that toilet handle five times this month, hoping the running water will magically stop. It won’t. A failing flush valve keeps wasting water until you replace it, but the good news is you don’t need a plumber to do it. Most homeowners swap out a Kohler flush valve in under an hour using basic tools and a straightforward process. We’ll walk you through identifying your valve type, getting the right parts, and completing the replacement so your toilet works properly again.
Step-by-Step Process for Kohler Toilet Flush Valve Replacement
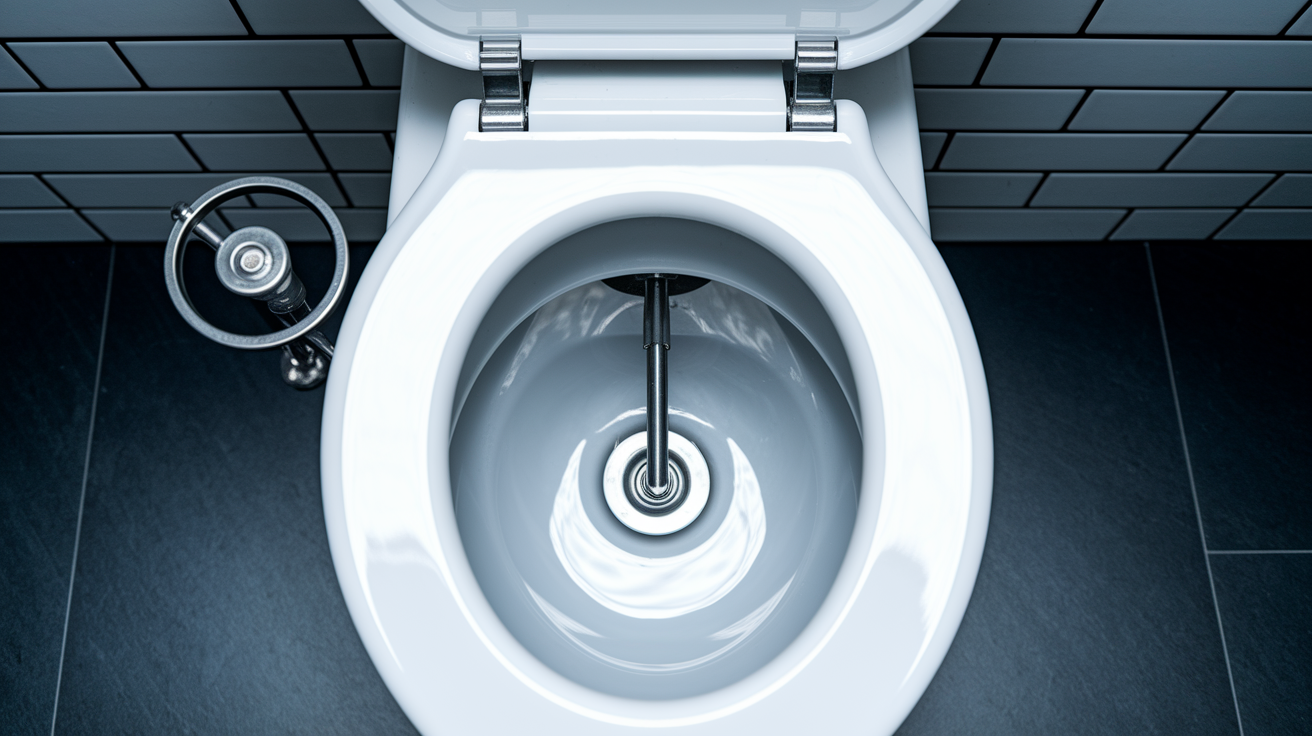
A flush valve replacement means pulling out the old valve assembly from your toilet tank and putting in a new one. Most homeowners finish this in 45 to 90 minutes, depending on the valve style and whether you’ve got to remove the whole tank from the bowl.
Here’s the complete replacement sequence:
- Turn off the water supply valve behind the toilet (turn clockwise until tight)
- Flush the toilet to drain most of the water from the tank
- Use a sponge or towel to remove remaining water from the tank bottom
- Disconnect the refill tube from the overflow pipe
- Unhook the flush handle chain or actuator from the valve
- Remove the mounting hardware securing the valve to the tank bottom
- Lift out the old valve and install the new valve with the proper gasket
- Reconnect all components, turn the water back on, and test the flush cycle
You’ll know the installation is complete when water fills to the proper level and stops, and when the toilet flushes cleanly without running afterward.
Canister-Style Valve Replacement Variations
Empty the tank water completely before starting. Unhook the trip lever chain from the side of the canister. Remove the refill tube from the top canister stop.
Grasp the stem inside the canister and turn the stop counterclockwise to remove it. Lift the canister straight up and off the valve base.
For a complete valve replacement, you’ll need to remove the tank bolts and lift the tank off the bowl. Install the new valve base from inside the tank, pushing it through the tank opening. Secure it from underneath with the provided washer and nut, making sure the gasket sits flat against the porcelain.
For seal-only replacement, remove the old seal from the valve base and press the new seal into place. Replace the canister by setting it back onto the valve base and turning the stop clockwise to tighten. Reattach the trip lever chain and refill tube to their original positions.
These instructions work for canister valves 1059288, 1069722, 1083980, and 1085760, as well as other Kohler canisters with similar stop mechanisms.
Flapper-Style Valve Replacement Variations
Shut off the water supply and drain the tank completely using the flush handle and a sponge. Disconnect the flapper chain from the handle lever by unhooking the clip or removing the S-hook.
Unclip the refill tube from the overflow pipe. Reach under the tank and unscrew the mounting nuts that hold the valve in place. You may need to hold the valve from inside the tank to keep it from spinning.
Remove the old valve by pulling it up through the tank opening. Insert the new valve from inside the tank, making sure the overflow pipe faces toward the front of the toilet. Secure it from underneath with the rubber washer and mounting nut, tightening by hand first, then snugging with pliers.
Reconnect the refill tube to the top of the overflow pipe. Attach the flapper chain to the handle lever with about half an inch of slack when the flapper is closed. This slack ensures the flapper seals properly while still opening fully when you press the handle.
Turn the water back on and watch the first fill cycle. Adjust the chain length if the flapper doesn’t seal completely or if it opens too slowly.
Full valve replacement becomes necessary when you notice cracks in the valve body, when the mounting area shows deterioration, when the overflow pipe has broken sections, or when repeated seal replacements don’t stop running water. Simple seal replacement works when only the rubber components show wear but the valve structure remains solid.
Identifying Your Kohler Toilet Model and Compatible Flush Valve

Model numbers are typically impressed into the tank porcelain near the water line or stamped under the tank lid. You might also find them on the inside back wall of the tank. These numbers usually include both letters and digits, like “K-3493” or “Wellworth.”
Use these methods to identify your specific model:
- Check the tank porcelain for stamped or molded numbers
- Examine your existing flush valve for printed part numbers on the canister or overflow tube
- Measure the overflow tube height from the tank bottom to the top opening
- Identify whether you have a flapper style valve (rubber flapper sealing a circular opening) or canister style valve (cylindrical tower mechanism)
- Visit Kohler’s website and use their model lookup tool with photos of your toilet
Understanding the difference between valve styles matters because they’re not interchangeable. Canister style valves use a tall cylindrical mechanism that lifts to release water, while flapper style valves use a hinged rubber seal. Installing the wrong type won’t work, even if you can force it to fit.
One exception requires special attention. Triangle valve holes need the GP83888 flush valve gasket instead of the standard red washer used with most installations like the 83650 flush valve. Install the GP83888 gasket with its larger flat surface facing toward the tank.
| Toilet Model | Valve Type | Part Number | Overflow Height | Compatible Series |
|---|---|---|---|---|
| Cimarron | Canister | 1044458, 1188998, 1059288 | 9.5″ | One-piece and two-piece |
| Highline | Canister/Flapper | 1069722, 1117210, 85406 | 9.5″ / 8″ | Two-piece |
| Santa Rosa | Canister | 1216612, 1216619 | 8.75″ | One-piece |
| Wellworth | Canister/Flapper | 1069722, 85406 | 9.5″ / 8″ | Two-piece |
| Memoirs | Mixed | 1080961, 1060218, 1042831 | Varies | One-piece and two-piece |
| Devonshire | Flapper | 84665, 1042499 | 8.875″ | One-piece |
| Barrington | Flapper | 85406 | 8″ | Two-piece |
| Northline | Flapper | 85406 | 8″ | Two-piece |
Within each toilet series, different sub-models may require different valve heights or styles. Measuring your overflow tube height confirms you’re ordering the correct replacement, even when the model name matches.
Essential Tools and Materials for Flush Valve Replacement
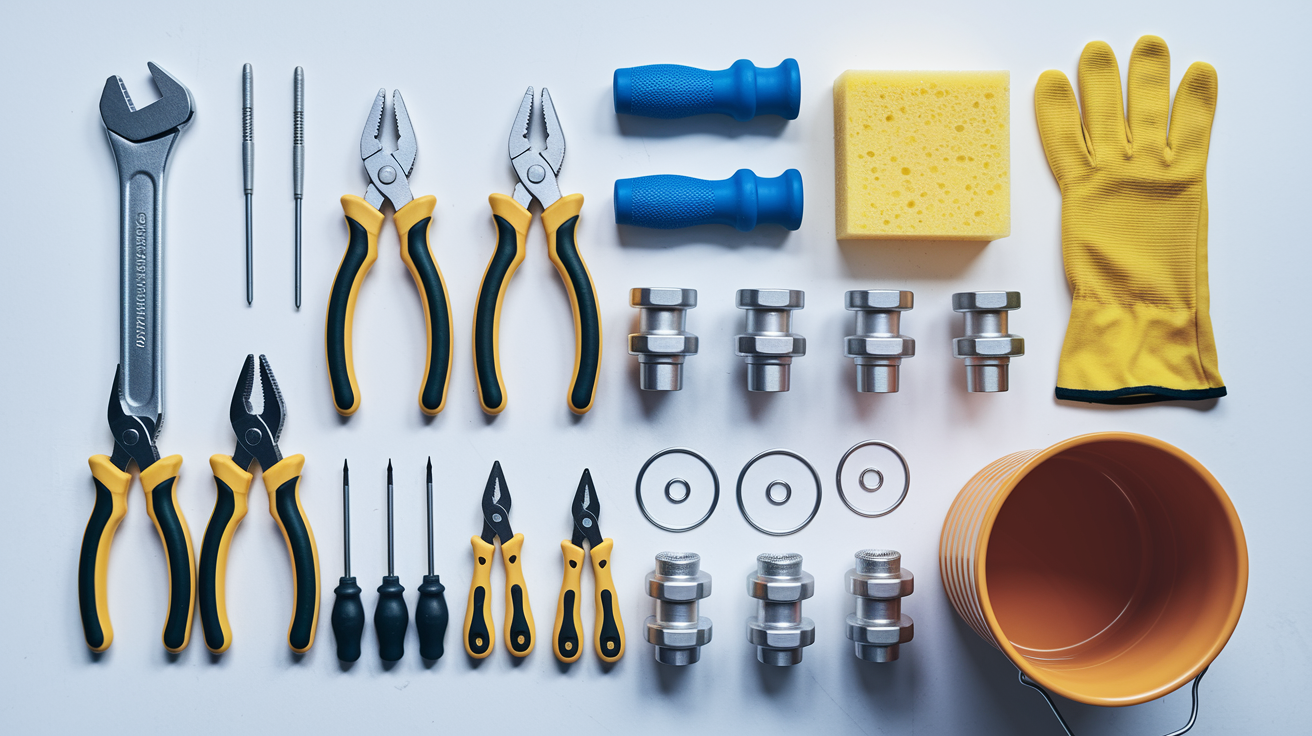
Gathering everything before you start prevents frustrating trips to the hardware store halfway through the job. You don’t want to discover you’re missing a critical tool when your toilet tank is already drained and disassembled.
Required tools and materials:
- Adjustable wrench or slip joint pliers for removing tank bolts and nuts
- Bucket and large sponge for removing water from the tank
- Several old towels for catching drips and protecting floors
- Replacement flush valve kit designed for your specific Kohler model
- Replacement gasket or seal (often included with the valve)
- Flathead and Phillips screwdrivers for various connections
- Flashlight or headlamp for seeing inside the dark tank
- Optional silicone lubricant to help seat rubber gaskets
- Rubber gloves if you prefer to keep your hands dry
Genuine Kohler parts ensure the valve fits precisely in your tank opening and that all mounting hardware matches the original specifications. OEM parts also maintain your toilet’s warranty coverage. Aftermarket valves may fit loosely, leak at connections, or use different mounting dimensions that cause problems.
You can purchase these parts at home improvement stores like Home Depot and Lowe’s, at plumbing supply houses, or through online retailers. Having the correct model number or the old valve with you helps the store associate confirm you’re getting the right replacement.
Diagnosing Flush Issues and When Replacement Is Necessary
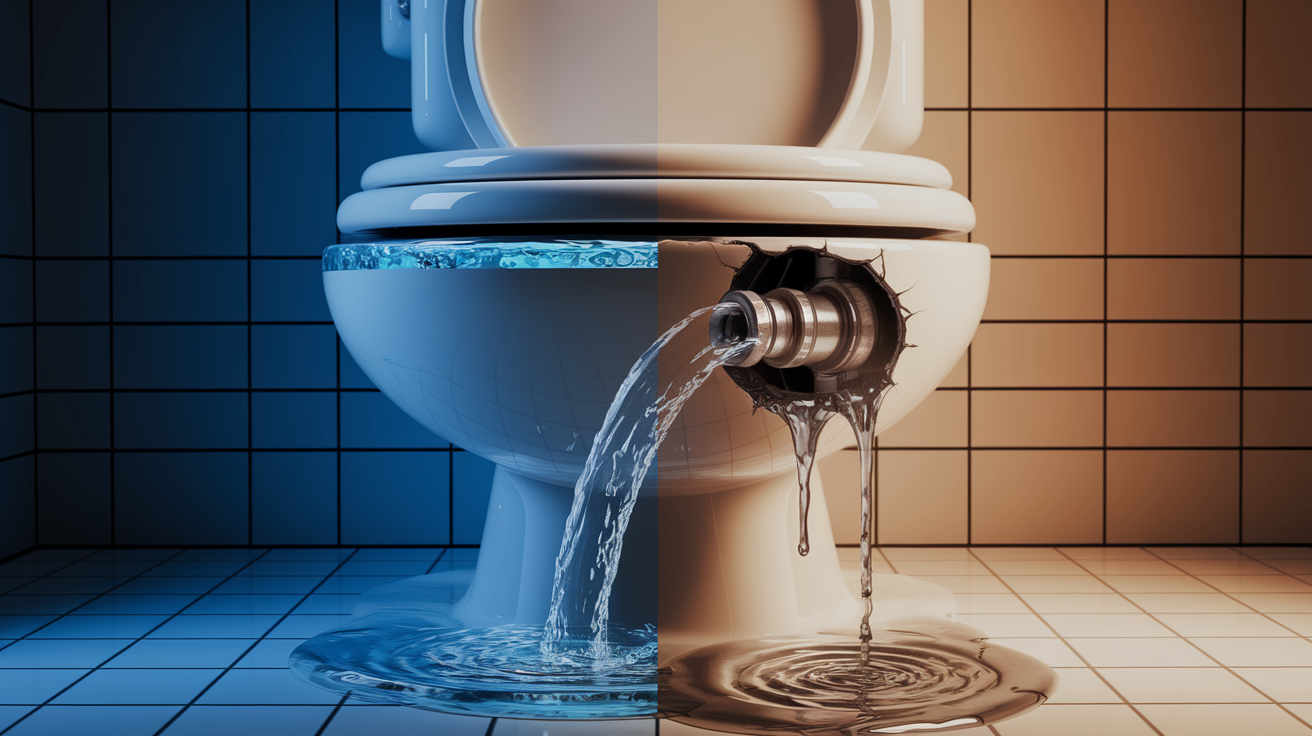
Many flush problems don’t require a complete valve replacement. Sometimes adjustments or simple seal replacements solve the issue and save you time and money.
Common symptoms and their solutions:
- Running toilet: Check that the flapper or canister seal closes completely and that the chain has proper slack
- Weak flush: Adjust the water level higher or check for partial clogs in the rim jets
- Ghost flushing: Replace the flapper or canister seal, which allows water to slowly leak into the bowl
- Continuous running that adjustment doesn’t fix: Full valve replacement needed because internal components have failed
- Incomplete flushing: Verify the water level reaches the marked line on the overflow tube
- Hissing sounds: Inspect the fill valve and make sure the refill tube stays connected to the overflow
- Phantom flushes multiple times per hour: Immediate replacement required because the seal has deteriorated beyond adjustment
- Visible cracks in the canister body or valve base: Critical replacement indicator that could lead to flooding
- Deteriorated seals that crumble when you touch them: Immediate replacement needed before the seal fails completely
Water level adjustment often solves weak flush or running problems without requiring any parts. Turn the adjustment screw counterclockwise to raise the water level. Turn it clockwise to lower the water level. Flush the toilet and keep adjusting until the water sits at the line marked on the overflow tube.
Delaying necessary replacement costs real money. A running toilet wastes 50 to 200 gallons per day, adding $50 to $200 to your monthly water bill depending on your local rates. That same leak can also damage flooring and subflooring if it runs down the outside of the bowl.
Replacement becomes necessary when your valve is seven or more years old, when you’re dealing with multiple symptoms at once, or when adjustments don’t stop the running water within a day or two of trying.
Step-by-Step Installation of Dual Flush Kohler Valves
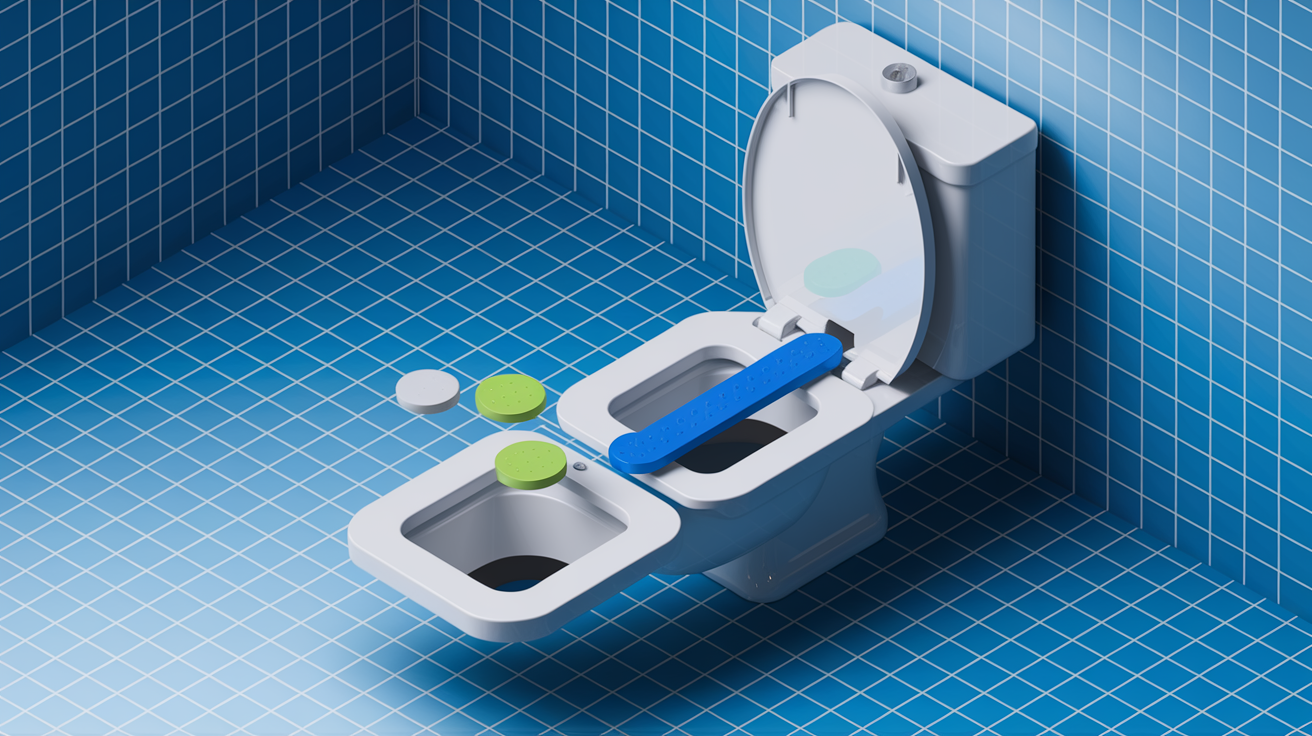
Dual flush systems give you two flush options: a partial flush for liquid waste using about 0.8 gallons, and a full flush for solid waste using the toilet’s maximum rated gallons. This technology shows up in many newer Kohler models and in retrofit kits for older toilets.
Installation steps for dual flush valves:
- Prepare the tank by draining water and removing the old valve
- Ensure the dual flush valve is properly oriented with the flush buttons facing the front of the toilet
- Thread the valve body through the tank opening from inside
- Hand tighten the mounting nut from below the tank, then snug it with pliers
- Connect both flush buttons or actuators to their respective mechanisms on the valve
- Attach the refill tube to the designated inlet on the valve body
- Set the water level according to the manufacturer’s specifications printed on the valve
- Test both the partial flush and full flush functions separately
- Adjust button sensitivity by repositioning the actuator arms if either button requires too much force
Dual flush systems conserve water by matching flush power to what’s actually needed. They typically meet EPA WaterSense standards, which require 1.28 gallons per flush or less for full flushes while still moving waste effectively.
Conversion kits like the Kohler 1B1X can upgrade older single flush toilets to dual flush operation. These kits work on models like Cabernet, Palarre, Pillow Talk, Rialto, Rochelle, and San Raphael, turning them into more efficient fixtures without replacing the entire toilet.
Professional vs. DIY: Cost and Difficulty Comparison

Deciding between doing the replacement yourself or hiring a plumber depends on your comfort with basic plumbing tasks, how much time you have available, whether you already own the necessary tools, and how confident you feel working inside a toilet tank.
| Approach | Typical Cost | Time Required | Skill Level | Pros | Cons |
|---|---|---|---|---|---|
| DIY | $15-60 for parts | 1-2 hours | Beginner to intermediate | Cost savings, learning experience, immediate scheduling, satisfaction of self-sufficiency | Potential for errors, may need to purchase tools, no warranty on labor, stress if problems arise |
| Professional | $150-300 total | 30-60 minutes | Not applicable | Guaranteed work, proper diagnosis, warranty coverage, no tools needed, correct the first time | Higher cost, scheduling delays, minimum service fees, less control over timing |
| Hybrid: DIY with pro consultation | $15-60 parts plus $50-100 consultation | Varies | Beginner | Guided confidence, moderate cost, learn for future repairs, expert confirms compatibility | Still requires your physical labor, professional may recommend full service anyway |
Professional help makes strong sense when you’re dealing with tank to bowl seal issues that require lifting the entire toilet, when you notice cracks in the tank that might indicate bigger problems, or when you’re uncertain about which replacement valve matches your specific toilet model. Plumbers also catch related issues like corroded supply lines or failing shut off valves that you might miss.
Most homeowners with basic tool skills successfully complete flapper and canister valve replacements. The job doesn’t require special plumbing knowledge, and the steps follow a straightforward sequence that’s hard to mess up as long as you work carefully.
Preventing Future Flush Valve Problems and Maintenance
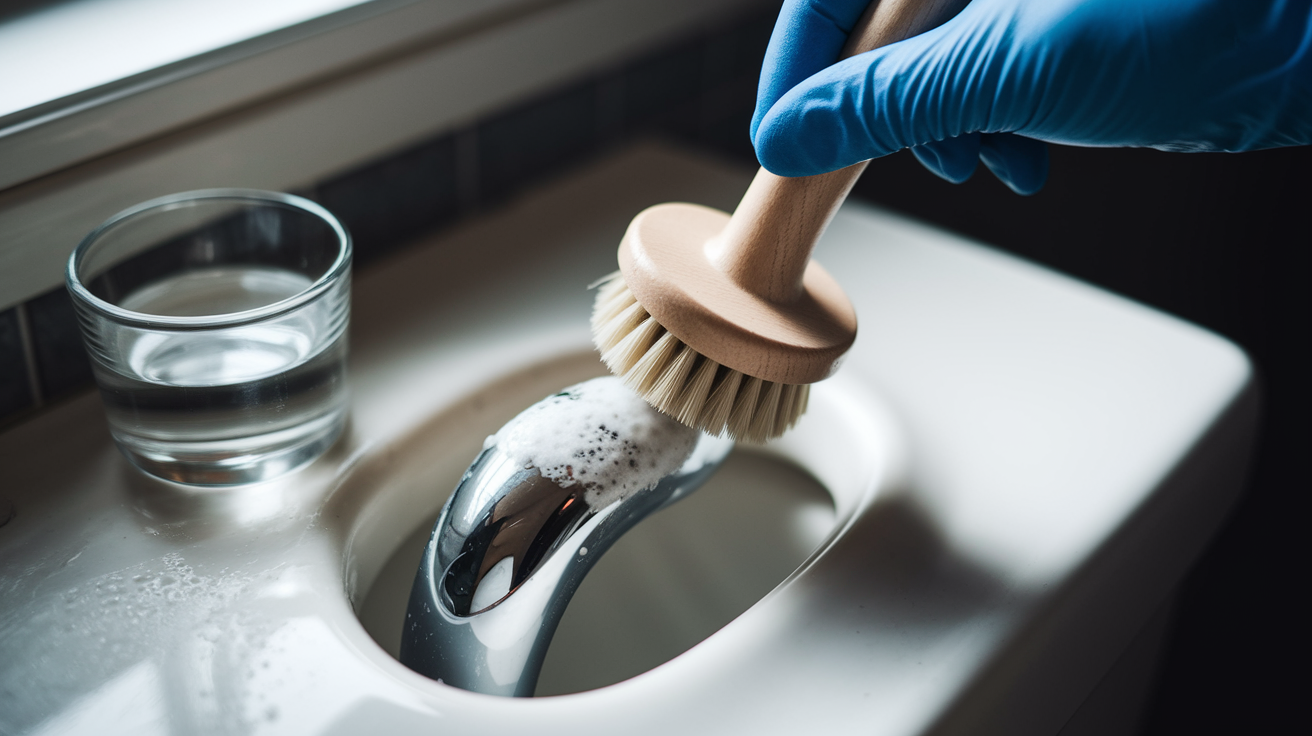
Preventive maintenance extends the life of your flush valve and helps you avoid emergency repairs when you have guests or during holidays. Regular attention also prevents water waste that shows up as higher utility bills.
Maintenance practices that prevent valve failure:
- Inspect seals every six months for signs of wear like cracks or soft spots
- Clean mineral deposits with white vinegar solution every three months
- Avoid chemical tank cleaners that degrade rubber components over time
- Check water level settings seasonally and after any plumbing work
- Test flush performance monthly by watching for weak flushes or running water
- Replace flappers and canister seals every three to five years even if they seem fine
- Monitor for phantom flushes or running water sounds between uses
- Address hard water issues with a water softener or increase cleaning frequency
Cleaning calcium buildup keeps valves operating smoothly. Pour two cups of white vinegar into the tank and let it sit for an hour. Use a soft brush to gently scrub deposits off the valve body, overflow tube, and around seals. Avoid abrasive scrubbers that can damage rubber surfaces and create leak paths.
Expected lifespan varies by component. Canister seals typically last five to seven years. Flapper valves usually need replacement every three to five years because they’re constantly submerged and flexing. Complete valve assemblies last 10 to 15 years with proper maintenance, though hard water areas may see shorter lifespans.
Water Efficiency and EPA WaterSense Compliance

EPA WaterSense standards require certified toilets to use no more than 1.28 gallons per flush. Many older Kohler toilets use 3.5 to 7 gallons per flush, wasting thousands of gallons yearly compared to modern standards.
Kohler’s water efficient technologies include the AquaPiston flush valve and Class Five flushing system. Both designs move waste effectively while using less water. AquaPiston valves use a canister design that lifts straight up, allowing water to enter the bowl from all sides at once for powerful, efficient flushing.
A family of four replacing a 3.5 gallon per flush toilet with a 1.28 gallon model saves approximately 27,000 gallons annually. At typical water rates, that translates to $100 to $300 in yearly savings depending on your local utility costs. The replacement valve pays for itself within months.
Upgrading to high efficiency flush valves as part of bathroom improvements may qualify you for utility company rebate programs. Many water districts offer $50 to $100 rebates for replacing old toilets or installing WaterSense certified components. These upgrades also contribute points toward LEED certification if you’re pursuing green building recognition for your home.
Where to Buy Kohler Replacement Flush Valves
Genuine OEM parts matter for warranty coverage and guaranteed fit. Aftermarket valves may seem cheaper initially, but compatibility problems and shorter lifespans often make them more expensive in the long run.
Purchase sources for Kohler flush valves:
- Kohler.com offers the full selection of replacement parts, technical support staff, and direct shipping from the manufacturer
- Home improvement stores like Home Depot and Lowe’s stock common valve models with immediate availability, in person assistance, and convenient return policies
- Amazon and online retailers provide competitive pricing, customer reviews from other homeowners, and delivery convenience
- Local plumbing supply houses offer expert advice, commercial grade options, and same day availability for urgent repairs
- Authorized Kohler dealers bring specialist knowledge, access to complete product lines including discontinued parts, and installation referrals
- Big box hardware stores carry basic models, offer weekend availability, and work well for common replacements
Before purchasing, verify the part number matches your toilet model, confirm the valve style matches what you’re removing, check what components are included in the kit, and understand the store’s return policy in case you accidentally order the wrong valve.
Prices typically range from $15 for basic flapper style valves to $60 for canister assemblies and dual flush mechanisms. Buying the correct part the first time costs less than ordering twice or hiring a plumber to fix an incorrect installation.
Converting Older Kohler Toilets with Complete Rebuild Kits
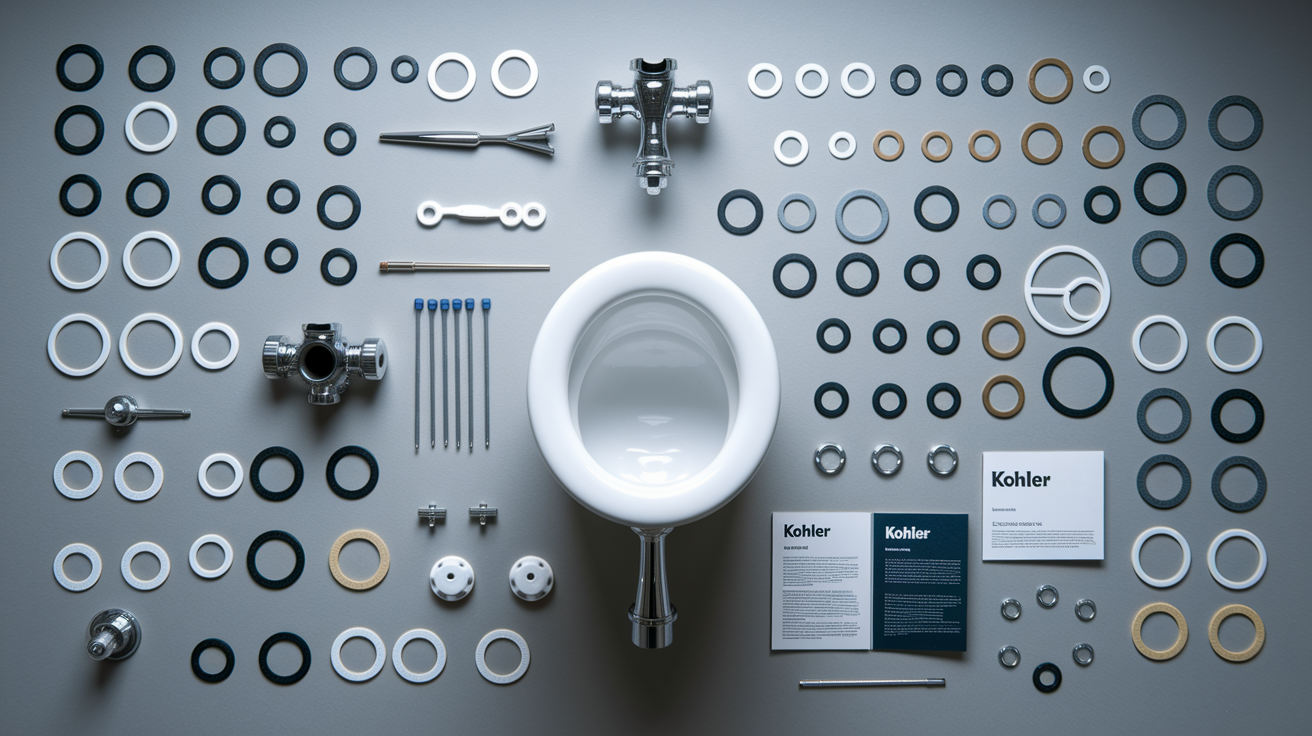
Rebuild kits make sense when your toilet is 15 or more years old, when multiple components are failing at once, or when you want to modernize performance while keeping your existing fixture. They’re especially useful for vintage Kohler toilets that still have sound tanks and bowls worth preserving.
These kits typically include a complete flush valve assembly, a fill valve, all necessary gaskets and washers, mounting hardware, and detailed installation instructions. You get everything needed to restore your toilet to like new operation in one purchase.
Kohler models suited for conversion kits:
- Cabernet, Palarre, Pillow Talk, Rialto, Rochelle, and San Raphael work with the 1B1X complete fill and flush valve conversion kit
- Pompton, Palarre, and Rochelle models fit the 30668 complete float valve kit with 9.5 to 12 inch dimensions
- Champlain models use the 30669 complete float valve kit with 11.5 to 13.5 inch specifications
- Vintage models with discontinued individual parts often accept universal fit conversion options
- Toilets being prepared for resale or rental properties benefit from fresh internal components
Installation difficulty sits at the intermediate level and takes two to three hours. You’ll need to remove the tank from the bowl, which requires disconnecting the water supply and unbolting the tank. The extra time pays off because you’re replacing everything that could fail, not just one component.
Rebuild kits cost $50 to $90 but eliminate the need to source compatible individual parts. They also ensure all components are designed to work together, which matters for proper water flow and flush performance.
Final Words
A Kohler toilet flush valve replacement takes about an hour and solves most running water issues for good.
Once you’ve identified your model, gathered the right tools, and followed the step-by-step instructions, you’ll restore normal function and stop wasting water.
Whether you’re swapping a canister seal or installing a complete dual-flush valve, the process is manageable for most homeowners.
If the job feels like more than you want to tackle, that’s fine. A pro can handle it quickly and confirm everything’s sealed properly.
Either way, you’ll have a toilet that flushes cleanly without the constant running sound.
FAQ
How do you identify which Kohler flush valve you have?
You identify which Kohler flush valve you have by checking the part number stamped on the valve body inside the tank or by measuring the overflow tube height and comparing it to Kohler’s specifications for your toilet model.
Look for impressed numbers on the tank porcelain near the valve base. If no numbers appear, measure from the tank bottom to the top of the overflow tube. Canister valves typically range from 7 to 11.5 inches in height, while flapper valves measure 8 to 10 inches.
You can also check under the tank lid for model information. Some Kohler tanks have the toilet model printed there, which you can cross-reference with compatible valve part numbers.
Can you replace a flush valve without removing the tank?
You can replace a flush valve seal or canister without removing the tank on most Kohler toilets, but replacing the complete valve base requires tank removal to access mounting hardware underneath.
For canister-style valves, unhook the trip lever chain, remove the refill tube, turn the canister stop counterclockwise, and lift the canister off. Replace the seal and reinstall. This takes about 30 minutes and keeps the tank in place.
Full valve replacement means shutting off water, disconnecting the supply line, removing tank bolts, lifting the tank off the bowl, and installing the new valve with a fresh gasket from below.
How do you take apart a Kohler toilet flush valve?
You take apart a Kohler canister flush valve by first unhooking the trip lever chain from the canister side, then removing the refill tube from the top canister stop before turning the stop counterclockwise to release it.
Grasp the stem inside the canister and turn the entire stop assembly counterclockwise. Once it’s loose, lift the canister straight up off the valve base. The seal sits on the base and can be removed by hand.
For flapper-style valves, disconnect the chain from the handle lever, unclip the refill tube, and remove the flapper from the hinge posts on the overflow tube.
How do you determine what model Kohler toilet you have?
You determine what model Kohler toilet you have by checking for numbers impressed into the tank porcelain, looking under the tank lid for printed labels, or examining the inside tank wall near the water line.
Model numbers typically appear as a series of digits stamped into the clay before firing. Common locations include the back wall inside the tank or near the flush valve area. If nothing’s visible, check the underside of the tank lid.
You can also measure key dimensions like overflow tube height and compare them to Kohler’s model specifications. Toilets like Cimarron, Highline, Wellworth, and Santa Rosa have specific valve heights that help confirm identification.
When should you replace the entire flush valve instead of just the seal?
You should replace the entire flush valve when the valve body shows cracks, when adjustments don’t stop continuous running water, or when the valve is over seven years old with multiple symptoms appearing together.
If you see visible damage to the overflow tube, crumbling plastic at connection points, or stripped threads on the canister stop, full replacement prevents future failures. Ghost flushing that persists after seal replacement also indicates base deterioration.
Stick with seal replacement when the valve body looks solid, the overflow tube is intact, and running water stops after installing a fresh gasket or flapper.
What’s the difference between canister and flapper flush valves?
The difference between canister and flapper flush valves is that canister systems use a tall cylindrical seal that lifts straight up, while flapper valves use a hinged rubber disc that tilts open during flushing.
Canister valves appear in many newer Kohler models like Cimarron and Highline. They create a 360-degree seal and typically deliver stronger, faster flushes. Flapper valves are common in older two-piece toilets and some budget-friendly models.
You can’t swap between types without changing the entire valve base. Each system requires specific replacement parts matched to your toilet’s design.
How long does a Kohler flush valve replacement take?
A Kohler flush valve replacement takes 45 to 90 minutes for most homeowners with basic plumbing skills, including time to turn off water, drain the tank, and test the installation afterward.
Seal-only replacement on canister valves takes about 30 minutes since you don’t remove the tank. Complete valve replacement with tank removal typically requires 60 to 90 minutes, especially if tank bolts are corroded or you’re working carefully to avoid cracking porcelain.
Professional plumbers usually complete the same job in 30 to 60 minutes because they have the right tools ready and have done the process hundreds of times.
What causes a Kohler flush valve to fail?
A Kohler flush valve fails due to mineral buildup from hard water, deterioration of rubber seals from chemical cleaners, age-related wear after five to seven years, or physical damage from aggressive cleaning or dropped objects.
Calcium deposits prevent proper sealing and stiffen moving parts. Tank cleaners containing bleach or harsh chemicals break down rubber and plastic components faster than normal wear. Even without abuse, seals naturally harden and lose flexibility over time.
Ghost flushing, continuous running, and weak flushes are the most common signs that valve components have reached the end of their lifespan and need replacement.