
You’ve probably walked past that dead outlet a dozen times, plugging your phone charger into the one across the room instead. But ignoring a single failed outlet isn’t just inconvenient. It might point to a loose connection, a tripped safety device somewhere else in your house, or a circuit that’s quietly overloaded. The good news? Most outlet failures come down to a few simple causes you can check yourself in about ten minutes. We’ll walk you through the safe diagnostic steps and help you figure out when it’s time to call a licensed electrician.
Essential Safety Precautions Before Troubleshooting Your Outlet
Working with electrical systems isn’t something to take lightly. Even a dead outlet can put you at risk for shock, burns, or worse if you skip the basics.
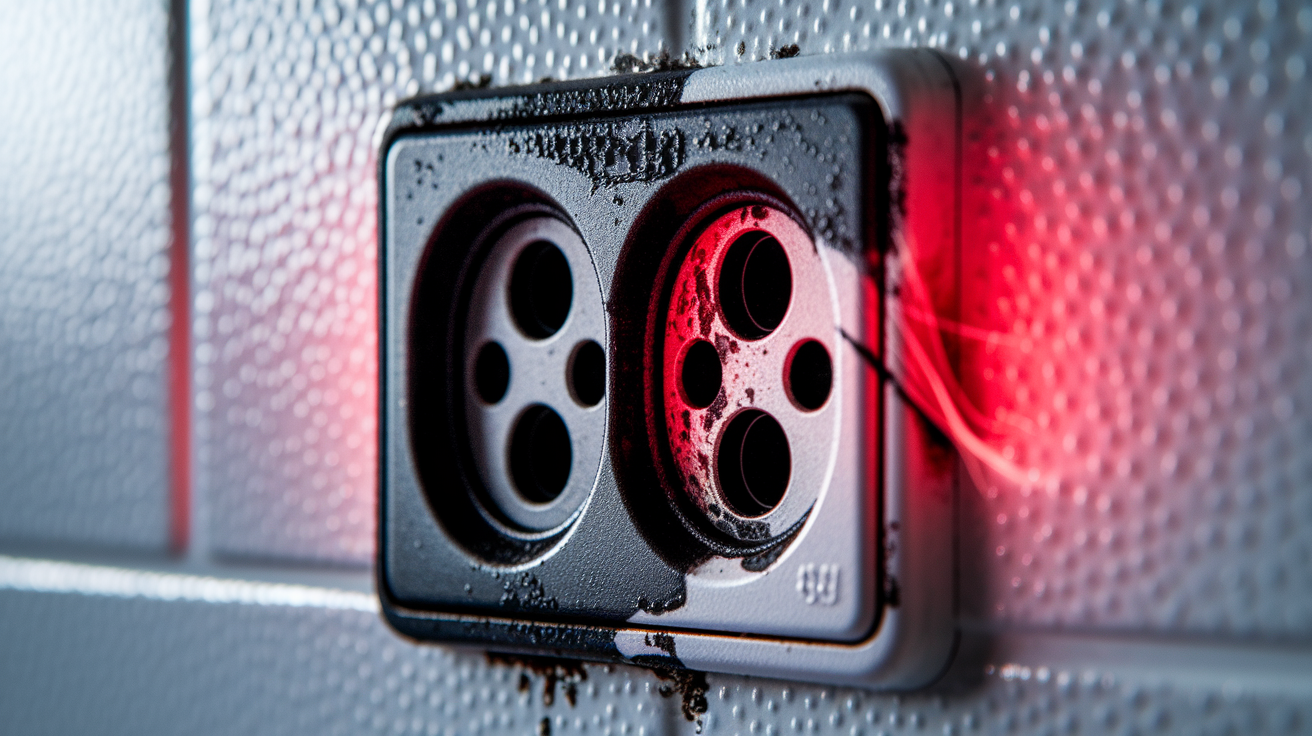
Stop what you’re doing and call a licensed electrician if you see any of these: outlet cover that’s hot or warm when you touch it, burning smell or melting plastic anywhere near the outlet, sparking when you plug things in or pull them out, dark spots or black marks around the outlet or on the faceplate, crackling or buzzing coming from the outlet or inside the wall, visible scorch marks on the cover or inside the box, melted plastic on the outlet itself. These aren’t minor issues. They’re fire hazards.
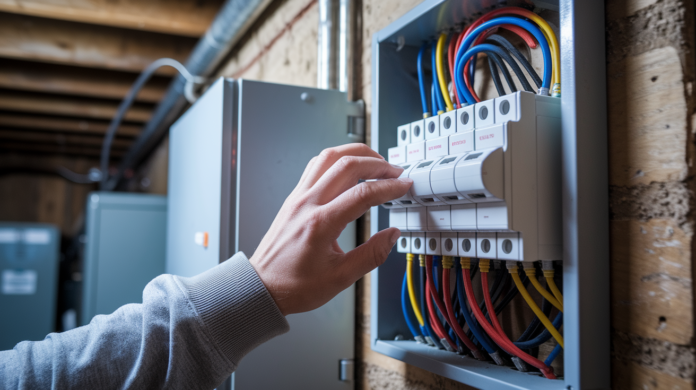
Before you remove any faceplate or get near the outlet components, turn off power at the breaker box. Find the right breaker, flip it to OFF, and test the outlet with a lamp or phone charger to make sure it’s actually dead. If you’ve got any of those danger signs like heat or burning smells, don’t proceed even with the breaker off. Treat every wire like it’s live.
Anything that involves loose wiring, direct contact with wire connections, tightening terminal screws, or swapping out the receptacle needs to be done by a licensed electrician. The risks are real, and sloppy work can create problems that don’t show up until weeks later.
This guide covers the safe diagnostic stuff you can do yourself: resetting breakers, resetting GFCI outlets, and looking things over with the power shut off at the breaker. Ignoring electrical problems just lets them grow from annoying to dangerous.
Quick Diagnostic Checklist: Most Common Causes of Outlet Failure

Start with your breaker. Most outlet failures come down to a few specific causes you can check without touching any wiring.
Work through these steps in order:
- Check for a tripped circuit breaker at the panel and reset it the right way
- Find and reset any tripped GFCI outlets in bathrooms, kitchens, garages, or outside areas (these often control regular outlets in completely different rooms)
- Test whether a wall switch controls the outlet (pretty common for lamp outlets in rooms without ceiling lights)
- Verify the problem by testing the outlet with different devices you know work fine, like a phone charger or lamp, to rule out a bad device
- Turn off power at the breaker, then look for visible damage like loose wires, burn marks, or failed connections
- See if running multiple high power devices at once trips the breaker (that’s circuit overload)
Following this checklist in order solves most outlet problems. The sections below give you detailed instructions for each step.
Step One: Check for a Tripped Circuit Breaker in Your Electrical Panel

A tripped breaker is usually the culprit. It’s the first thing to check because it’s fast and might fix your problem immediately.
Find your electrical panel (breaker box). It’s typically in a basement, garage, utility room, or on an exterior wall. Open the door and look for the breaker that controls the dead outlet. Some panels have labels showing which breaker serves which room or outlet, though older homes don’t always have accurate labels. You’re looking for a switch that’s in the middle position or slightly out of line with the others.
Here’s how to reset it:
- Find the tripped breaker, which sits in the middle position between OFF and ON (not fully either way)
- Push the switch all the way to OFF
- Wait 5 seconds
- Push the switch firmly to ON until it clicks and stays there
Breakers trip for two main reasons: overloaded circuits (too many devices pulling power at once) or short circuits (electrical fault in wiring or a device). The breaker cuts power to protect your home from fire or damage.
If the breaker trips again right after you reset it, that’s a serious electrical problem. Don’t keep resetting it. Call a licensed electrician.
Step Two: Locate and Reset Any Tripped GFCI Outlets

A tripped GFCI in one spot can shut off regular outlets somewhere else in your home. This is the second most common cause of dead outlets, and it catches people off guard because the tripped GFCI might be in a totally different room.
GFCI outlets have test and reset buttons in the center. Building code requires them in bathrooms, kitchens, garages, outdoor areas, basements, and laundry rooms (basically anywhere near water). One GFCI protects multiple regular outlets on the same circuit. When it trips, it cuts power to itself and every outlet downstream. Your dead bedroom outlet might actually be controlled by a GFCI in the garage.
Press the reset button hard until it clicks and stays in. You’ll feel it snap into place. Test the dead outlet to see if power came back.
GFCIs trip when they detect irregular current flow, which happens with moisture or ground faults. After storms or power washing, outlets might need a day or two to dry out completely before they’ll reset. If you press reset and it pops right back out, or if the outlet keeps tripping after it’s had time to dry, you’ve got a circuit problem that needs professional help. The GFCI is doing its job by detecting a fault that needs fixing.
Step Three: Inspect the Outlet and Check for Visible Damage
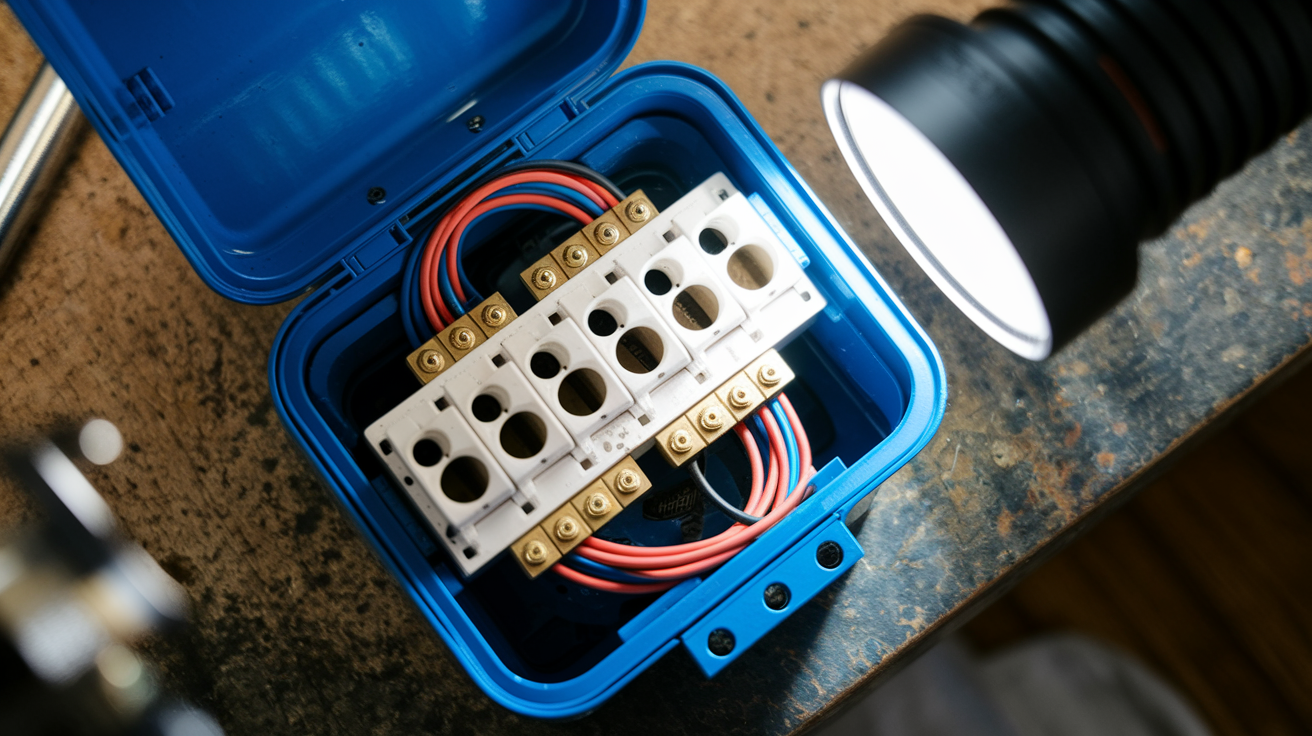
Turn off the breaker controlling the outlet before you remove the faceplate. Confirm it’s off by testing with a lamp or phone charger.
Look for loose wire connections at the terminal screws (the brass, silver, and green screws where wires attach), unreliable backstab connections (wires pushed into holes in the back instead of secured with screws), signs of pest damage like chewed insulation, and any burn marks or discoloration inside the box. Backstab connections loosen over time from heat cycling and eventually cause failure.
Outlets are wired in series. Power flows through one outlet to reach the next one down the line. One failed connection at an upstream outlet can kill multiple outlets downstream. If you’ve got three dead outlets in a row, the problem’s often at the first outlet in that chain. Backstabbed outlets are especially prone to this because the wire can pull loose from the push-in connector.
You can look for obvious damage, but that’s where your involvement ends. Anything involving touching wires, tightening terminal screws, or replacing the outlet requires a licensed electrician. The shock and fire risks from improper work are serious.
Step Four: Test for a Half-Hot or Switched Outlet Configuration

Some outlets are intentionally controlled by wall switches. Testing also helps you figure out if your device is bad rather than the outlet.
Follow these testing steps:
- Plug a device you know works (lamp or phone charger) into the dead outlet
- Try both the top and bottom receptacle
- Flip all nearby wall switches on and off while the test device is plugged in
- Test your original device in a different working outlet to confirm the device itself works
- Use a plug-in outlet tester (available at hardware stores for under $10) to check for wiring faults
Half-hot outlets have one receptacle that’s always powered and one controlled by a wall switch. They’re common in living rooms and bedrooms for lamp control in rooms without ceiling lights. The top receptacle typically stays hot while the bottom is switched, though it varies.
If the outlet works when a specific switch is on, it’s functioning as designed. If multiple working devices fail in the outlet but work fine elsewhere, the outlet itself is faulty and needs replacement by a licensed electrician.
Step Five: Understanding Circuit Overload and Power Distribution Issues

Circuits have maximum amperage limits. Most residential circuits are rated for 15 or 20 amps.
Running multiple high power devices at once can exceed the circuit capacity and trip the breaker, cutting power to the outlet. Space heaters pull 1,500 watts (12.5 amps on a 120 volt circuit), microwaves pull 1,000 to 1,500 watts, hair dryers pull 1,500 watts, and power tools can pull similar loads. Run two of these on the same circuit and you’re at or over the limit.
Practical solutions: spread heavy appliances across different circuits, don’t daisy chain multiple power strips together (creates overload and fire hazards), and understand that kitchen and bathroom circuits often have dedicated 20 amp circuits with higher capacity. Don’t plug a space heater into the same circuit running your microwave and coffee maker.
If an outlet stops working only when certain devices are plugged in, or only when multiple items run at once, the issue’s likely circuit overload rather than a faulty outlet. You need to adjust how you distribute electrical load, not repair the outlet.
When to Call a Licensed Electrician for Professional Diagnosis

Homeowners can safely do diagnostic checks (resetting breakers, resetting GFCI outlets, visual inspection with power off). Actual repairs involving wiring or outlet replacement require a licensed electrician.
Call a professional for these situations:
- Breakers that trip repeatedly after reset, even with nothing plugged in
- Any work requiring direct wire contact, touching terminal screws, or adjusting connections
- Outlet replacement or installation
- Outlets showing physical wear, looseness, or movement when you plug things in
- Flickering or dimming lights along with the dead outlet
- Multiple outlets failing at once in different rooms
Licensed electricians have specialized testing equipment including circuit tracers, multimeters, and thermal cameras that find hidden problems like loose connections behind walls or overheating at the panel. They understand current electrical code and know which repairs need permits and inspection. Professional diagnosis prevents fire hazards from developing.
Typical repair costs run $100 to $250 for general outlet replacement, about $210 to install a GFCI outlet, and higher for issues requiring panel work or extensive circuit diagnosis. Annual electrical system inspections catch developing problems before they become emergencies, especially in homes over 40 years old or homes with aluminum wiring.
Preventing Future Outlet Failures in Your Home
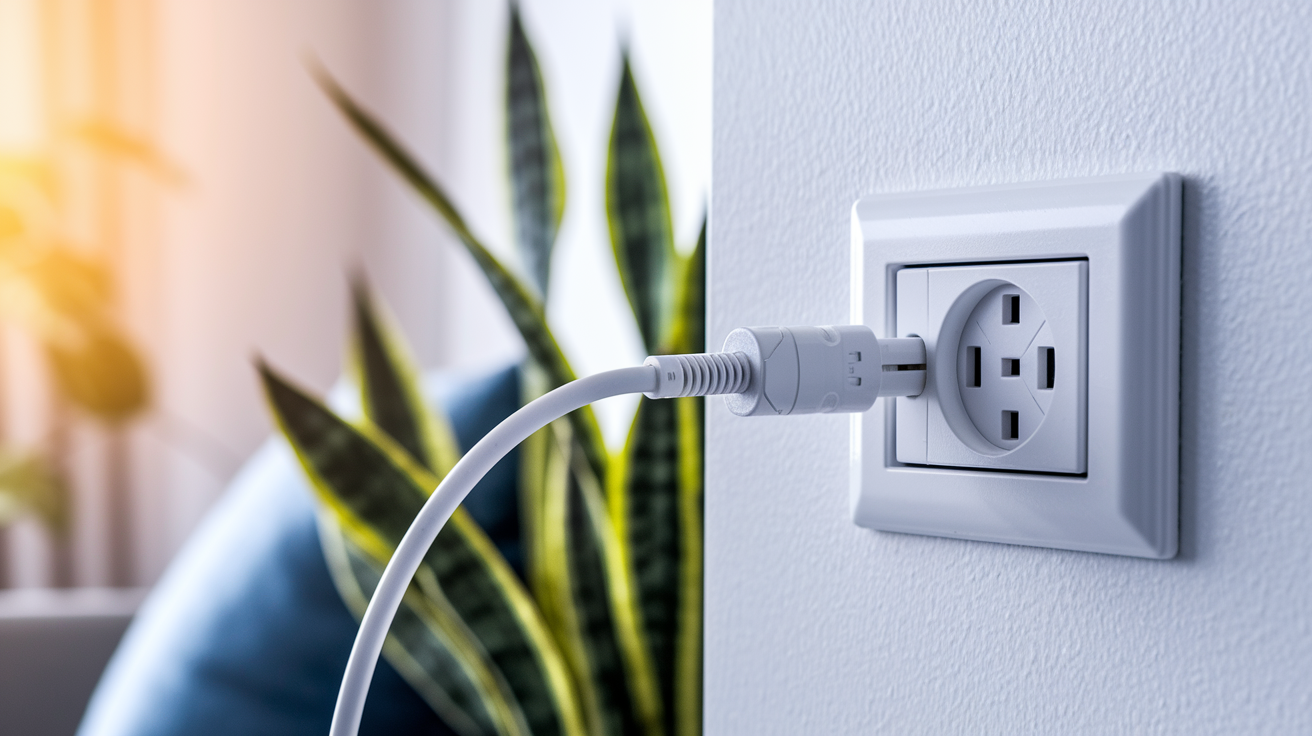
Proper installation, smart usage habits, and maintenance extend outlet life and prevent failures. Small changes in how you use your electrical system make a real difference.
Prevention strategies that work:
- Don’t overload outlets by running only one high power device per circuit
- Make sure you’ve got proper GFCI protection in moisture prone areas (bathrooms, kitchens, garages, outdoor locations)
- Use surge protectors for sensitive electronics like computers, TVs, and audio equipment
- Replace outlets showing any wear, looseness, or difficulty accepting plugs right away
- Make sure all outlets are installed with screw terminals rather than backstab connections during any electrical work (backstab connections fail more frequently)
- Schedule annual electrical system inspections, especially if your home’s over 25 years old
Modern safety features include tamper resistant outlets that prevent kids from inserting objects into the slots (required by code in new construction since 2008), and AFCI breakers that detect dangerous arcing conditions in wiring before they cause fires. If you’re replacing outlets as part of renovation work, upgrading to these safety features adds protection.
Investing in quality installation and proactive maintenance prevents both inconvenient failures and dangerous electrical hazards. An outlet that feels loose or doesn’t grip plugs firmly is telling you it needs replacement before it fails completely or creates a fire risk.
Final Words
Start at the breaker. That’s where most one outlet not working problems get solved.
Work through the GFCI outlets next, especially in bathrooms and kitchens. Those reset buttons fix more dead outlets than most people realize.
If visual checks show damage, heat, or burning smells, stop. Call a licensed electrician right away.
The simple resets and inspections we covered here handle the common stuff. But loose wiring, repeated tripping, and actual outlet swaps aren’t DIY territory.
When you’re not sure, get a pro to take a look. It’s faster than guessing, and a whole lot safer than learning the hard way.
FAQ
Why is my outlet not working but no breaker tripped?
An outlet can stop working without a tripped breaker when a GFCI outlet upstream has tripped, a wall switch controls the outlet, loose wiring has interrupted the connection, or the breaker appears on but still needs a full reset.
Can a single outlet go bad?
Yes, a single outlet can go bad from loose wire connections, failed internal components, backstab connections loosening over time, heat damage from overload, or normal wear from repeated plug insertions over many years.
How do I reset my outlets that aren’t working?
To reset outlets that aren’t working, first push the breaker fully to OFF then back to ON at your electrical panel. Then locate any GFCI outlets in bathrooms, kitchens, garages, or outdoor areas and press their reset buttons firmly until they click.
Can one outlet cause other outlets not to work?
Yes, one outlet can cause other outlets to stop working because outlets are wired in series along a circuit. A single failed connection or burned receptacle upstream cuts power to all downstream outlets on that same circuit.