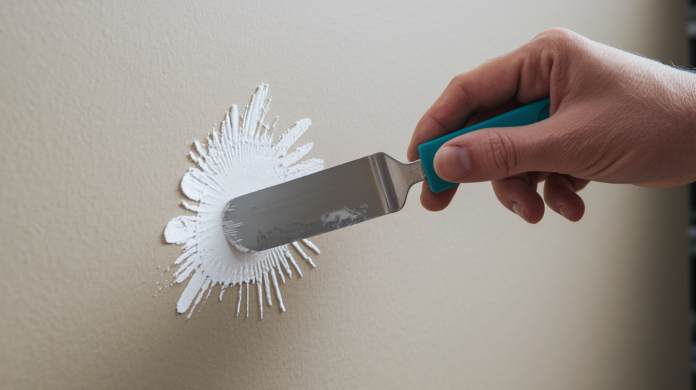

Ever notice how a tiny nail hole somehow catches your eye every single time you walk past it? Those little dents and dings are surprisingly easy to fix, and you don’t need contractor skills to make them disappear. With basic spackle, a putty knife, and about an hour of your time, you can patch small holes in drywall so they blend right back into the wall. This guide walks you through the complete process, from prepping the damaged spot to getting a painted finish that actually matches.
Small Hole Drywall Repair: Complete Step-by-Step Instructions
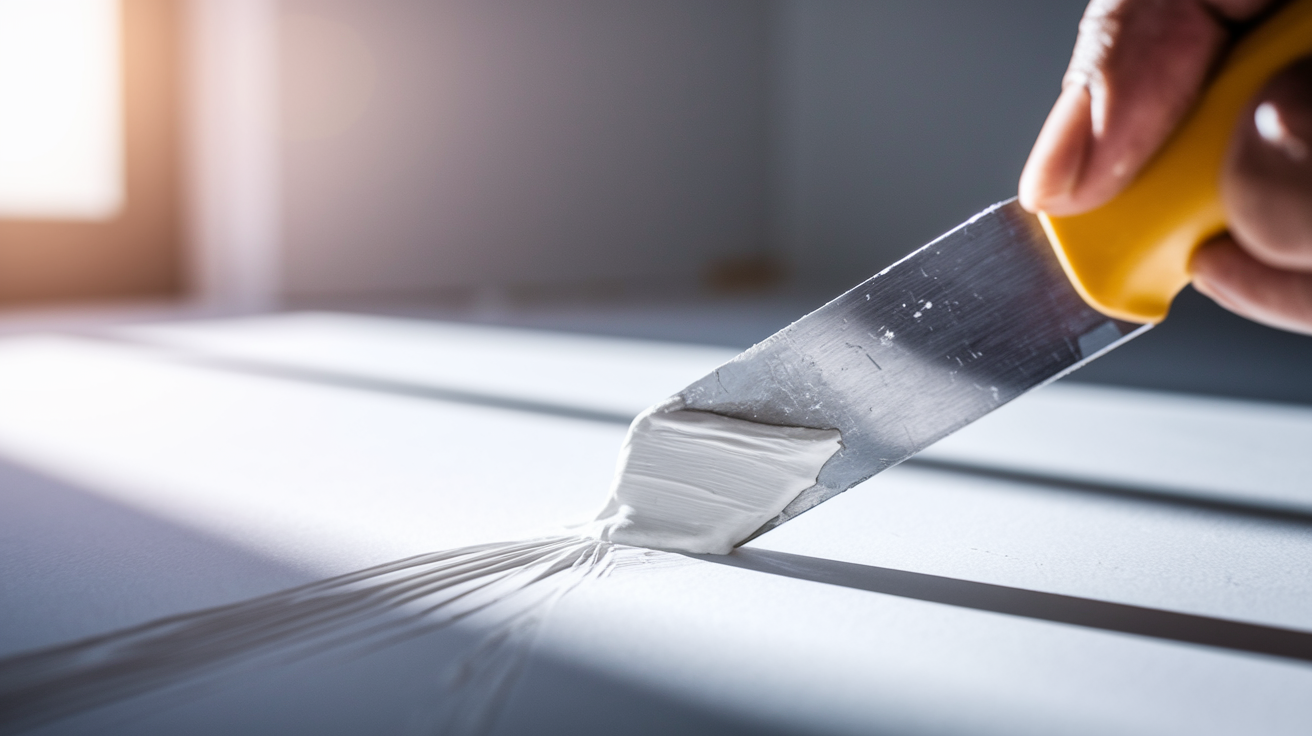
Small holes under ½ inch, like nail holes and screw holes, are easy repairs that take less than an hour from start to finish. These common wall problems respond well to simple spackling that restores a smooth surface without needing special tools or skills.
-
Clean the hole and the area around it by getting rid of loose debris, dust, or sticking out drywall paper, then lightly sand around the hole with 120 to 150 grit sandpaper so the spackle sticks better.
-
Fill the hole with spackle using a putty knife, pushing the compound firmly into the damaged spot to get rid of air pockets and make sure it’s completely filled.
-
Scrape away extra compound by dragging the putty knife across the repair at a slight angle, making a flush surface that sits level with the wall around it.
-
Let the repair dry completely. This usually takes 30 to 60 minutes depending on humidity and how big the repair is.
-
Sand the dried patch smooth using 120 to 150 grit fine sandpaper in gentle circular motions until the repair blends with the wall.
-
Prime and paint the patched area to finish the repair and stop flashing or shiny spots from showing through.
If you run into stuck wall anchors while cleaning up, grab them with pliers and pull straight out, or push them into the wall cavity using a screwdriver handle.
Essential Tools and Materials for Drywall Hole Repairs

Having what you need before you start makes the repair go smoother and helps you get professional looking results without extra trips to the hardware store.
| Tool/Material | Purpose | Hole Size Category |
|---|---|---|
| Lightweight spackling paste | Quick drying compound for filling small holes | Under ½ inch |
| Joint compound | Finishing material for larger repairs and multiple coats | ½ inch to 3 inches |
| Putty knife (2 to 4 inch) | Applying and smoothing compound into holes | All sizes |
| 120 to 150 grit sandpaper | Preparing surface and final smoothing | All sizes |
| Medium grit sandpaper | Initial sanding of dried compound | All sizes |
| Sanding block | Even pressure during sanding for flat results | All sizes |
| Dust mask | Respiratory protection during sanding | All sizes |
| Drop cloth | Protecting floors from dust and compound drips | All sizes |
| Primer | Sealing patched area before painting | All sizes |
| Touch up paint | Final color matching | All sizes |
Pre-packaged drywall repair kits are available at most hardware stores and come with spackling compound, a putty knife, and sandpaper for holes up to 3 inches wide. These kits usually cost between $8 and $20, so they’re a convenient and affordable option for occasional repairs. Always wear a dust mask when sanding to protect your lungs from fine drywall dust, and put down a drop cloth to make cleanup easier.
Selecting the Right Compound: Spackle vs Joint Compound

Spackling compound works best for small holes under ½ inch because it dries quickly, usually within 30 to 60 minutes, and doesn’t need much sanding. Joint compound is better for larger repairs where you need to build up multiple thin layers over a mesh patch or bigger damaged area.
Lightweight spackling paste is made specifically for quick nail hole and screw hole repairs. It sticks well and doesn’t shrink much. If you’re just filling a few picture hook holes before repainting a room, lightweight spackle is your fastest way to get done.
Pre-mixed formulas come ready to use straight from the container. Dry mix joint compound lets you mix only what you need for each job, which cuts down on waste for smaller repairs. All purpose joint compound handles most repair situations, while setting type compound gives you a harder, more durable finish for high traffic areas or repairs that need extra strength.
Even products labeled as primer enhanced spackle still need a separate primer coat before painting to prevent flashing and make sure the patched area accepts paint the same way as the wall around it. This extra step is what makes the difference between a noticeable repair and one you can’t see.
Applying Compound to Small Drywall Holes
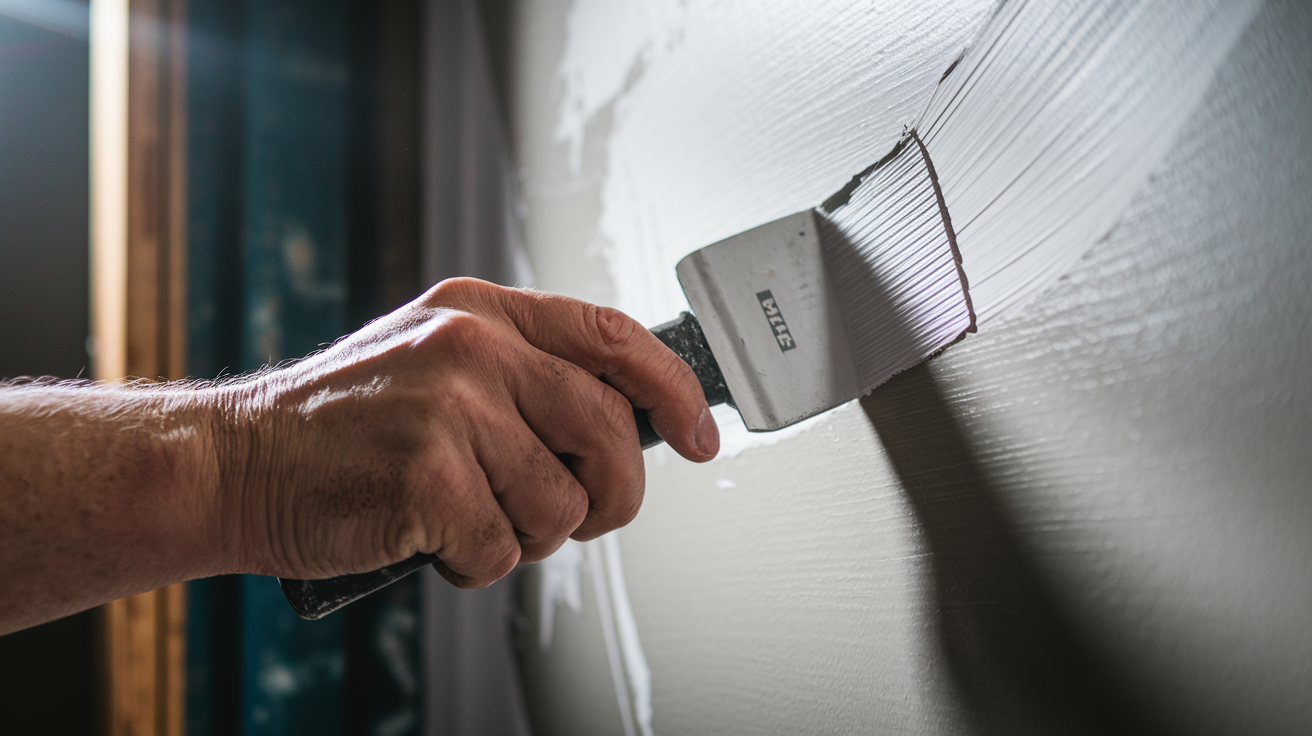
Apply spackle slightly higher than the wall surface, making a small mound over the hole. The compound shrinks as it dries and this compensates for that natural shrinkage. This approach prevents the common problem of a sunken patch that needs more filling and sanding.
Hold your putty knife at roughly a 45 degree angle and press the compound firmly into the hole, then drag the knife across the surface to scrape away extra material and level the repair. You want to fill the damaged area completely while keeping the wall around it as clean as possible.
Key application techniques include:
- Apply thin, even layers instead of one thick glob, which cuts down on cracking and speeds drying time
- Use a crisscross pattern by making one pass horizontally and another vertically to make sure you’ve got complete coverage
- Feather the edges outward by gradually reducing pressure as you move the knife away from the center, blending the compound into the surface around it
- Create a flush surface that sits level with the wall, not recessed below or mounded way above
- Level the compound properly by making a final pass with the putty knife held nearly flat against the wall
For door and window repairs around frames and trim, these techniques work really well because the feathered edges blend naturally into the surfaces next to them.
Drying Time and Conditions for Drywall Repairs
Spackling compound usually dries within 30 to 60 minutes, while joint compound needs about 1 hour before you can sand it. These times change based on humidity levels, air temperature, and how thick you applied it. High humidity extends drying time, sometimes doubling it, while dry conditions with good air circulation can speed things up.
Never rush the drying stage by sanding before the compound fully cures or you’ll create a gummy mess that needs cleaning off and reapplication.
Proper ventilation helps moisture escape from the drying compound and speeds the curing process without needing fans pointed right at the repair. If you’re applying multiple coats, allow 2 to 3 hours of drying time between applications to stop the weight of wet compound from pulling away from the wall. Apply a second thin coat if you notice problems, shrinkage, or low spots after the first application dries, then wait another full drying cycle before sanding. Some repairs, especially deeper holes or those in humid environments, benefit from a full 24 hour cure before final sanding and painting.
Sanding Techniques for a Smooth Drywall Finish

Sanding turns a rough patch into an invisible repair, but you need a light touch and the right sequence. Rushing this step or using too much pressure creates more problems than it solves.
Start with medium grit sandpaper around 120 grit to knock down high spots and shape the general contour, then switch to fine grit sandpaper in the 150 grit range for the final smoothing.
-
Begin with medium grit sandpaper to level any compound that sits higher than the wall surface around it, using light pressure.
-
Progress to fine grit sandpaper once the repair feels nearly flush with the wall, which refines the surface and removes scratches left by coarser grit.
-
Use gentle circular motions instead of aggressive back and forth strokes, which helps you keep control and prevents gouging.
-
Check the surface frequently by running your hand across the repair and looking at it from different angles under good lighting to catch problems before painting.
For dust control, wipe the wall with a slightly damp cloth between grit changes and after final sanding to remove particles that would otherwise mess with primer adhesion. Wet sanding, which involves dampening the sandpaper and using very light pressure, almost completely gets rid of airborne dust and works well in occupied spaces where dust control matters. Always wear an N95 mask and eye protection during sanding because drywall dust is really fine and irritating to lungs and eyes. Sand with gentle circular motions to avoid oversanding, which can expose the brown paper layer of the drywall and create a fuzzy texture that shows through paint.
Priming and Painting Patched Drywall Areas

Apply a full coat of interior primer over the entire patched area before painting, even if you used primer enhanced spackle. This step prevents flashing, those shiny or dull spots that appear when paint absorbs differently into repaired areas versus the original wall surface.
Roll or brush primer at least 2 inches beyond the edges of your repair to make sure you’ve got complete coverage and smooth blending with the existing paint. Let the primer dry according to the manufacturer’s instructions, usually 1 to 2 hours, before applying your finish paint.
Paint matching needs attention to both color and sheen. If you’re working with a color other than basic white, take a paint chip from an out of the way spot or check if you have leftover paint from the original job stored in your garage. Even “the same” color from the same manufacturer can look different between batches, so using original paint guarantees the best match.
Texture matching matters just as much as color on textured walls with orange peel or knockdown finishes. Use a higher nap roller, usually ⅜ inch to ½ inch, when painting textured walls to match the existing surface pattern and make your repair disappear completely. For truly small touch ups on smooth walls, refillable paint pens give you a quick option that doesn’t need any cleanup and applies paint exactly where you need it.
Repairing Medium Sized Holes with Self Adhesive Patches

Medium holes ranging from ½ inch to 3 inches across need more support than spackle alone can provide. Self adhesive mesh patches create a stable base for joint compound. These repairs take more time than simple spackling but still stay accessible to beginners, and many homeowners prefer to handle them personally rather than scheduling drywall repair and patching service calls for minor damage.
-
Sand or wipe the surface clean around the damaged area, removing any loose drywall material, dust, or paint flakes that would prevent good patch adhesion.
-
Cut the mesh patch to size, making it 1 inch larger than the hole on all sides rather than using the entire sheet, which creates less compound buildup and easier edge blending.
-
Apply the patch by removing the adhesive backing and pressing it firmly over the hole, smoothing from the center outward to get rid of air bubbles.
-
Apply a thin compound layer using a putty knife, extending the coverage 1 inch past the patch edges and feathering outward to create a gradual transition.
-
Repeat compound application for a second coat after 2 to 3 hours of drying time, and add a third coat if needed to completely hide the mesh texture.
Two thin compound layers usually achieve a smooth finish and hide the screen pattern of the mesh patch, though deeper holes or those with uneven edges sometimes need that third application. Let each coat dry 2 to 3 hours before adding the next, and don’t give in to the temptation to apply thick layers, which crack as they dry. Feathering the edges outward in gradually wider circles with each coat makes the repair blend smoothly into the wall around it. Cutting mesh patches to size instead of using oversized pieces makes blending easier on repairs closer to the ½ inch range because you’re building up less compound thickness at the edges.
Common Mistakes and Troubleshooting Drywall Patches
Understanding where repairs typically go wrong helps you avoid frustration and get professional looking results on your first try.
- Applying compound too thin causes too much shrinkage and creates a sunken patch that needs additional filling
- Oversanding and exposing paper creates a fuzzy brown texture that shows through paint and needs re-coating
- Skipping primer leads to flashing where the patch appears as a dull or shiny spot under finish paint
- Rushing drying time results in gummy compound that pulls away from the wall or creates adhesion failures
- Not feathering edges properly leaves a noticeable ridge around the repair that casts shadows under certain lighting
- Poor adhesion from dirty surfaces happens when dust, grease, or loose paint prevents compound from sticking
- Reinstalling hardware in the same patched spot compromises the repair before it fully cures and often causes cracking
If cracks appear in your patch after drying, you probably applied the compound too thick or didn’t allow enough drying time between coats. Small hairline cracks can be fixed by applying another thin coat right over them after sanding lightly, while larger cracks suggest you need to scrape out the damaged compound and start fresh.
Wall problems that show up after your initial repair and sanding usually mean you need a second or third thin coat to build up the surface gradually. Apply these additional layers in wider circles than previous coats, feathering even further outward to blend the repair invisibly. Patience and proper technique, not speed, create invisible repairs that last for years.
Estimated Time and Cost for Small Hole Repairs

Small holes under ½ inch take less than 1 hour total time from start to finish, including the compound application, drying, sanding, and priming stages. You can usually complete several small repairs in one session while waiting for individual patches to dry.
Medium holes from ½ inch to 3 inches require 2 to 3 hours spread over multiple days because each coat of joint compound over the mesh patch needs 2 to 3 hours to dry before adding the next layer. Material costs stay minimal. A basic spackle kit runs $5 to $15, sandpaper costs $3 to $8, and primer and paint are often already in your garage from previous projects. Pre-packaged drywall repair kits offer convenient all in one solutions that include compound, application tools, and sandpaper for holes up to 3 inches wide, usually priced between $8 and $20.
This repair is beginner friendly and affordable compared to professional services, which typically charge $75 to $150 for a service call even for minor fixes. When done properly with enough drying time and careful sanding, your DIY repair becomes both a quick fix for immediate cosmetic concerns and a permanent solution that lasts as long as the wall around it. These routine household repairs build confidence for tackling other DIY home improvement projects around your property.
Special Considerations for Rental Properties and Move Out Repairs
Nail holes and small wall damage from picture hooks, command strips, and wall anchors are among the most common move out repairs that affect security deposit returns for renters. Landlords usually expect tenants to return walls to their original condition, and unrepaired holes often result in charges of $50 to $100 or more from the security deposit.
Rental property maintenance between tenants needs efficiently handling multiple small repairs throughout a unit, and touch up paint pens provide a quick solution for lots of nail holes in rooms where the wall color is standard white or beige. Focus on visible damage first, especially in living rooms, bedrooms, and hallways where holes are at eye level and most noticeable.
If you’re a landlord managing multiple properties or a renter facing extensive wall repairs, carpentry and handyman repairs services can handle all cosmetic fixes efficiently before new tenants move in or final move out inspections occur. Minor wall damage repairs are typically considered normal wear and tear only if they’re properly patched and painted before turnover, and taking care of these small fixes yourself saves hundreds in professional repair fees or lost deposit money.
Final Words
You can patch small holes in drywall with basic supplies and straightforward techniques.
Most repairs take under an hour for nail holes and screw holes, with slightly more time needed for medium-sized damage that requires mesh patches.
The key is taking it step by step: clean prep, thin coats, patient drying, gentle sanding, and proper priming before paint.
If you’ve been staring at those spots for months, it’s easier to fix than you think. And once it’s done, the wall looks normal again.
FAQ
How to repair a small hole in drywall?
To repair a small hole in drywall (under ½ inch), clean loose debris around the opening, sand lightly with 120-150 grit sandpaper, fill the hole with spackle using a putty knife, scrape excess to create a flush surface, let dry 30-60 minutes, sand smooth, then prime and paint.
How big of a hole can you patch in drywall?
You can patch holes in drywall up to 3 inches in diameter using self-adhesive mesh patches and joint compound. Holes under ½ inch only need spackle, while medium holes (½ to 3 inches) require mesh patches cut 1 inch larger than the hole on all sides for proper reinforcement.
How to cover up a tiny hole in the wall?
To cover up a tiny hole in the wall, fill it with lightweight spackling paste using a putty knife, scrape away excess compound to create a smooth surface, allow 30-60 minutes to dry, lightly sand the area, then touch up with matching paint over a coat of primer.
Can I use spackle for small drywall holes?
Yes, you can use spackle for small drywall holes under ½ inch in diameter. Spackle dries faster (30-60 minutes) than joint compound and works well for nail holes and screw holes, making it the preferred choice for quick, small repairs requiring minimal drying time between coats.
What grit sandpaper should I use for drywall patches?
You should use 120-150 grit fine sandpaper for drywall patches. Start with medium grit (120) to level the repair, then finish with fine grit (150) using gentle circular motions to avoid oversanding and exposing the drywall paper underneath the patched area.
Do I need primer before painting a patched area?
Yes, you need primer before painting a patched area, even if using primer-enhanced spackle. Apply a full coat of interior primer over the entire patched section to prevent flashing (shiny spots) and ensure the touch-up paint blends seamlessly with the surrounding wall surface.
How long should drywall compound dry between coats?
Drywall compound should dry 2-3 hours between coats for medium repairs requiring multiple applications. Spackling compound dries in 30-60 minutes for small holes, while joint compound takes approximately 1 hour, though humidity and repair size can affect these drying times.
What’s the difference between spackle and joint compound?
Spackle is best for small holes under ½ inch and dries faster (30-60 minutes), making it ideal for quick repairs. Joint compound works better for larger repairs, requires longer drying time, and comes in pre-mixed or dry mix formulas for different applications and batch sizes.
How do I prevent cracking in drywall patches?
To prevent cracking in drywall patches, apply compound in thin, even layers rather than one thick application, allow proper drying time between coats (2-3 hours), feather edges outward for seamless blending, and avoid reinstalling hardware like screws or nails in the exact same patched spot.
How much does it cost to repair small drywall holes?
Repairing small drywall holes costs $5-15 for a basic spackle kit plus $3-8 for sandpaper. Many homeowners already own primer and paint, making this a cost-effective repair. Drywall patch kits for holes up to 3 inches provide convenient all-in-one solutions at similar price points.
Can renters repair nail holes before moving out?
Yes, renters can repair nail holes before moving out using spackle and touch-up paint. Filling nail holes and picture hook damage is typically a tenant responsibility affecting security deposit returns. Refillable paint pens provide quick touch-up options for rental property fixes involving multiple small repairs.
What tools are essential for drywall hole repair?
Essential tools for drywall hole repair include lightweight spackling paste or joint compound, putty knife (4-6 inch), 120-150 grit sandpaper, sanding block, primer, matching paint, dust mask, and drop cloth. Drywall patch kits include multiple supplies for convenient repairs up to 3 inches wide.