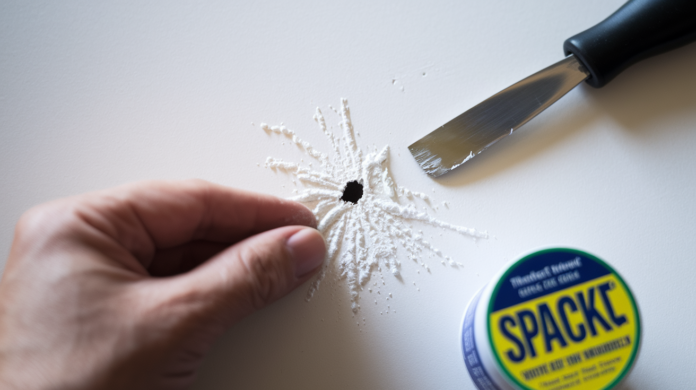

You’ve probably walked past that dent from moving your couch a dozen times, telling yourself you’ll fix it later. Small holes in drywall feel like they should be hard to repair, but most take under an hour and cost less than ten dollars in materials. The real trick is matching your repair method to the hole size, because a tiny nail hole needs different treatment than a doorknob ding. This guide walks you through exactly what works for holes under three inches, from the first dab of spackle to a completely invisible finish.
What Causes Small Holes in Drywall and Quick Repair Overview
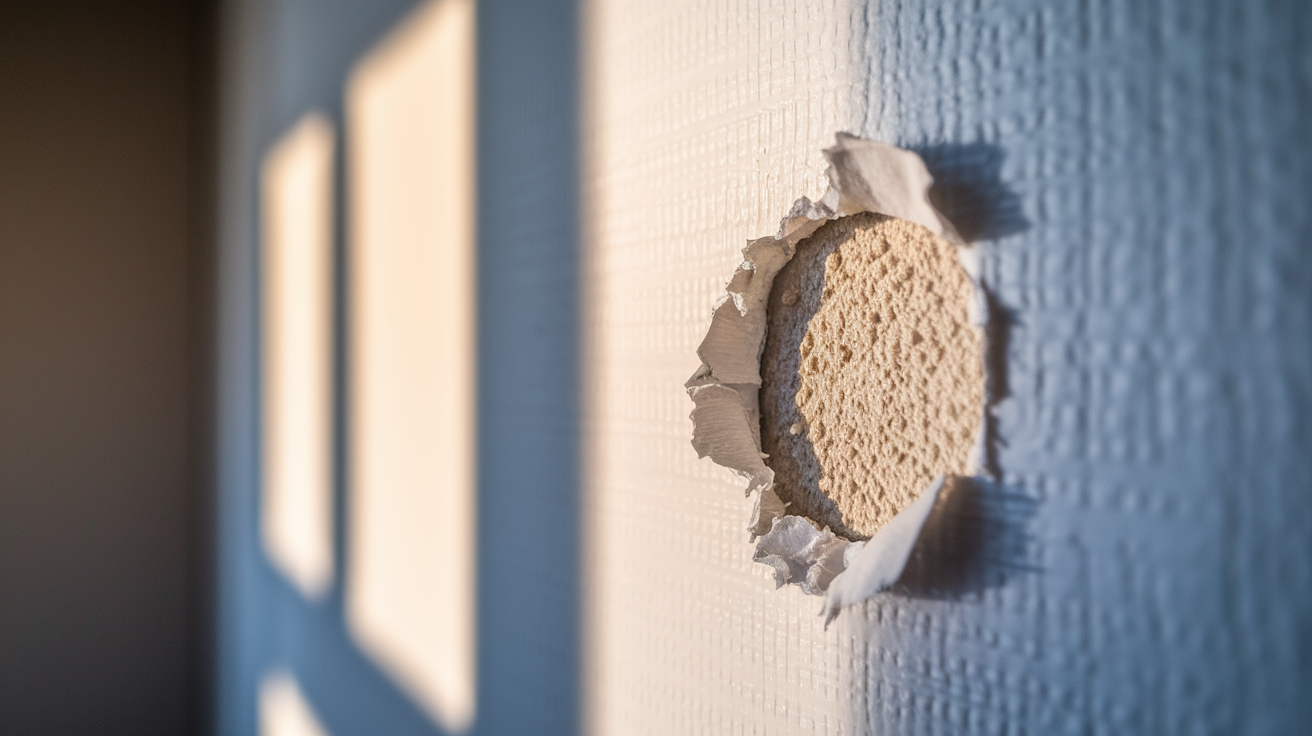
Small holes in drywall under ½ inch get fixed with direct spackle application. Medium holes from ½ to 3 inches need mesh patches for structural support. Tiny nail holes measuring ⅛ inch or smaller? Just a quick dab of spackle. Most small holes, roughly the size of a dime or drywall anchor, come from everyday living and they’re simple cosmetic repairs requiring basic materials and minimal time.
Common causes of small holes include:
- Nail holes from removed picture frames and artwork
- Screw holes left behind from shelving units and brackets
- Wall anchor removal after dismounting TVs or heavy decorations
- Door handle dings from knobs hitting walls
- Furniture impacts from moving beds, dressers, or tables
- Accidental punctures from vacuum cleaners or falling objects
- Previous mounting hardware from outdated fixtures
- Wear and tear from everyday living over years
Hole size determines repair method because tiny holes need only spackle to fill the void. Small holes benefit from slight overfilling to compensate for compound shrinkage as it dries. Medium holes require the structural support of mesh patches to prevent cracking and ensure the repair holds long term. Proper method selection based on actual hole diameter ensures durable, invisible repairs that blend into the surrounding wall.
Most small hole repairs take under one hour from start to finish, including drying time. That makes them cost effective DIY projects compared to hiring professional help.
Essential Tools and Materials for Repairing Drywall Holes
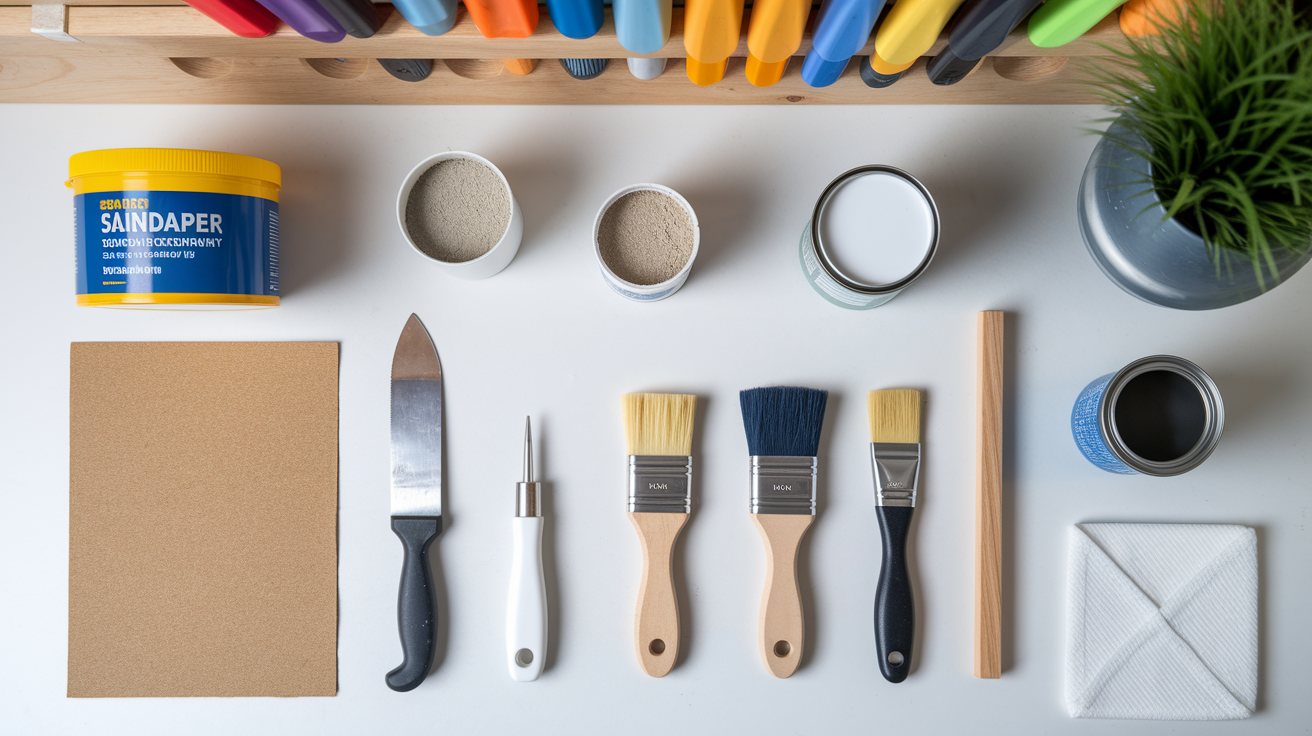
Small hole repairs require minimal investment in tools and materials. Most of which homeowners may already have in their garage or toolbox.
| Item Type | Specific Product | Purpose |
|---|---|---|
| Filler Material | Spackling compound or lightweight joint compound | Fills holes and creates smooth surface |
| Application Tool | Putty knife (2-4 inch width) | Spreads compound evenly across repair area |
| Sanding Material | Fine-grit sandpaper (120-150 grit) | Smooths dried compound to match wall surface |
| Sealer | Interior primer | Prevents paint flashing and seals porous patch |
| Finish Coat | Touch-up paint matching wall color | Restores original wall appearance |
| Cleaning Supply | Damp cloth or tack cloth | Removes dust before and after sanding |
| Sanding Aid | Sanding block (optional) | Provides even pressure during sanding |
| Convenience Option | All-in-one repair kit like 3M High Strength Small Hole Repair | Includes spackle, putty knife, and sanding pad in single tool |
All-in-one repair kits offer convenience for homeowners tackling their first repair or those wanting everything in a single package. The 3M High Strength Small Hole Repair All-in-One Applicator Tool includes primer-enhanced spackle, a built-in putty knife, and a sanding pad. For medium holes up to 3 inches, kits with self-adhesive mesh patches and lightweight joint compound are available at most hardware stores. Buying individual materials costs slightly less but requires selecting compatible products.
Cost effective options are available at any home improvement center. Basic spackling compound starts around five dollars and small putty knives under three dollars. Even primer-enhanced spackle still requires a coat of primer over the patched area to prevent paint flashing, that slight sheen difference that makes repairs visible under certain lighting.
Complete Repair Process by Hole Size
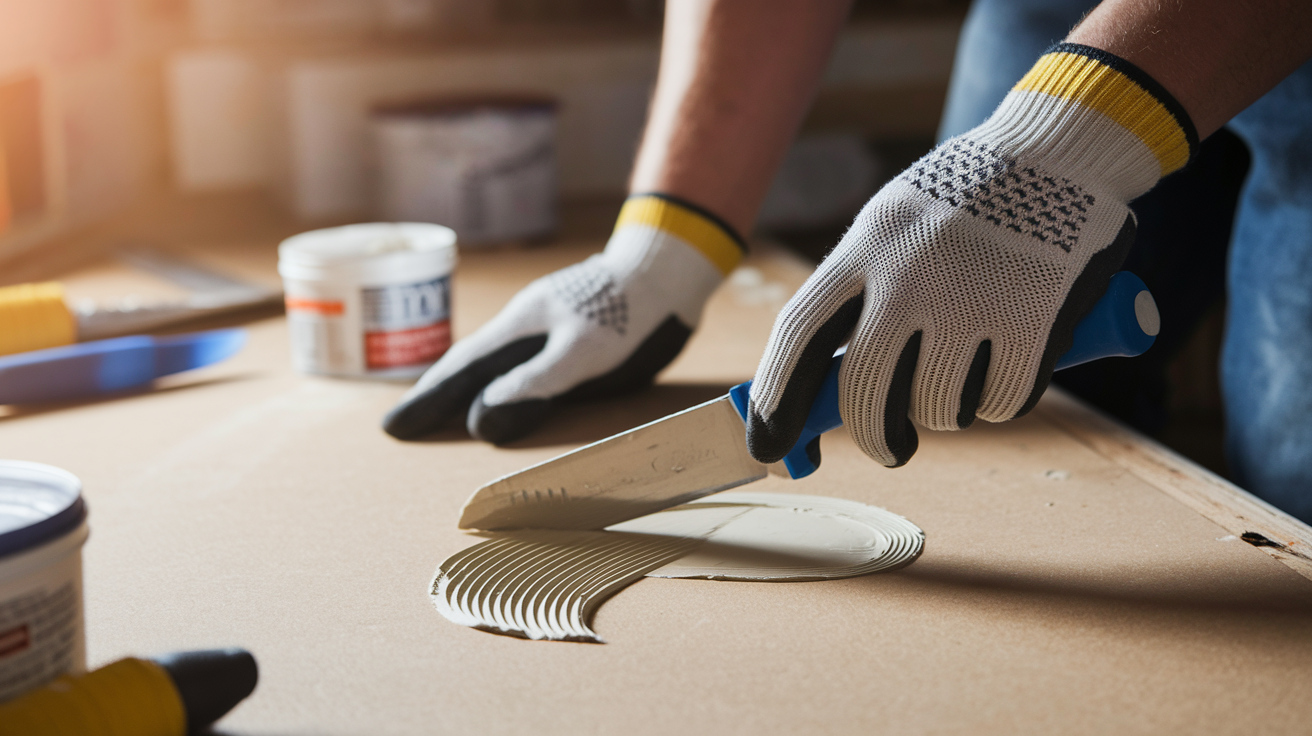
Repair approach changes based on hole size. Holes under ½ inch need only spackle application. Holes ½ to 3 inches require mesh patch support. This section covers complete processes for both, from surface prep through final sanding.
Repairing Small Holes (Under ½ Inch)
These are the easiest repairs requiring only spackle, taking well under an hour total.
-
Prepare the area by removing any loose material around the hole’s edges with your fingers or the putty knife edge, then wipe with a damp cloth to remove dust. Make sure the surface is completely clean and dry before applying any compound.
-
Apply spackling compound using a putty knife held at a slight angle, filling the hole slightly above the wall surface to account for shrinkage as it dries. Spread compound evenly across the area while avoiding high spots that create extra sanding work.
-
Allow 30 to 60 minutes of drying time depending on humidity levels and repair size. The surface should feel dry and firm to the touch, not cool or tacky. If it feels cool, moisture is still evaporating.
-
Sand with fine grit sandpaper in the 120 to 150 grit range using gentle circular motions. Be careful not to oversand and expose the drywall paper underneath. You’re blending the patch into the wall, not removing material.
-
Wipe away all sanding dust with a damp cloth or tack cloth, checking the surface under side lighting to catch any remaining dust that would interfere with paint adhesion.
-
Inspect the repair closely and apply a second thin coat if small imperfections remain for a completely smooth surface, repeating the drying and sanding process with the same patience.
Don’t apply compound too thick in a single application. It leads to longer drying times and potential cracking. Rushing the drying process before sanding creates a gummy mess. Oversanding exposes fuzzy drywall paper that shows through paint.
Repairing Medium Holes (½ to 3 Inches) with Mesh Patches
Medium holes require mesh patches for structural support and multiple thin layers of joint compound to build up a smooth, durable surface.
-
Sand the area around the hole lightly with medium grit sandpaper to rough up the paint surface, then wipe clean with a damp cloth. You need a completely dust free surface that allows better compound adhesion.
-
Cut a self-adhesive mesh patch one inch larger than the hole on all sides. For a 2 inch hole, cut a 4 inch square patch. Cutting it close to hole size leaves inadequate bonding area.
-
Center the patch over the hole and press firmly while smoothing outward from the center to eliminate any air bubbles trapped between the mesh and wall surface. Air pockets prevent proper adhesion.
-
Apply the first thin layer of lightweight joint compound using a putty knife in a crisscross pattern, extending the compound at least one inch past all patch edges while feathering the edges outward to blend smoothly into the surrounding wall. Think of creating a gentle slope rather than a cliff edge.
-
Allow 2 to 3 hours of drying time until the surface feels completely firm to the touch. Thicker applications take longer. Humidity slows drying.
-
Sand gently with 120 to 150 grit sandpaper using circular motions, concentrating on high spots and ridges while avoiding aggressive pressure that could damage the mesh or expose it through the compound layer.
-
Wipe away all sanding dust with a damp cloth, checking that the mesh screen is becoming less visible. If you can still see the grid pattern clearly, you need at least one more coat.
-
Repeat the compound application, drying, and sanding process 2 to 3 times total until the mesh screen is completely invisible and the surface is perfectly smooth and flush with the surrounding wall.
Thin layers prevent cracking and bumps that result from thick compound applications drying unevenly. Proper feathering at the edges makes repairs invisible by creating a gradual transition the eye can’t detect. Patience with drying times between coats is what separates professional looking results from amateur patches that crack or show texture differences.
Priming and Paint Matching for Invisible Drywall Patch Repairs

Proper priming and paint matching are what make repairs truly invisible, even when the spackle work is perfect and sanded smooth.
Priming is necessary even with primer enhanced spackle because patched areas are more porous than the surrounding painted wall. This causes them to absorb paint differently and create a visible “flash” or sheen difference under certain lighting conditions. Apply a full coat of interior primer over the entire patched area using a small foam roller, extending slightly beyond the repair edges. The roller applies primer more evenly than a brush and matches the texture of the original painted surface better. Let the primer dry completely, usually about one hour, before attempting to paint.
Paint matching presents challenges because wall paint changes over time from UV exposure, smoke, and general aging. If you have leftover paint from the original job, test it in an inconspicuous area first because it may not match anymore. Without original paint, bring a paint chip sample to a hardware store for color matching. But understand that matching both color and sheen (flat, eggshell, or satin) matters equally. A perfect color match in the wrong sheen still shows.
Paint matching tips for invisible repairs:
- Test matched paint in an inconspicuous area behind furniture before applying to visible repairs
- Use a higher nap roller or semi-rough surface roller when painting to add slight texture that matches the existing wall surface
- Apply multiple thin coats of paint rather than one thick coat that creates texture differences
- Blend edges by feathering paint outward beyond the primed area using light pressure
- Keep paint pens on hand for quick touchups of tiny nail holes that don’t warrant full repairs
Alternative Puzzle Piece Patch Method for Small Drywall Holes
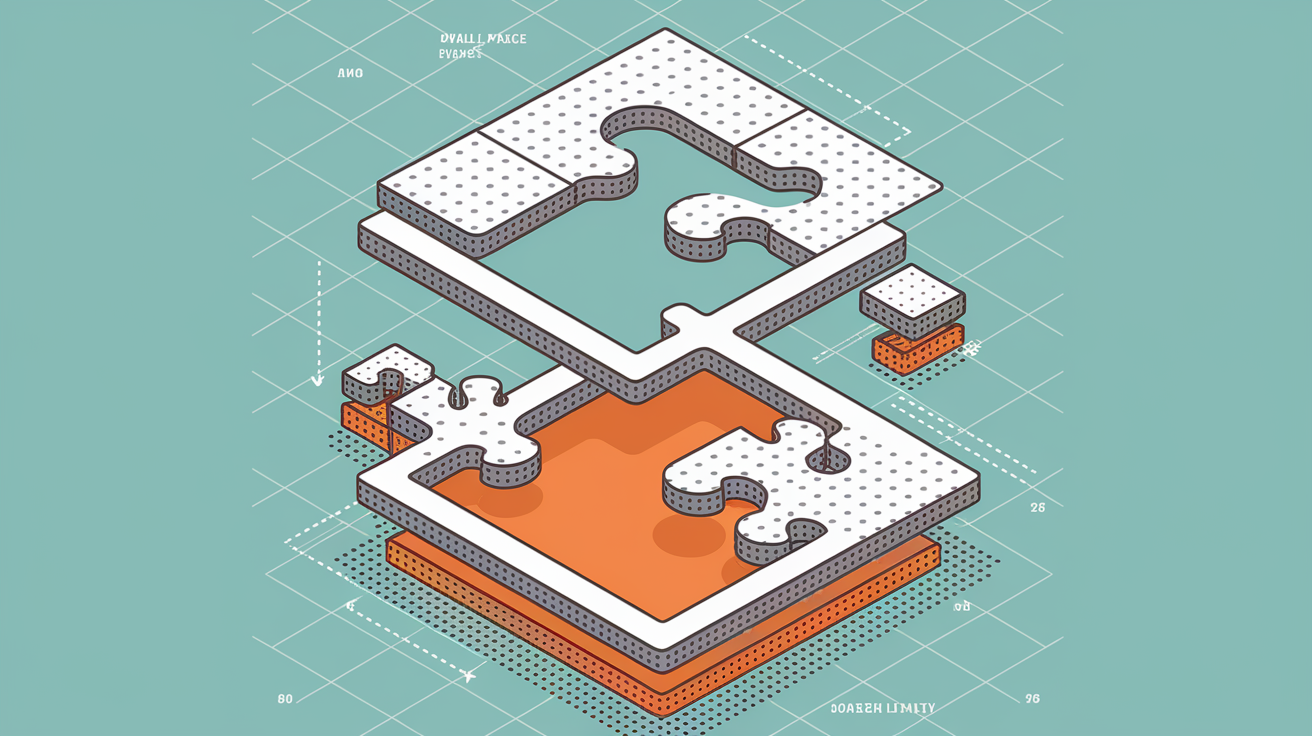
The puzzle piece method offers a stronger alternative to spackle only repairs, particularly useful when you have drywall scraps available or want professional grade durability. This technique uses an actual piece of drywall with its paper backing left intact as an integrated patch that bonds directly into the wall.
The process involves tracing the hole onto paper first, then transferring that reversed shape to the back of a drywall scrap piece cut several inches larger than the actual hole. Score the traced outline on the back with a utility knife, making multiple passes to cut through the gypsum core completely. Snap off the excess drywall around your scored line while deliberately preserving the front paper layer, leaving approximately 1.5 inches of paper backing around all edges of your drywall piece. Score the traced outline with a utility knife, then snap off excess drywall while keeping the front paper layer intact, leaving approximately 1.5 inches of paper around the edge.
Insert the drywall piece into the hole, then smooth the paper backing flat against the surrounding wall. Slightly wet the paper edges before insertion for better adhesion to the wall surface. Secure everything with joint compound applied over the paper edges, then build up the surface with multiple thin layers of compound feathered outward, just like the mesh patch method. Sand between coats and finish with standard priming and painting.
This method works on both drywall and plaster walls for smaller holes and creates repairs that are often stronger than the original wall. Use this approach for medium small holes in high traffic areas needing extra durability, on plaster walls where mesh patches don’t adhere as well, or when you want repairs that will hold up to future picture hanging in the same spot. Making irregular holes more uniform by tapping the edges with a hammer handle or screwdriver makes the tracing and cutting process easier.
Time and Cost Estimates for DIY Drywall Hole Repairs

Small holes under ½ inch take 1 to 2 hours total including drying time, with only about 15 minutes of actual hands on work. Medium holes take 6 to 8 hours spread over 2 to 3 days due to multiple drying cycles between compound coats, but actual working time is still minimal. Maybe 30 to 45 minutes total across all the application and sanding steps. Most of your “repair time” is just waiting for compound to dry while you do other things.
A basic drywall repair kit costs $8 to $15 and includes everything for small holes. Buying materials separately runs about $5 to $10 for spackling compound, $3 to $5 for sandpaper, $10 to $15 for a small container of primer, and $15 to $30 for paint if you don’t have matching paint already. Total DIY cost typically lands between $15 and $40 for supplies that will handle multiple repairs. Compare that to $100 to $200 minimum for a professional handyman to fix even a few small holes. The cost difference gets more dramatic when you’re fixing five or ten holes.
DIY repairs make the most sense for rental move out situations where protecting your security deposit matters. A few hours of work can save hundreds of dollars in repair charges. Regular home maintenance, preparing a house for sale, tackling multiple small repairs throughout your home, and building basic homeowner skills and confidence are all solid reasons to handle these repairs yourself. The skills transfer to other home projects, and you’ll have the materials on hand for future fixes.
When to Call a Professional for Drywall Damage
While small holes are ideal DIY projects that most homeowners can handle confidently, certain situations warrant professional expertise to avoid making problems worse or missing underlying issues that need attention.
The threshold where repairs become complex starts around 3 to 4 inches in diameter, where holes require wooden backing boards screwed to the back of the drywall and careful fitting of new drywall sections. Damage near electrical outlets or light switches raises shock risks and code compliance questions. Signs of moisture damage like brown staining, soft spots, or crumbling drywall point to active leaks that need fixing before any cosmetic repair makes sense. Extensive cracking patterns radiating from holes or running along seams suggest foundation settlement or structural movement that a patch won’t solve.
Professional help is needed for these situations:
- Holes larger than 6 inches requiring precise drywall cutting and backing board installation
- Water damage with visible staining, soft drywall, or bubbling paint indicating moisture problems
- Multiple large holes in the same area suggesting structural problems or pest damage
- Textured walls requiring spray texture application to match knockdown or popcorn finishes
- Repairs near electrical boxes, plumbing lines, or HVAC vents where hidden utilities create risks
- Damage combined with visible mold growth requiring remediation before repairs
Final Words
Small holes in drywall happen. Old picture hooks, furniture bumps, anchor removals. They’re part of living in your home.
The good news? Most of these repairs are straightforward. A little spackle, some patience with drying time, and careful sanding gets you back to a clean wall.
For holes under half an inch, you’re looking at an hour or two and about fifteen bucks in materials. Medium holes take a bit longer with mesh patches and multiple coats, but the process is still manageable.
If you hit a snag or the damage looks bigger than expected, that’s when we step in. Otherwise, you’ve got this.
FAQ
Why are there tiny holes in my drywall?
Tiny holes in your drywall are typically caused by removed picture hangers, old shelving hardware, wall anchors, furniture impacts, door handle dings, previous mounting installations, accidental punctures, or everyday wear and tear from normal living.
How do you fix very small holes in drywall?
Very small holes in drywall are fixed by cleaning the area with a damp cloth, applying spackling compound slightly above the wall surface with a putty knife, letting it dry for 30 to 60 minutes, then sanding smooth with fine-grit sandpaper.
Can holes in drywall cause issues?
Holes in drywall typically don’t cause structural issues but are cosmetic problems that can worsen over time. Small holes under half an inch are simple surface repairs, while larger holes may expose insulation or indicate moisture problems requiring professional attention.
Can I use spackle for small drywall holes?
You can use spackle for small drywall holes under half an inch in diameter. Apply it with a putty knife to fill the hole slightly higher than the wall surface to account for shrinkage, then sand smooth after drying.
How long does spackle take to dry on small holes?
Spackle takes 30 to 60 minutes to dry on small holes depending on humidity and repair size. The surface should feel dry and firm, not cool or tacky, before sanding to ensure proper adhesion and smooth finishing.
Do medium drywall holes need mesh patches?
Medium drywall holes between half an inch and 3 inches need self-adhesive mesh patches for structural support. Cut the patch one inch larger than the hole on all sides, then apply multiple thin layers of joint compound over it.
Why do I need to prime repaired drywall before painting?
You need to prime repaired drywall before painting, even with primer-enhanced spackle, to seal the porous patched area and prevent paint flashing. Priming ensures the touch-up paint matches the surrounding wall without showing darker or lighter spots.
What sandpaper grit should I use for drywall repairs?
You should use fine-grit sandpaper between 120 and 150 grit for drywall repairs. Sand with gentle circular motions to smooth the patched area without oversanding, which can expose the drywall paper underneath and weaken the repair.
How much does it cost to fix small drywall holes yourself?
Fixing small drywall holes yourself costs between $15 and $40 for basic materials including spackle, sandpaper, primer, and paint. This is significantly more cost-effective than professional repairs which typically run $100 to $200 per visit.
When should I call a professional for drywall holes?
You should call a professional for drywall holes larger than 6 inches, water damage with staining or soft spots, multiple large holes suggesting structural problems, textured walls requiring spray texture matching, or damage near electrical or plumbing utilities.