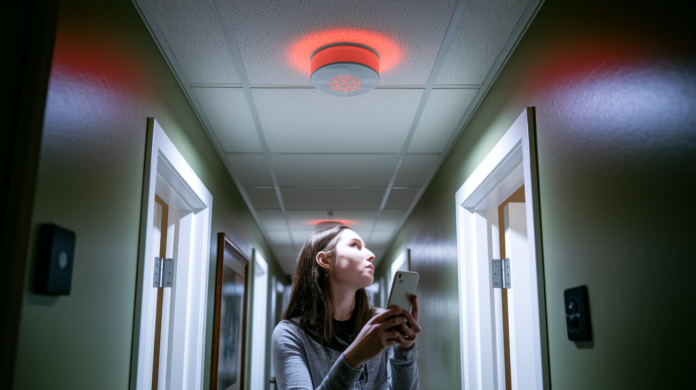

That beeping isn’t going to stop on its own. If you’ve been living with that chirp every sixty seconds for days (or weeks, if we’re being honest), you already know ignoring it doesn’t work. The good news is most beeping comes from simple maintenance issues you can fix yourself in under ten minutes. Low battery, old unit, or dust buildup are the usual suspects. We’ll walk you through exactly how to identify your specific beep pattern and fix it so you can finally get some quiet back in your house.
Emergency Protocol: Identifying Dangerous Beeping vs Maintenance Alerts
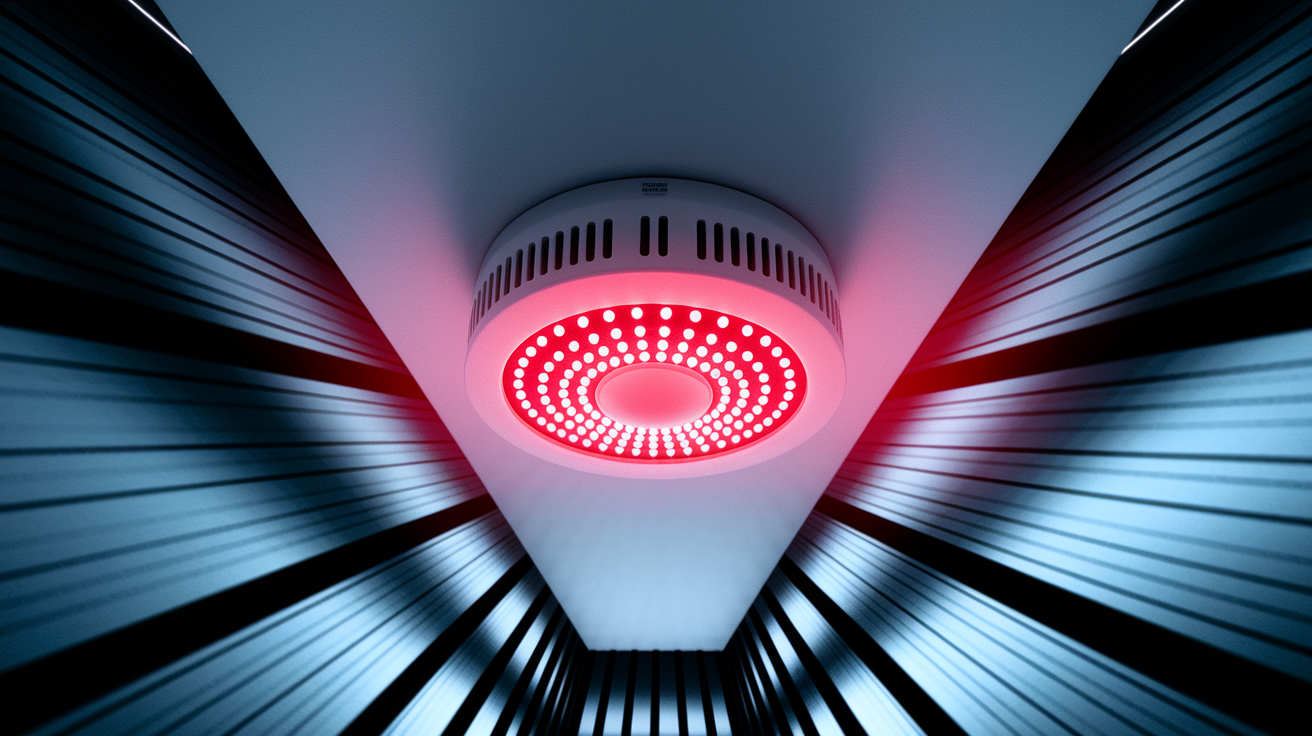
Understanding the difference between emergency alarms and maintenance beeps can save your life. Some sounds mean drop everything and get out now. Others mean you’ve got time to swap a battery. If you’re hearing loud, insistent beeping right now, don’t troubleshoot. Read the table below first.
| Sound Pattern | What It Means | Immediate Action Required |
|---|---|---|
| Continuous loud alarm | Smoke or fire detected | Evacuate immediately and call 911 from outside |
| 3 beeps + pause + repeat | Smoke particles detected | Evacuate and call 911 from outside |
| 4 beeps + pause + repeat | Carbon monoxide detected | Evacuate to fresh air and call 911 immediately |
| Multiple interconnected alarms sounding together | Valid emergency threat | Evacuate immediately |
| Single chirp every 30-60 seconds | Low battery or maintenance issue | Safe to troubleshoot |
During an emergency alarm, never investigate the source of smoke or try to confirm the threat. Get everyone out of the house immediately. Close doors behind you as you leave to slow fire spread. Call 911 only after you’re safely outside. Don’t re-enter the home for any reason until the fire department clears it as safe, even if the alarm stops.
If multiple interconnected alarms throughout your house are all sounding at once, treat it as a real emergency. These systems are designed to trigger together only when there’s an actual threat detected by one of the units.
The rest of this article addresses maintenance beeping. Those single chirps, intermittent sounds, and occasional alerts that signal routine issues like low batteries or sensor problems. If you’re currently experiencing any of the emergency patterns described above, stop reading and evacuate now.
Complete Beeping Diagnosis: Identifying Your Specific Issue
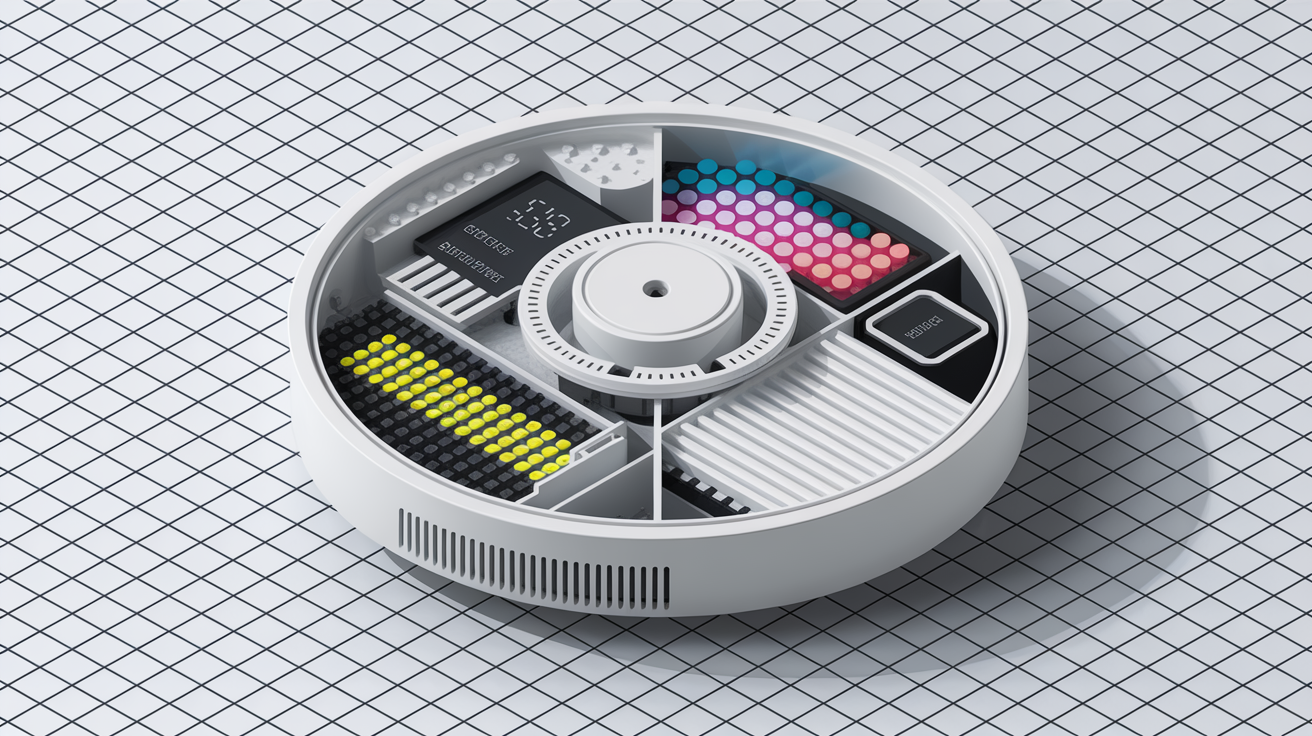
Maintenance beeping is how your detector talks to you. It’s signaling something needs attention, from a simple battery swap to cleaning out dust. Getting the diagnosis right means you’ll fix it on the first try instead of replacing batteries that weren’t the problem.
| Beep Pattern | Most Common Cause | Secondary Causes | LED Indicator |
|---|---|---|---|
| Single chirp every 30-60 seconds | Low battery | End-of-life warning or loose battery connection | Red flash or no light |
| 2 chirps with pause repeating | Fault/error code | Sensor malfunction or environmental contamination | Red flash pattern |
| 4 chirps with pause repeating | Fault in combination units | Interconnected system error | Red or amber flash |
| Random irregular chirps | Electrical issues in hardwired units | Loose wiring or power fluctuations | Erratic flashing |
| Brief chirp every few minutes | Temperature/humidity sensitivity | Placement too close to steam sources | Green or no light |
| Chirping after battery replacement | End-of-life warning | Detector over 10 years old or incomplete reset | Continuous red flash |
The LED light on your detector tells part of the story. A solid green light means everything’s working normally. A red flash along with chirping typically signals low battery or a system fault. Rapid red flashing suggests the unit needs urgent replacement. Some models use amber or orange lights for specific error codes like sensor contamination or wiring problems.
Six root causes explain most beeping issues. Low battery is the most common culprit, affecting both battery-powered units and the backup batteries in hardwired detectors. End-of-life warning kicks in when your detector has reached its 8 to 10 year lifespan and the sensors are degrading. Environmental triggers like dust, humidity, steam, or insects interfere with the sensors.
Electrical issues in hardwired units include loose wiring, power surges, and tripped breakers. Interconnected system errors occur when one malfunctioning detector causes all linked units to chirp. Sensor malfunction or contamination happens when internal components get dirty or fail.
Use the table above to match your specific beep pattern and LED behavior with the most likely cause. If your detector sounds different from these standard patterns, your manufacturer’s manual will have model-specific details. Once you’ve identified your issue, jump to the relevant solution section below.
Low Battery Fix: Replacing Smoke Detector Batteries Correctly
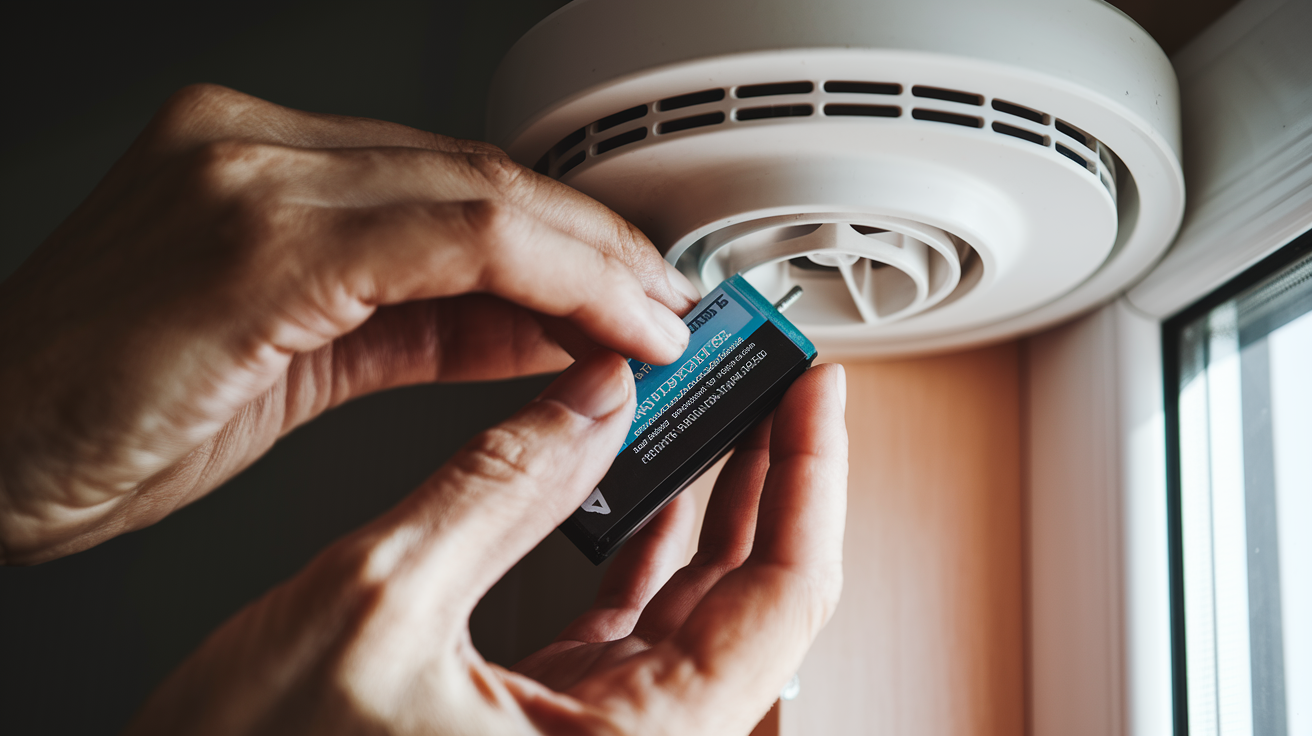
Replacing your detector batteries every six months prevents most beeping headaches. Fire departments recommend doing it when you change your clocks for daylight saving time. Easy to remember, happens twice a year. You’ve got two battery options. Alkaline nine-volt batteries last about six months, while lithium nine-volt batteries last the full ten years but cost more upfront.
Here’s how to replace the battery:
- Twist the detector counterclockwise to remove it from the ceiling mounting bracket
- Open the battery compartment (location varies by model, usually on the back or side)
- Remove the old battery and note which direction the positive and negative terminals face
- Check for plastic pull tabs in new units and remove them. They block the battery connection during shipping
- Insert a fresh nine-volt battery matching the correct positive/negative orientation
- Close the compartment and reattach the detector to the ceiling mount with a clockwise twist
- Press and hold the test button for 3 to 5 seconds to verify proper installation and hear the alarm sound
Hardwired detectors follow the same battery replacement process. These units connect to your home’s electrical system but include a backup nine-volt battery that keeps them working during power outages. That backup battery still needs replacing every six months, just like battery-powered models.
Before you snap in the new battery, check the terminals inside the compartment. Corrosion looks like white or green crust, or orange rust. It blocks the electrical connection even with a fresh battery. You can clean it off with a bit of baking soda and water applied with a cotton swab, or use isopropyl alcohol. Let it dry completely before installing the new battery.
End-of-Life Warning: When to Replace the Entire Detector
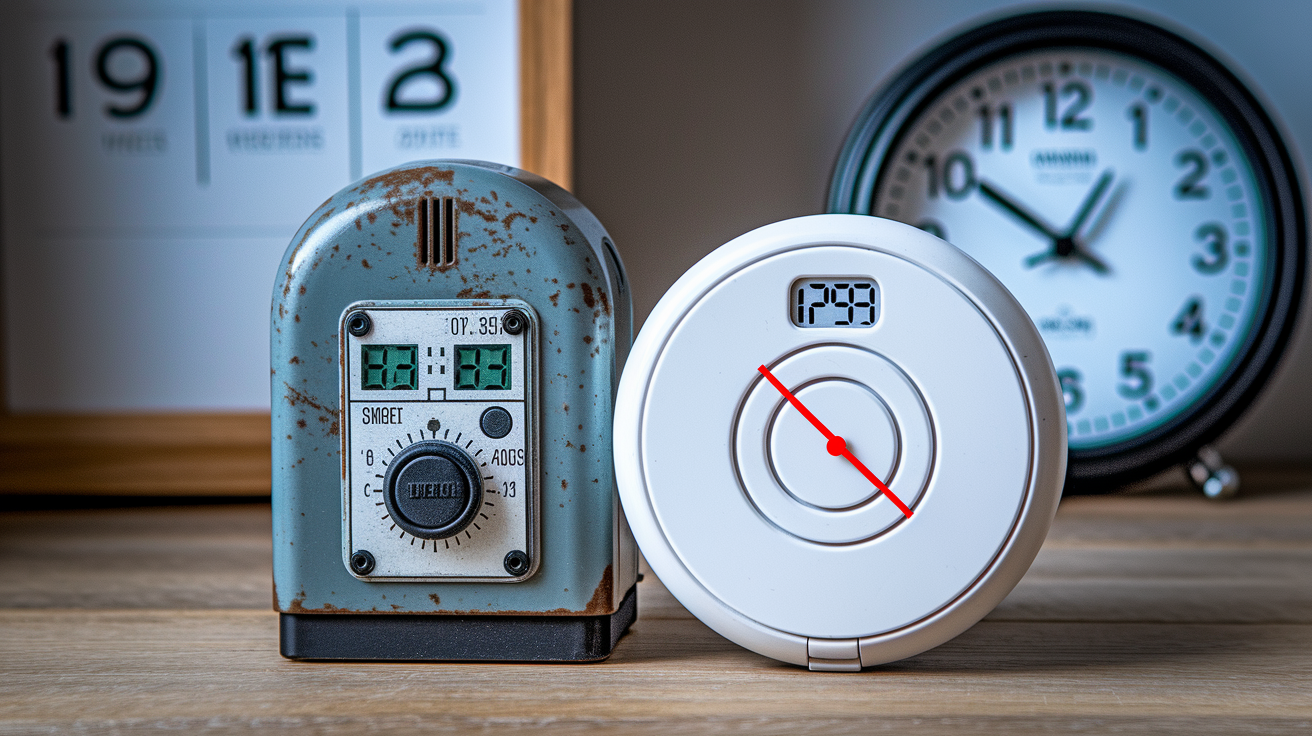
Detectors don’t last forever. The sensors inside degrade over time, usually within eight to ten years. If your detector keeps beeping after you’ve replaced the battery, there’s a good chance the unit itself has expired and is telling you it’s time for a new one.
Flip the detector over and look at the back. You’ll see a manufacture date printed somewhere on the housing. Calculate how old it is. If it’s ten years or older, replace the entire unit regardless of whether it seems to work. The National Fire Protection Association recommends this timeline because sensor reliability drops after a decade, even if the alarm still sounds during tests.
Some modern detectors come with sealed ten-year lithium batteries built in. You can’t replace these batteries. When they die, you replace the whole detector. These units are designed as single-use devices that last their entire lifespan without battery maintenance.
This matters more than most people realize. Working smoke detectors cut your chance of dying in a house fire in half. Three out of five home fire deaths happen in houses without working detectors or no detectors at all.
Here’s how to replace the complete unit:
- Turn off power at the circuit breaker if you have a hardwired detector
- Twist the old detector counterclockwise to remove it from the mounting bracket
- Disconnect the wiring harness (hardwired units) or remove the battery (battery-powered units)
- Check if your existing mounting bracket works with the new detector
- Install a new bracket if needed using the existing screw holes in the ceiling
- Connect the wiring harness to the new hardwired unit, or insert the battery in battery-powered models
- Attach the new detector to the bracket with a clockwise twist until it clicks into place
- Restore power at the breaker and test the new unit using the test button
Install detectors correctly for proper protection. The NFPA guidelines say you need one on every level of your home, one inside each bedroom, and one outside each sleeping area. Keep them at least ten feet away from kitchens and bathrooms to reduce false alarms from cooking smoke and steam.
Environmental Triggers: Cleaning Dust, Humidity, and Debris from Detectors
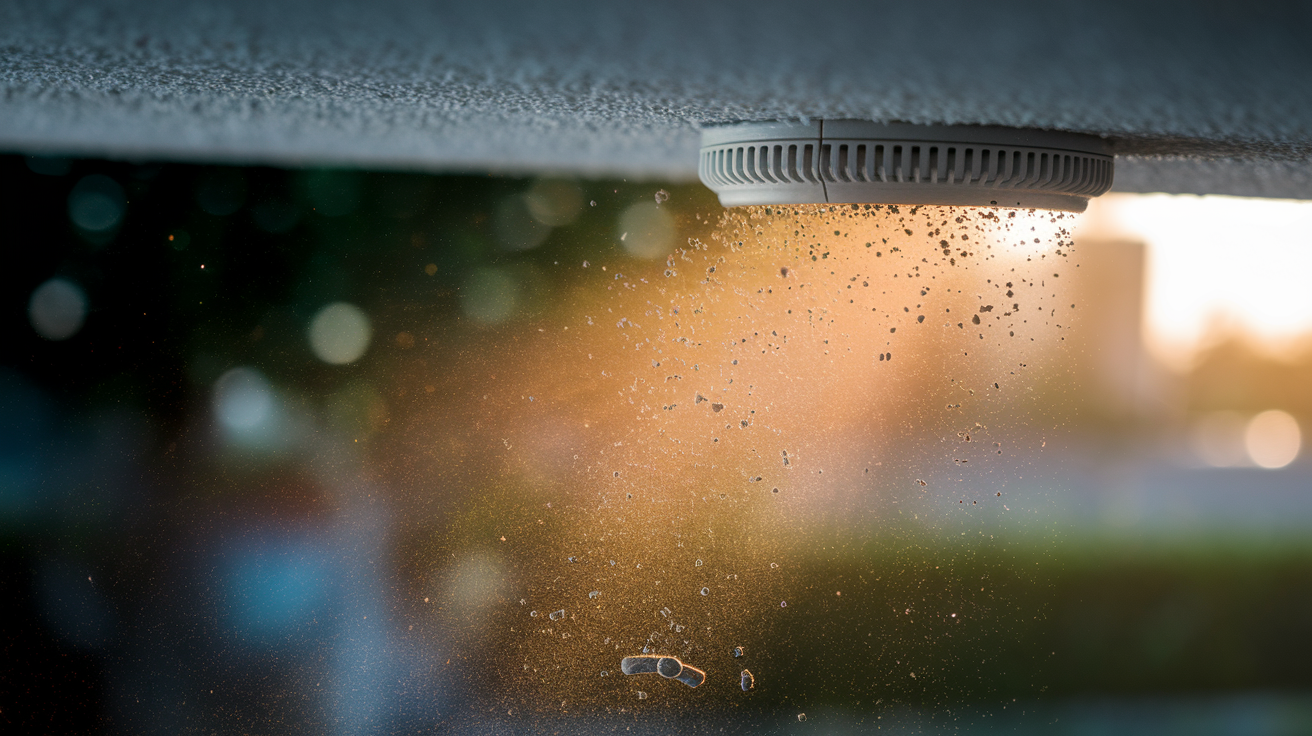
Dust, humidity, temperature swings, and insects trigger false alarms and maintenance beeping in detectors that are otherwise working fine. The sensors inside are sensitive by design. They need to detect tiny smoke particles, so they also react to airborne contamination.
Common environmental triggers include dust accumulation from construction projects, drywall work, or just normal household buildup. Bathroom steam and humidity that drifts into nearby detectors. Kitchen cooking smoke and heat, especially from searing meat or burning food. Extreme temperature fluctuations in attics, garages, or poorly insulated areas. Insect infestation where bugs crawl into the vent openings and block sensors. Heavy pollen during spring and fall when windows are open.
Cleaning your detectors every six months prevents most environmental beeping. Use a vacuum cleaner with a soft brush attachment and run it over the vents monthly if you live in a dusty area. For deeper cleaning, remove the detector from its mount and spray short bursts of compressed air into the openings to dislodge internal dust.
Never use water or chemical cleaners on the sensors. They’ll damage the sensitive components. Wipe the exterior housing with a dry cloth to remove surface dust.
Keep detectors away from humidity sources during installation. The ten-foot rule applies to kitchens and bathrooms. Install outside that zone to avoid constant steam exposure. Make sure bathrooms have working exhaust fans to vent moisture. In damp basements, a dehumidifier reduces false alarms.
If environmental beeping continues after cleaning and you’ve verified the detector isn’t near steam or cooking areas, the placement is probably wrong for that spot. You might need to relocate it to a less sensitive location while still maintaining coverage per fire safety guidelines.
Hardwired Smoke Detector Issues: Electrical Problems and Reset Procedures
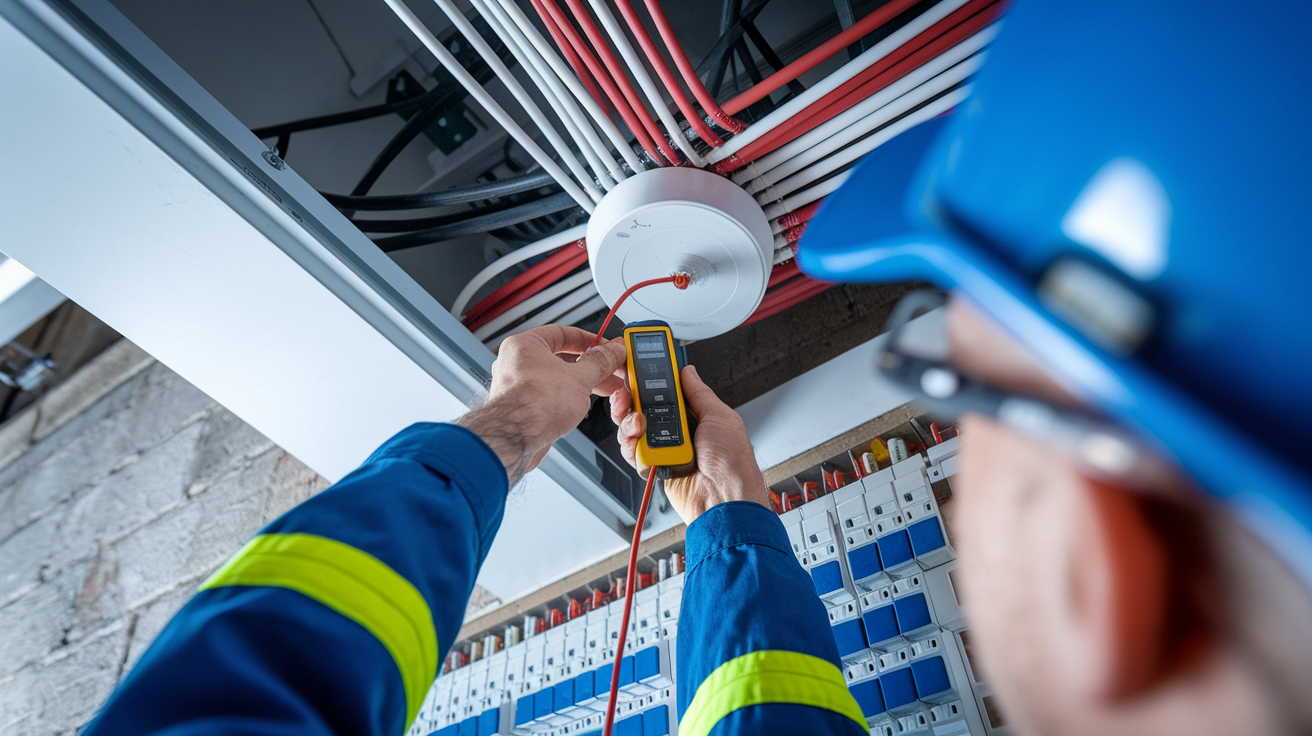
Hardwired detectors connect directly to your home’s electrical system with a nine-volt backup battery for power outages. They communicate with each other throughout the house so when one detects smoke, they all sound together. This interconnection makes them more reliable during emergencies, but it also means they’re vulnerable to electrical issues that battery-powered units never face.
Common electrical problems cause beeping. Power surges from storms or outages confuse the system processors. Tripped circuit breakers cut power and trigger battery backup mode. Loose wire connections at the detector or junction box interrupt power flow. Corrosion on electrical terminals blocks current. Processor error codes from false alarms or power fluctuations get stuck in memory.
Try resetting the detector first:
- Press and hold the reset or silence button for 15 to 20 seconds until the beeping stops
- If beeping continues, turn off power at the circuit breaker controlling the detectors
- Remove the detector from its mounting bracket and disconnect it from the wiring harness
- Wait 30 seconds with the power off to drain residual charge from the system
- Reconnect the detector to the wiring harness and twist it back onto the mount
- Restore power at the breaker and wait for the unit to complete its startup sequence
- Press the test button briefly to verify normal operation and confirm the error code cleared
Basic electrical troubleshooting starts at the breaker panel. Look for a tripped breaker labeled for smoke detectors or bedroom circuits. Reset it by flipping it fully off, then back on. If power is restored but all your interconnected detectors start beeping together, the AC power loss triggered a system alert. Reset each unit using the procedure above to clear the notification.
Interconnected system errors happen when one malfunctioning detector causes all the linked units to chirp. The faulty unit usually has a different LED pattern than the others. Constant red instead of occasional green, or no LED at all. Sometimes it’s the unit with the most persistent beeping. Identify that specific detector, reset it first, and if the problem continues, replace just that one unit. The rest of the system should return to normal once the problem detector is removed.
Always turn off power at the breaker before touching any wiring. Check wire connections for looseness or corrosion with the power off. White, green, or orange buildup on terminals means corrosion is blocking the connection. Clean it the same way you’d clean battery terminals. Baking soda and water, or isopropyl alcohol.
Never attempt electrical repairs beyond checking basic connections unless you’re trained to do it. Hire a licensed electrician for wiring repairs, circuit panel issues, or complex interconnected system problems. Smoke detector wiring often shares circuits with other devices, and incorrect repairs create fire hazards or system failures that defeat the whole purpose of the protection.
Preventive Maintenance Schedule to Stop Beeping Before It Starts

Consistent maintenance prevents about 90 percent of nuisance beeping and ensures your detectors will actually work when there’s smoke. Think of it as insurance that costs nothing but ten minutes every month and a couple battery changes per year.
| Task | Frequency | Purpose |
|---|---|---|
| Test button check | Monthly | Verify alarm sounds |
| Visual inspection | Monthly | Check for damage/obstruction |
| Battery replacement standard units | Every 6 months/daylight saving | Prevent low-battery chirping |
| Sensor cleaning | Every 6 months | Prevent dust false alarms |
| Manufacture date check | Annually | Track 10-year replacement timeline |
| Full unit replacement | Every 10 years | Ensure sensor effectiveness |
Monthly testing takes about thirty seconds per detector. Press and hold the test button until you hear the alarm sound, usually three to five seconds. The alarm should be loud enough to hear throughout your home. If you have interconnected hardwired detectors, verify that all units respond together when you test one. Keep a simple log with test dates if you want to track compliance, or just mark it on your calendar.
Keep your detector’s user manual somewhere accessible. A home maintenance folder or photographed and stored on your phone. Write down the model numbers of all your detectors. Set calendar reminders for the maintenance tasks in the table above so you don’t forget battery replacements. When you change your clocks in spring and fall, change your batteries at the same time. The routine makes it automatic.
Manufacturer-Specific Reset Instructions and Support Resources
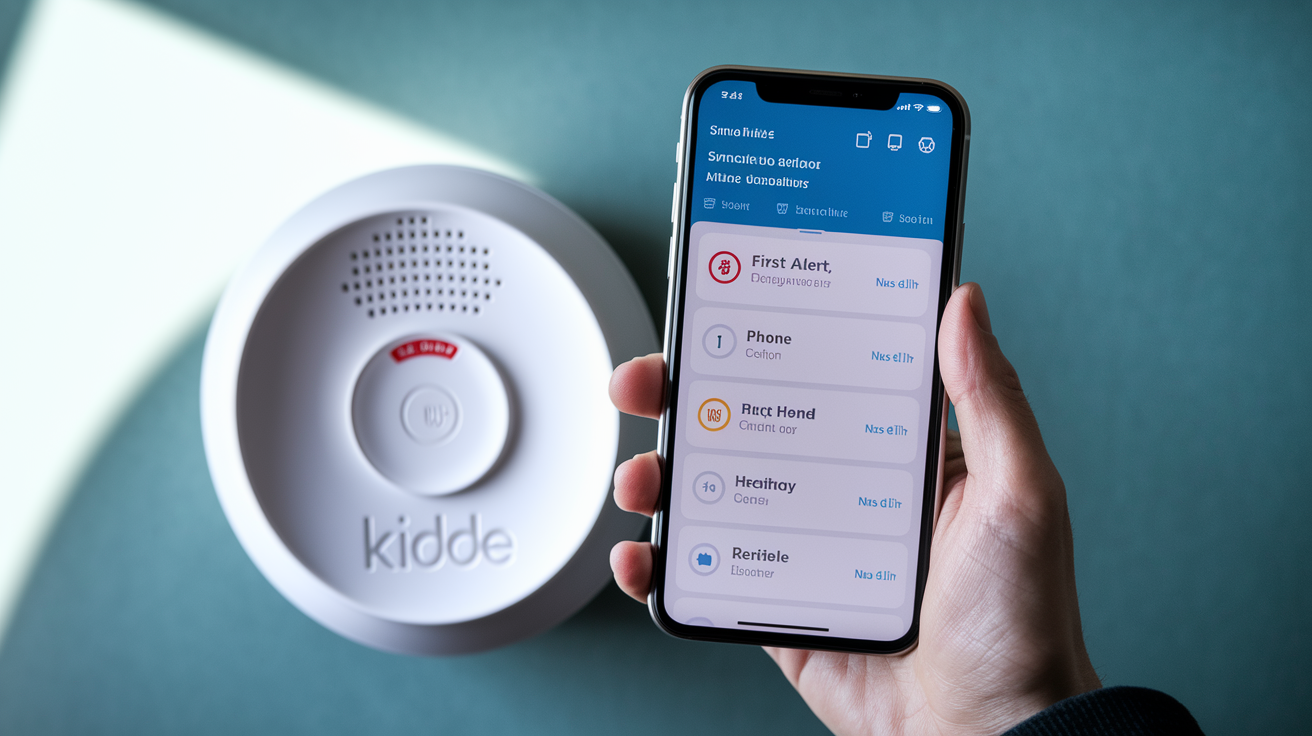
Most smoke detectors share common troubleshooting steps, but each manufacturer builds in unique reset procedures, beep patterns, and error codes. When standard fixes don’t work, you need model-specific guidance.
Major detector brands use different reset methods. First Alert models often use a silence button held for eight seconds to clear error codes. Kidde detectors typically require a 15 second test button hold for complete reset. Nest Protect units offer app-based silencing and diagnostics that identify exact problems. BRK models sometimes need combination button presses or specific reset sequences. X-Sense detectors include voice alerts and app integration that provide real-time diagnostics.
Finding manufacturer support is straightforward. Flip your detector over and locate the model number printed on the back or side. Search online for “[brand] [model] beeping” to find downloadable manuals and troubleshooting guides. Most manufacturers provide detailed support pages with videos walking through common fixes.
Contact customer support directly if you’re still stuck after trying standard solutions. Have your model number and a description of the beep pattern ready. Check your warranty coverage. Many detectors include five to ten year warranties that cover free replacement if the unit fails prematurely. Manufacturer websites usually have warranty claim forms and contact information for technical support lines.
Many modern smart detectors include in-app diagnostics that tell you exactly why the unit is beeping. Nest Protect, X-Sense, and similar connected models send notifications to your phone explaining whether it’s low battery, sensor contamination, or end-of-life warning. The app often provides step-by-step solutions specific to that error code. If you’re buying new detectors, these smart features reduce troubleshooting guesswork significantly.
Final Words
If your smoke detector keeps beeping, you now know how to identify whether it’s an emergency requiring evacuation or a maintenance issue you can solve.
Most beeping comes from low batteries, end-of-life warnings, or dust buildup. All three are fixable with the right approach.
Replace batteries every six months, clean sensors regularly, and check the manufacture date to stay ahead of problems.
A working detector cuts fire death risk in half. Keeping yours maintained means it’ll be ready when it matters most.
FAQ
How do I get my smoke detectors to stop beeping?
To get your smoke detectors to stop beeping, first identify the beep pattern to determine the cause. A single chirp every 30-60 seconds usually means you need to replace the battery. For hardwired detectors, press and hold the reset button for 15-20 seconds to clear error codes. If beeping continues after battery replacement, the detector may have reached its 10-year lifespan and needs complete replacement. Check the manufacture date on the back of the unit.
Why does my smoke detector keep chirping even after I change the battery?
A smoke detector keeps chirping after battery replacement because the unit has reached its end-of-life (typically 8-10 years from the manufacture date) and the entire detector needs replacing, not just the battery. Other causes include improper battery installation with incorrect polarity, corroded battery terminals requiring cleaning, or error codes in hardwired systems requiring a full reset by turning off power at the breaker for 30 seconds.
Why is my hardwired smoke detector beeping for no reason?
A hardwired smoke detector beeps for no apparent reason due to electrical issues like power surges, tripped circuit breakers, or loose wire connections at the detector or junction box. It may also indicate the backup battery needs replacement (even hardwired units have 9-volt batteries), processor error codes from false alarms requiring reset, or one malfunctioning unit in an interconnected system causing all detectors to chirp.
Why is my First Alert smoke alarm beeping 3 times but no smoke?
A First Alert smoke alarm beeping 3 times followed by a pause indicates smoke particles detected in the sensor chamber, which is an actual emergency requiring immediate evacuation and calling 911 from outside. If this pattern repeats without visible smoke, it may be detecting particles from dust, steam, or sensor contamination. Never assume it’s a false alarm. Evacuate first, then investigate the cause only after authorities clear the home.