
You press the flush handle and nothing happens. Or maybe the toilet runs and runs until you jiggle the handle just right. Nine times out of ten, the problem isn’t complicated. It’s your toilet chain. Too short and the flapper can’t seal. Too long and it won’t lift. Either way, you’re wasting water, dealing with weak flushes, and probably getting frustrated. The good news? Most chain issues take about five minutes to fix once you know what to look for.
Identifying Chain Length Problems Through Symptoms and Visual Inspection
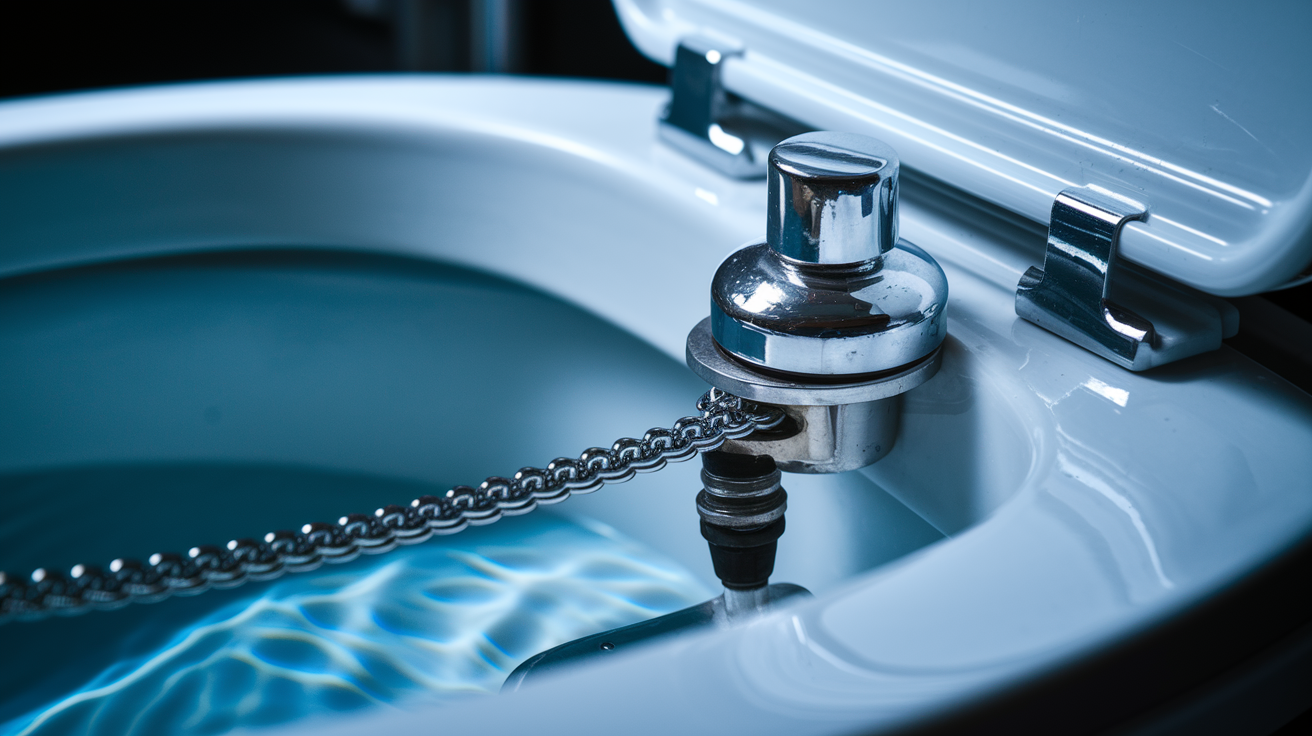
Chain length directly affects how your toilet flushes and whether it runs continuously. When the chain connecting your flush lever to the flapper is even slightly off, the whole system stops working as designed. You don’t want to guess at fixes when a proper diagnosis points you straight to the problem.
Diagnostic Flowchart: Identifying Your Chain Problem
- Problem: Toilet runs continuously → Check: Is flapper sitting flat against the flush valve opening? → Likely cause: Chain too short or tangled
- Problem: Weak or incomplete flush → Check: Does flapper lift fully when handle is pressed? → Likely cause: Chain too long or obstructed
- Problem: Must hold handle down for full flush → Likely cause: Chain too long with excessive slack
- Problem: Water constantly flows into bowl → Check: Is there slack when flapper is closed? → Likely cause: Chain too short preventing seal
- Problem: Handle feels loose or doesn’t engage → Check: Does chain have too much slack? → Likely cause: Chain too long
- Problem: Flapper doesn’t drop back into place → Check: Is chain catching or twisted? → Likely cause: Tangled or kinked chain
- Problem: Jiggling handle makes toilet work temporarily → Likely cause: Chain length wrong or flapper worn
- Problem: Toilet flushes but bowl doesn’t clear → Check: Does flapper stay open long enough? → Likely cause: Chain too long preventing full lift
Lift the tank lid and watch what happens during a complete flush cycle. The flapper should lift straight up when you press the handle, stay open while water rushes out, then drop cleanly back to seal the opening. Chain pulling tight when the flapper’s resting? Too short. Chain sagging with loops or hanging so low it touches the flapper? Too long.
With the flapper in its resting position, check the slack by looking at how much chain hangs between the flush lever arm and where it connects to the flapper. You should see about 1 to 2 chain links of visible slack, roughly half an inch to one inch of loose chain. This small amount lets the flapper seal completely while still allowing the chain to pull it up fully when you press the handle.
Correct chain length matters for more than just convenience. A toilet that runs continuously because the chain’s too short can waste hundreds of gallons per month. Your water bill climbs, and your plumbing system takes unnecessary strain. A chain that’s too long forces incomplete flushes, which means you’re double flushing and wasting water anyway.
Complete Guide to Adjusting Toilet Chain Length
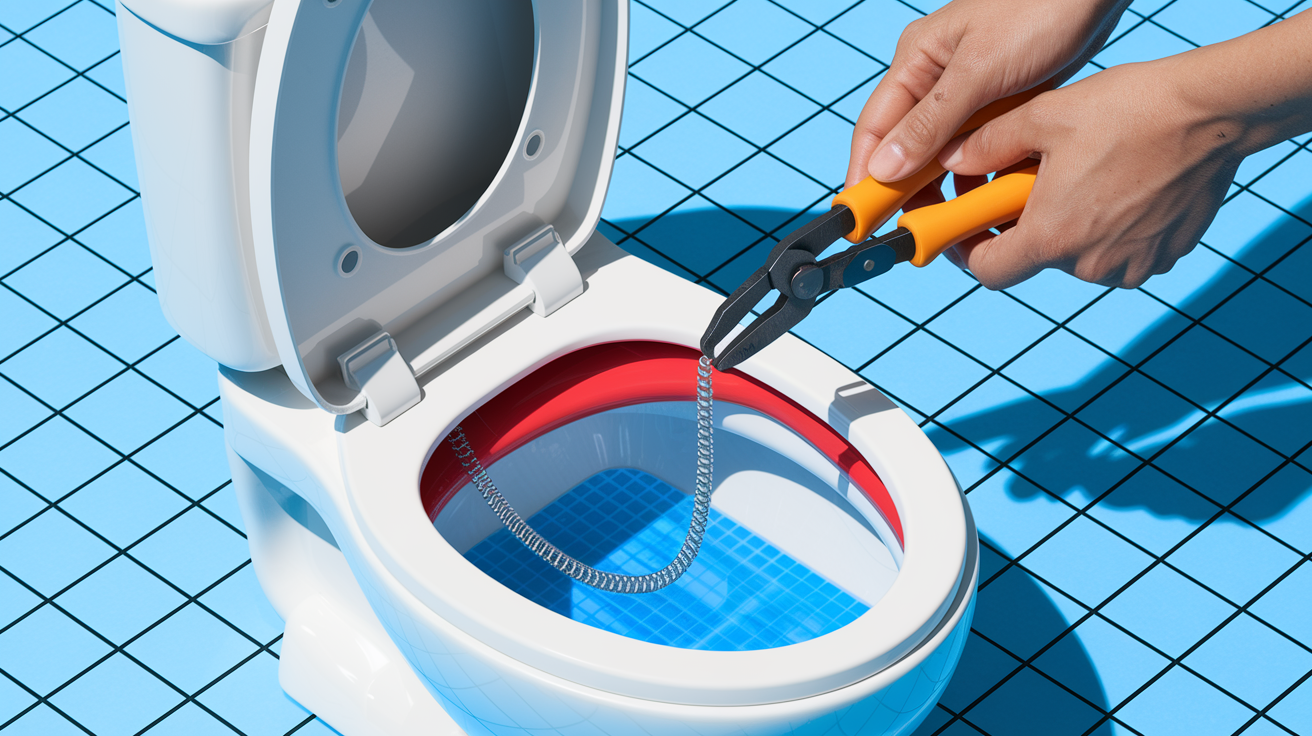
Understanding proper slack requirements is the foundation for any chain adjustment. The chain needs 1 to 2 chain links of slack (approximately half inch to one inch of excess) so the flapper can close fully and create a watertight seal. At the same time, there must be enough tension when you press the flush lever to lift the flapper completely off the opening. Too much slack and the flapper won’t lift. Too little and it won’t close.
Tools and Materials to Gather First
Before starting any adjustment work, collect these basic items:
- Adjustable pliers or slip joint pliers
- Wire cutters or heavy duty scissors
- Flashlight for better visibility inside the tank
- Towel for wiping up residual water
- Replacement chain if the current one’s damaged
- Paperclips (preferably plastic coated) for emergency repairs
Shortening a Chain That’s Too Long
- Turn off the water supply using the shutoff valve behind the toilet
- Flush to empty the tank completely
- Unhook the chain from the flush lever arm by opening the clip or S hook
- Reattach the chain to a link closer to the lever, moving up the chain to reduce slack to 1 to 2 links
- Cut off excess chain length using wire cutters, leaving only about 1 inch below the attachment point to prevent tangling
- Test flush multiple times and make small adjustments if needed
The flush lever arm usually has several holes or slots where you can attach the chain. Pick the hole that gives you the right amount of slack when the flapper’s resting. Start with a link that looks close to correct, test it, then adjust up or down one link at a time until the flapper behavior looks right. Count the chain links when the flapper’s closed. You want to see 1 to 2 loose links clearly visible.
Lengthening a Chain That’s Too Short
- Turn off water supply and flush the tank empty
- Disconnect the chain from the flush lever arm
- Reconnect to a different hole on the lever arm (farther from the pivot point) or to a link farther up the chain to add effective length
- Test and verify the flapper closes completely without tension on the chain
- If no adjustment holes are available, consider an emergency paperclip extension or full replacement
Emergency temporary fixes work when you need the toilet functional right away but don’t have a replacement chain yet. Unfasten the chain from the flush lever arm inside the tank and use a paperclip to connect the chain to the arm, effectively adding length. Plastic coated paperclips hold up better in water and last longer than standard metal ones. You can link multiple paperclips together if you need more length. This gets you through a few days or weeks while you arrange a proper replacement.
If the chain has no adjustment holes available or is severely too short even when attached at the farthest point, you’ll need a replacement chain. Some older or budget toilet models use chains that can’t be adjusted much. Forcing a bad connection can damage the lift arm or flapper.
After any adjustment, watch the toilet through several complete flush cycles. The flapper should lift cleanly, stay up while water flows, then drop straight down and seal immediately. If you see hesitation, incomplete lifting, or the flapper bouncing before it seals, adjust the chain one link at a time until everything works smoothly.
Tools and Replacement Chain Options

Most chain adjustments require only a few basic items you probably already have around the house. Before you open the tank, gather what you need so you’re not making trips mid repair with wet hands.
- Adjustable pliers or slip joint pliers
- Wire cutters or heavy duty scissors for trimming excess chain
- Replacement toilet chain (universal fit for most models)
- S hooks or chain connectors
- Flashlight for better visibility inside the tank
- Towel or sponge for soaking up residual water
- Rubber gloves (optional but helpful)
When you need a replacement chain, material choice affects how long it lasts and how well it resists corrosion from tank water. Here’s what’s commonly available and what each type handles best:
| Chain Type | Material | Best For | Average Lifespan |
|---|---|---|---|
| Stainless Steel Chain | Corrosion resistant metal | Hard water areas, longest durability | 5 to 7 years |
| Plastic Coated Metal Chain | Metal core with plastic coating | Budget friendly with adequate durability | 3 to 5 years |
| All Plastic Chain | Solid plastic links | Lowest cost, acceptable for temporary use | 1 to 3 years |
You can pick up replacement toilet chains at any hardware store, home improvement center like Home Depot or Lowe’s, or through online retailers. Most chains cost between $3 and $12 depending on material and length. Universal fit chains work with the vast majority of toilets manufactured in the last 30 years, so you don’t usually need to match a specific brand or model.
Comprehensive Troubleshooting When Chain Adjustment Doesn’t Solve the Problem

Proper chain adjustment sometimes reveals other underlying issues that were masked by the obvious chain problem. Some chain problems can’t be fixed by adjustment at all and require replacement or repairs to other tank components.
Common Chain and Related Component Issues
- Rusted or corroded chains that leave orange residue and break easily require replacement, not adjustment
- Broken chain links need immediate repair with temporary paperclip connectors or full chain replacement
- Tangled chains that catch on other tank components like the fill valve or refill tube
- Chains that have detached from hooks on either the flush lever or flapper
- Chains that are kinked or twisted, preventing smooth up and down movement
- Worn or warped flapper that doesn’t seal properly even with perfect chain length
- Damaged or bent lift arm that doesn’t pull the chain straight
- Loose or broken flush handle mechanism that doesn’t transfer motion to the chain
- Incorrect water level in tank (should be about 1 inch below the overflow tube top)
If a chain breaks before you can get a replacement, you can temporarily re attach the two pieces using a paperclip or even a twist tie as a short term connector. Open the paperclip into an S shape and hook the two broken chain ends together. This gets the toilet working normally without reaching into the tank between flushes. Plastic coated paperclips resist corrosion better and last longer for this type of emergency repair. That said, if you notice rust flaking off, brittleness when you handle the chain, or multiple missing links, the chain’s too deteriorated for adjustment and must be replaced entirely.
Check the flapper itself by running your finger along its bottom edge while it’s seated. If you feel cracks, notice the rubber’s hard instead of flexible, see mineral buildup that prevents a flat seal, or observe warping where the flapper doesn’t sit evenly, the chain length isn’t your problem. A flapper that’s worn out won’t seal no matter how perfectly adjusted the chain is. Flapper replacement becomes necessary when you see these signs, and it’s often worth replacing the chain at the same time since you’re already doing tank work.
Water level in the tank directly affects flush strength regardless of chain condition. If the water sits more than an inch below the overflow tube, you won’t get enough volume for a strong flush even if the flapper lifts perfectly. Other non chain causes of weak flushing include a malfunctioning fill valve that doesn’t refill the tank properly, an improperly connected refill tube that should clip to the overflow pipe, or partially clogged rim jets around the underside of the toilet bowl rim. These issues can all mimic chain problems but won’t respond to chain adjustment.
After adjusting your chain, test each component systematically. Flush and watch the flapper lift and seal. Check that water refills to the proper level. Listen for continuous running. Press the handle to confirm it engages smoothly. This process helps you isolate whether the chain was truly the problem or if you need to address other components next.
Installing a Replacement Toilet Chain

Full chain replacement is necessary when you find rust that won’t wipe off, breaks in multiple links, wrong chain type that’s too thick or thin for your connections, or severe corrosion that makes the chain brittle. Adjustment won’t fix these situations.
- Turn off the water supply at the shutoff valve behind the toilet
- Flush and empty the tank completely
- Disconnect the old chain from both the flush lever arm and the flapper hook
- Remove the old chain completely from the tank
- Attach the new chain to the flapper hook or connection hole
- Connect the chain to the flush lever arm with approximately 1 to 2 links of slack
- Adjust to achieve proper slack and test flush multiple times, fine tuning as needed
When you’re choosing a replacement chain at the store, most toilet chains are universal fit but they vary in length (typically 12 to 16 inches), material composition, and expected durability. Stainless steel chains offer the best longevity and corrosion resistance, especially if your home has hard water with high mineral content. They cost a few dollars more than plastic coated or all plastic options but often last twice as long. Check the packaging to confirm the chain length will work for your toilet. Standard height toilets use 12 inch chains while taller models sometimes need 14 or 16 inch versions.
Proper attachment technique matters as much as having the right parts. Make sure any S hooks are squeezed completely closed with pliers so the chain can’t slip off during use. Select the hole on the lift arm that positions the chain for a straight vertical pull. If the chain angles sharply, it can bind or wear unevenly. Verify the chain hangs straight down without twists by holding the flush lever in the up position and looking at the chain alignment before you connect it to the flapper.
After installation, run through several test flushes and watch the entire cycle each time. The flapper should rise smoothly, the chain should pull taut without jerking, and the flapper should drop cleanly back into place. Fine tune by moving the connection point one link at a time if you notice any hesitation or incomplete action. Getting that 1 to 2 link slack exactly right makes the difference between a toilet that works perfectly and one that still acts up.
Preventing Future Chain Problems Through Maintenance
Simple preventive measures take just a few minutes every few months but can save you from repeated repairs and wasted water down the line. Most chain problems develop gradually and can be caught early with quick inspections.
- Periodic visual inspection during routine bathroom cleaning (every 2 to 3 months)
- Checking specifically for rust spots or corrosion every 6 months
- Ensuring proper slack is maintained and the chain isn’t tangled around other components
- Removing mineral deposits with white vinegar solution and a soft brush
- Choosing corrosion resistant stainless steel chains whenever you do replacements
- Trimming excess chain length to prevent tangling with other tank parts
Water quality and chain deterioration are directly connected. Hard water with high mineral content accelerates corrosion and leaves crusty deposits that make chains stiff and brittle. If you live in an area with hard water, you’ll notice orange or white buildup on all the metal components in your toilet tank. Stainless steel chains resist this damage far better than standard metal chains, and plastic coated chains create a barrier that slows corrosion. When you see mineral scaling on your current chain, it’s a sign that upgrading material quality during the next replacement will extend the lifespan significantly.
Check chain condition whenever you’re replacing other toilet components like flappers or fill valves. If you’re already in the tank doing repairs, take an extra 30 seconds to inspect the chain for early signs of rust, check that it has proper slack, and verify it’s not rubbing against anything. Addressing multiple small issues at once prevents you from having to drain the tank and do repairs again in a few months. Most chains last 3 to 5 years depending on water quality and material, so if your flapper needs replacement and your chain’s over 3 years old, replacing both at the same time is often the smarter approach.
Recognizing When Professional Plumbing Help Is Needed

Most chain adjustments are straightforward DIY tasks that take 10 minutes and basic tools, but some situations indicate larger problems that benefit from professional expertise and proper diagnosis.
- Repeated chain breakage in the same spot indicating underlying mechanical problems with the flush lever
- Flush lever or lift arm mechanism damage that requires replacing tank components you can’t easily access
- Inability to achieve proper chain adjustment despite multiple attempts and different attachment points
- Simultaneous multiple toilet component failures (fill valve, flapper, handle assembly all malfunctioning)
- Older toilet models with non standard or discontinued parts that don’t match current universal hardware
- Persistent flushing problems after you’ve already adjusted the chain and replaced the flapper
- Cracked or damaged porcelain tank components discovered during your inspection
When you’re facing repairs to multiple components at once (like a fill valve that needs replacement, a worn flapper, a broken handle assembly, and a corroded chain), the total cost of parts and your time starts adding up. If your repair costs approach $100 to $150 in parts alone and you’re still not confident about the diagnosis, a professional assessment often makes sense. A plumber can identify whether your toilet’s overall condition justifies continued repairs or if underlying issues will keep causing problems. Some older toilets develop chronic issues where you fix one thing and another component fails shortly after, which signals it might be time for bigger decisions.
A typical plumber service call for toilet chain and flush mechanism repairs runs between $150 and $250 including the visit, diagnosis, parts, and labor. Standard toilet repair services include inspecting all tank components, replacing worn parts, adjusting water levels, testing flush performance, and often a brief check of the supply line and shutoff valve. If you’ve already spent several hours troubleshooting, bought parts that didn’t solve the problem, and you’re still dealing with a toilet that won’t flush properly, professional help often resolves the issue in one visit.
Final Words
A toilet chain too long or short creates frustrating problems, but the fix is usually straightforward once you’ve diagnosed which issue you’re dealing with.
Whether you’re shortening an overly slack chain, lengthening one that’s preventing proper flapper closure, or replacing a corroded chain entirely, the adjustment process takes just a few minutes with basic tools.
Test your work through several flush cycles to confirm proper operation. If chain adjustment doesn’t solve the problem, check the flapper and other tank components systematically.
Most homeowners can handle these repairs themselves, but persistent issues might signal it’s time for a pro to take a look.
FAQ
What length should a toilet chain be?
A toilet chain should have approximately 1-2 chain links of slack when the flapper is in the resting position. This translates to about half an inch to one inch of excess length, which allows the flapper to close completely while still lifting fully when you press the flush lever.
How do you tell if your chain is too long?
You can tell your chain is too long if you must hold the flush lever down for a full flush instead of briefly pressing it. Another sign is when the flapper doesn’t lift completely off the flush valve opening during flushing, causing a weak or incomplete flush that leaves waste behind.
Is a 20 inch chain too short?
A 20 inch chain is not too short for most standard toilets, as replacement chains typically measure 12-16 inches in total length. The key isn’t the total chain length but rather the slack measurement. Proper installation should leave 1-2 links of slack when the flapper rests closed.
How do you fix a toilet chain that’s too long?
You fix a toilet chain that’s too long by turning off the water supply, flushing to empty the tank, unhooking the chain from the flush lever arm, and reattaching it to a link closer to the lever. Cut off excess chain length beyond one inch below the attachment point to prevent tangling.
What happens if a toilet chain is too short?
A toilet chain that’s too short prevents the flapper from completely closing over the flush valve hole, causing the toilet to run continuously. You’ll notice water constantly flowing into the bowl and hear the fill valve running as it tries to maintain tank water level.
Can you temporarily fix a broken toilet chain?
You can temporarily fix a broken toilet chain by reconnecting the two pieces with a paperclip or twist tie until you get a proper replacement. Plastic-coated paperclips work better and last longer than regular metal ones, but this should only be a short-term solution.
Why does my toilet chain keep tangling?
Your toilet chain keeps tangling because there’s too much excess length dangling below the attachment point. The extra chain catches on other tank components during flushing, preventing the flapper from settling normally. Trim excess chain to leave only one inch below where it attaches.
When should you replace a toilet chain instead of adjusting it?
You should replace a toilet chain instead of adjusting it when you notice rust or corrosion, broken or missing links, severe brittleness, or when the chain breaks repeatedly. Chains showing these signs won’t hold adjustments reliably and risk failing completely during normal use.