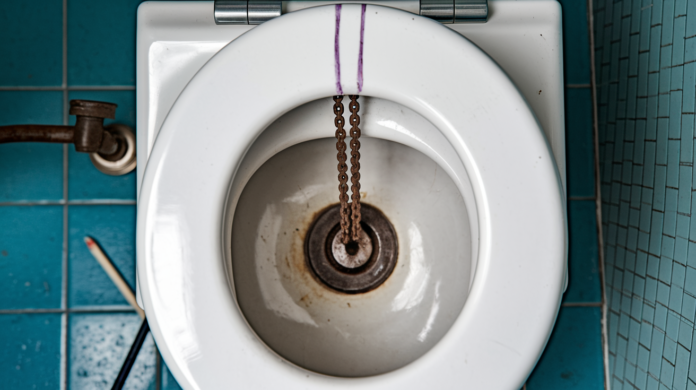

You know that faint trickling sound your toilet makes after every flush? That noise costs you about $200 a year in wasted water. A running toilet dumps hundreds of gallons down the drain each day because one small rubber part inside the tank isn’t sealing correctly. The good news is most running toilet fixes take less than fifteen minutes and require basic tools you already own. We’ll walk you through the actual causes, show you how to test what’s broken, and give you the exact steps to stop the running for good.
Common Causes and Immediate Fixes for Your Running Toilet

Water running continuously in your toilet tank wastes hundreds of gallons every day. That trickling sound after you flush? It means something inside the tank isn’t closing or stopping like it should.
Here’s how to quickly figure out what’s causing your toilet to keep running:
- Remove the tank lid carefully and set it somewhere safe where it won’t fall
- Look at the overflow tube, the tall pipe in the center. If water drains into it, your fill valve needs work. If the water level sits below it, the problem’s likely your flapper or flush valve
- About 80 percent of running toilets trace back to a worn or misaligned flapper
The flapper is that rubber disk at the bottom of your tank. It lifts when you press the flush handle and then seals shut to stop water from draining into the bowl. When that seal breaks down from mineral buildup or simple age, water leaks through constantly.
Here’s the most common fix that works right away: Turn off the water supply valve behind the toilet. Flush to empty the tank. Unhook the chain from the flush handle. Slide the old flapper off the overflow tube pegs, or unclip it depending on your model. Snap or slide the new flapper into place. Reattach the chain with about half an inch of slack. Turn the water back on and test the flush.
This quick flapper swap solves the problem in most cases within ten minutes. If the toilet keeps running after you replace the flapper and test it twice, you’ll need to check the other components like the fill valve, chain length, or water level settings.
Essential Tools and Materials for Toilet Repair
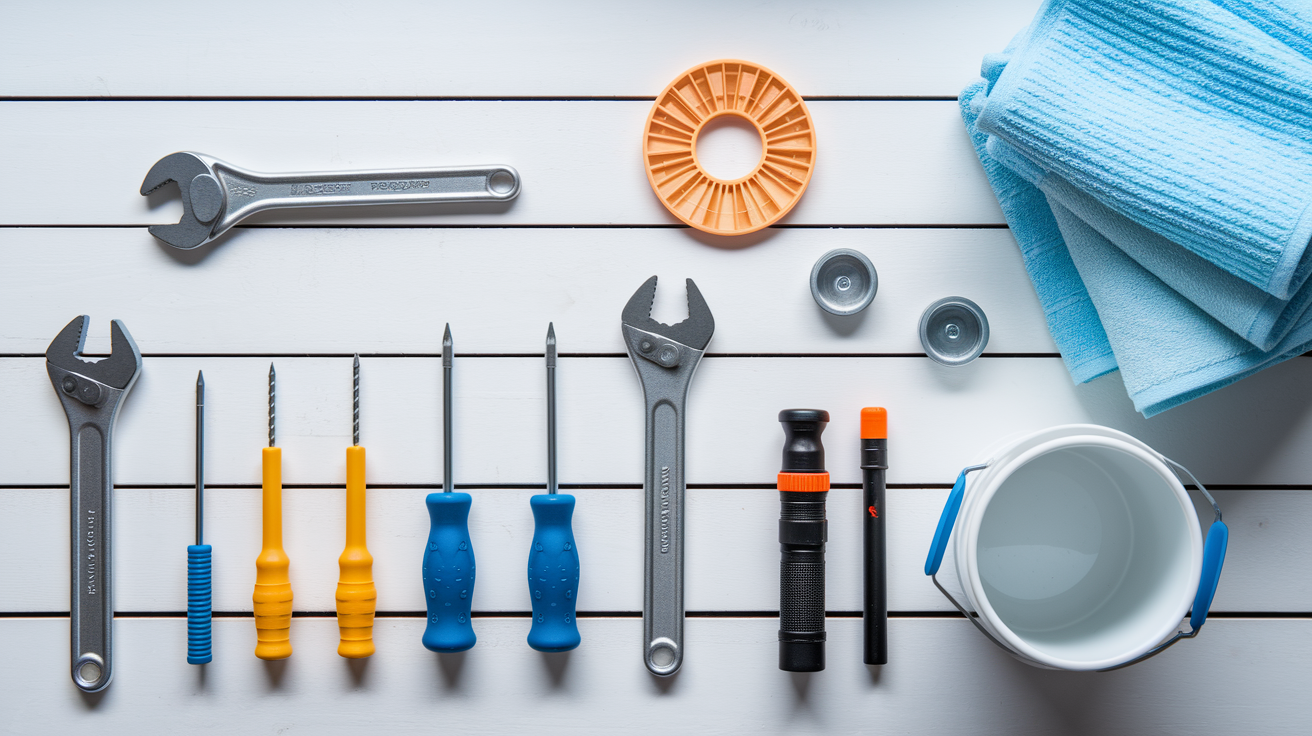
Getting your tools together before you start makes toilet repair faster and keeps you from running back and forth to the garage. Most of what you need sits in a basic toolbox already.
Here’s what to have ready:
- Adjustable wrench for loosening tank bolts and supply line connections
- Philips head screwdriver for most handle and lever connections
- Flat-head screwdriver for older fixtures or prying stubborn clips
- Old towels or a large sponge to soak up residual tank water
- Bucket to catch water when disconnecting supply lines
- Replacement flapper that matches your toilet’s drain valve size
- Replacement fill valve if cleaning doesn’t fix flow issues
- Emery cloth or fine grit sandpaper to smooth rough valve seats
- Food coloring, any color works, for leak detection tests
- Flashlight to see inside the tank clearly
Flappers come in two main sizes: two inch and three inch. Measure the flush valve opening at the bottom of your tank before you shop, or look for a universal flapper that adjusts to fit both sizes. Quality replacement parts last longer and seal better than bargain bin options. The extra two dollars you spend on a name brand flapper usually means you won’t be back under the tank lid in six months.
Complete Troubleshooting Guide for Running Toilets
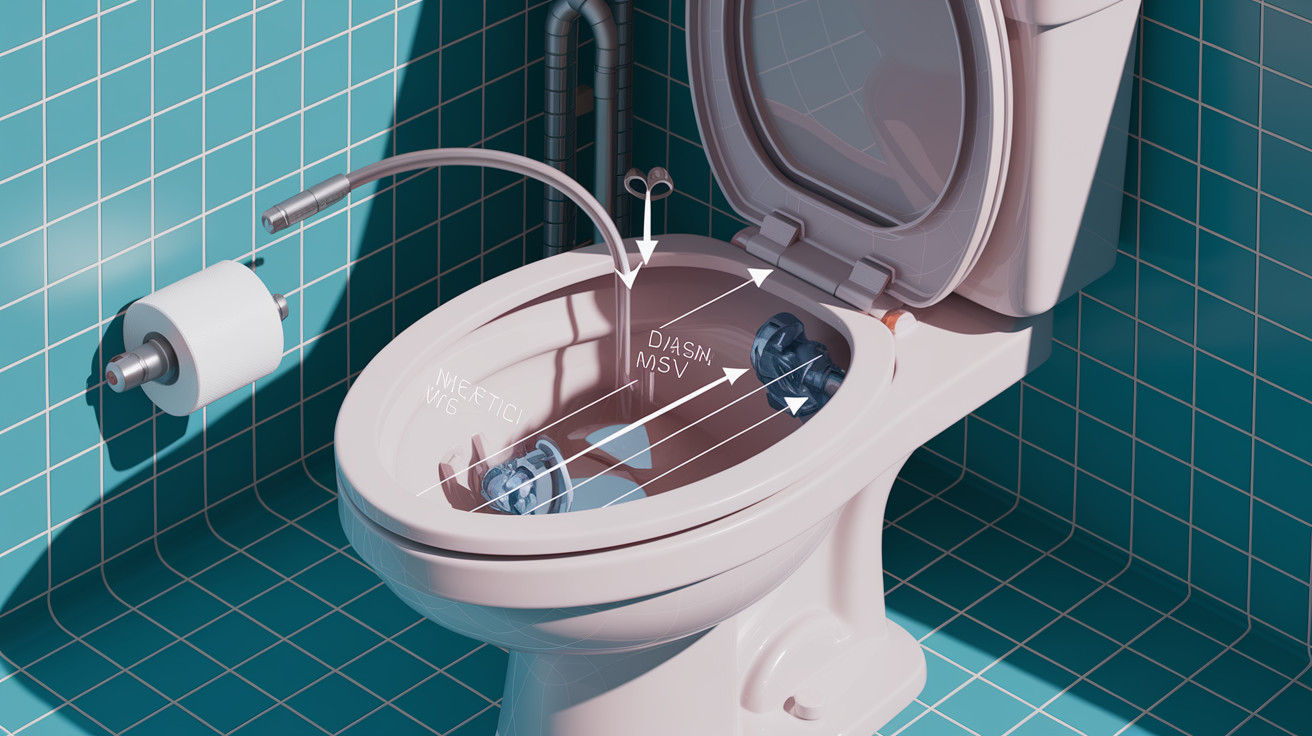
When replacing the flapper doesn’t stop the running, you need to check the other moving parts inside the tank. A systematic approach helps you find the real problem without guessing or replacing parts you don’t need to touch.
Check the Water Level
The water in your tank should sit about one to two inches below the top of the overflow tube when the tank finishes filling. If it climbs higher than that, excess water spills into the tube and drains into the bowl continuously.
Draw a pencil line at the current water level on the inside of the tank. Turn off the water supply valve. Wait one hour and check if the water dropped below your line. If it did, water’s leaking out somewhere even though the level looked normal at first glance.
Test the Flapper Seal
Add five to six drops of food coloring to the tank water. Don’t flush. Wait thirty to sixty minutes, then look in the bowl. If the water changed color, your flapper isn’t sealing properly even if it looks fine.
Reach into the tank and touch the flapper when it’s closed. It should feel soft and pliable, like a new pencil eraser. If it feels stiff, brittle, or has visible cracks, it needs replacement regardless of what the dye test showed.
Inspect the Chain and Float
The chain connecting the flush handle to the flapper should have about half an inch of slack when the flapper rests closed. Too much slack and the chain falls under the flapper or wraps around the overflow tube. Too little slack and the flapper can’t seal completely because the chain holds it slightly open.
Lift the float ball or float cup by hand while the toilet’s running. If the water stops flowing into the tank, the float needs adjustment. The float tells the fill valve when to shut off based on water level, so an incorrectly positioned float keeps the valve open too long.
Examine the Fill Valve
Watch the tank as it refills after a flush. If water streams into the overflow tube while the tank fills, the fill valve isn’t shutting off at the right water level. This usually means the float needs adjustment or the fill valve has debris stuck inside that prevents proper closure.
Fixing Flapper Issues and Chain Length Problems
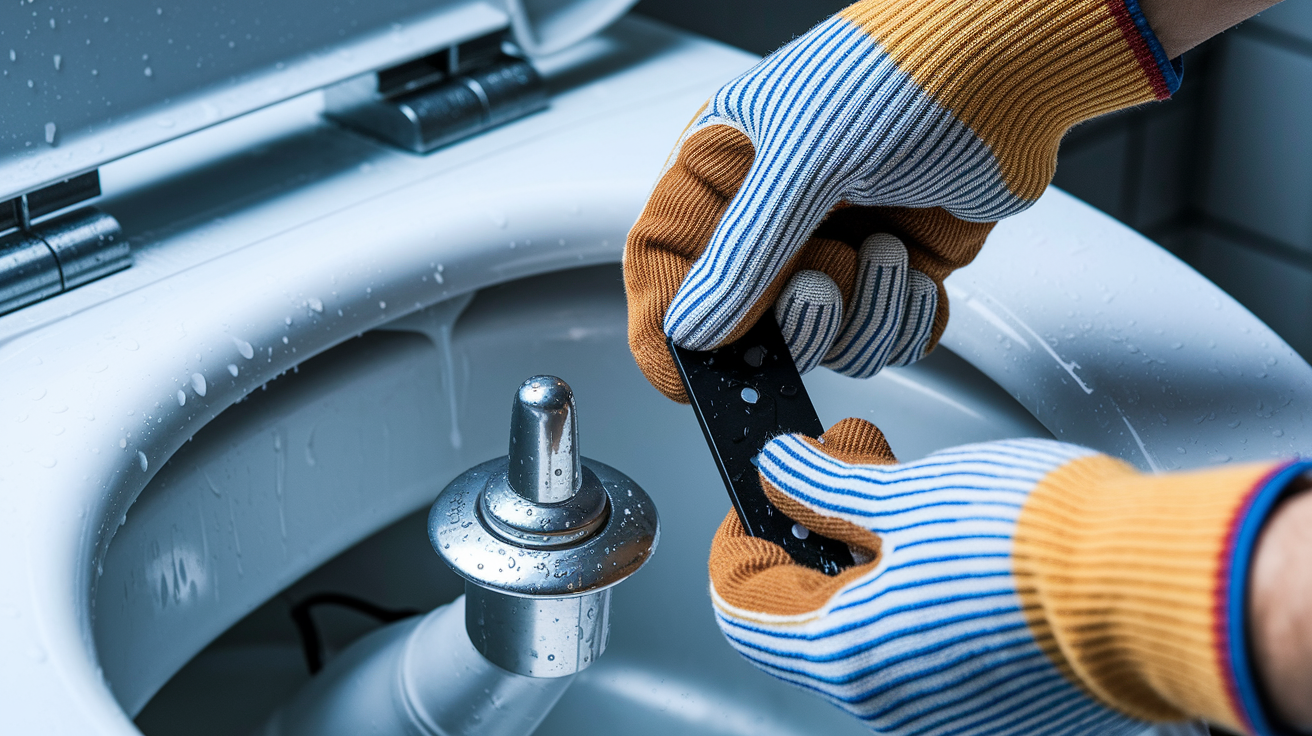
Flappers deteriorate from constant water exposure, especially in areas with hard water that leaves mineral deposits on rubber surfaces. Even a small amount of buildup around the edge prevents a complete seal and lets water seep through.
Here’s how to replace a flapper and get everything aligned correctly:
- Turn off the water supply valve behind the toilet
- Hold the flush handle down until the tank drains completely
- Soak up remaining water with a sponge or towel
- Disconnect the chain from the flush handle lever
- Slide the old flapper ears off the pegs on the overflow tube or unclip it from the mounting ring
- Wipe the flush valve seat, the surface where the flapper seals, with a damp cloth
- If the seat feels rough or has mineral buildup, smooth it gently with emery cloth
- Position the new flapper onto the pegs or clip it into the mounting ring
- Attach the chain to the handle lever with about half an inch of slack
- Turn the water back on and test several flushes
Chain positioning matters more than most people realize. The chain should hang in a straight line from the handle lever to the flapper top when the flapper’s closed. If the chain hangs too far to one side, it might catch on the overflow tube or slip under the flapper. Adjust the chain connection point on the handle lever if needed to get a clean vertical drop.
Sometimes the flapper looks fine but the flush valve seat underneath has damage. If the valve edge has rough spots, nicks, or an uneven surface, even a new flapper won’t seal properly. Light scratches can be smoothed with fine grit sandpaper. Deeper gouges mean you need to replace the entire flush valve assembly.
Flush valves come in two inch and three inch sizes that match your flapper size. Replacing a flush valve is more involved than swapping a flapper because you have to drain the tank completely, disconnect the water supply, remove the tank from the bowl, unscrew the old valve from the tank bottom, and reverse the process with the new valve.
Test your repair by flushing twice and watching the flapper close completely both times. Listen for five minutes after flushing. If you don’t hear any water movement and the tank level stays constant, you fixed it.
Adjusting and Replacing the Fill Valve
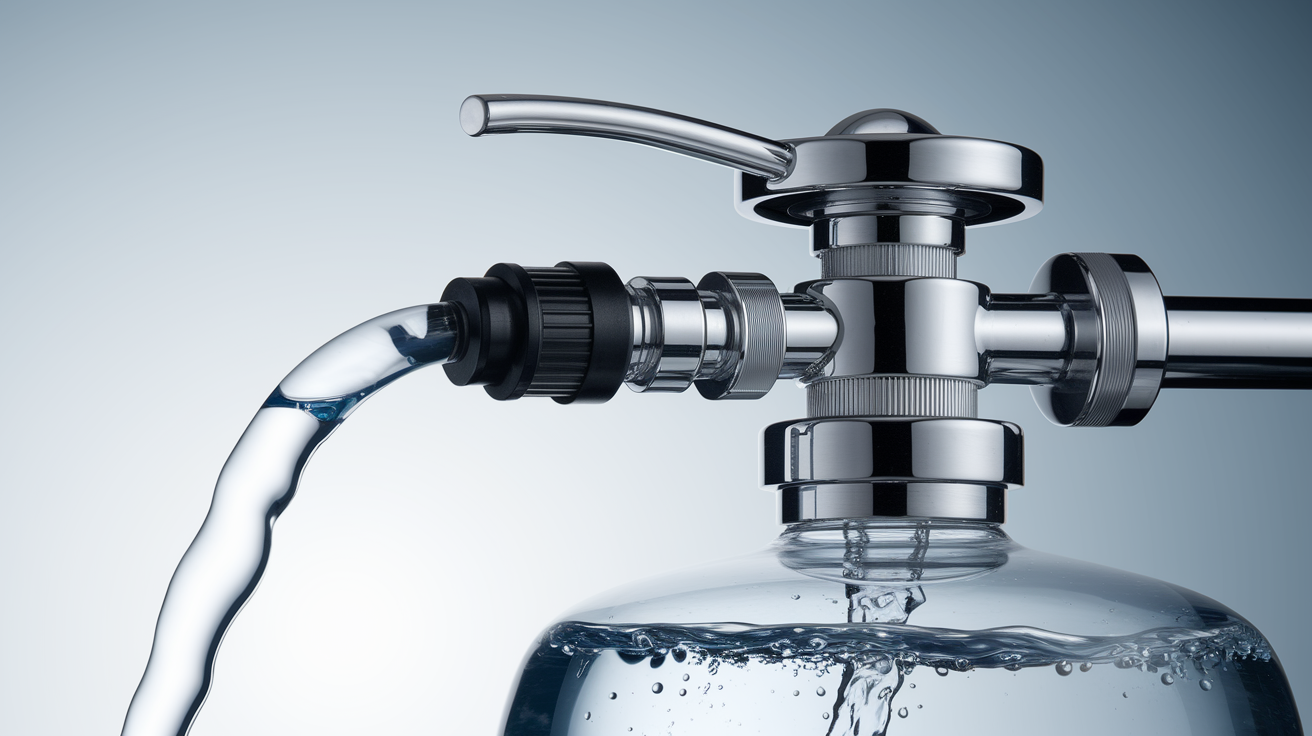
The fill valve controls how water enters the tank after each flush and when that flow stops based on the water level. When it malfunctions, water either runs continuously into the overflow tube or the tank never fills to the right level.
Cleaning Debris From the Fill Valve
Mineral deposits and small debris from the supply line can lodge inside the fill valve and prevent it from closing completely. Before replacing the valve, try this cleaning procedure:
- Turn off the water supply valve
- Locate the fill valve cap on top of the valve assembly
- Lift the float cup or ball slightly to access the cap
- Twist the cap counterclockwise about one eighth of a turn
- Lift the cap off carefully and set it aside
- Turn the water supply back on fully and let it flush through the valve for ten to fifteen seconds
- Watch for debris coming out with the water stream
- Turn the water off, replace the cap, twist it clockwise to lock it, and turn the water back on
This flush through method dislodges particles stuck in the valve mechanism. Test a few flushes afterward to see if the running stopped.
If your toilet has an older float ball on an arm instead of a float cup that slides up and down the valve, adjust the water level by turning the adjustment screw on top of the fill valve or by bending the float arm slightly. Lower the float to reduce the water level and stop overflow into the tube. Some threaded rod systems let you twist the rod to raise or lower the float position.
Persistent mineral buildup on the fill valve exterior can be removed with a cloth dampened with white vinegar. Let the vinegar sit on crusty areas for a few minutes before wiping. Never use abrasive cleaners inside the tank as the particles can damage rubber seals.
Complete fill valve replacement makes sense when the valve’s more than five years old, shows visible corrosion, or keeps malfunctioning after cleaning and adjustment. Universal fill valves fit most toilets and come with clear installation instructions. Some manufacturers offer complete repair kits that include a new fill valve, flapper, and flush valve in one package for older toilets that need multiple parts replaced.
Water Waste, Costs, and Environmental Impact

A toilet that keeps running after each flush doesn’t just make an annoying sound. It pours treated, drinkable water straight into the sewer system while your water meter keeps spinning.
| Time Period | Water Wasted | Estimated Cost Impact |
|---|---|---|
| Per Hour | 8 gallons | $0.06 |
| Per Day | 200 gallons | $1.50 |
| Per Week | 1,400 gallons | $10.50 |
| Per Month | 6,000 gallons | $45.00 |
These estimates use average water rates of about 0.75 cents per gallon. Your actual costs depend on local water and sewer rates, which can run higher in many areas. That forty five dollars a month adds up to over five hundred dollars a year for a problem you can fix in twenty minutes with a ten dollar part.
Older toilets built before 1994 use more than 1.6 gallons per flush compared to modern low flow models that use 1.28 gallons or less. If your toilet’s older and needs multiple repairs, replacement with a water efficient model can cut your overall water use by thirty percent or more. The upfront cost of a new toilet gets recovered through lower water bills within a few years.
Beyond your personal water bill, running toilets waste a shared resource that takes energy to treat and deliver. Fixing these leaks quickly reduces demand on water treatment systems and helps maintain water availability for your community. The repair is one of the simplest ways to reduce your household’s environmental footprint.
When to Call a Professional Plumber
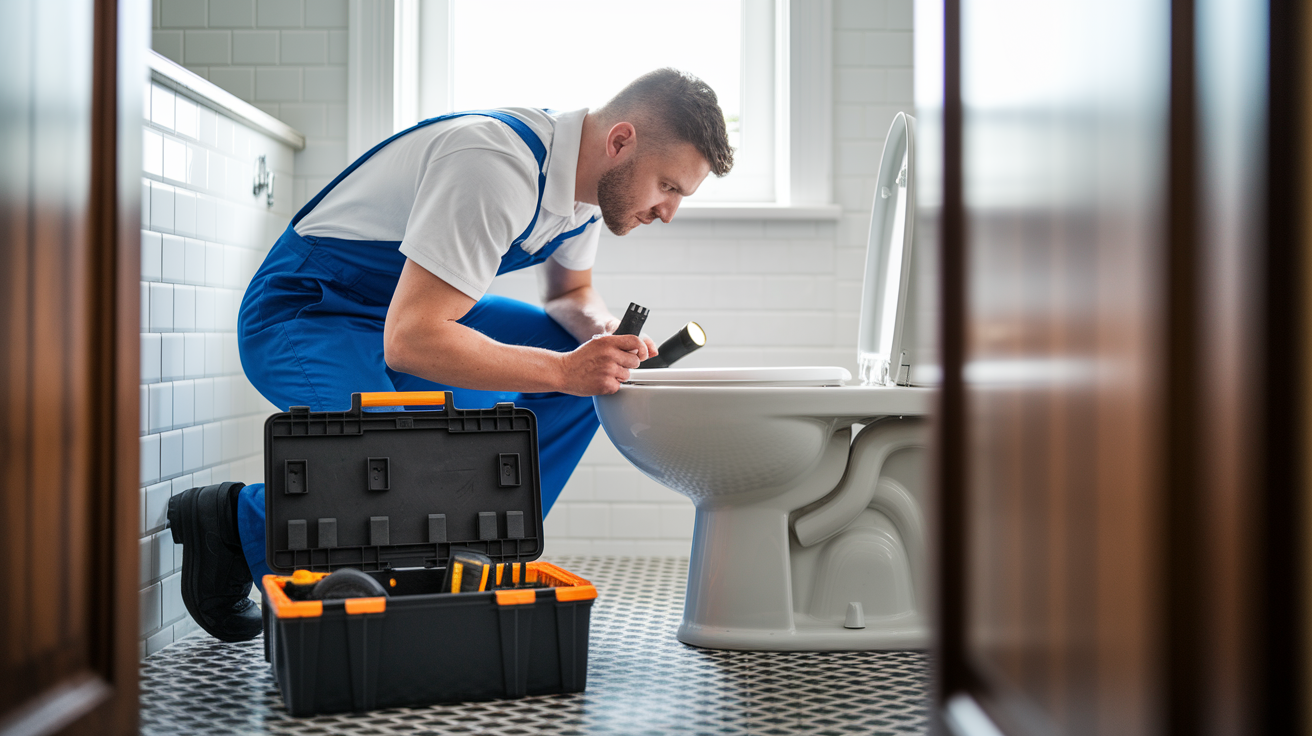
Most running toilet fixes fall within DIY capability, but some situations need professional equipment, experience, or code knowledge that goes beyond basic repairs. Knowing when to call for help prevents larger damage and saves time when a problem exceeds standard troubleshooting.
Call a plumber when you encounter these situations:
- Water leaking from the base of the tank where it connects to the bowl
- Cracks in the porcelain tank or bowl that are leaking water
- Water pooling on the floor around the toilet after you’ve ruled out condensation
- Excessively high water pressure causing the toilet to run and the fill valve to malfunction
- Supply line problems including leaks at the shutoff valve or corroded connections
- Failed repairs after you’ve replaced both the flapper and fill valve correctly
- Tank bolts that are corroded, stripped, or won’t tighten properly
- Internal gasket replacement between the tank and bowl requiring full disassembly
If water appears on the floor around your toilet, shut off the water supply immediately. Check if the water’s coming from the tank lid condensation, the tank lever area, or seeping from under the tank where it bolts to the bowl. Floor leaks from tank connection failures can damage subflooring quickly if not addressed right away.
Complex valve failures sometimes involve parts that aren’t sold separately or require specialized tools to access. Tank to bowl gasket replacement means unbolting the tank, lifting it off carefully without cracking it, replacing the gasket, and reinstalling with proper torque on the bolts. That’s a job that many homeowners prefer to hand off given the risk of porcelain damage.
The cost benefit calculation tips toward professional help when repeated DIY attempts haven’t worked or when the repair requires removing and reinstalling the entire toilet. A plumber can diagnose problems faster because they’ve seen the same failure patterns hundreds of times, and they carry a full range of parts that might not be available at your local hardware store.
For reliable plumbing services including toilet repair, tank component replacement, and full fixture installation, Home Recovery Pro Services offers experienced technicians who can handle persistent problems or complex repairs. Sometimes the peace of mind that comes from a professional diagnosis and warranty backed repair is worth more than the parts you’d buy trying different fixes yourself.
Final Words
A toilet that keeps running after flush is fixable most of the time with basic tools and a new flapper.
The water you’re wasting adds up fast. 200 gallons a day means real money down the drain and an avoidable strain on your local water supply.
Start with the flapper and chain. If that doesn’t stop the running, move to the fill valve or water level.
When DIY fixes don’t hold or you’re seeing leaks outside the tank, it’s time to bring in a pro who can diagnose it right and get your bathroom back to quiet and normal.
FAQ
How do you fix a toilet that keeps running after flush?
A toilet that keeps running after flush is typically fixed by replacing the flapper valve, which seals the flush valve opening at the tank bottom. Turn off the water supply, drain the tank, disconnect the old flapper, install a new one with proper chain slack, and test the flush to confirm the seal works.
What is the most common cause of a constantly running toilet?
The most common cause of a constantly running toilet is a worn or damaged flapper valve that no longer creates a proper seal against the flush valve opening. The flapper, a rubber component at the tank bottom, deteriorates over time from mineral deposits and normal wear, allowing water to leak continuously into the bowl.
Will a running toilet eventually stop?
A running toilet will not eventually stop on its own because the fill valve continuously refills water that drains through the faulty flapper or overflow tube. The toilet will keep running indefinitely until you replace the worn parts, wasting up to 200 gallons of water per day and significantly increasing your water bill.
Do you need a plumber to fix a running toilet?
You typically do not need a plumber to fix a running toilet if the issue involves a worn flapper, chain adjustment, or fill valve replacement, which are straightforward DIY repairs. However, you should call a professional if you notice cracked porcelain, persistent leaks from the tank bottom, water on the floor, or high water pressure issues.