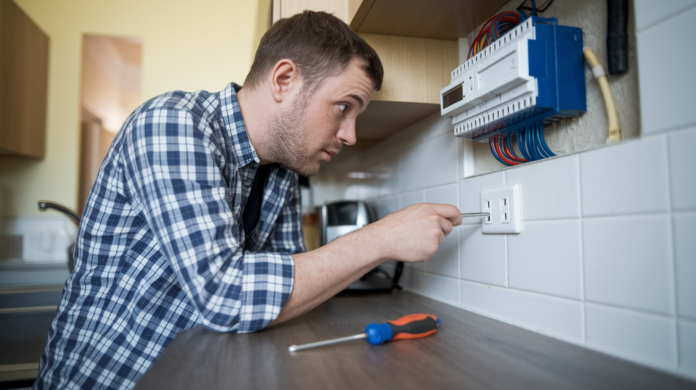

You plug in your phone charger and nothing happens. Then you try the lamp. Still nothing. A dead outlet always seems to happen when you’re in a rush or right when you need it most. Before you start worrying about rewiring or calling for help, there’s good news. Most outlet failures come from simple, fixable causes like a tripped breaker, a reset button, or a wall switch you didn’t know existed. This guide walks you through the fastest checks first, then shows you exactly what to do when those don’t work.
Quick Diagnostic Guide: Finding Why Your Outlet Has No Power
When you plug something in and nothing happens, it’s frustrating. Maybe you’ve got work to finish, a meal to cook, or you just need to charge your phone. Before you assume the worst, there’s a logical path through the most common causes. Start with the simplest checks first, and you’ll usually find the answer within a few minutes.
-
Is your device working? Plug the device into a different outlet in another part of your home. If it works there, your device is fine and the problem is the outlet. If the device still doesn’t work, the device itself is faulty, not the outlet.
-
Check nearby wall switches. Flip every switch in the room, especially any near the dead outlet. If power suddenly comes back, you have a switched outlet, which is completely normal. If nothing changes, move to step 3.
-
Look for GFCI reset buttons. Check the dead outlet itself, then check all outlets in bathrooms, the kitchen, garage, and any outdoor areas. Look for a small rectangular button labeled “reset.” Press any reset buttons until you hear or feel a click. If power returns, you’ve solved it. If there are no reset buttons or the button won’t stay pushed in, go to step 4.
-
Check your electrical panel. Find your breaker panel, usually in the basement, garage, or laundry room. Look for a breaker handle sitting in the middle position or one that doesn’t line up with the others. Push the breaker handle firmly to OFF until you hear a click, then push it to ON. If power comes back, problem solved. If the breaker trips again immediately, stop and call a licensed electrician. If you don’t see any tripped breakers, continue to step 5.
-
Check other outlets in your home. Test several outlets in different rooms. If multiple outlets are dead, see the section on Testing Multiple Outlets on the Same Circuit. If only this one outlet is dead after completing all these checks, the problem is likely loose wiring or a burnt out outlet. You can read those sections below or call a licensed electrician.
Before you do any physical work beyond testing outlets and flipping switches, read through the Essential Safety Precautions section. If you feel uncertain at any point, calling a professional is always the right move.
Essential Safety Precautions Before Troubleshooting Outlets
Electricity can cause serious injury or death. It’s not something to take lightly, even when you’re just checking an outlet. Safety comes first, every time.
Never touch outlets with wet hands or while standing in water. Unplug all devices and shut down computers before testing outlets. If you see smoke, smell burning, or feel warmth coming from an outlet, stop immediately and call a licensed electrician. Same goes for discolored faceplates or melted plastic. Turn off the power at the breaker before removing any outlet covers. Do not use metal tools like screwdrivers near live electrical parts. Keep children and pets out of the area while you’re troubleshooting. Wear rubber soled shoes to reduce shock risk. Keep a fire extinguisher nearby, just in case.
Electrical work has real consequences when done incorrectly. If you reach a point where you’re not completely sure what to do next, stop. Calling a licensed electrician isn’t admitting defeat. It’s the smart, safe choice that protects you, your family, and your home.
Using an Outlet Tester for Accurate Diagnosis
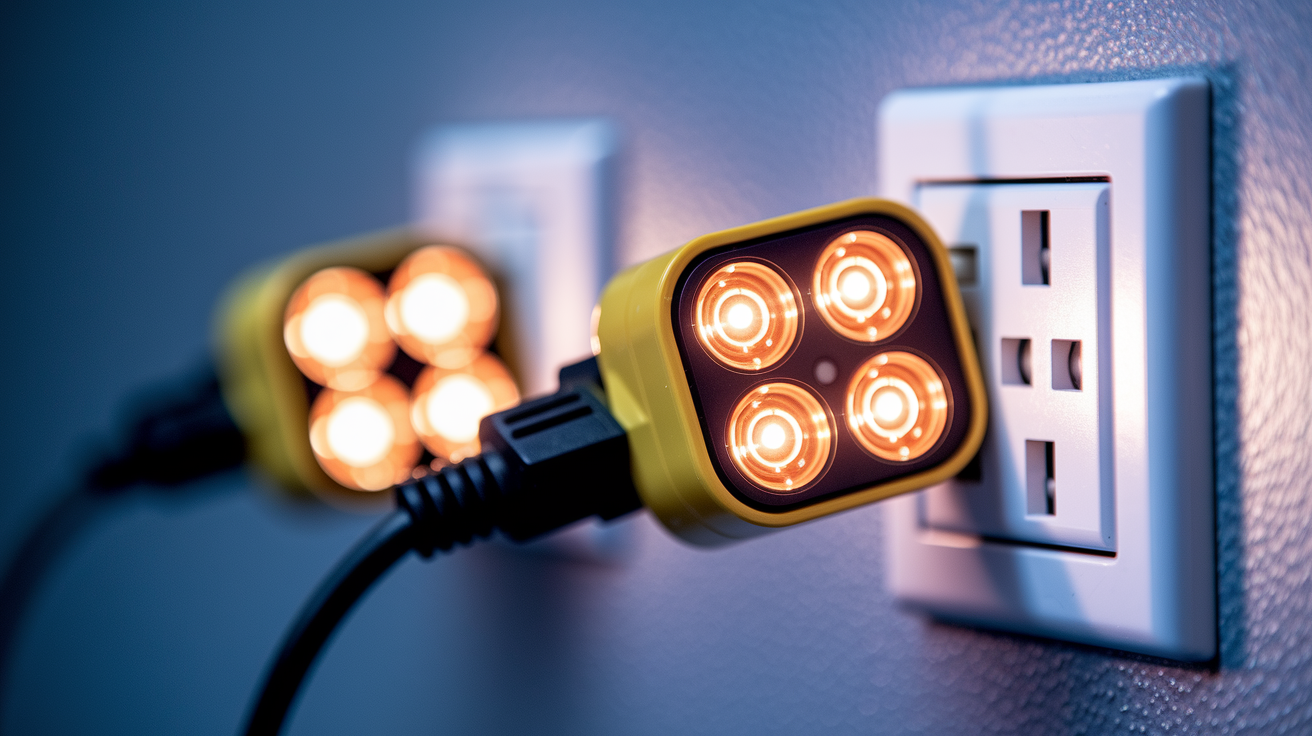
An outlet tester is a small plug in device that costs under $15 at any hardware store. It’s got three lights on the front and shows you immediately whether the outlet is wired correctly or if there’s a problem. You just plug it in and look at which lights come on.
The light pattern tells you what’s going on. Most testers have a legend printed right on them, but you’ll usually see combinations that indicate correct wiring, open ground, open neutral, reversed polarity, or hot and ground reversed.
| Light Pattern | Problem Indicated | Safety Level |
|---|---|---|
| Two amber lights (right side) | Correct wiring | Safe to use |
| Single amber light (middle only) | Open ground (no grounding wire) | Functional but less safe |
| Single amber light (right only) | Open neutral (incomplete circuit) | Do not use, call electrician |
| Two amber lights (left side) | Reverse polarity (hot and neutral swapped) | Works but unsafe, call electrician |
| Three amber lights | Hot and ground reversed | Very dangerous, call electrician immediately |
Basic outlet testers are helpful, but they’ve got limits. They can’t measure voltage accurately, detect loose connections inside the box, or find problems in the wiring between the panel and the outlet. Professional electricians use multimeters and other diagnostic equipment that go much deeper. If your tester shows anything other than correct wiring, or if the outlet still doesn’t work even with correct wiring, it’s time to bring in a licensed electrician. You can buy outlet testers at hardware stores, home centers, or online, usually for $10 to $20.
Resetting GFCI Outlets That Have Lost Power

GFCI outlets are designed to shut off power instantly when they detect even a tiny change in electrical current. That’s their job. They prevent electrocution by cutting power before you can get hurt. You’ll find them in bathrooms, kitchens, garages, outdoor areas, and anywhere near water. One GFCI outlet can protect several regular outlets downstream from it. That means a dead outlet in your bedroom might actually be controlled by a GFCI in your bathroom.
To reset a GFCI outlet, look for the small rectangular button in the center, usually labeled “reset.” Press it firmly until you hear or feel it click into place. If the outlet was tripped, power should come back immediately. You can test it by pressing the “test” button, which should make the reset button pop back out. If it does, press reset again and you’re good. After heavy rain, power washing, or storms, exterior GFCI outlets sometimes need a day or two to dry out before they’ll reset properly. That’s normal. The outlet isn’t broken, it just needs time.
If the reset button won’t stay pushed in, or if it keeps popping back out right after you press it, something is causing the GFCI to trip. Common causes include moisture inside the outlet box, a ground fault somewhere on the circuit, or a damaged GFCI that needs replacement. If you’ve given it time to dry and it still won’t reset, call a licensed electrician. They can test the circuit to find out what’s causing the trip. Installing a new GFCI outlet typically costs around $210, which includes the part, labor, and making sure it’s wired correctly.
Identifying and Fixing Tripped Circuit Breakers
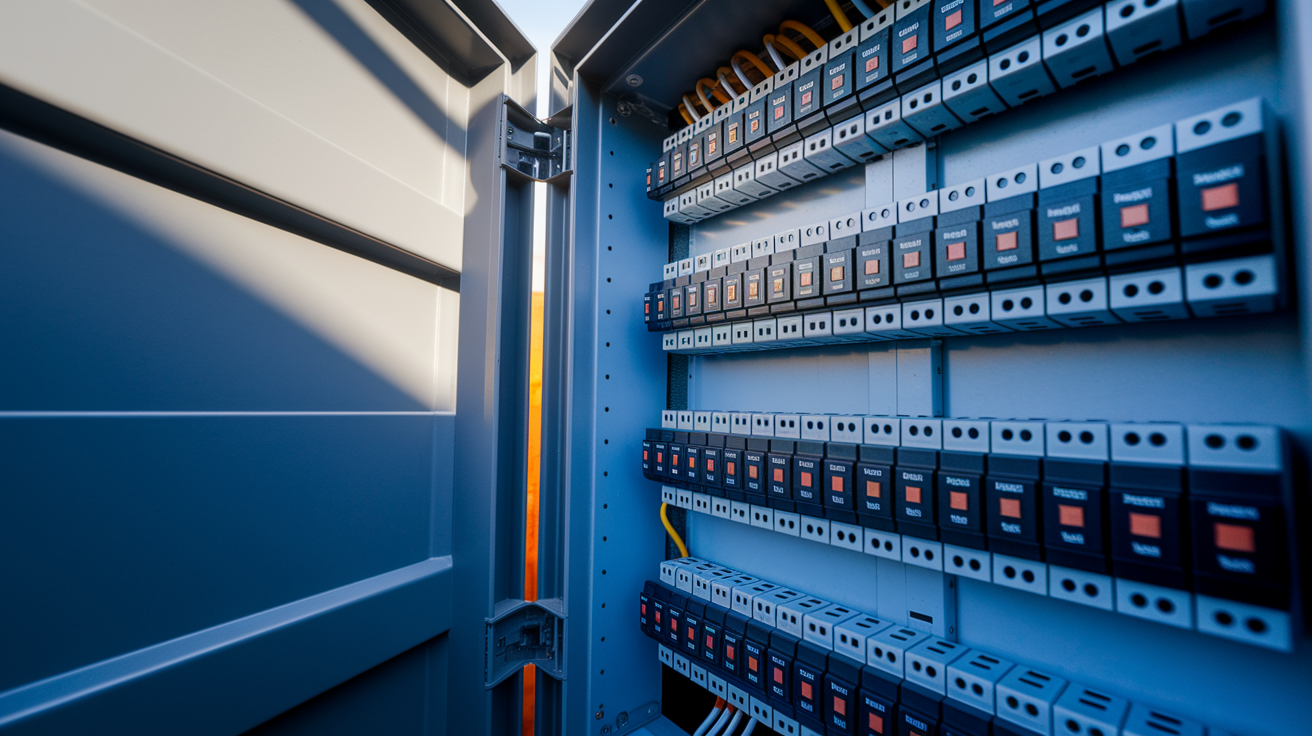
Circuit breakers protect your home’s wiring from overheating and starting a fire. When too much electricity flows through a circuit, the breaker trips and shuts off power. There are two main reasons a breaker trips: circuit overload and short circuits. An overload happens when you plug in too many things at once, especially heat generating appliances like space heaters, hair dryers, or microwaves. A short circuit is more serious. It happens when hot and neutral wires touch each other or when damaged wiring creates an unintended path for electricity.
You can spot a tripped breaker by finding the handle that doesn’t line up with the others. Most breakers move to a middle position between OFF and ON when they trip. To reset it properly, push the handle firmly to the OFF position until you hear a click. Then push it all the way to the ON position until it lines up with the other breakers. You have to go to OFF first. If you try to push it straight to ON from the middle position, it won’t reset correctly.
If your circuit keeps overloading, it’s usually because too many things are running on the same circuit. Circuits in most homes are either 15 amp or 20 amp. A 15 amp circuit can handle about 1,800 watts, and a 20 amp circuit can handle about 2,400 watts. When you plug a space heater, a microwave, and a coffee maker into outlets on the same circuit, you’ll probably overload it. The fix is simple: unplug some devices or spread them across different circuits in other rooms.
If the breaker trips again immediately after you reset it, especially with nothing plugged in, stop. Leave the breaker off and call a licensed electrician right away. Immediate re-tripping means there’s a short circuit, a ground fault, or the breaker itself has failed and can’t hold its rated amperage anymore. These aren’t DIY fixes. Using that circuit while it’s damaged creates a serious fire risk.
Diagnosing Switched Outlet Problems

Half hot outlets have one receptacle that stays on all the time and one receptacle controlled by a wall switch. They’re common in living rooms and bedrooms that don’t have overhead lights. The idea is you plug a lamp into the switched receptacle and control it from the wall switch when you walk into the room.
If your outlet seems dead, try flipping every switch nearby. Sometimes the switch is across the room or in an unexpected spot. Test both the top and bottom receptacles separately because usually only one is controlled by the switch. If power comes back when you flip a switch, your outlet isn’t broken. It’s working exactly as designed.
Builders install switched outlets to give you control over lighting without the cost of installing overhead fixtures and running extra wiring through the ceiling. It’s not always obvious which receptacle is switched and which is always hot, so it helps to test both with a lamp or small device. If you want to avoid confusion in the future, you can put a small label on the faceplate or mark it in your home’s electrical notes.
Loose Wiring Connections Behind Outlets
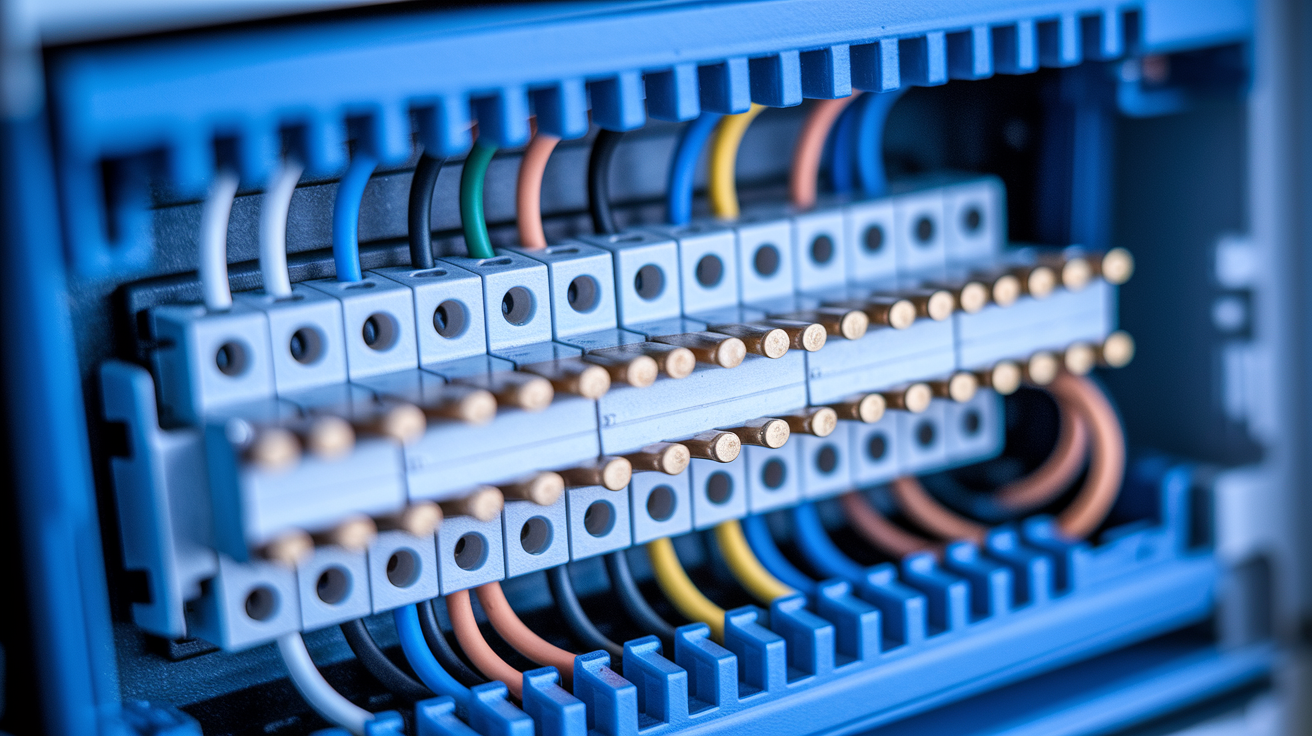
Loose wiring causes outlets to fail partially or completely. It happens when outlets are installed incorrectly or when connections work loose over time from repeated plugging and unplugging. This is one of the most common reasons an outlet stops working even though the breaker is fine.
Before you check behind an outlet, you must turn off the circuit breaker that controls it. Reference the Essential Safety Precautions section if you need a reminder. Remove the faceplate screws and gently pull the outlet forward to see the wires. Look for wires that aren’t firmly attached. Properly installed outlets follow a color code: the black wire connects to the gold screw (hot), the white wire connects to the silver screw (neutral), and the copper or green wire connects to the green grounding screw at the bottom.
There are three common ways wires connect to outlets. Screw terminals where the wire wraps around a screw and tightens down. This is the most reliable method when done correctly. Push in connectors, sometimes called backstabbing, where the wire just pushes into a hole in the back of the outlet. This method is faster but prone to loosening over time. Wire nuts that connect multiple wires together inside the box, usually for junction connections between outlets.
If you find loose wires and you’re not comfortable reconnecting them, call a licensed electrician. Incorrect reconnection creates fire hazards and shock risks. If you see push in connectors, it’s worth having a professional convert them to screw terminals. Push in connections fail more often and aren’t worth the risk in a permanent installation.
Recognizing Burnt Out and Damaged Outlets

Outlets can fail from age, power surges, or internal damage caused by overloading. When an outlet burns out, it becomes a fire hazard and needs immediate replacement by a licensed electrician. You should never use an outlet that shows any signs of burning or heat damage.
Here’s what to watch for. The outlet feels warm or hot when you touch it. You smell burning near the outlet, even faintly. The faceplate is discolored, blackened, or looks scorched. There are scorch marks around the receptacle openings. The plastic on the outlet or on a plug looks melted. You see sparks when plugging something in. You hear buzzing, crackling, or popping sounds from the outlet.
If you notice any of these signs, turn off the breaker to that outlet immediately and don’t use it. These are not “wait and see” situations. Call a licensed electrician the same day. Damaged outlets can start electrical fires, and the damage usually indicates a larger problem with the circuit or panel connections. A single outlet replacement is relatively inexpensive, but if the damage is widespread or related to panel problems, you might be looking at $522 to $2,082 for electrical panel replacement. A licensed electrician can tell you what’s needed and why.
Testing Multiple Outlets on the Same Circuit
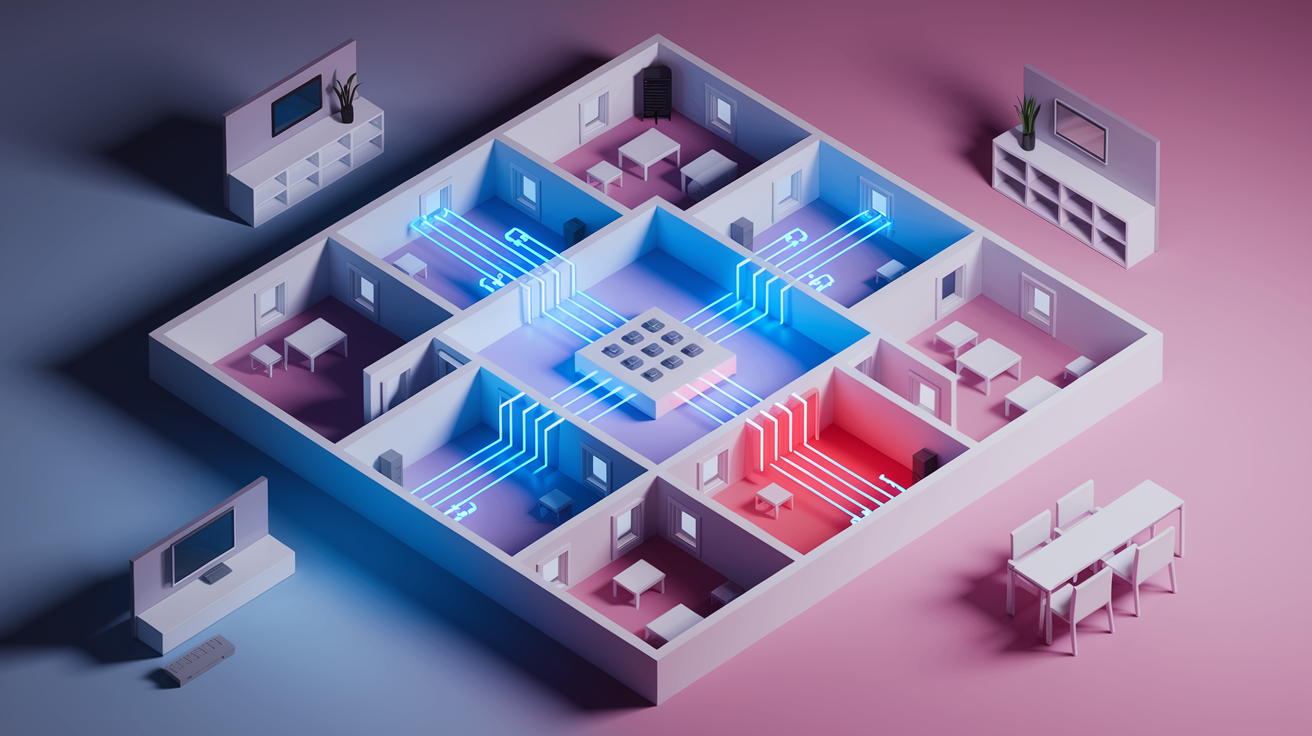
When one outlet stops working, it might be isolated to that single outlet. But when multiple outlets go dead at the same time, it tells you something different. It means the problem is upstream somewhere, affecting everything on that circuit.
Outlets in different rooms can share the same circuit. Your bedroom outlets might be on the same circuit as hallway outlets or outlets in an adjoining room. Walk through your home and test outlets in different areas. Also check if lights or appliances in those areas are affected. Map out which outlets are dead and which are working to see if there’s a pattern.
If multiple outlets are dead but the breaker isn’t tripped, the problem is usually one of three things: a GFCI outlet upstream that’s tripped, a breaker that’s damaged but not visibly tripped, or a loose connection at the panel. Sometimes circuit overload can damage wiring or panel connections without flipping the breaker. This type of problem needs professional diagnosis. Licensed electricians have testing equipment to trace circuits and find exactly where the power stops flowing.
Mapping your circuits helps with future troubleshooting too. You’ll know which outlets share power and can avoid overloading them. Bedrooms and living areas usually share circuits, while high draw appliances like refrigerators, microwaves, and washing machines typically have dedicated circuits.
When to Stop DIY Repairs and Call a Licensed Electrician

Some electrical troubleshooting is safe for homeowners to do. Testing outlets, resetting breakers, and checking for obvious problems falls into that category. But there’s a line between troubleshooting and actual electrical work, and crossing it without the right knowledge, tools, and licensing creates serious risks.
Here are eight situations where you should call a licensed electrician instead of continuing on your own. Any repair that requires you to work inside the electrical panel beyond resetting breakers. A circuit breaker that keeps tripping with nothing plugged into any outlet on that circuit. Outlets that show burn marks, melted plastic, smoke, or smell like burning. Homes with aluminum wiring, which requires special techniques and materials. You’ve completed basic troubleshooting and still can’t find the cause. Multiple circuits throughout the house are affected at the same time. Lights flicker throughout the home when outlets stop working. Any situation where you feel uncertain or uncomfortable about what to do next.
Licensed electricians have specialized testing equipment that goes far beyond what’s available at hardware stores. They can trace voltage, measure current flow, identify shorts hidden inside walls, and diagnose problems that don’t show obvious symptoms. Annual electrical inspections catch problems before they become emergencies, which is especially valuable in older homes. If you’re facing an urgent safety issue like smoke or burning smells, emergency electricians are available 24/7. Professional work also makes sure everything meets electrical code and includes proper permits when required.
Outlet Repair and Replacement Cost Breakdown
Electrical repair costs vary based on diagnosis time, parts needed, labor rates, and how complex the problem turns out to be. A simple outlet replacement is quick and inexpensive. Extensive rewiring or panel upgrades cost significantly more but are sometimes necessary for safety.
Getting quotes from multiple licensed electricians helps you understand what’s reasonable in your area. Rates differ between regions, and some electricians charge flat fees while others bill hourly.
| Service Type | Typical Cost Range | Timeframe |
|---|---|---|
| Diagnostic visit | $75–$150 | 30–60 minutes |
| Standard outlet replacement | $120–$200 | 30–45 minutes |
| GFCI outlet installation | $210–$250 | 45–60 minutes |
| Multiple outlet replacement (3–5 outlets) | $300–$600 | 2–3 hours |
| Circuit rewiring | $500–$1,500 | 4–8 hours |
| Electrical panel replacement | $522–$2,082 | 6–10 hours |
Higher costs usually mean the problem requires safety upgrades, not that you’re being overcharged. If your home has outdated wiring, lacks proper grounding, or needs panel capacity added, the investment protects your home and family long term. Many electricians offer warranties on their work, and proper repairs often increase home value during resale. Major electrical work typically requires permits and inspection by local building authorities, which adds to the cost but makes sure everything meets current safety standards.
Preventing Future Outlet Problems
Most outlet failures are preventable with proper usage and basic maintenance. Small habits make a real difference in how long outlets last and how safely your electrical system operates.
Avoid plugging multiple power strips or adapters into a single outlet. Daisy chaining overloads circuits and overheats connections. Spread high wattage appliances like space heaters, hair dryers, and microwaves across different circuits instead of clustering them. Replace outlets that feel loose when you insert plugs. Loose outlets indicate worn internal contacts or loose mounting. Use surge protectors for computers, televisions, and other sensitive electronics to prevent damage from power spikes. Make sure all outlet faceplates are secured tightly with both screws in place and no gaps where wiring shows. Schedule annual electrical system inspections, especially if your home is more than 25 years old. Install tamper resistant outlets in homes with young children. They have spring loaded shutters that block foreign objects. Minimize repeated plug insertion and removal in the same outlet, which loosens connections and wears away wire coating. Address moisture problems near bathrooms, kitchens, and outdoor outlets before they cause GFCI trips or corrosion. Upgrade older two prong outlets to properly grounded three prong versions for better safety and device compatibility.
Prevention costs far less than emergency repairs, especially when you factor in potential damage to devices or the home itself. Routine home inspections catch problems early while they’re still inexpensive and straightforward to fix.
Final Words
A wall outlet not working usually points to something fixable. GFCI resets, tripped breakers, and switched outlets solve most problems in minutes.
When you see burn marks, smell smoke, or can’t find the cause after basic checks, that’s when you stop and call a licensed electrician.
Keep faceplates secure, avoid overloading circuits, and spread out high-draw appliances. Those small habits prevent most outlet failures before they start.
Your home’s electrical system works hard. A little attention keeps it running safely for years.
FAQ
How do I fix a wall outlet that doesn’t work?
To fix a wall outlet that doesn’t work, first confirm the outlet is the problem by testing your device in another outlet. Then check for a tripped GFCI reset button, flip nearby wall switches, and inspect your breaker panel for a tripped breaker in the middle position.
Why is my outlet not working but the breaker is not tripped?
An outlet that’s not working even though the breaker isn’t tripped usually means a GFCI outlet upstream has shut off power, a wall switch controls the outlet, or there’s a loose wire connection behind the faceplate. Multiple dead outlets without a tripped breaker can indicate a failing breaker itself.
What would cause an outlet to suddenly stop working?
An outlet can suddenly stop working because of a tripped GFCI reset button protecting that circuit, loose wire connections behind the faceplate, or a half-hot outlet controlled by a wall switch. Burnt internal connections from age or electrical surges can also cause sudden failure.
How do I reset a dead outlet?
To reset a dead outlet, look for a small rectangular reset button on the outlet itself or on GFCI outlets in bathrooms, kitchens, garages, and outdoor areas. Press the button firmly until it clicks. If no reset button exists, check your breaker panel for a tripped breaker.
When should I stop trying to fix an outlet myself?
You should stop trying to fix an outlet yourself if you see burn marks, smell burning odors, feel warmth from the outlet, or if the breaker keeps tripping with nothing plugged in. Any situation requiring work inside the electrical panel also needs a licensed electrician.
Can a switched outlet look like a broken outlet?
A switched outlet can definitely look like a broken outlet because only the top or bottom receptacle works depending on the wall switch position. These half-hot outlets are common in rooms without overhead lighting and aren’t actually broken, just controlled by a switch.
What does it mean when multiple outlets stop working at once?
When multiple outlets stop working at once, they likely share the same circuit and either a GFCI upstream has tripped, the circuit breaker is damaged despite not appearing tripped, or there’s a loose connection at the panel. This pattern requires professional diagnosis with specialized testing equipment.
How much does it cost to replace a dead outlet?
Replacing a dead outlet typically costs around $210 for a standard GFCI outlet installation by a licensed electrician. Simple outlet replacements cost less, while extensive rewiring or multiple outlet replacements increase the price. Diagnostic visits and permits may add to the total cost.
What are the warning signs of a dangerous outlet?
Warning signs of a dangerous outlet include the outlet feeling warm or hot to touch, burning smells, discolored or blackened faceplates, scorch marks, melted plastic, sparking when plugging in devices, and buzzing or crackling sounds. These conditions are immediate fire hazards requiring professional replacement.
How can I prevent outlets from failing in the future?
You can prevent outlets from failing by avoiding overloading them with multiple power strips, distributing high-wattage appliances across different circuits, and replacing worn outlets that feel loose. Schedule annual electrical inspections and keep faceplates properly secured to catch problems early.